
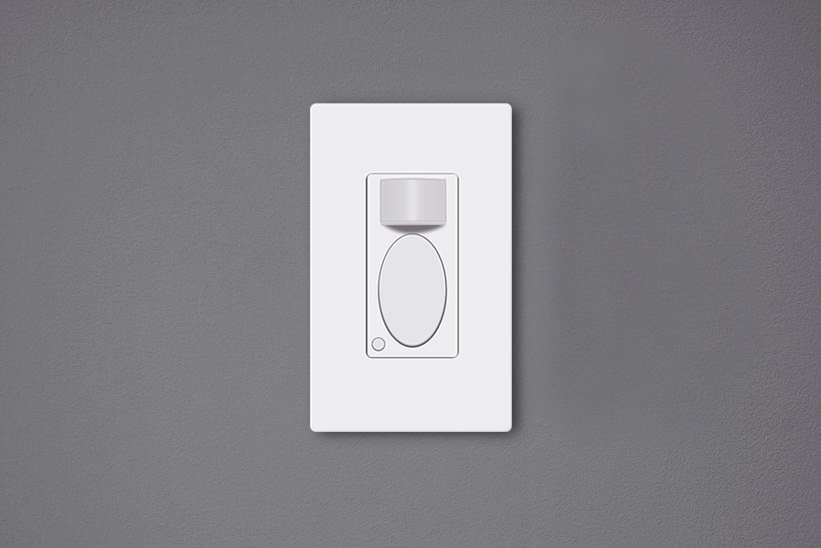
Os interruptores de luz com sensor de movimento são interruptores de parede ativados por movimento que podem acender as luzes automaticamente enquanto as pessoas estiverem no recinto e apagá-las após a saída. Estes interruptores de luz com sensor de movimento são ecologicamente corretos, proporcionam uma grande economia de energia e também trazem conveniência à vida diária, eliminando a necessidade de tocar no interruptor.
Sumário
- Por que precisamos ajustar o interruptor
- Como ajustar um interruptor de luz com sensor de movimento
- O que considerar ao ajustar o interruptor
Por que precisamos ajustar o interruptor
Ajustar um interruptor de luz com sensor de movimento após a instalação é fundamental, pois a configuração padrão pode não atender perfeitamente às suas necessidades. Embora a maioria dos fabricantes forneça uma configuração de fábrica pronta para o uso diário comum, ainda pode ser necessário alterar as personalizações para atender a demandas específicas.
Por exemplo, a configuração padrão do interruptor com sensor de movimento Rayzeek’é o modo de ocupação, temporizador de 1 minuto e valor de luz ambiente de 25 lux, o que é perfeitamente adequado para a maioria dos usuários residenciais. No entanto, é possível personalizar para um tempo de atraso menor, como 15 segundos, e um valor de Lux mais alto, como 35 lux, para economizar ainda mais energia.
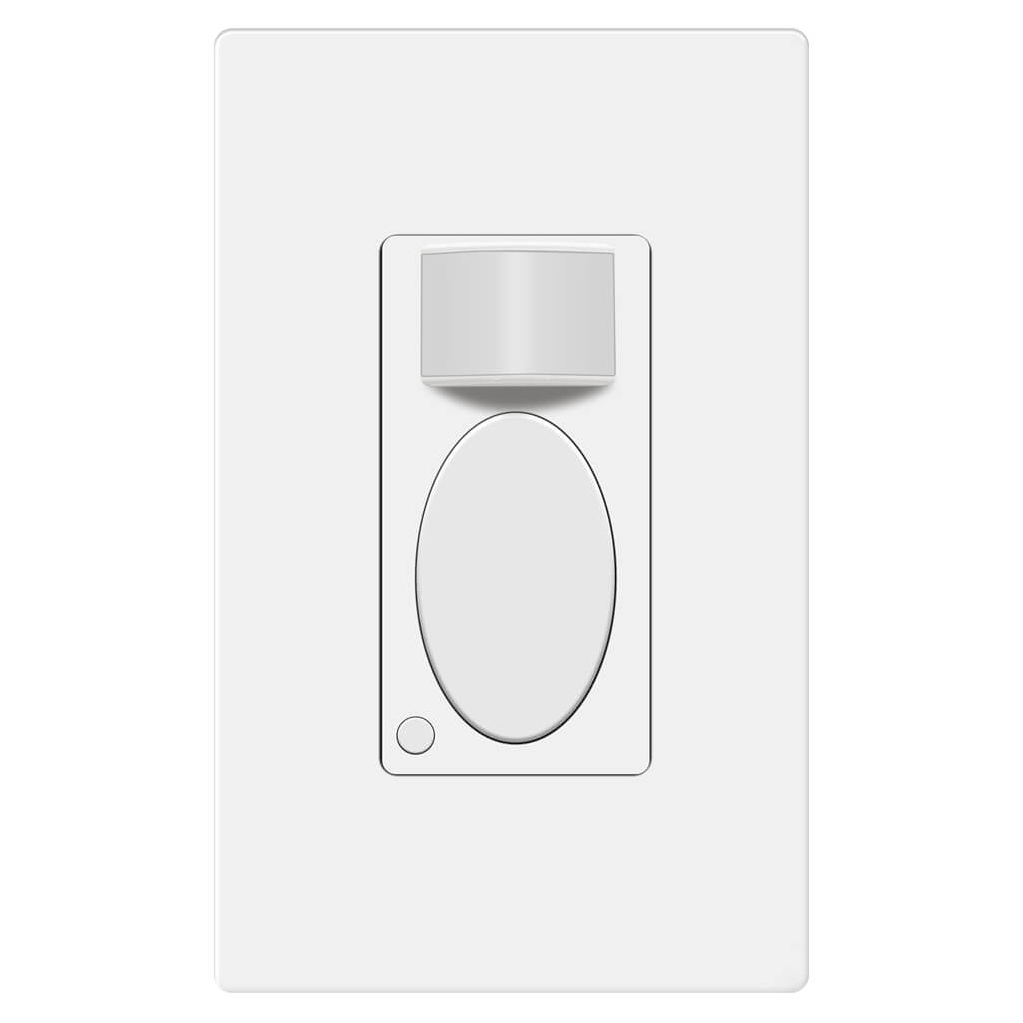
Rayzeek RZ021-5A-G
Interruptor de Luz com Sensor de Movimento
Sensor de Ocupação/Vacância
- Modo Exclusivo de Ligar/Desligar Manual
- Não Requer Neutro
- Grau Comercial 110v~277v
Quando o interruptor com sensor de movimento não está devidamente ajustado, ele pode não apenas consumir mais eletricidade, mas também causar inconvenientes, como o acendimento acidental ou o desligamento indevido da luz.
Como ajustar um interruptor de luz com sensor de movimento
Os usuários podem ajustar as configurações do interruptor de luz com sensor de movimento alterando as chaves seletores sob a tampa ou pressionando os botões na superfície.
Inspire-se com os portfólios de sensores de movimento da Rayzeek.
Não encontrou o que procura? Não se preocupe. Sempre existem formas alternativas de resolver seus problemas. Talvez um de nossos portfólios possa ajudar.
Many of the classic motion sensor light switches are programmed by altering auxiliary buttons or toggles behind the cover plate. For the purpose of looking as a whole, the buttons or toggles for customization are visually hidden under the panel. To change these settings, you need to remove the control panel or the cover place of the motion sensor light switch to get access to them.
Nowadays, the innovative motion sensor light switches on the market can be adjusted directly on the surface by pressing some buttons without removing any covers or panels. Such as the Rayzeek series motion sensor switches, you can customize all settings by only either short press or press&hold two buttons. The new method for adjusting settings is better than before because the frequent removal of the covers on the switch may end up turning loose.
O que considerar ao ajustar o interruptor
Here are some guidelines you can follow when adjusting your motion sensor switches for the best performances
Motion Detection Mode
When you buy a 2 in 1, or occupancy/vacancy sensor wall switch, you are able to select the motion sensor light switch to work as an occupancy sensor switch or vacancy sensor switch. Some occupancy sensor with a manual-on feature is typically the same as an Occ/Van sensor.
Occupancy Mode
The occupancy sensor mode is an Auto-On/Auto-Off motion detection mode, which turns on the light when the motion sensor detects people and turns off after the motion detector cannot see the people.
The occupancy mode or occupancy sensor switch is competent to cover most requirements for daily residential and commercial applications. In the occupancy mode, the motion sensor light switch is completely hands-free and automatic, which is suitable for home and business use like kitchen, bathroom, hallways and private offices.
Vacancy Mode
The vacancy sensor mode is a Manual-On/Auto-Off motion detection mode, and sometimes it is also called a Manul-On occupancy mode. When in vacancy mode, the light turns on only after you manually press the button on the light switch, and the light will automatically turn off, similar to occupancy mode.
The vacancy sensor switch or vacancy mode is usually used in commercial places rather than homes because it is not entirely automatic and it would require some manual action. However, the vacancy sensor can save more energy than the occupancy sensor because the light will only turn on when people press the button, and it cannot turn the light on falsely like an occupancy sensor does. So vacancy sensor is required by energy code to be widely used in commercial buildings and often seen in offices such as conference rooms.
Tempo de atraso
The time delay or time-out setting decides for how long the light is continuously kept on after the light is first activated by the motion detector. As long as the motion sensor detects people in the room, the light will keep on. After people leave the room and the motion sensor cannot detect any motion, the light will keep on and not instantly turn off in case of people coming back. After the time delay expires, the motion sensor switch will turn off the light.
Apparently, a short time delay, like 15 seconds, can turn off the light as soon as you leave the room, which is the most eco-friendly time out option. And a 30-minute time delay will keep the light ON for another 30 minutes after the room is already empty.
So how to set a proper time delay?
If you only need the light while you are using the room or just passing by for temporary illumination for navigation, you can set a shorter time delay like 15 seconds to 1 minute for maximum energy saving.
If you need to stay in the room for a long time, such as cooking or reading, or frequently coming in and out of the room while leaving the lights on, you can set a longer time delay, such as 15 to 30 minutes to the light ON and prevent it from undesired turn-offs.
Procurando soluções de economia de energia ativadas por movimento?
Entre em contato conosco para sensores de movimento PIR completos, produtos de economia de energia ativados por movimento, interruptores com sensor de movimento e soluções comerciais de Presença/Ausência (Occupancy/Vacancy).
Sensor de Luz
The light sensor or ambient light detection feature allows the light to stay off with sufficient ambient light to reduce unnecessary energy waste in the daytime because it’s a waste to keep the lights on when there is ample natural light.
Usually, users can choose to disable the light sensor or select from a low, medium, or high pre-set LUX value for the light sensor. The Lux measures luminous flux per unit area, equal to one lumen per square meter, and the LUX value somehow represents the brightness of the environment.
The higher the LUX value, the brighter the environment is. Some motion sensor switches would provide light sensor options with settings like low, medium to high, or with accurate LUX values like 15 LUX, 25 LUX, 35 LUX.
When the light sensor/ambient light detection is disabled, the motion sensor will turn on the light whenever it detects motion.
When the user selects a light sensor value, for example, low or 15LUX, the motion sensor will only activate the light when the ambient light is below 15LUX.
So how to set the light sensor value?
If you need the light to turn on in dark rooms for illumination, you can choose a low value like Low, 15LUX, or OFF.
If you need the light to turn on to provide supportive illumination to the natural light, for example, offices and kitchens in the daytime, you can choose a medium or high light sensor value like Medium, 25 LUX or 35 Lux.
If you need the light to turn on every time people pass by or enter, you can disable the light sensor.
Sensor Sensitivity
The sensor sensitivity calculates how far the motion sensor can detect, and the sensor sensitivity is a key factor to program before putting it into use. Unlike motion sensor lights, the motion sensor light switches need to be installed into wall boxes, so the location and placement of the motion sensor are usually highly restricted. After installation, the only way to alter the motion detection coverage zone is to change the sensor sensitivity of the motion sensor.
When the sensitivity is not well-adjusted, the motion sensor would not be as convenient as it should be.
When the sensitivity is too low, the motion sensor might be clumsy that the light will not detect you efficiently until you come quite near.
Você Também Pode Se Interessar Por

- Tensão: 2 Pilhas AAA
- Modo Dia/Noite
- Atraso de tempo: 15min, 30min, 1h(padrão), 2h

- Sensor de ocupação PIR para montagem no teto com saída de relé de contato seco
- Alimentação de baixa tensão de 12/24VDC ou 12/24VAC
- Contatos de relé isolados COM, NO e NC para entradas de EMS, HVAC e controle predial

- Interruptor sensor de movimento de micro-ondas embutido no teto em baixa tensão CC
- Entrada de 12 VDC / 24 VDC com faixa de 10-30 VDC
- Corrente máxima de trabalho de 10A com tempo de retardo, limite Lux e sensibilidade ajustáveis
- Interruptor sensor de movimento de micro-ondas embutido no teto para maior carga
- Entrada de tensão de rede de 100-265 VAC, modelo 10A
- Detecção de micro-ondas de 5,8 GHz com tempo de atraso, limite de Lux e sensibilidade ajustáveis
- Interruptor de sensor de movimento de micro-ondas embutido para teto
- Entrada de tensão de rede de 100-265 VAC, modelo 5A
- Detecção de micro-ondas de 5,8 GHz com tempo de atraso, limite de Lux e sensibilidade ajustáveis
- Dimmer de sensor de presença PIR para teto RZ037 para alimentação de 220V
- Corrente máxima de trabalho de 3A com carga nominal de 660W
- O botão LUX controla o Ligar/Desligar do sensor de luz e o brilho de dimerização definido pelo usuário
- Dimmer de sensor de presença PIR para teto RZ037 para alimentação de 110V
- Corrente máxima de trabalho de 3A com carga nominal de 330W
- O botão LUX controla o Ligar/Desligar do sensor de luz e o brilho de dimerização definido pelo usuário

- Interruptor de sensor de movimento de micro-ondas para teto em baixa tensão CC
- Entrada de 12 VDC / 24 VDC com faixa de 10-30 VDC
- Corrente máxima de trabalho de 10A com tempo de retardo, limite Lux e sensibilidade ajustáveis
- Interruptor de sensor de movimento de micro-ondas para teto de maior carga
- Entrada de tensão de rede de 100-265 VAC, modelo 10A
- Detecção de micro-ondas de 5,8 GHz com tempo de atraso, limite de Lux e sensibilidade ajustáveis
- Interruptor com sensor de movimento por micro-ondas para montagem no teto
- Entrada de tensão de rede de 100-265 VAC, modelo 5A
- Detecção de micro-ondas de 5,8 GHz com tempo de atraso, limite de Lux e sensibilidade ajustáveis

- Interruptor com sensor de movimento PIR de teto embutido CC de baixa tensão
- Entrada de 12 VDC / 24 VDC com faixa de 10-30 VDC
- Corrente máxima de trabalho de 10A com tempo de atraso, limite de Lux e sensibilidade ajustáveis

- Interruptor com sensor de movimento PIR de teto embutido para maior carga
- Entrada de tensão de rede de 100-265 VAC, modelo 10A
- Detecção de 360 graus com tempo de atraso, limite de Lux e sensibilidade ajustáveis
- Interruptor com sensor de movimento PIR de teto embutido
- Entrada de tensão de rede de 100-265 VAC, modelo 5A
- Detecção de 360 graus com tempo de atraso, limite de Lux e sensibilidade ajustáveis

- Kit de receptor e interruptor sem fio para controle de iluminação LIGA/DESLIGA em ambientes internos
- Receptor de 100-230VAC, 50/60Hz com corrente nominal de 5A
- Interruptor sem fio alimentado por CR2032 com comunicação de 2,4 GHz
- Ocupação (LIGA automático/DESLIGA automático)
- 12–24V CC (10–30VDC), até 10A
- Cobertura de 360°, 8–12 m de diâmetro
- Temporização: 15 s–30 min
- Sensor de luz: Desligado/15/25/35 Lux
- Sensibilidade Alta/Baixa
- Modo de ocupação Liga-Automático/Desliga-Automático
- 100–265V AC, 10A (neutro obrigatório)
- Cobertura de 360°; diâmetro de detecção de 8–12 m
- Temporização: 15 s–30 min; Lux DESLIGADO/15/25/35; Sensibilidade Alta/Baixa
- Modo de ocupação Liga-Automático/Desliga-Automático
- 100–265V AC, 5A (neutro obrigatório)
- Cobertura de 360°; diâmetro de detecção de 8–12 m
- Temporização: 15 s–30 min; Lux DESLIGADO/15/25/35; Sensibilidade Alta/Baixa
When the sensitivity is too high, the motion sensor might be able to detect motion outside the room, such as people passing by outside, that will falsely turn on the light when there are actually no people in the room, causing electricity waste.
So how to set the sensor sensitivity value?
First, we set the sensitivity to high. If it works well then we keep it at high.
If the sensitivity is too high, that causes the light to turn on unexpectedly. Then we try to set the sensitivity to low.
If the low sensitivity is not enough for proper motion detection accuracy, we can set the sensitivity back to high. Then we can use some adhesive tapes to partially cover the motion detection window to lower the sensitivity step by step until we get the perfect result.








Great job explaining in great detail the obvious but all I wanted to know is how to adjust these settings
Hi James,
That depends on the models you have. Each has its own way of adjustments. So we don’t cover them in the article.
To adjust these settings, some use mechanical dials/toggles, some use small buttons located on the switch while some use APP.
Refer to your product manual on how to adjust them.
Basically it is easy and obvious.