
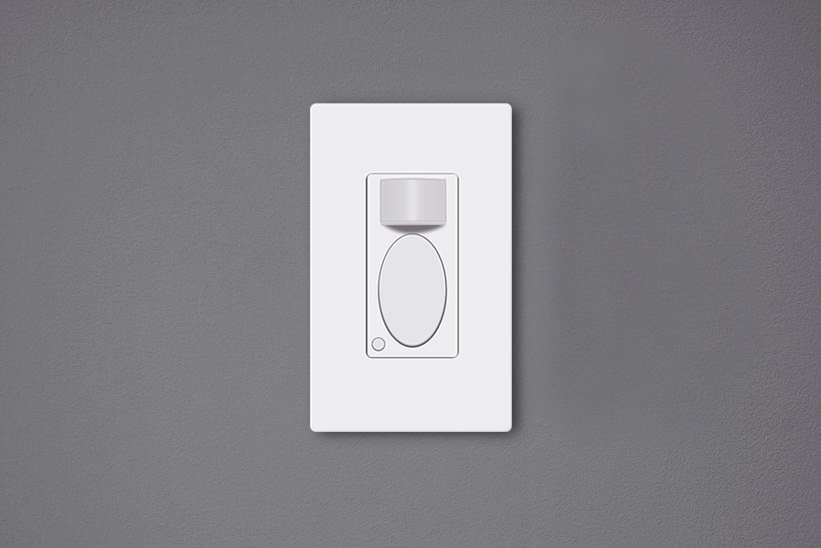
Los interruptores de luz con sensor de movimiento son interruptores de pared activados por movimiento que pueden encender automáticamente las luces cuando hay personas en la habitación y apagarlas después de que se marchan. Estos interruptores de luz con sensor de movimiento son respetuosos con el medio ambiente, permiten ahorrar una enorme cantidad de energía y facilitan la vida cotidiana al no tener que tocar de nuevo el interruptor de la luz.
Contenido
- Por qué es necesario ajustar el interruptor
- Cómo ajustar un interruptor de luz con sensor de movimiento
- Factores a considerar al ajustar el interruptor
Por qué es necesario ajustar el interruptor
Ajustar un interruptor de luz con sensor de movimiento después de la instalación es fundamental, ya que la configuración predeterminada puede no adaptarse perfectamente a sus necesidades. Aunque la mayoría de los fabricantes ofrecen una configuración de fábrica predeterminada lista para el uso diario habitual, es posible que necesite modificar la personalización para adaptarla a sus requisitos específicos.
Por ejemplo, la configuración predeterminada del interruptor con sensor de movimiento Rayzeek’es el modo de ocupación, un temporizador de 1 minuto y un valor de luz ambiental de 25 lux, lo cual resulta perfectamente idóneo para la mayoría de los usuarios domésticos. Sin embargo, puede personalizar un tiempo de retardo más corto, como 15 segundos, y un valor de lux más alto, como 35 lux, para ahorrar más energía.
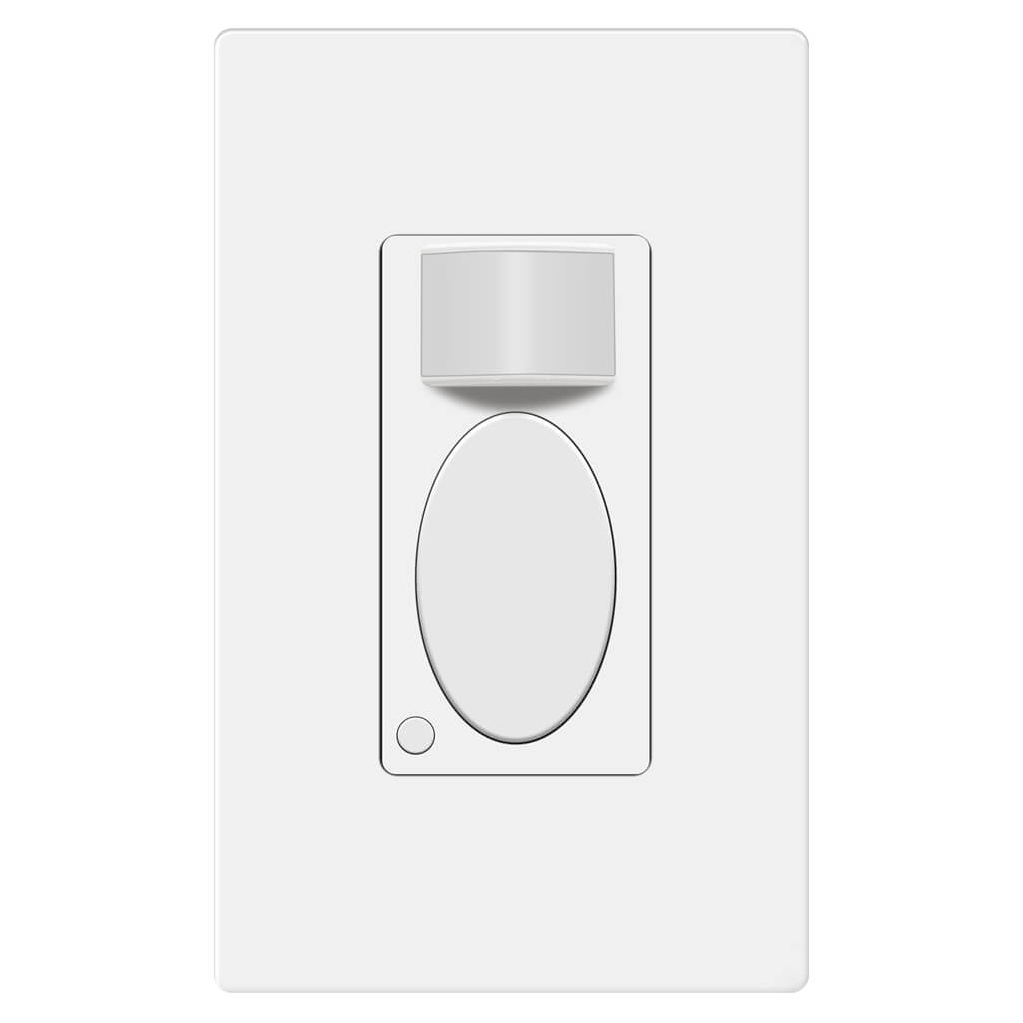
Rayzeek RZ021-5A-G
Interruptor de luz con sensor de movimiento
Sensor de ocupación/vacancia
- Modo exclusivo de encendido/apagado manual
- No requiere cable neutro
- Grado comercial de 110v~277v
Si el interruptor con sensor de movimiento no está bien ajustado, no solo puede consumir más electricidad, sino que también puede causar molestias, como el encendido accidental o el apagado no deseado de la luz.
Cómo ajustar un interruptor de luz con sensor de movimiento
Los usuarios pueden ajustar la configuración del interruptor de luz con sensor de movimiento cambiando los conmutadores situados debajo de la cubierta o pulsando los botones de la superficie.
Inspírese con los portafolios de sensores de movimiento Rayzeek.
¿No encuentra lo que busca? No se preocupe. Siempre existen formas alternativas de resolver sus problemas. Quizá alguno de nuestros portafolios pueda ayudarle.
Muchos de los interruptores de luz con sensor de movimiento clásicos se programan modificando los botones auxiliares o conmutadores situados detrás de la placa de cubierta. Para mantener una apariencia uniforme, los botones o conmutadores de personalización permanecen ocultos a la vista debajo del panel. Para cambiar estos ajustes, es necesario retirar el panel de control o la placa de cubierta del interruptor de luz con sensor de movimiento para acceder a ellos.
Hoy en día, los innovadores interruptores de luz con sensor de movimiento del mercado se pueden ajustar directamente en la superficie pulsando algunos botones, sin necesidad de retirar cubiertas ni paneles. Por ejemplo, en los interruptores con sensor de movimiento de la serie Rayzeek, puede personalizar todos los ajustes con tan solo una pulsación corta o manteniendo pulsados dos botones. El nuevo método para ajustar la configuración es mejor que el anterior, ya que la retirada frecuente de las cubiertas del interruptor puede hacer que terminen aflojándose.
Factores a considerar al ajustar el interruptor
A continuación se presentan algunas pautas que puede seguir al ajustar sus interruptores con sensor de movimiento para obtener el mejor rendimiento:
Modo de detección de movimiento
Cuando compra un 2 en 1, o sensor de presencia/vacancia interruptor de pared, puede seleccionar que el interruptor de luz con sensor de movimiento funcione como un interruptor con sensor de presencia o un interruptor con sensor de vacancia. Algunos sensores de presencia con función de encendido manual son habitualmente idénticos a un sensor de presencia/vacancia.
Modo de ocupación
El modo de sensor de presencia es un modo de detección de movimiento de encendido automático/apagado automático, que enciende la luz cuando el sensor de movimiento detecta personas y la apaga cuando el detector de movimiento deja de detectarlas.
El modo de presencia o interruptor con sensor de presencia es adecuado para cubrir la mayoría de los requisitos de las aplicaciones residenciales y comerciales diarias. En el modo de presencia, el interruptor de luz con sensor de movimiento es completamente automático y no requiere intervención manual, lo que resulta adecuado para uso doméstico y empresarial en estancias como la cocina, el baño, pasillos y oficinas privadas.
Modo de vacancia
El modo de sensor de vacancia es un modo de detección de movimiento de encendido manual/apagado automático, denominado en ocasiones modo de presencia con encendido manual. En el modo de vacancia, la luz se enciende únicamente tras pulsar manualmente el botón del interruptor de luz, y se apaga de forma automática, de manera similar al modo de presencia.
El interruptor con sensor de vacancia o modo de vacancia se utiliza habitualmente en espacios comerciales en lugar de hogares, ya que no es completamente automático y requiere cierta acción manual. Sin embargo, el sensor de vacancia permite ahorrar más energía que el sensor de presencia, debido a que la luz solo se enciende cuando se pulsa el botón y no puede encenderse de forma falsa como ocurre con el sensor de presencia. Por ello, el código energético exige el uso extendido del sensor de vacancia en edificios comerciales, siendo frecuente en oficinas como salas de conferencias.
Temporización
El ajuste de temporización o tiempo de espera determina cuánto tiempo permanece encendida la luz de forma continua tras ser activada por primera vez por el detector de movimiento. Mientras el sensor de movimiento detecte personas en la habitación, la luz mantendrá su encendido. Una vez que las personas abandonan la estancia y el sensor de movimiento no detecta presencia, la luz continuará encendida sin apagarse de forma instantánea, en previsión de que vuelvan a entrar. Tras expirar el tiempo de demora, el interruptor con sensor de movimiento apagará la luz.
Como es evidente, una temporización corta, como 15 segundos, permite apagar la luz tan pronto como se sale de la habitación, lo que constituye la opción de tiempo de espera más respetuosa con el medio ambiente. Por su parte, una temporización de 30 minutos mantendrá la luz encendida durante 30 minutos adicionales aunque la estancia ya se encuentre vacía.
¿Cómo configurar una temporización adecuada?
Si solo necesita la luz mientras utiliza la estancia o cuando pasa por ella para obtener una iluminación temporal de paso, puede configurar una temporización más corta, de 15 segundos a 1 minuto, para lograr el máximo ahorro energético.
Si necesita permanecer en la habitación durante un periodo prolongado, por ejemplo para cocinar o leer, o entra y sale con frecuencia manteniendo las luces encendidas, puede establecer una temporización más larga, de 15 a 30 minutos, para mantener la luz encendida y evitar apagados no deseados.
¿Busca soluciones de ahorro de energía activadas por movimiento?
Póngase en contacto con nosotros para obtener sensores de movimiento PIR completos, productos de ahorro de energía activados por movimiento, interruptores con sensor de movimiento y soluciones comerciales de presencia/vacancia.
Sensor de luz
The light sensor or ambient light detection feature allows the light to stay off with sufficient ambient light to reduce unnecessary energy waste in the daytime because it’s a waste to keep the lights on when there is ample natural light.
Usually, users can choose to disable the light sensor or select from a low, medium, or high pre-set LUX value for the light sensor. The Lux measures luminous flux per unit area, equal to one lumen per square meter, and the LUX value somehow represents the brightness of the environment.
The higher the LUX value, the brighter the environment is. Some motion sensor switches would provide light sensor options with settings like low, medium to high, or with accurate LUX values like 15 LUX, 25 LUX, 35 LUX.
When the light sensor/ambient light detection is disabled, the motion sensor will turn on the light whenever it detects motion.
When the user selects a light sensor value, for example, low or 15LUX, the motion sensor will only activate the light when the ambient light is below 15LUX.
So how to set the light sensor value?
If you need the light to turn on in dark rooms for illumination, you can choose a low value like Low, 15LUX, or OFF.
If you need the light to turn on to provide supportive illumination to the natural light, for example, offices and kitchens in the daytime, you can choose a medium or high light sensor value like Medium, 25 LUX or 35 Lux.
If you need the light to turn on every time people pass by or enter, you can disable the light sensor.
Sensor Sensitivity
The sensor sensitivity calculates how far the motion sensor can detect, and the sensor sensitivity is a key factor to program before putting it into use. Unlike motion sensor lights, the motion sensor light switches need to be installed into wall boxes, so the location and placement of the motion sensor are usually highly restricted. After installation, the only way to alter the motion detection coverage zone is to change the sensor sensitivity of the motion sensor.
When the sensitivity is not well-adjusted, the motion sensor would not be as convenient as it should be.
When the sensitivity is too low, the motion sensor might be clumsy that the light will not detect you efficiently until you come quite near.
Quizás le interese

- Tensión: 2 pilas AAA
- Modo Día/Noche
- Temporización: 15 min, 30 min, 1 h (por defecto), 2 h

- Sensor de presencia PIR para montaje en techo con salida de relé de contacto seco
- Alimentación de baja tensión de 12/24VDC o 12/24VAC
- Contactos de relé aislados COM, NO y NC para entradas de EMS, HVAC y control de edificios

- Interruptor con sensor de movimiento por microondas empotrable en techo de baja tensión DC
- Entrada de 12 VDC / 24 VDC con rango de 10-30 VDC
- Corriente de funcionamiento máxima de 10A con retardo de tiempo, umbral de Lux y sensibilidad ajustables
- Interruptor con sensor de movimiento por microondas empotrable en techo para cargas más elevadas
- Entrada de tensión de red de 100-265 VAC, modelo de 10A
- Detección por microondas de 5,8 GHz con temporizador, umbral Lux y sensibilidad ajustables
- Interruptor con sensor de movimiento por microondas empotrable para techo
- Entrada de tensión de red de 100-265 VAC, modelo de 5A
- Detección por microondas de 5,8 GHz con temporizador, umbral Lux y sensibilidad ajustables
- Regulador con sensor de presencia PIR RZ037 de techo para alimentación de 220V
- Corriente de funcionamiento máxima de 3A con carga nominal de 660W
- El botón LUX controla el encendido/apagado del sensor de luz y la regulación de brillo ajustada por el usuario
- Regulador con sensor de presencia PIR RZ037 de techo para alimentación de 110V
- Corriente de funcionamiento máxima de 3A con carga nominal de 330W
- El botón LUX controla el encendido/apagado del sensor de luz y la regulación de brillo ajustada por el usuario

- Interruptor con sensor de movimiento por microondas de techo para CC de bajo voltaje
- Entrada de 12 VDC / 24 VDC con rango de 10-30 VDC
- Corriente de funcionamiento máxima de 10A con retardo de tiempo, umbral de Lux y sensibilidad ajustables
- Interruptor con sensor de movimiento por microondas de techo para mayor carga
- Entrada de tensión de red de 100-265 VAC, modelo de 10A
- Detección por microondas de 5,8 GHz con temporizador, umbral Lux y sensibilidad ajustables
- Interruptor con sensor de movimiento por microondas de techo
- Entrada de tensión de red de 100-265 VAC, modelo de 5A
- Detección por microondas de 5,8 GHz con temporizador, umbral Lux y sensibilidad ajustables

- Interruptor con sensor de movimiento PIR para montaje empotrable en techo de CC de bajo voltaje
- Entrada de 12 VDC / 24 VDC con rango de 10-30 VDC
- Corriente máxima de trabajo de 10 A con tiempo de retardo, umbral de luxes y sensibilidad ajustables

- Interruptor con sensor de movimiento PIR empotrable en techo para mayor carga
- Entrada de tensión de red de 100-265 VAC, modelo de 10A
- Detección de 360 grados con tiempo de retardo, umbral de luxes y sensibilidad ajustables
- Interruptor con sensor de movimiento PIR empotrable en techo
- Entrada de tensión de red de 100-265 VAC, modelo de 5A
- Detección de 360 grados con tiempo de retardo, umbral de luxes y sensibilidad ajustables

- Kit de emisor inalámbrico y receptor para el control de iluminación de encendido/apagado en interiores
- Receptor de 100-230 V CA, 50/60 Hz con corriente nominal de 5 A
- Interruptor inalámbrico alimentado por CR2032 con comunicación de 2,4 GHz
- Presencia (encendido automático/apagado automático)
- 12–24 V CC (10–30 V CC), hasta 10 A
- Cobertura de 360°, 8–12 m de diámetro
- Tiempo de retardo de 15 s a 30 min
- Sensor de luz Desactivado/15/25/35 Lux
- Sensibilidad alta/baja
- Modo de presencia con encendido/apagado automático
- 100–265V CA, 10A (requiere neutro)
- Cobertura de 360°; diámetro de detección de 8–12 m
- Temporización: 15 s–30 min; Lux OFF/15/25/35; Sensibilidad Alta/Baja
- Modo de presencia con encendido/apagado automático
- 100–265V CA, 5A (requiere neutro)
- Cobertura de 360°; diámetro de detección de 8–12 m
- Temporización: 15 s–30 min; Lux OFF/15/25/35; Sensibilidad Alta/Baja
When the sensitivity is too high, the motion sensor might be able to detect motion outside the room, such as people passing by outside, that will falsely turn on the light when there are actually no people in the room, causing electricity waste.
So how to set the sensor sensitivity value?
First, we set the sensitivity to high. If it works well then we keep it at high.
If the sensitivity is too high, that causes the light to turn on unexpectedly. Then we try to set the sensitivity to low.
If the low sensitivity is not enough for proper motion detection accuracy, we can set the sensitivity back to high. Then we can use some adhesive tapes to partially cover the motion detection window to lower the sensitivity step by step until we get the perfect result.








Great job explaining in great detail the obvious but all I wanted to know is how to adjust these settings
Hi James,
That depends on the models you have. Each has its own way of adjustments. So we don’t cover them in the article.
To adjust these settings, some use mechanical dials/toggles, some use small buttons located on the switch while some use APP.
Refer to your product manual on how to adjust them.
Basically it is easy and obvious.