
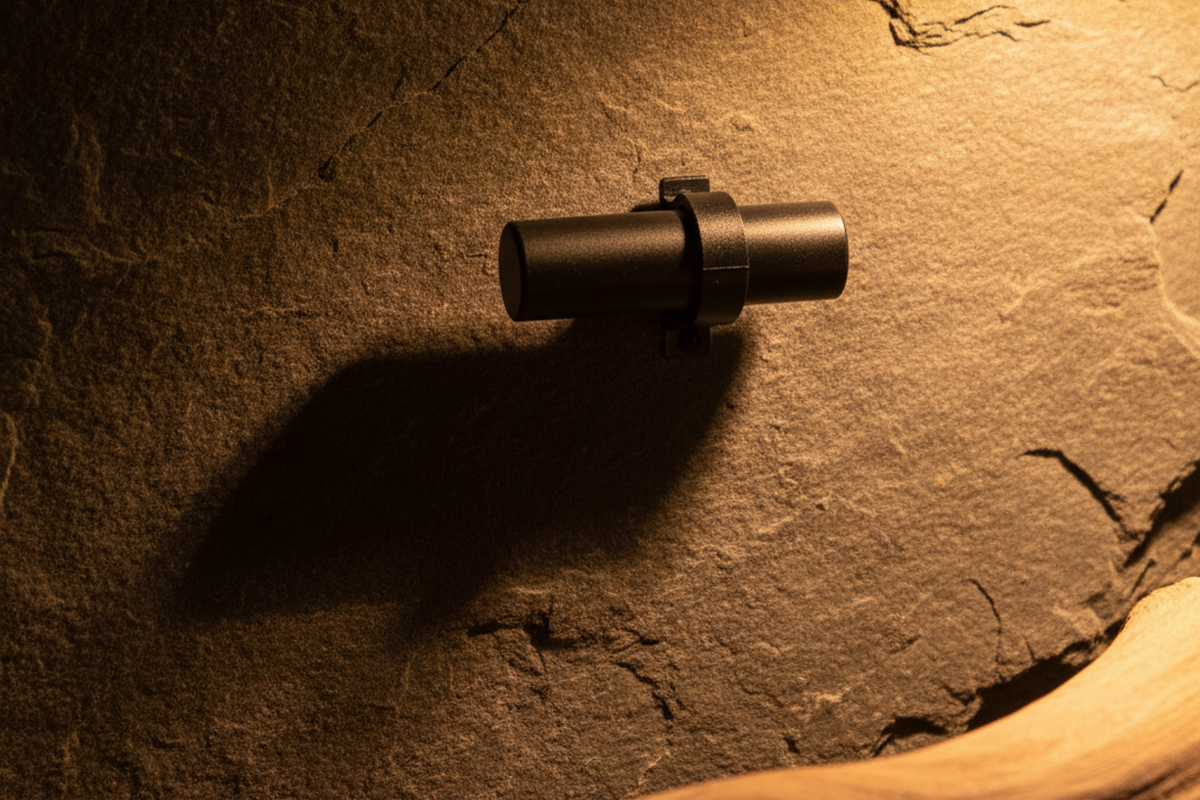
The sound of a cheap thermostat failing is distinctive. It isn’t a beep or an alarm; it’s a mechanical click-clack that hits every forty-five seconds.
You install a 150W ceramic heat emitter, plug it into a standard on/off controller, and set the dial to 90°F. Within an hour, the room sounds like a slow-motion strobe light. The relay clicks on. The heater roars to life. Thirty seconds later, the probe hits 90°F. Click. Off. The air cools instantly. Click. On.
This rapid cycling doesn’t just drive you insane; it destroys the relay inside the controller. Worse, it stresses the animal. Even if the heat source is invisible, your reptile is subjected to a “disco effect” of temperature swings. If you use a light-emitting bulb, it’s worse. You’ve created a literal strobe light that drives your animal into a stress response.
We can argue about the quality of generic relays later, but the $40 controller usually isn’t the culprit. Your probe placement is. You are asking a piece of plastic to measure “air temperature” while pointing a heat ray directly at it.
The Lie of the Beam
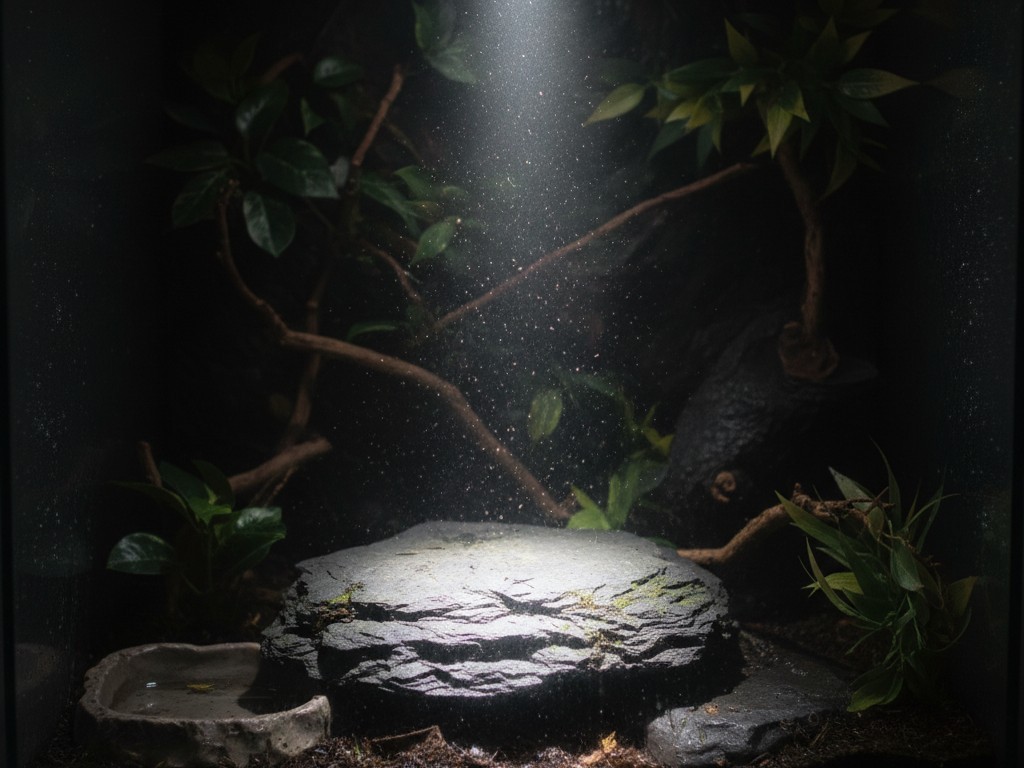
Most keepers visualize heat in a reptile enclosure like water filling a bathtub—a gentle, rising tide of warmth. That is not how high-wattage basking bulbs work. A Deep Heat Projector or Halogen flood lamp projects energy in a directional beam, much like a flashlight projects light.
When you dangle a thermostat probe directly under the heat source, you aren’t measuring the air temperature. You are measuring how fast the black plastic casing of the probe absorbs infrared radiation. This is the “Incident Radiation” problem. The probe tip is small and dark, so it absorbs that energy frantically. It might read 110°F within seconds, triggering the shut-off, while the actual air temperature around it is barely 75°F.
This is where the confusion starts. You might point a Klein Tools IR gun at the basking spot and get one reading, while the hanging probe reads something wildly different. The gun reads surface temperature. The probe is supposed to read air temperature, but if it sits in the beam, it’s reading its own surface temperature. It’s a false positive. Your thermostat thinks the job is done because the sensor is hot, but your animal is still cold because the air hasn’t had time to absorb any energy.
Lăsați-vă inspirat de portofoliile de senzori de mișcare Rayzeek.
Nu găsiți ceea ce căutați? Nu vă faceți griji. Există întotdeauna modalități alternative de a vă rezolva problemele. Poate vă poate ajuta unul dintre portofoliile noastre.
Geometry and the Shadow Trace
Throwing money at a pricier sensor won’t fix this. You have to respect the geometry of light. You need to move the probe out of the direct line of fire. This sounds counter-intuitive—don’t you want to control the heat? Yes, but you want to control the ambient result of that heat, not the intensity of the beam itself.
There is a method for this I call the “Shadow Trace.” Turn on your heat source (if it emits light) or use a flashlight held exactly where the ceramic heater is. Place your hand where you intend to mount the probe. If your hand casts a sharp, defined shadow, that location is in the “beam zone.” It will cause rapid switching.
You want to move the probe horizontally until it sits in the “penumbra”—the soft edge of the shadow. It should be close enough to the heat source to detect a rise in temperature, but shielded from the direct infrared assault.
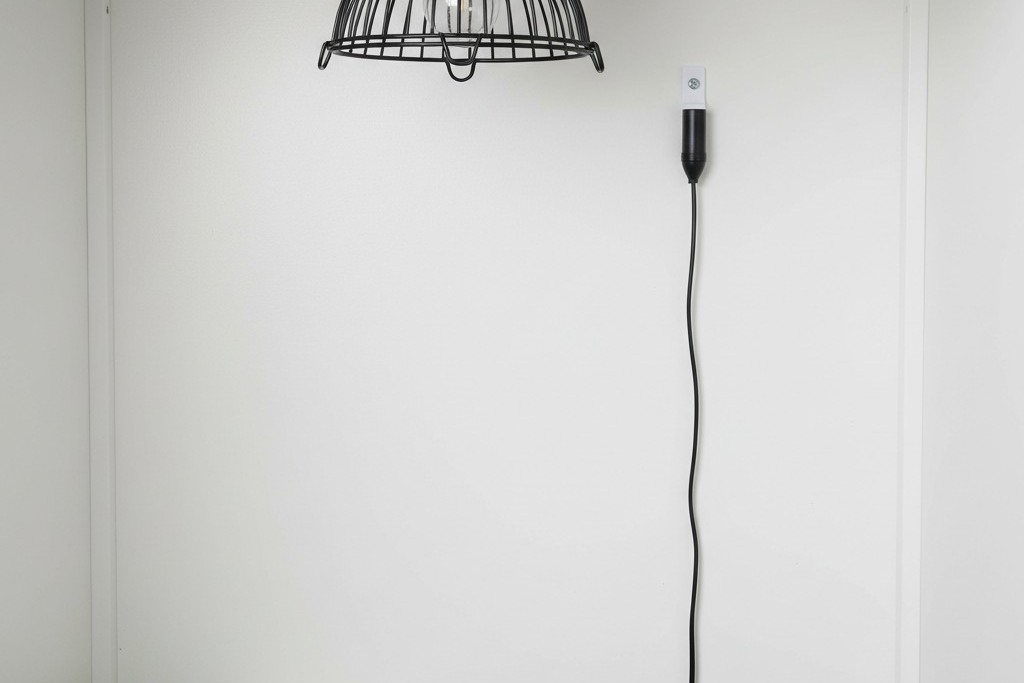
In a standard 4x2x2 PVC enclosure, this usually means mounting the probe on the back wall, about 3 to 6 inches off-center from the heat lamp, and about 4 inches down from the ceiling. The exact distance varies—a 75W halogen has a tighter beam than a 150W radiant panel—but the principle holds. You want the probe to measure the accumulation of heat in the air, not the strike of the heat on the plastic.
This directly contradicts the “Center of the Tank” standard you see in almost every generic pet store instruction manual. They tell you to dangle the probe right in the middle. If you do that, you are measuring the average of nothing. You need the probe to guard the hot side from overheating, or the cool side from dropping too low. A central probe allows the hot side to reach dangerous spikes before the center ever feels it. Ignore the manual; respect the gradient.
Anchoring to Mass
Air is volatile. It heats up fast and cools down fast. If your probe is just dangling in the air, secured by nothing but a suction cup (which will fail) or a piece of tape, it’s going to react to every draft in the room. This makes the thermostat jumpy.
A better approach is to anchor the probe against something with thermal mass. This doesn’t mean gluing it to a rock—we’ll get to that—but securing it against the enclosure wall or a piece of slate. The mass dampens the volatility. It acts like a thermal flywheel, smoothing out the tiny spikes and dips so the thermostat gets a clean, stable reading.
However, there is a dangerous trap here: The “Basking Rock” Fallacy. I see people zip-tie the probe directly to the basking surface because they want to know exactly how hot the rock is. The problem arises when the lizard sits on the rock. The animal’s body covers the probe. The probe now reads the animal’s belly temp (cool), not the rock temp. The thermostat thinks “It’s cold!” and cranks the heater to 100% power. The rock gets hotter and hotter, cooking the animal from below, because the sensor is blinded by the animal’s own body.
Never mount a control probe where the animal can block it. Use an IR gun to check surface temps; use the probe to control the air.
The Controller Variable
The type of thermostat you use dictates how forgiving your placement can be. If you use a simple On/Off thermostat (the ones that click), your probe placement must be perfect. You have to find that sweet spot where the air warms up slowly enough to prevent the strobe-light effect.
Căutați soluții de economisire a energiei activate de mișcare?
Contactați-ne pentru senzori de mișcare PIR compleți, produse de economisire a energiei cu activare la mișcare, întrerupătoare cu senzor de mișcare și soluții comerciale de prezență/vacanță.
If you use a Dimming Thermostat (like a Herpstat or high-end Habistat), the system is smarter. These use PID (Proportional-Integral-Derivative) logic. They don’t just cut power when they hit the target; they throttle the electricity, dimming the bulb to 40% or 60% power to maintain a perfect flatline temperature. With a dimming stat, you can get away with placing the probe closer to the heat source because the controller will simply run the bulb at a lower power to compensate.
I know the sticker shock is real. A good dimming thermostat costs three times what an on/off controller costs. But look at the math: an On/Off stat stresses the bulb filament every time it fires, burning out $15 bulbs every two months. A dimming stat keeps the filament warm and stable, often extending bulb life by years. More importantly, it eliminates the risk of a relay sticking in the “ON” position—a failure mode that turns a reptile enclosure into an oven.
S-ar putea să vă intereseze și

- Tensiune: 2 baterii AAA
- Mod Zi/Noapte
- Temporizare: 15min, 30min, 1h (implicit), 2h

- Senzor de prezență PIR cu montaj pe tavan și ieșire de releu cu contact uscat
- Alimentare de joasă tensiune de 12/24VDC sau 12/24VAC
- Contacte de releu izolate COM, NO și NC pentru intrări de control al sistemelor EMS, HVAC și al clădirilor

- Întrerupător cu senzor de mișcare cu microunde încastrat în tavan, de joasă tensiune DC
- Intrare de 12 VDC / 24 VDC cu un interval cuprins între 10-30 VDC
- Curent de lucru maxim de 10A cu temporizare reglabilă, prag Lux și sensibilitate ajustabile
- Întrerupător cu senzor de mișcare cu microunde încastrat în tavan, pentru sarcini mai mari
- Intrare la tensiunea rețelei de 100-265 VAC, model de 10A
- Detectare cu microunde de 5.8 GHz cu temporizare reglabilă, prag Lux și sensibilitate ajustabile
- Întrerupător încastrat pentru plafon cu senzor de mișcare cu microunde
- Tensiune de intrare 100-265 VAC, model de 5A
- Detectare cu microunde de 5.8 GHz cu temporizare reglabilă, prag Lux și sensibilitate ajustabile
- Variator cu senzor de prezență PIR RZ037 pentru plafon, pentru alimentare la 220V
- Curent maxim de lucru de 3A cu sarcină nominală de 660W
- Butonul LUX controlează funcția ON/OFF a senzorului de lumină și luminozitatea setată de utilizator
- Variator cu senzor de prezență PIR RZ037 pentru plafon, pentru alimentare la 110V
- Curent maxim de lucru de 3A cu sarcină nominală de 330W
- Butonul LUX controlează funcția ON/OFF a senzorului de lumină și luminozitatea setată de utilizator

- Întrerupător cu senzor de mișcare cu microunde pentru plafon, de joasă tensiune C.C.
- Intrare de 12 VDC / 24 VDC cu un interval cuprins între 10-30 VDC
- Curent de lucru maxim de 10A cu temporizare reglabilă, prag Lux și sensibilitate ajustabile
- Întrerupător cu senzor de mișcare cu microunde pentru plafon, pentru sarcini mai mari
- Intrare la tensiunea rețelei de 100-265 VAC, model de 10A
- Detectare cu microunde de 5.8 GHz cu temporizare reglabilă, prag Lux și sensibilitate ajustabile
- Întrerupător cu senzor de mișcare cu microunde pentru plafon
- Tensiune de intrare 100-265 VAC, model de 5A
- Detectare cu microunde de 5.8 GHz cu temporizare reglabilă, prag Lux și sensibilitate ajustabile

- Întrerupător cu senzor de mișcare PIR încastrat în tavan, CC de joasă tensiune
- Intrare de 12 VDC / 24 VDC cu un interval cuprins între 10-30 VDC
- Curent maxim de lucru 10A cu temporizare reglabilă, prag Lux și sensibilitate

- Întrerupător cu senzor de mișcare PIR încastrat în tavan pentru sarcini mai mari
- Intrare la tensiunea rețelei de 100-265 VAC, model de 10A
- Detecție la 360 de grade cu temporizare reglabilă, prag Lux și sensibilitate
- Întrerupător cu senzor de mișcare PIR încastrat în tavan
- Tensiune de intrare 100-265 VAC, model de 5A
- Detecție la 360 de grade cu temporizare reglabilă, prag Lux și sensibilitate

- Kit de întrerupător și receptor wireless pentru controlul iluminatului de interior PORNIT/OPRIT
- Receptor 100-230VAC, 50/60Hz cu curent nominal de 5A
- Întrerupător wireless alimentat cu baterie CR2032 cu comunicare la 2.4GHz
- Prezență (PORNIRE automată/OPRIRE automată)
- 12–24V CC (10–30VCC), până la 10A
- Acoperire 360°, diametru 8–12 m
- Temporizare 15 s–30 min
- Senzor de lumină Oprit/15/25/35 Lux
- Sensibilitate ridicată/scăzută
- Mod de prezență Auto-ON/Auto-OFF
- 100–265V AC, 10A (necesită nul)
- Acoperire 360°; diametru de detecție 8–12 m
- Temporizare 15 s–30 min; Lux OFF/15/25/35; Sensibilitate ridicată/scăzută
- Mod de prezență Auto-ON/Auto-OFF
- 100–265V AC, 5A (necesită nul)
- Acoperire 360°; diametru de detecție 8–12 m
- Temporizare 15 s–30 min; Lux OFF/15/25/35; Sensibilitate ridicată/scăzută
The False Morning
Even with perfect placement, you can get false positives from the room itself. I call this “The False Morning.”
I once had a setup where the cooling fans would kick on at 7:00 AM every day, despite the heat lamps being off. I tore the wiring apart looking for a short. It turned out to be the sun. The enclosure was near an East-facing window. For twenty minutes every morning, a shaft of sunlight hit the black plastic housing of the sensor. The sensor spiked to 95°F. The tank air was cool, the animal was asleep, but the automation system panicked.
If your sensor is black plastic, it is a solar collector. Ensure that no window light, room lighting, or other heat sources (like the ballast of a UV fixture) are dumping waste heat onto the probe. The sensor must be isolated from everything except the specific variable it is supposed to control.
Failure Mode Analysis
When you finally mount that probe, do not use the suction cups that came in the box. They always fail. Humidity and heat degrade the suction, and eventually, the probe falls.
Ask yourself: If this probe falls, where does it land?
If it lands in the water bowl, the probe cools down to 70°F. The thermostat sees “70°F” and screams for heat. It locks the 150W heater on full blast. The enclosure drives to 130°F. The water turns to soup. The animal dies.
If the probe falls directly under the heat lamp, it reads 120°F instantly. The thermostat cuts power. The animal gets cold, but it doesn’t die.
Always secure your cables with silicone, hot glue, or screwed-in cable clips (P-clips). Route the wire so that if the mount fails, the probe swings into open air, not into water or a burrow. We want boredom. We want a graph that is a flat line. If your system is exciting, it’s wrong.







