Suara dari kegagalan termostat murah sangatlah khas. Ini bukanlah bunyi bip atau alarm; melainkan sebuah klik-klak mekanis yang berbunyi setiap empat puluh lima detik.
Anda memasang pemancar panas keramik 150W, mencolokkannya ke pengontrol on/off standar, dan mengatur kenop ke 90°F. Dalam waktu satu jam, ruangan terdengar seperti lampu strobo gerak lambat. Relay menyala berbunyi klik. Pemanas menderu menyala. Tiga puluh detik kemudian, probe mencapai 90°F. Klik. Mati. Udara mendingin seketika. Klik. Menyala.
Siklus cepat ini tidak hanya membuat Anda gila; ini merusak relay di dalam pengontrol. Lebih buruk lagi, hal ini membuat hewan stres. Meskipun sumber panas tidak terlihat, reptil Anda dihadapkan pada “efek disko” fluktuasi suhu. Jika Anda menggunakan bohlam pemancar cahaya, keadaannya lebih buruk. Anda pada dasarnya telah menciptakan lampu strobo yang memicu respons stres pada hewan Anda.
Kita bisa berdebat tentang kualitas relay generik nanti, tetapi pengontrol $40 biasanya bukanlah penyebabnya. Penempatan probe Anda yang bermasalah. Anda meminta sepotong plastik untuk mengukur “suhu udara” sambil mengarahkan radiasi panas langsung ke arahnya.
Dusta dari Sorotan Panas
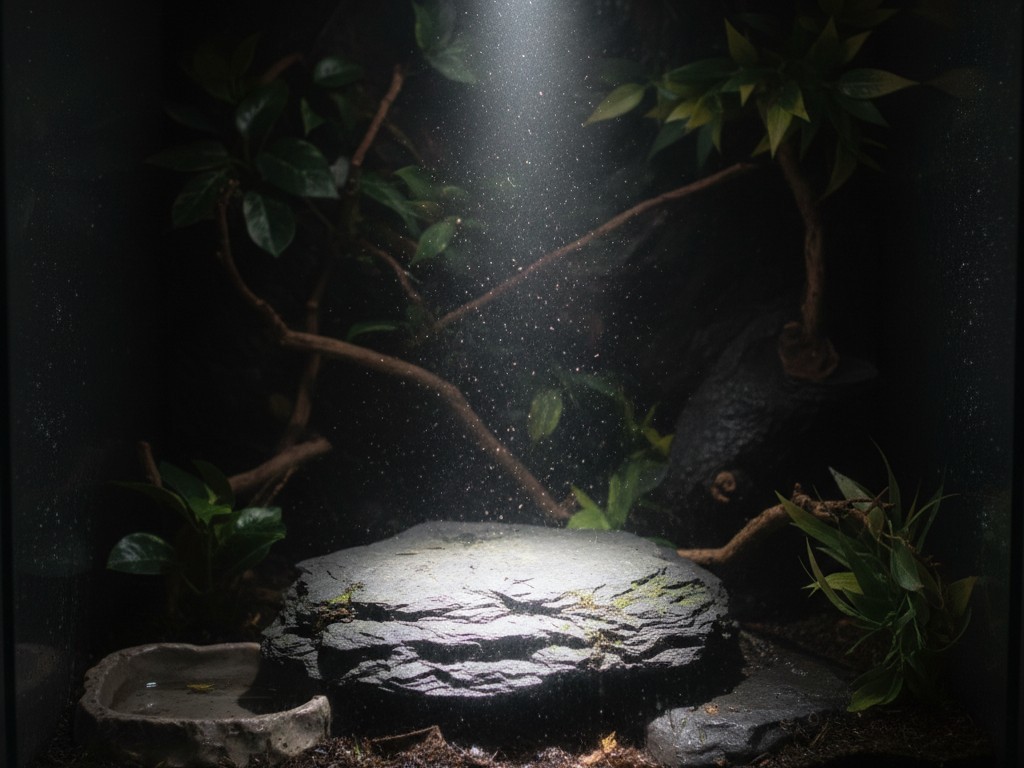
Sebagian besar pemelihara membayangkan panas di dalam kandang reptil seperti air yang mengisi bak mandi—gelombang kehangatan yang lembut dan naik perlahan. Bukan seperti itu cara kerja bohlam berjemur berdaya watt tinggi. Deep Heat Projector atau lampu halogen flood memancarkan energi dalam sorotan searah, sangat mirip dengan senter yang memancarkan cahaya.
Saat Anda menggantung probe termostat tepat di bawah sumber panas, Anda tidak sedang mengukur suhu udara. Anda sedang mengukur seberapa cepat selubung plastik hitam probe menyerap radiasi inframerah. Ini adalah masalah “Radiasi Datang” (Incident Radiation). Ujung probe berukuran kecil dan berwarna gelap, sehingga menyerap energi tersebut secara drastis. Probe mungkin membaca 110°F dalam hitungan detik, memicu penghentian, sementara suhu udara sebenarnya di sekitarnya baru mencapai 75°F.
Di sinilah kebingungan dimulai. Anda mungkin mengarahkan termometer tembak IR Klein Tools ke tempat berjemur dan mendapatkan satu pembacaan, sementara probe yang menggantung membaca sesuatu yang sangat berbeda. Termometer tembak membaca suhu permukaan. Probe tersebut seharusnya membaca suhu udara, tetapi jika berada di dalam sorotan, probe tersebut membaca suhu permukaannya sendiri. Ini adalah hasil positif palsu. Termostat Anda menganggap tugasnya selesai karena sensornya panas, tetapi hewan Anda tetap kedinginan karena udara belum sempat menyerap energi.
Dapatkan Inspirasi dari Portofolio Sensor Gerak Rayzeek.
Tidak menemukan yang Anda cari? Jangan khawatir. Selalu ada cara alternatif untuk menyelesaikan masalah Anda. Mungkin salah satu portofolio kami dapat membantu.
Geometri dan Pelacakan Bayangan
Membuang-buang uang untuk sensor yang lebih mahal tidak akan menyelesaikan masalah ini. Anda harus menghormati geometri cahaya. Anda perlu memindahkan probe keluar dari jalur paparan langsung. Ini terdengar tidak biasa—bukankah Anda ingin mengendalikan panasnya? Ya, tetapi Anda ingin mengendalikan hasil lingkungan (ambient) dari panas tersebut, bukan intensitas sorotannya itu sendiri.
Ada metode untuk ini yang saya sebut “Pelacakan Bayangan” (Shadow Trace). Nyalakan sumber panas Anda (jika memancarkan cahaya) atau gunakan senter yang dipegang tepat di posisi pemanas keramik berada. Letakkan tangan Anda di tempat Anda berencana memasang probe. Jika tangan Anda membentuk bayangan yang tajam dan jelas, lokasi tersebut berada di “zona sorotan”. Ini akan menyebabkan peralihan yang sangat cepat.
Anda perlu menggeser probe secara horizontal hingga berada di area “penumbra”—tepi bayangan yang kabur. Probe harus cukup dekat dengan sumber panas untuk mendeteksi kenaikan suhu, tetapi terlindung dari paparan inframerah langsung.
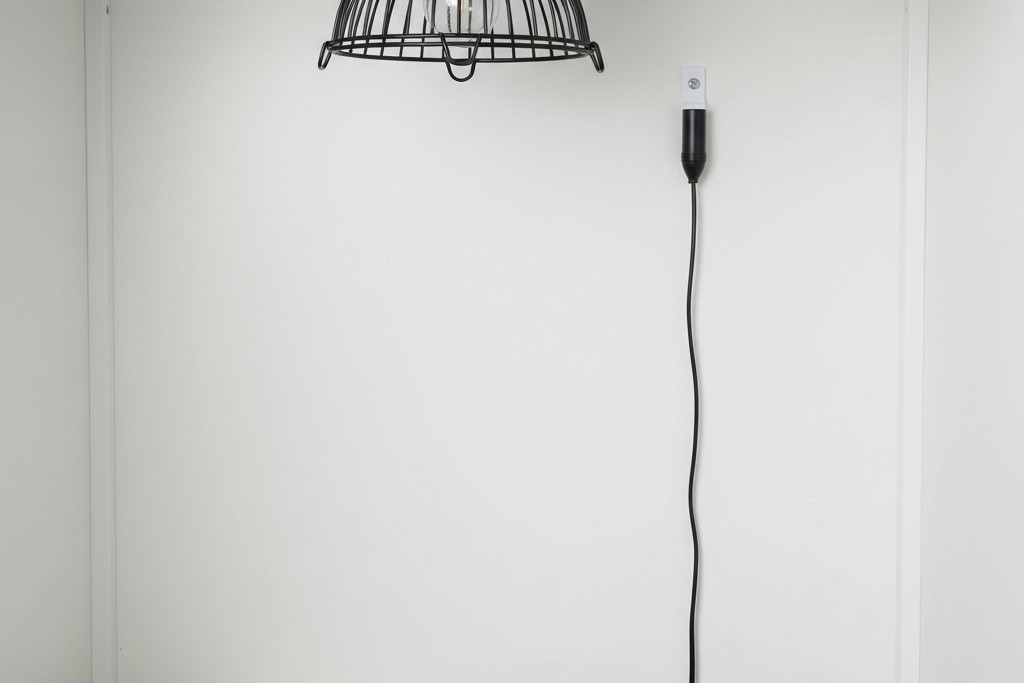
In a standard 4x2x2 PVC enclosure, this usually means mounting the probe on the back wall, about 3 to 6 inches off-center from the heat lamp, and about 4 inches down from the ceiling. The exact distance varies—a 75W halogen has a tighter beam than a 150W radiant panel—but the principle holds. You want the probe to measure the accumulation of heat in the air, not the strike of the heat on the plastic.
This directly contradicts the “Center of the Tank” standard you see in almost every generic pet store instruction manual. They tell you to dangle the probe right in the middle. If you do that, you are measuring the average of nothing. You need the probe to guard the hot side from overheating, or the cool side from dropping too low. A central probe allows the hot side to reach dangerous spikes before the center ever feels it. Ignore the manual; respect the gradient.
Anchoring to Mass
Air is volatile. It heats up fast and cools down fast. If your probe is just dangling in the air, secured by nothing but a suction cup (which will fail) or a piece of tape, it’s going to react to every draft in the room. This makes the thermostat jumpy.
A better approach is to anchor the probe against something with thermal mass. This doesn’t mean gluing it to a rock—we’ll get to that—but securing it against the enclosure wall or a piece of slate. The mass dampens the volatility. It acts like a thermal flywheel, smoothing out the tiny spikes and dips so the thermostat gets a clean, stable reading.
However, there is a dangerous trap here: The “Basking Rock” Fallacy. I see people zip-tie the probe directly to the basking surface because they want to know exactly how hot the rock is. The problem arises when the lizard sits on the rock. The animal’s body covers the probe. The probe now reads the animal’s belly temp (cool), not the rock temp. The thermostat thinks “It’s cold!” and cranks the heater to 100% power. The rock gets hotter and hotter, cooking the animal from below, because the sensor is blinded by the animal’s own body.
Never mount a control probe where the animal can block it. Use an IR gun to check surface temps; use the probe to control the air.
The Controller Variable
The type of thermostat you use dictates how forgiving your placement can be. If you use a simple On/Off thermostat (the ones that click), your probe placement must be perfect. You have to find that sweet spot where the air warms up slowly enough to prevent the strobe-light effect.
Mencari Solusi Hemat Energi Berbasis Gerakan?
Hubungi kami untuk sensor gerak PIR lengkap, produk hemat energi yang diaktifkan oleh gerakan, sakelar sensor gerak, serta solusi komersial Okupansi/Vakansi.
If you use a Dimming Thermostat (like a Herpstat or high-end Habistat), the system is smarter. These use PID (Proportional-Integral-Derivative) logic. They don’t just cut power when they hit the target; they throttle the electricity, dimming the bulb to 40% or 60% power to maintain a perfect flatline temperature. With a dimming stat, you can get away with placing the probe closer to the heat source because the controller will simply run the bulb at a lower power to compensate.
I know the sticker shock is real. A good dimming thermostat costs three times what an on/off controller costs. But look at the math: an On/Off stat stresses the bulb filament every time it fires, burning out $15 bulbs every two months. A dimming stat keeps the filament warm and stable, often extending bulb life by years. More importantly, it eliminates the risk of a relay sticking in the “ON” position—a failure mode that turns a reptile enclosure into an oven.
Mungkin Anda Tertarik Dengan

- Tegangan: 2 Baterai AAA
- Mode Siang/Malam
- Penundaan waktu: 15 menit, 30 menit, 1 jam (default), 2 jam
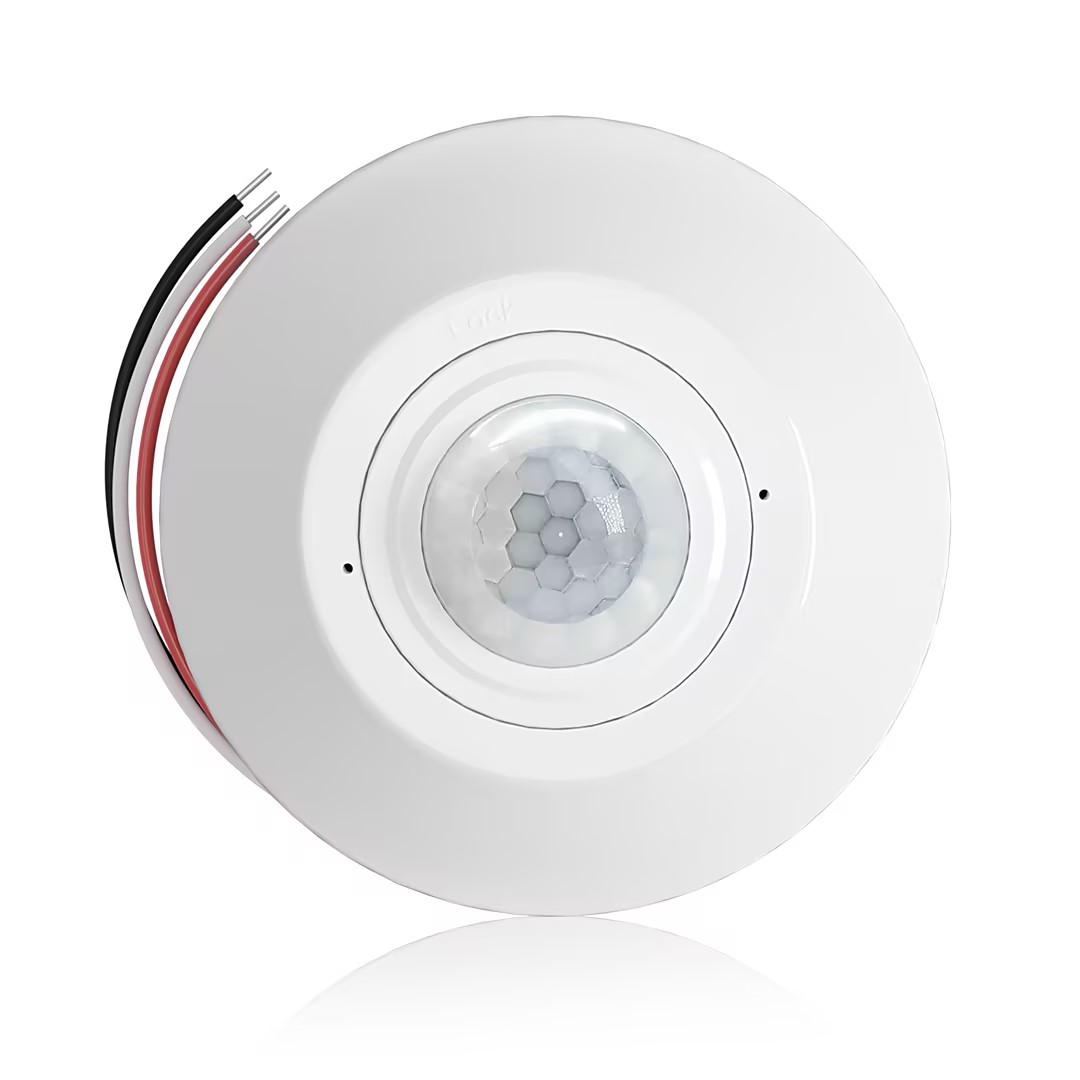
- Sensor keterhunian PIR pemasangan di langit-langit dengan output relai kontak kering
- Suplai tegangan rendah 12/24VDC atau 12/24VAC
- Kontak relai terisolasi COM, NO, dan NC untuk input EMS, HVAC, dan kontrol bangunan
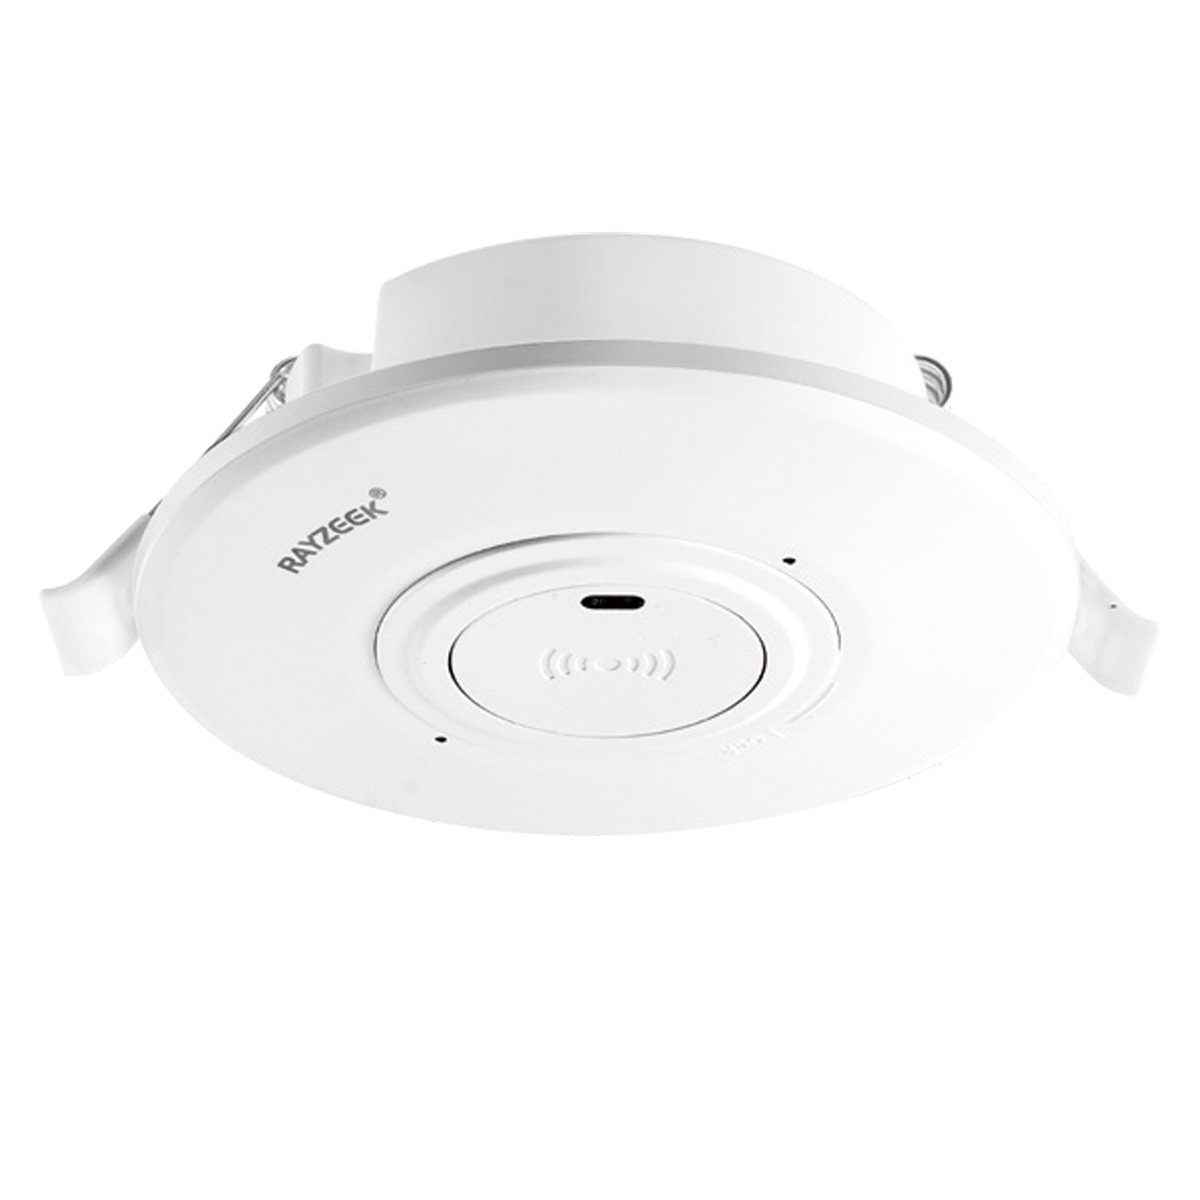
- Sakelar sensor gerak gelombang mikro pemasangan tanam di langit-langit bertegangan rendah DC
- Input 12 VDC / 24 VDC dengan rentang 10-30 VDC
- Arus kerja maksimum 10A dengan penundaan waktu, ambang batas Lux, dan sensitivitas yang dapat disesuaikan
- Sakelar sensor gerak gelombang mikro pemasangan tanam di langit-langit untuk beban lebih tinggi
- Input tegangan saluran 100-265 VAC, model 10A
- Deteksi gelombang mikro 5,8 GHz dengan penundaan waktu, ambang batas Lux, dan sensitivitas yang dapat disesuaikan
- Sakelar sensor gerak gelombang mikro terpasang rata (recessed) pada langit-langit
- Input tegangan saluran 100-265 VAC, model 5A
- Deteksi gelombang mikro 5,8 GHz dengan penundaan waktu, ambang batas Lux, dan sensitivitas yang dapat disesuaikan
- Dimmer sensor keberadaan PIR RZ037 pasang langit-langit untuk daya 220V
- Arus kerja maksimum 3A dengan beban terukur 660W
- Tombol LUX mengontrol ON/OFF sensor cahaya dan kecerahan redup yang diatur pengguna
- Dimmer sensor keberadaan PIR RZ037 pasang langit-langit untuk daya 110V
- Arus kerja maksimum 3A dengan beban terukur 330W
- Tombol LUX mengontrol ON/OFF sensor cahaya dan kecerahan redup yang diatur pengguna
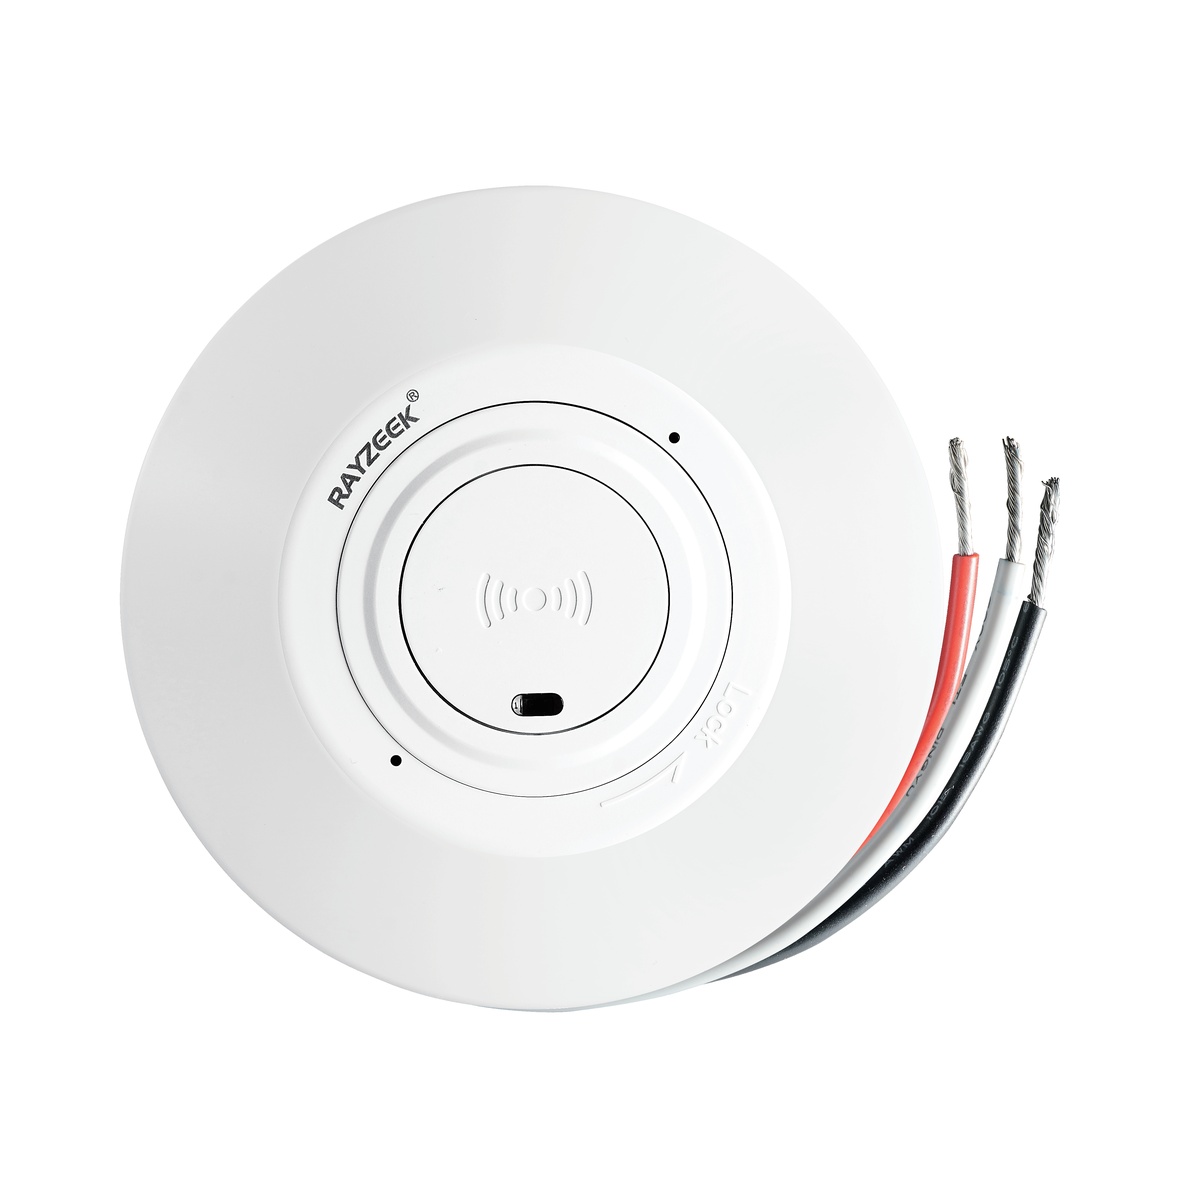
- Sakelar sensor gerak gelombang mikro pasang langit-langit DC tegangan rendah
- Input 12 VDC / 24 VDC dengan rentang 10-30 VDC
- Arus kerja maksimum 10A dengan penundaan waktu, ambang batas Lux, dan sensitivitas yang dapat disesuaikan
- Sakelar sensor gerak gelombang mikro pasang langit-langit untuk beban lebih tinggi
- Input tegangan saluran 100-265 VAC, model 10A
- Deteksi gelombang mikro 5,8 GHz dengan penundaan waktu, ambang batas Lux, dan sensitivitas yang dapat disesuaikan
- Sakelar sensor gerak gelombang mikro pasang langit-langit
- Input tegangan saluran 100-265 VAC, model 5A
- Deteksi gelombang mikro 5,8 GHz dengan penundaan waktu, ambang batas Lux, dan sensitivitas yang dapat disesuaikan
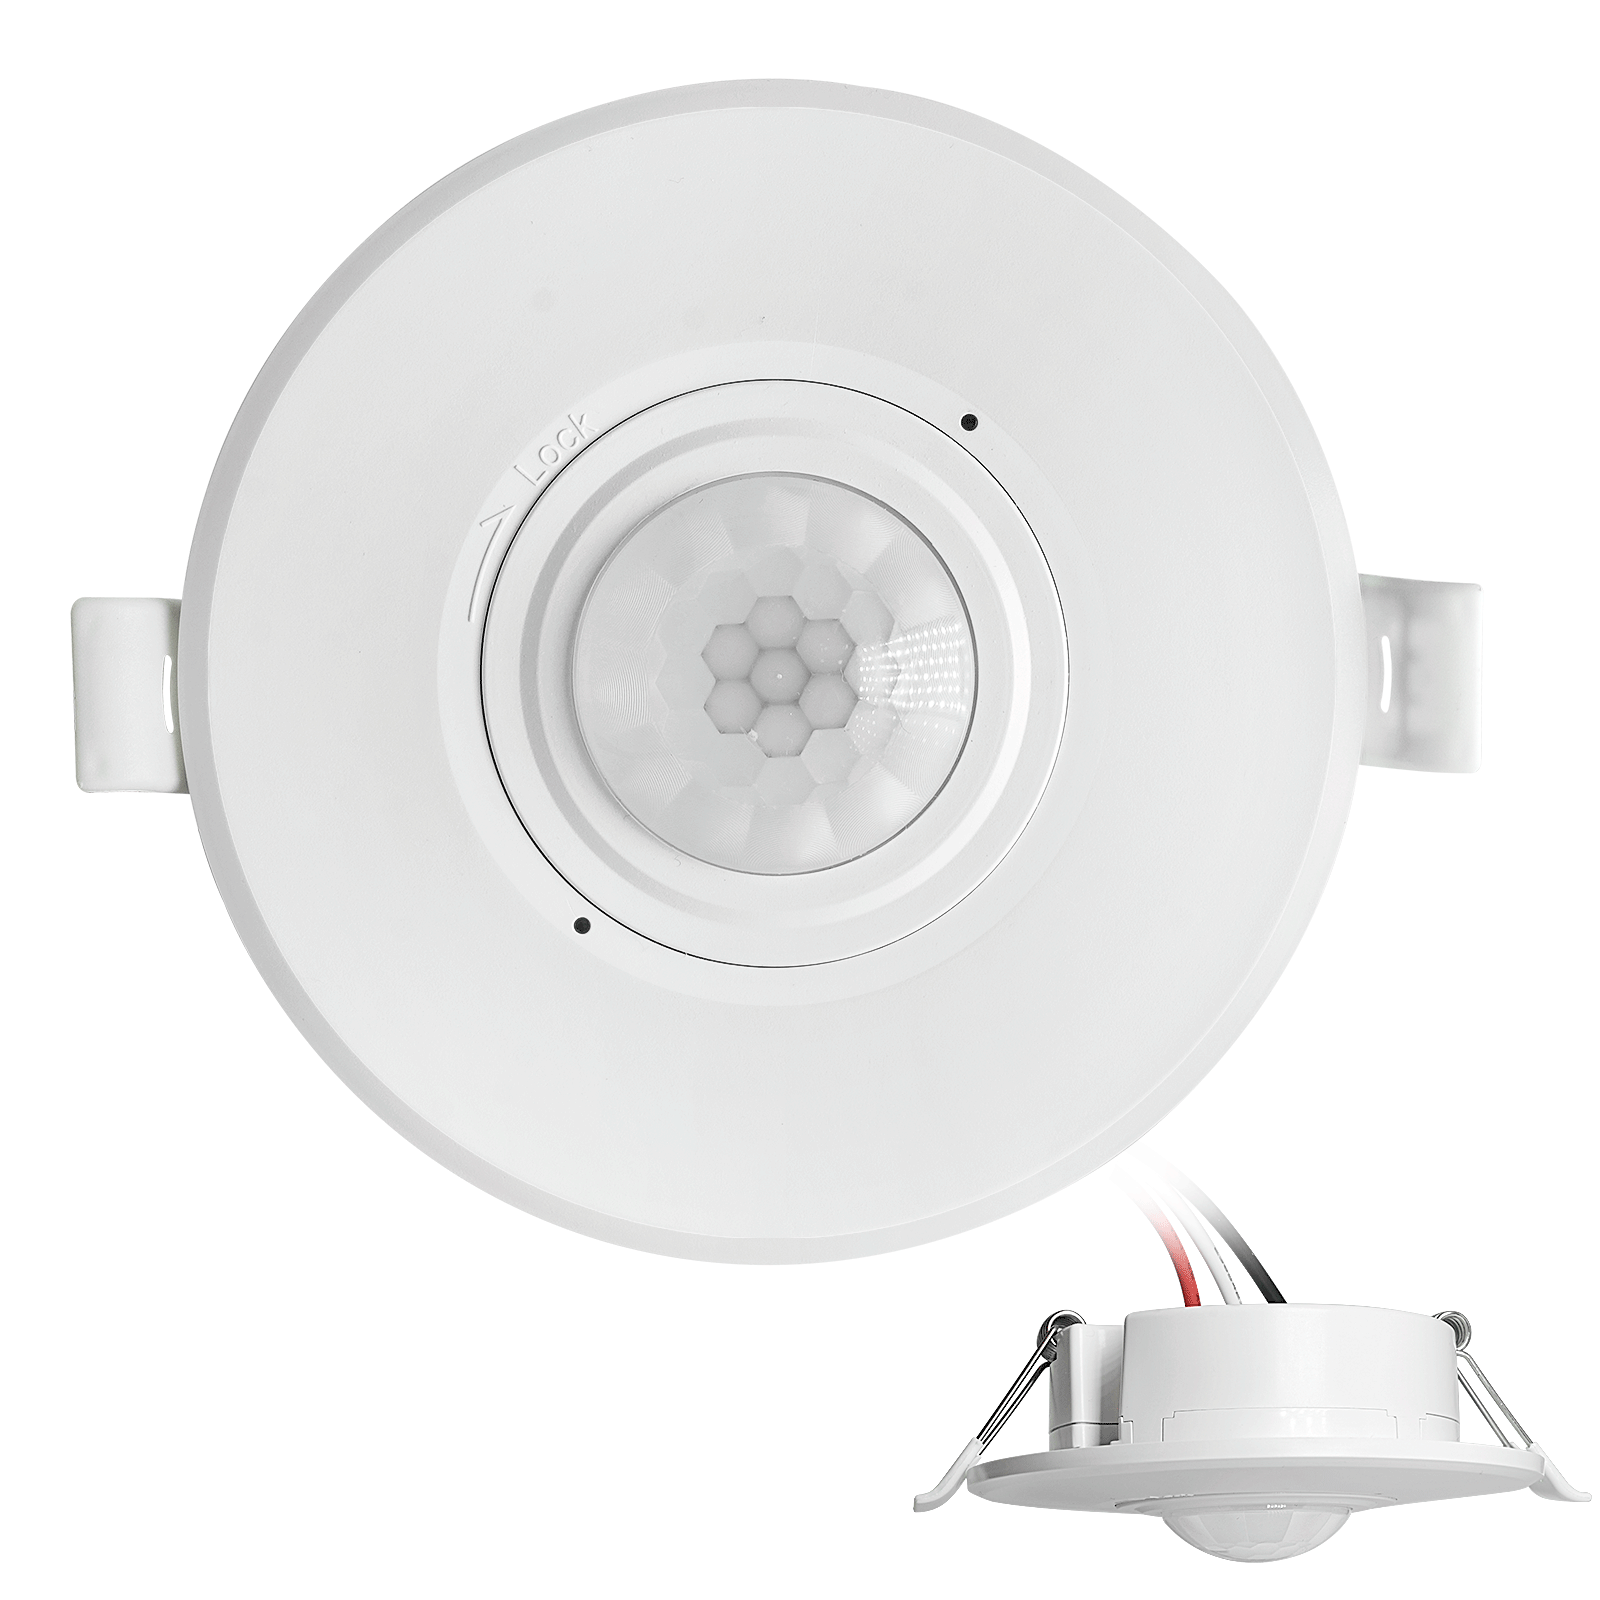
- Sakelar sensor gerak PIR terpasang rata (recessed) pada langit-langit DC tegangan rendah
- Input 12 VDC / 24 VDC dengan rentang 10-30 VDC
- Arus kerja maks 10A dengan penundaan waktu, ambang batas Lux, dan sensitivitas yang dapat disesuaikan
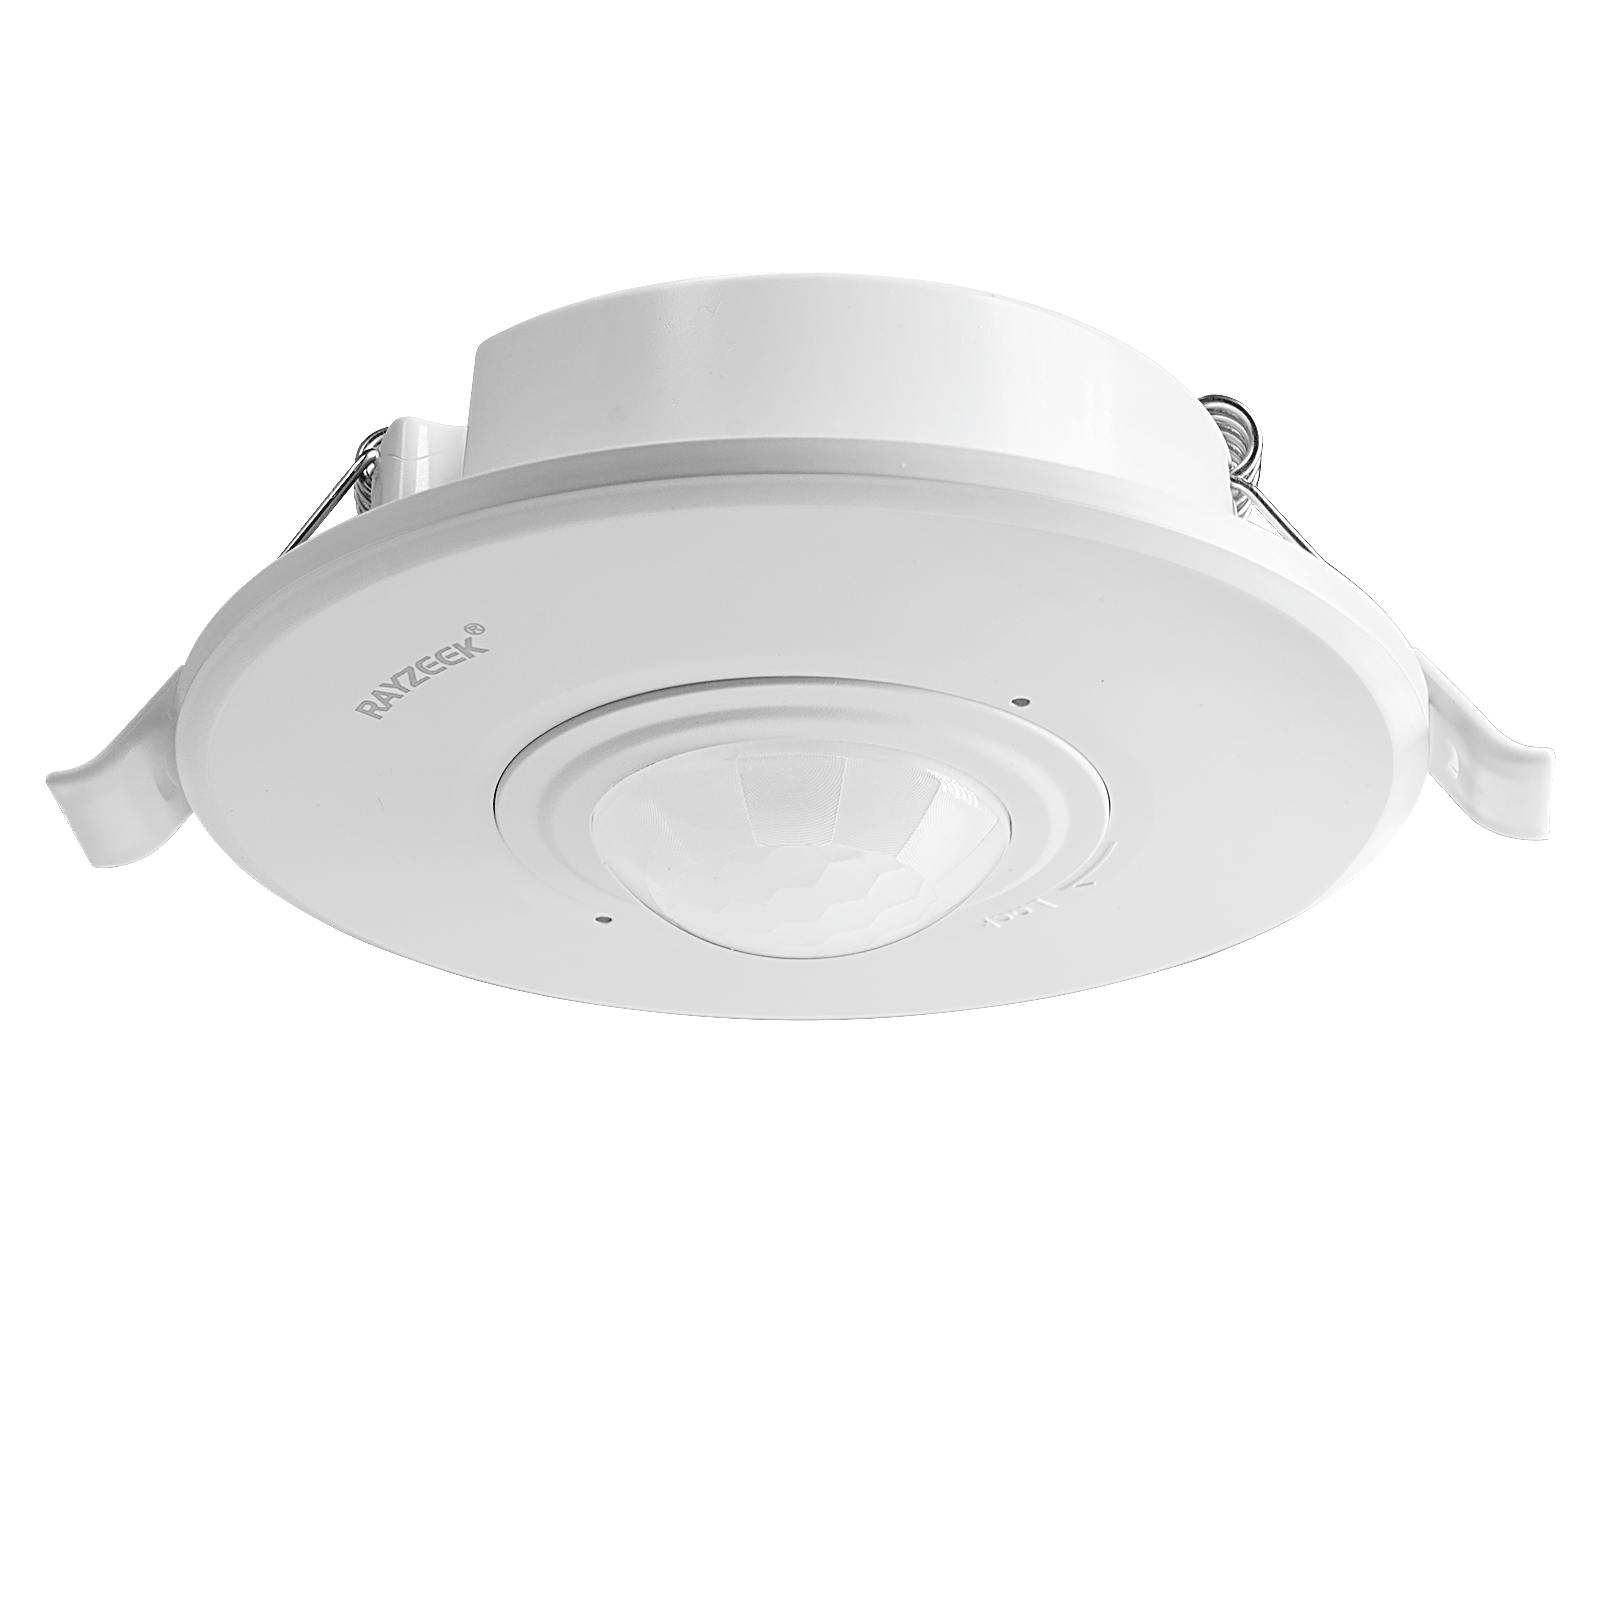
- Sakelar sensor gerak PIR pemasangan plafon tanam beban lebih tinggi
- Input tegangan saluran 100-265 VAC, model 10A
- Deteksi 360 derajat dengan penundaan waktu, ambang batas Lux, dan sensitivitas yang dapat disesuaikan
- Sakelar sensor gerak PIR pemasangan plafon tanam
- Input tegangan saluran 100-265 VAC, model 5A
- Deteksi 360 derajat dengan penundaan waktu, ambang batas Lux, dan sensitivitas yang dapat disesuaikan
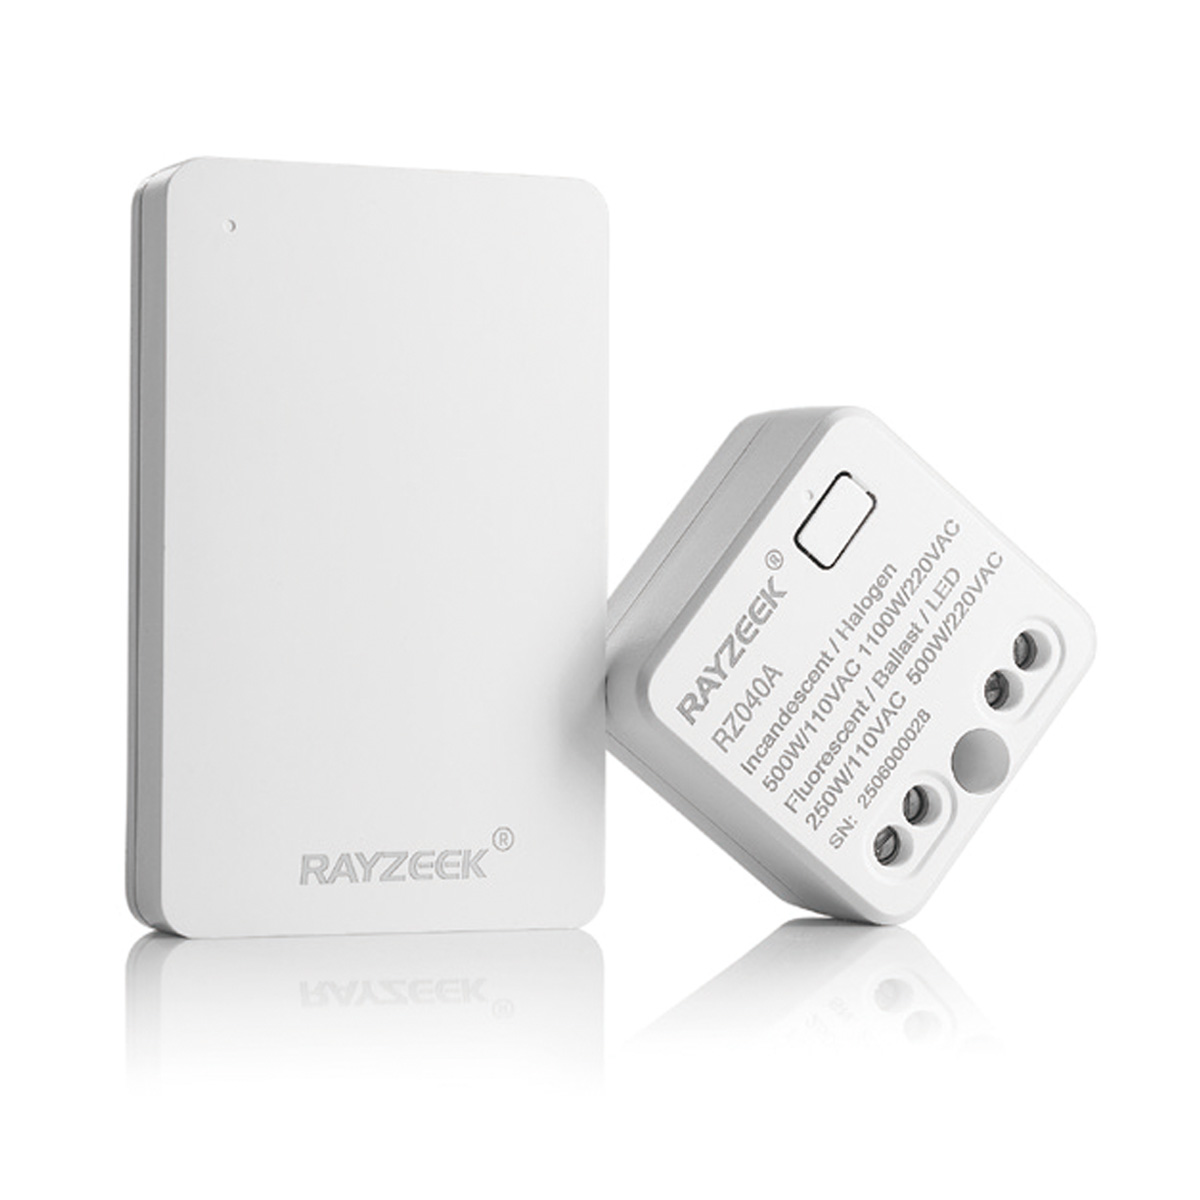
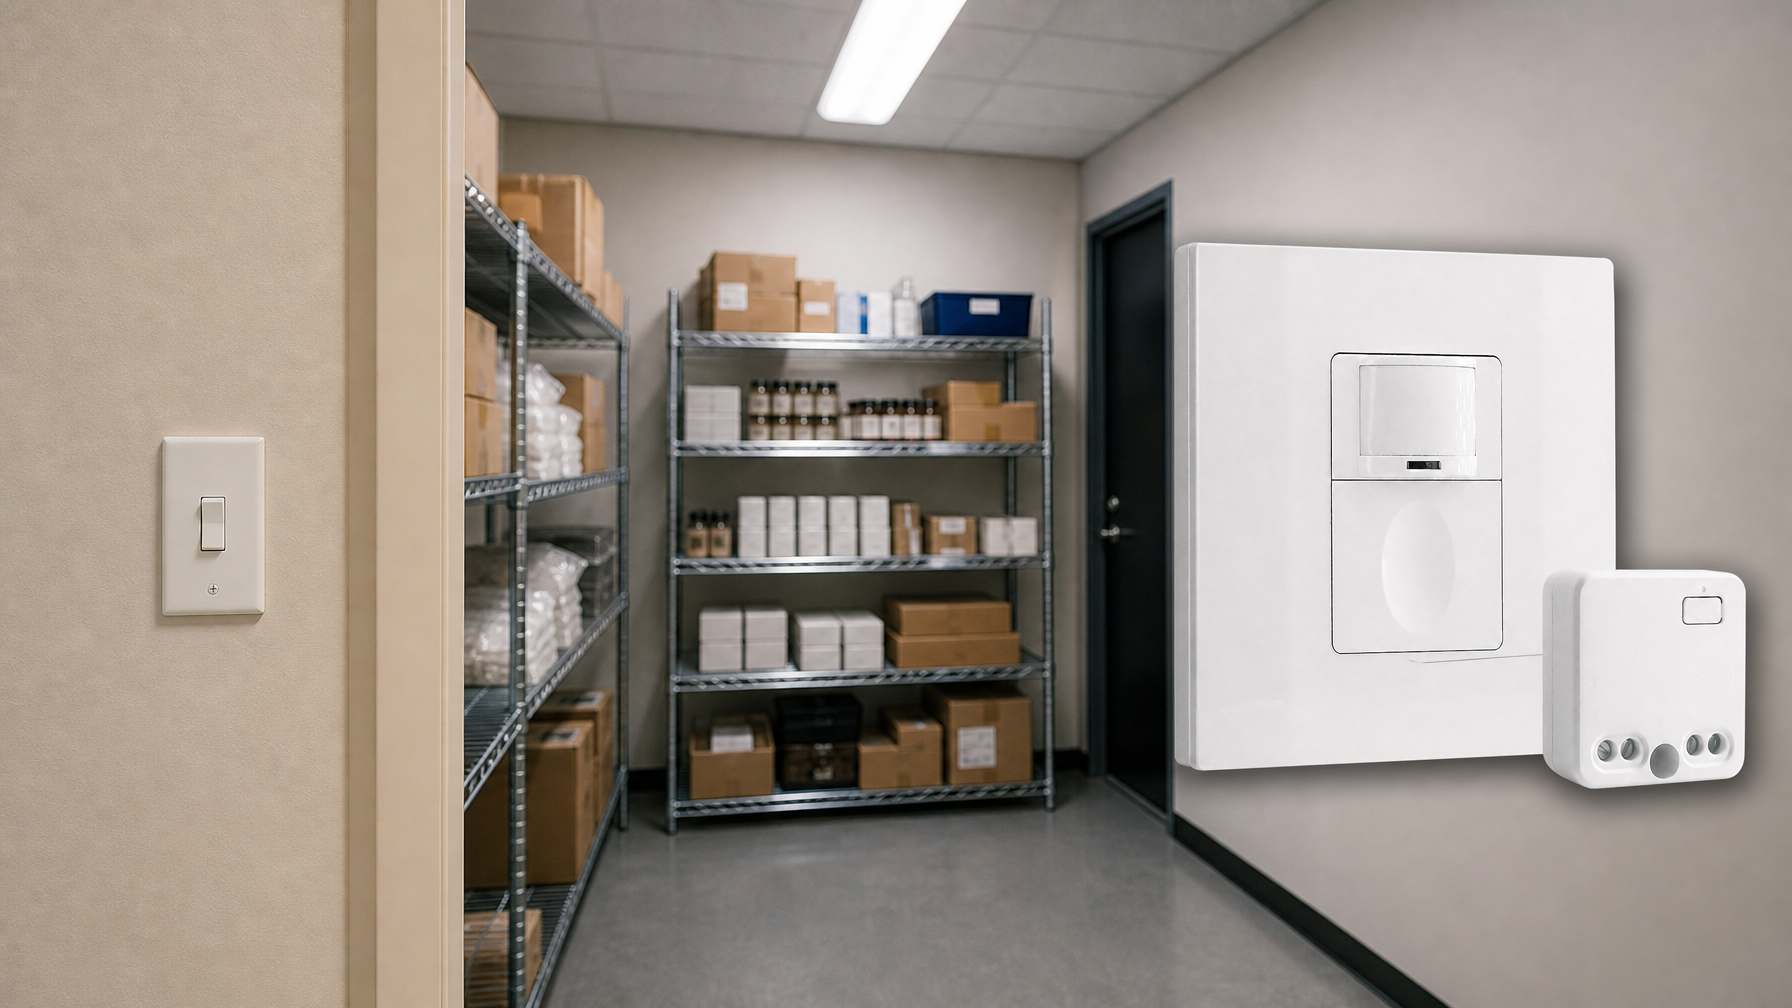
- Kit sakelar dan penerima nirkabel untuk kontrol pencahayaan ON/OFF dalam ruangan
- Penerima 100-230VAC, 50/60Hz dengan arus pengenal 5A
- Sakelar nirkabel berdaya baterai CR2032 dengan komunikasi 2,4GHz
- Okupansi (Auto-ON/Auto-OFF)
- 12–24V DC (10–30VDC), hingga 10A
- Cakupan 360°, diameter 8–12 m
- Penundaan waktu 15 dtk–30 mnt
- Sensor cahaya Mati/15/25/35 Lux
- Sensitivitas Tinggi/Rendah
- Mode okupansi Auto-ON/Auto-OFF
- 100–265V AC, 10A (memerlukan netral)
- Cakupan 360°; diameter deteksi 8–12 m
- Penundaan waktu 15 dtk–30 mnt; Lux NONAKTIF/15/25/35; Sensitivitas Tinggi/Rendah
- Mode okupansi Auto-ON/Auto-OFF
- 100–265V AC, 5A (memerlukan netral)
- Cakupan 360°; diameter deteksi 8–12 m
- Penundaan waktu 15 dtk–30 mnt; Lux NONAKTIF/15/25/35; Sensitivitas Tinggi/Rendah
The False Morning
Even with perfect placement, you can get false positives from the room itself. I call this “The False Morning.”
I once had a setup where the cooling fans would kick on at 7:00 AM every day, despite the heat lamps being off. I tore the wiring apart looking for a short. It turned out to be the sun. The enclosure was near an East-facing window. For twenty minutes every morning, a shaft of sunlight hit the black plastic housing of the sensor. The sensor spiked to 95°F. The tank air was cool, the animal was asleep, but the automation system panicked.
If your sensor is black plastic, it is a solar collector. Ensure that no window light, room lighting, or other heat sources (like the ballast of a UV fixture) are dumping waste heat onto the probe. The sensor must be isolated from everything except the specific variable it is supposed to control.
Failure Mode Analysis
When you finally mount that probe, do not use the suction cups that came in the box. They always fail. Humidity and heat degrade the suction, and eventually, the probe falls.
Ask yourself: If this probe falls, where does it land?
If it lands in the water bowl, the probe cools down to 70°F. The thermostat sees “70°F” and screams for heat. It locks the 150W heater on full blast. The enclosure drives to 130°F. The water turns to soup. The animal dies.
If the probe falls directly under the heat lamp, it reads 120°F instantly. The thermostat cuts power. The animal gets cold, but it doesn’t die.
Always secure your cables with silicone, hot glue, or screwed-in cable clips (P-clips). Route the wire so that if the mount fails, the probe swings into open air, not into water or a burrow. We want boredom. We want a graph that is a flat line. If your system is exciting, it’s wrong.