
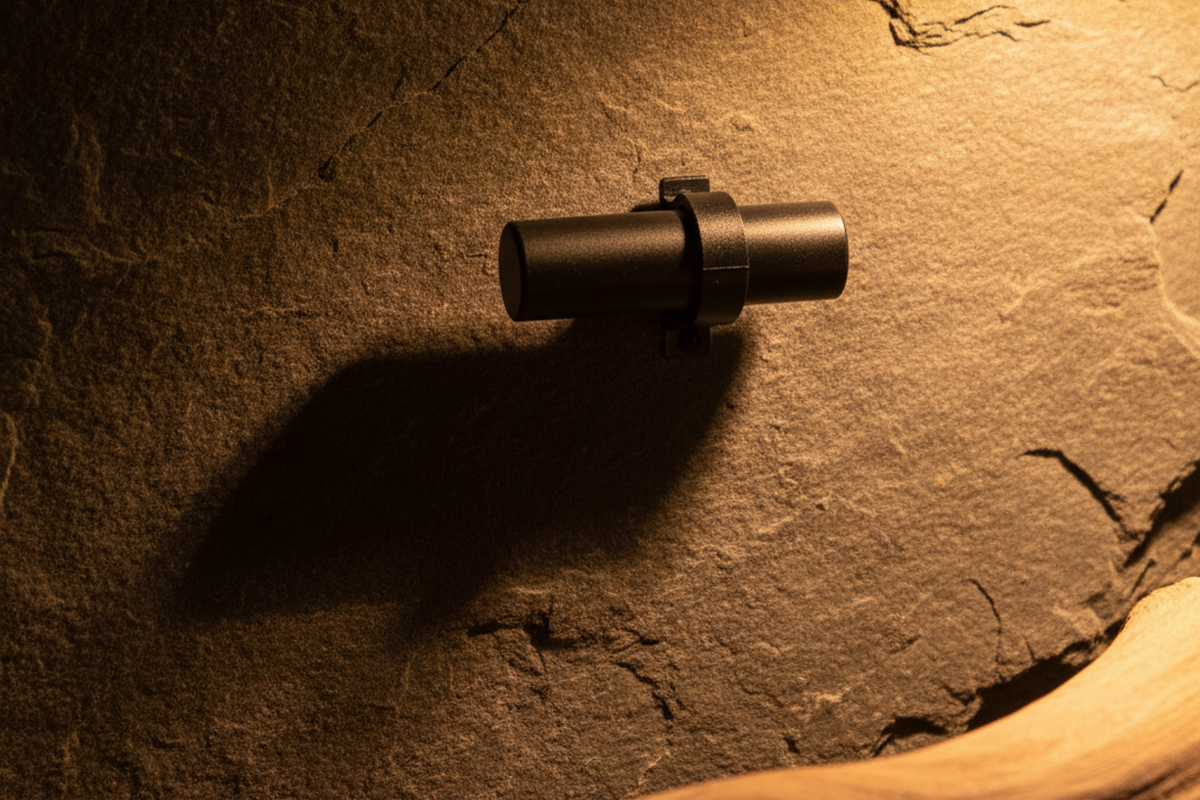
El sonido de un termostato económico al fallar es característico. No es un pitido ni una alarma; es un «clic-clac» mecánico clic-clac que suena cada cuarenta y cinco segundos.
Usted instala un emisor de calor cerámico de 150W, lo conecta a un controlador estándar de encendido/apagado y ajusta el selector a 90°F. En cuestión de una hora, la sala suena como una luz estroboscópica a cámara lenta. El relé se activa con un clic. El calentador arranca con fuerza. Treinta segundos después, la sonda alcanza los 90°F. Clic. Apagado. El aire se enfría al instante. Clic. Encendido.
Este ciclo rápido no solo resulta desesperante, sino que destruye el relé interno del controlador. Lo que es peor, estresa al animal. Incluso si la fuente de calor no emite luz, su reptil se ve sometido a un “efecto discoteca” de oscilaciones térmicas. Si utiliza una bombilla que emite luz, la situación se agrava. Ha creado una auténtica luz estroboscópica que desencadena una respuesta de estrés en el animal.
Podemos debatir más adelante sobre la calidad de los relés genéricos, pero el controlador de $40 no suele ser el culpable. La causa es la colocación de la sonda. Le está pidiendo a una pieza de plástico que mida la “temperatura del aire” mientras le apunta directamente con un rayo de calor.
La mentira del haz
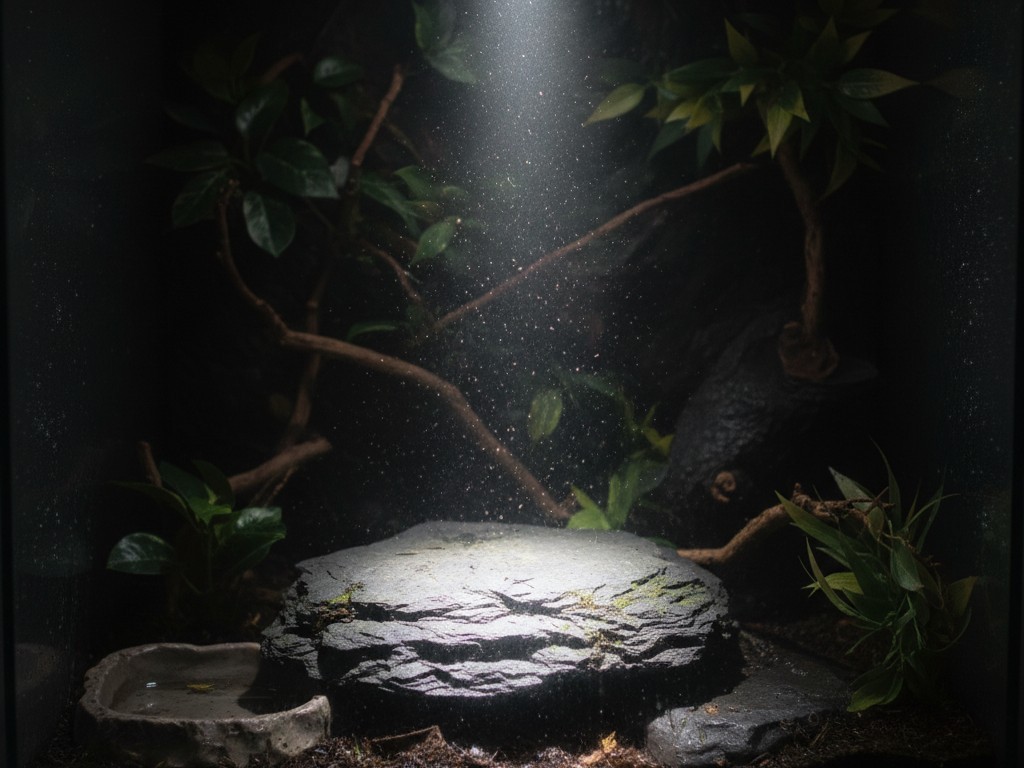
La mayoría de los cuidadores visualizan el calor en el terrario de un reptil como si fuera agua llenando una bañera: una corriente suave e ascendente de calidez. Sin embargo, no es así como funcionan las bombillas de asoleamiento de alta potencia. Un proyector de calor profundo (Deep Heat Projector) o una lámpara halógena proyectan energía en un haz direccional, de manera muy similar a como una linterna proyecta luz.
Cuando suspende la sonda del termostato directamente bajo la fuente de calor, no está midiendo la temperatura del aire. Está midiendo la rapidez con la que la carcasa de plástico negro de la sonda absorbe la radiación infrarroja. Este es el problema de la “radiación incidente”. La punta de la sonda es pequeña y oscura, por lo que absorbe esa energía aceleradamente. Puede registrar 110°F en segundos y activar el apagado, mientras que la temperatura real del aire circundante apenas alcanza los 75°F.
Aquí es donde comienza la confusión. Puede apuntar con un pirómetro infrarrojo Klein Tools a la zona de asoleamiento y obtener una lectura, mientras que la sonda suspendida indica un valor completamente diferente. El pirómetro mide la temperatura de la superficie. Se supone que la sonda debe medir la temperatura del aire, pero si se sitúa dentro del haz, mide su propia temperatura superficial. Se trata de un falso positivo. El termostato asume que el proceso ha finalizado porque el sensor está caliente, pero el animal sigue teniendo frío porque el aire no ha dispuesto de tiempo para absorber energía.
Inspírese con los portafolios de sensores de movimiento Rayzeek.
¿No encuentra lo que busca? No se preocupe. Siempre existen formas alternativas de resolver sus problemas. Quizá alguno de nuestros portafolios pueda ayudarle.
Geometría y el rastro de la sombra
Invertir dinero en un sensor más costoso no resolverá este problema. Debe respetar la geometría de la luz y retirar la sonda de la línea directa de exposición. Esto puede parecer contradictorio: ¿no se trata de controlar el calor? Sí, pero se busca controlar el resultado ambiental de ese calor, no la intensidad del propio haz.
Existe un método para esto que denomino el “rastro de la sombra”. Encienda la fuente de calor (si emite luz) o utilice una linterna colocada exactamente donde se encuentra el calentador cerámico. Sitúe la mano donde pretenda montar la sonda. Si la mano proyecta una sombra nítida y definida, dicha ubicación se encuentra en la “zona del haz”, lo que provocará una conmutación rápida.
You want to move the probe horizontally until it sits in the “penumbra”—the soft edge of the shadow. It should be close enough to the heat source to detect a rise in temperature, but shielded from the direct infrared assault.
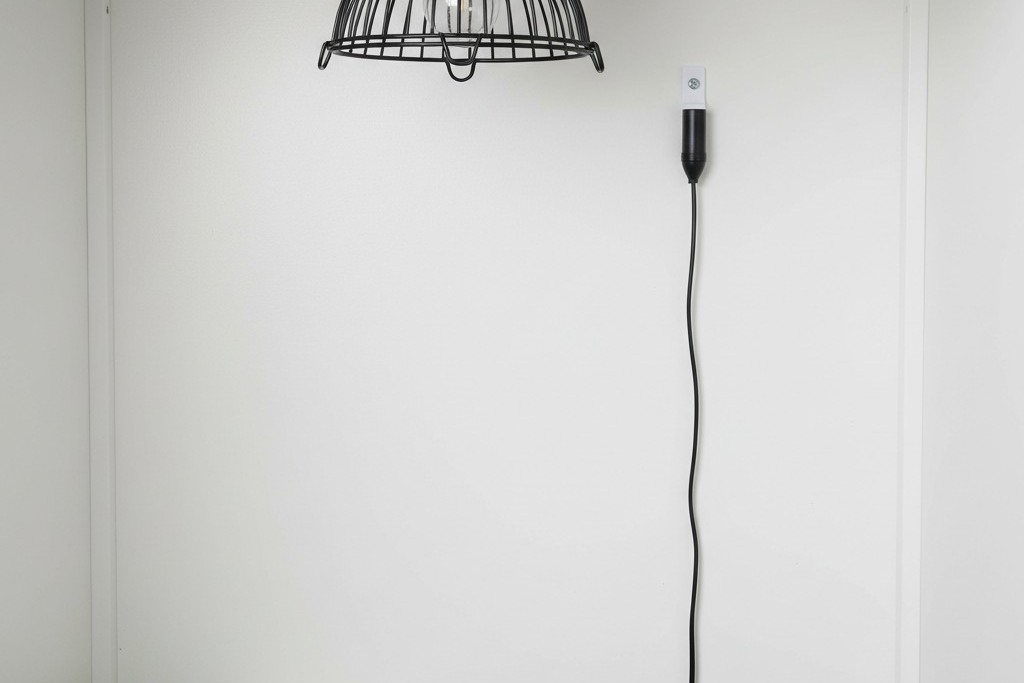
In a standard 4x2x2 PVC enclosure, this usually means mounting the probe on the back wall, about 3 to 6 inches off-center from the heat lamp, and about 4 inches down from the ceiling. The exact distance varies—a 75W halogen has a tighter beam than a 150W radiant panel—but the principle holds. You want the probe to measure the accumulation of heat in the air, not the strike of the heat on the plastic.
This directly contradicts the “Center of the Tank” standard you see in almost every generic pet store instruction manual. They tell you to dangle the probe right in the middle. If you do that, you are measuring the average of nothing. You need the probe to guard the hot side from overheating, or the cool side from dropping too low. A central probe allows the hot side to reach dangerous spikes before the center ever feels it. Ignore the manual; respect the gradient.
Anchoring to Mass
Air is volatile. It heats up fast and cools down fast. If your probe is just dangling in the air, secured by nothing but a suction cup (which will fail) or a piece of tape, it’s going to react to every draft in the room. This makes the thermostat jumpy.
A better approach is to anchor the probe against something with thermal mass. This doesn’t mean gluing it to a rock—we’ll get to that—but securing it against the enclosure wall or a piece of slate. The mass dampens the volatility. It acts like a thermal flywheel, smoothing out the tiny spikes and dips so the thermostat gets a clean, stable reading.
However, there is a dangerous trap here: The “Basking Rock” Fallacy. I see people zip-tie the probe directly to the basking surface because they want to know exactly how hot the rock is. The problem arises when the lizard sits on the rock. The animal’s body covers the probe. The probe now reads the animal’s belly temp (cool), not the rock temp. The thermostat thinks “It’s cold!” and cranks the heater to 100% power. The rock gets hotter and hotter, cooking the animal from below, because the sensor is blinded by the animal’s own body.
Never mount a control probe where the animal can block it. Use an IR gun to check surface temps; use the probe to control the air.
The Controller Variable
The type of thermostat you use dictates how forgiving your placement can be. If you use a simple On/Off thermostat (the ones that click), your probe placement must be perfect. You have to find that sweet spot where the air warms up slowly enough to prevent the strobe-light effect.
¿Busca soluciones de ahorro de energía activadas por movimiento?
Póngase en contacto con nosotros para obtener sensores de movimiento PIR completos, productos de ahorro de energía activados por movimiento, interruptores con sensor de movimiento y soluciones comerciales de presencia/vacancia.
If you use a Dimming Thermostat (like a Herpstat or high-end Habistat), the system is smarter. These use PID (Proportional-Integral-Derivative) logic. They don’t just cut power when they hit the target; they throttle the electricity, dimming the bulb to 40% or 60% power to maintain a perfect flatline temperature. With a dimming stat, you can get away with placing the probe closer to the heat source because the controller will simply run the bulb at a lower power to compensate.
I know the sticker shock is real. A good dimming thermostat costs three times what an on/off controller costs. But look at the math: an On/Off stat stresses the bulb filament every time it fires, burning out $15 bulbs every two months. A dimming stat keeps the filament warm and stable, often extending bulb life by years. More importantly, it eliminates the risk of a relay sticking in the “ON” position—a failure mode that turns a reptile enclosure into an oven.
Quizás le interese

- Tensión: 2 pilas AAA
- Modo Día/Noche
- Temporización: 15 min, 30 min, 1 h (por defecto), 2 h

- Sensor de presencia PIR para montaje en techo con salida de relé de contacto seco
- Alimentación de baja tensión de 12/24VDC o 12/24VAC
- Contactos de relé aislados COM, NO y NC para entradas de EMS, HVAC y control de edificios

- Interruptor con sensor de movimiento por microondas empotrable en techo de baja tensión DC
- Entrada de 12 VDC / 24 VDC con rango de 10-30 VDC
- Corriente de funcionamiento máxima de 10A con retardo de tiempo, umbral de Lux y sensibilidad ajustables
- Interruptor con sensor de movimiento por microondas empotrable en techo para cargas más elevadas
- Entrada de tensión de red de 100-265 VAC, modelo de 10A
- Detección por microondas de 5,8 GHz con temporizador, umbral Lux y sensibilidad ajustables
- Interruptor con sensor de movimiento por microondas empotrable para techo
- Entrada de tensión de red de 100-265 VAC, modelo de 5A
- Detección por microondas de 5,8 GHz con temporizador, umbral Lux y sensibilidad ajustables
- Regulador con sensor de presencia PIR RZ037 de techo para alimentación de 220V
- Corriente de funcionamiento máxima de 3A con carga nominal de 660W
- El botón LUX controla el encendido/apagado del sensor de luz y la regulación de brillo ajustada por el usuario
- Regulador con sensor de presencia PIR RZ037 de techo para alimentación de 110V
- Corriente de funcionamiento máxima de 3A con carga nominal de 330W
- El botón LUX controla el encendido/apagado del sensor de luz y la regulación de brillo ajustada por el usuario

- Interruptor con sensor de movimiento por microondas de techo para CC de bajo voltaje
- Entrada de 12 VDC / 24 VDC con rango de 10-30 VDC
- Corriente de funcionamiento máxima de 10A con retardo de tiempo, umbral de Lux y sensibilidad ajustables
- Interruptor con sensor de movimiento por microondas de techo para mayor carga
- Entrada de tensión de red de 100-265 VAC, modelo de 10A
- Detección por microondas de 5,8 GHz con temporizador, umbral Lux y sensibilidad ajustables
- Interruptor con sensor de movimiento por microondas de techo
- Entrada de tensión de red de 100-265 VAC, modelo de 5A
- Detección por microondas de 5,8 GHz con temporizador, umbral Lux y sensibilidad ajustables

- Interruptor con sensor de movimiento PIR para montaje empotrable en techo de CC de bajo voltaje
- Entrada de 12 VDC / 24 VDC con rango de 10-30 VDC
- Corriente máxima de trabajo de 10 A con tiempo de retardo, umbral de luxes y sensibilidad ajustables

- Interruptor con sensor de movimiento PIR empotrable en techo para mayor carga
- Entrada de tensión de red de 100-265 VAC, modelo de 10A
- Detección de 360 grados con tiempo de retardo, umbral de luxes y sensibilidad ajustables
- Interruptor con sensor de movimiento PIR empotrable en techo
- Entrada de tensión de red de 100-265 VAC, modelo de 5A
- Detección de 360 grados con tiempo de retardo, umbral de luxes y sensibilidad ajustables

- Kit de emisor inalámbrico y receptor para el control de iluminación de encendido/apagado en interiores
- Receptor de 100-230 V CA, 50/60 Hz con corriente nominal de 5 A
- Interruptor inalámbrico alimentado por CR2032 con comunicación de 2,4 GHz
- Presencia (encendido automático/apagado automático)
- 12–24 V CC (10–30 V CC), hasta 10 A
- Cobertura de 360°, 8–12 m de diámetro
- Tiempo de retardo de 15 s a 30 min
- Sensor de luz Desactivado/15/25/35 Lux
- Sensibilidad alta/baja
- Modo de presencia con encendido/apagado automático
- 100–265V CA, 10A (requiere neutro)
- Cobertura de 360°; diámetro de detección de 8–12 m
- Temporización: 15 s–30 min; Lux OFF/15/25/35; Sensibilidad Alta/Baja
- Modo de presencia con encendido/apagado automático
- 100–265V CA, 5A (requiere neutro)
- Cobertura de 360°; diámetro de detección de 8–12 m
- Temporización: 15 s–30 min; Lux OFF/15/25/35; Sensibilidad Alta/Baja
The False Morning
Even with perfect placement, you can get false positives from the room itself. I call this “The False Morning.”
I once had a setup where the cooling fans would kick on at 7:00 AM every day, despite the heat lamps being off. I tore the wiring apart looking for a short. It turned out to be the sun. The enclosure was near an East-facing window. For twenty minutes every morning, a shaft of sunlight hit the black plastic housing of the sensor. The sensor spiked to 95°F. The tank air was cool, the animal was asleep, but the automation system panicked.
If your sensor is black plastic, it is a solar collector. Ensure that no window light, room lighting, or other heat sources (like the ballast of a UV fixture) are dumping waste heat onto the probe. The sensor must be isolated from everything except the specific variable it is supposed to control.
Failure Mode Analysis
When you finally mount that probe, do not use the suction cups that came in the box. They always fail. Humidity and heat degrade the suction, and eventually, the probe falls.
Ask yourself: If this probe falls, where does it land?
If it lands in the water bowl, the probe cools down to 70°F. The thermostat sees “70°F” and screams for heat. It locks the 150W heater on full blast. The enclosure drives to 130°F. The water turns to soup. The animal dies.
If the probe falls directly under the heat lamp, it reads 120°F instantly. The thermostat cuts power. The animal gets cold, but it doesn’t die.
Always secure your cables with silicone, hot glue, or screwed-in cable clips (P-clips). Route the wire so that if the mount fails, the probe swings into open air, not into water or a burrow. We want boredom. We want a graph that is a flat line. If your system is exciting, it’s wrong.







