
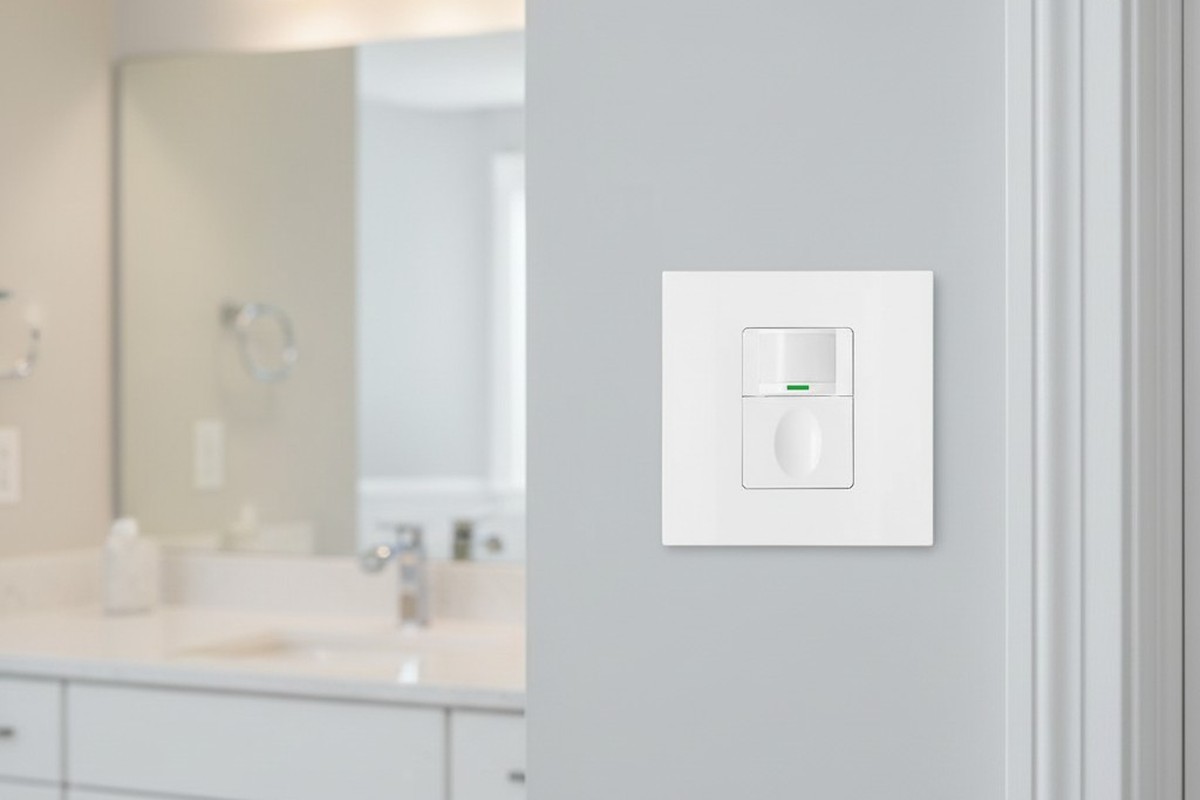
The most dangerous thing in a Jack-and-Jill bathroom isn’t the slippery tile or the missing lock on the opposing door. It’s the light switch. Specifically, the standard toggle switch that gets flipped on at 2:00 AM, flooding the shared space with 5000K daylight-spectrum brightness, and then left to burn through the night.
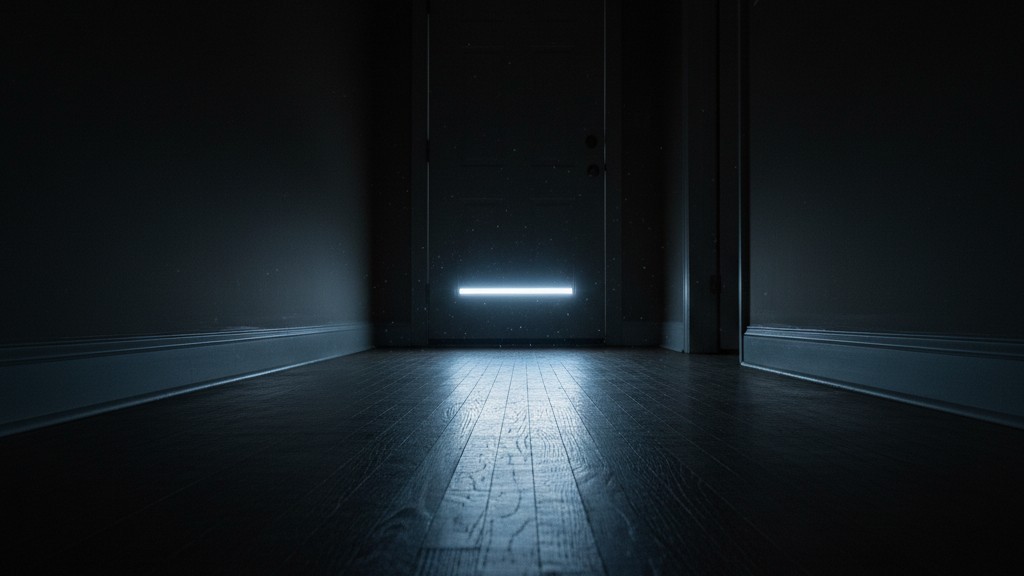
Light bleeds under the door frames. It wakes the sibling in the adjacent room and ruins the circadian rhythm of the offender. Arguments start not because of territory, but because of sleep deprivation.
You see this dynamic constantly in two-story Colonials and suburban new builds where the shared bath is the norm. Parents call in electricians to “fix the wiring” because the kids are fighting, but the wiring is usually fine. The interface is the problem. The instinct is to install a motion sensor to ensure the lights turn off when the kids leave. That’s a sound instinct. But most people—and even many general contractors—buy the wrong sensor or configure the right sensor the wrong way. They install a switch that turns the lights on automatically. In a bathroom, that is a tactical error.
The Ethics of Automation: Vacancy vs. Occupancy
There is a fundamental divide in lighting controls that most homeowners miss until it’s too late: the difference between Occupancy モード (Auto-ON / Auto-OFF) and Vacancy モード (Manual-ON / Auto-OFF). Marketing copy for smart home devices sells Occupancy Mode as the height of luxury—”Hands-free convenience!” “Never touch a dirty switch again!”
In a bathroom shared by sleeping teenagers, Occupancy Mode is an act of aggression.
It happens every night: A child walks into the bathroom half-asleep to use the toilet. If the sensor is set to Occupancy (Auto-ON), the relay clicks the moment they cross the threshold, blasting the vanity lights at full brightness. Pupils constrict, melatonin production halts, and they are now fully awake. Worse, if the sensor sensitivity is set too high—which it usually is out of the box—the family cat wandering in at 3 AM triggers the same light show. You do not want a lighting system that can be operated by a golden retriever.
The only ethical configuration for a residential bathroom is Vacancy モード. This forces the human to physically press the button to turn the light on. This small friction point is crucial; it allows a sleepy user to enter the room and use the toilet in the dark (or by the light of a nightlight) without triggering the main overheads. The automation only kicks in for the off cycle. If they do turn the light on, the sensor watches for their departure and cuts the power five minutes later. The problem of the “lights left on” is solved, but the sanctity of the dark house is preserved.
The Hardware: Why Rayzeek Fits the Retrofit
If money were no object, you would install a Lutron Maestro system in every room. The plastics are nicer, the tactile feel of the button is premium, and the warranty support is legendary. But a Lutron sensor kit for a 3-way application (where two switches control one light) can run upwards of $60 to $80 per bathroom. When you are retrofitting a four-bathroom house, that math gets ugly fast.
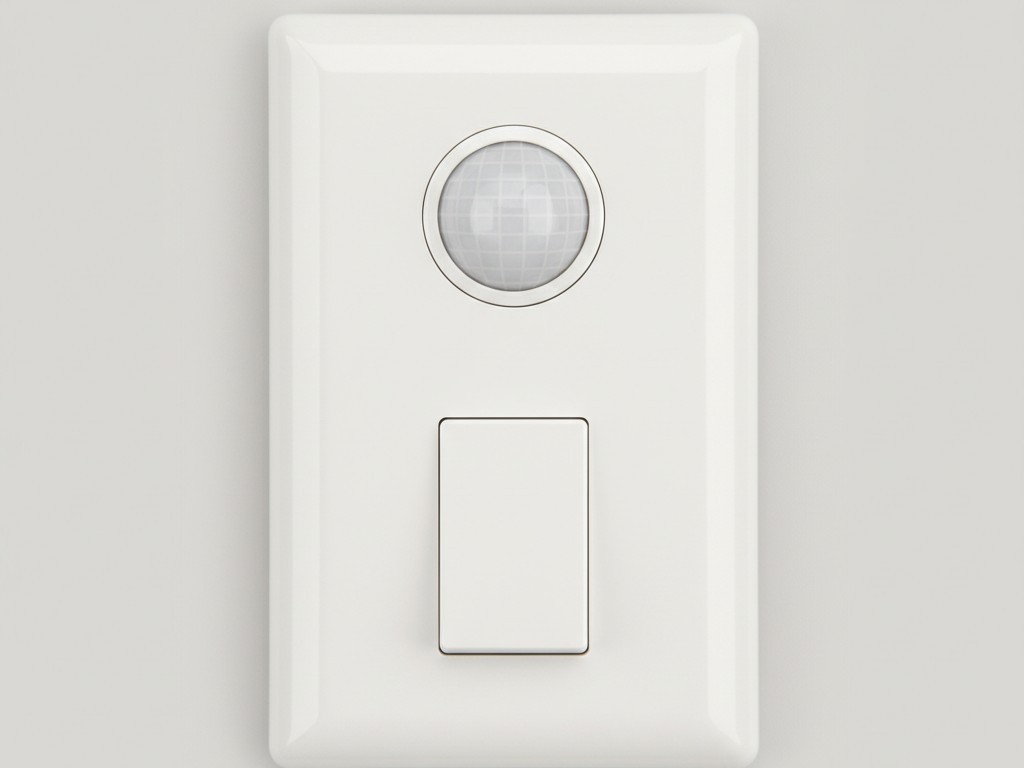
For the “Good Enough” retrofit, the Rayzeek RZ023 series has cornered the market. It offers about 90% of the performance for roughly 60% of the price—you’re looking at a price point closer to $35 for a 3-way kit. In a high-end custom build where the client is scrutinizing the bevel of the faceplate, stick with Lutron. But for a Jack-and-Jill bathroom used by kids who will likely draw on the walls with marker eventually, Rayzeek is the pragmatic choice.
A note on “Smart” integration: You will be tempted to buy a Wi-Fi enabled switch that connects to Alexa or a phone app. Resist this. A bathroom light switch should not require a firmware update. It should not fail because your router needs rebooting. You want a “dumb” sensor that relies on Passive Infrared (PIR) detection and a physical relay. It needs to work every single time, instantly, for the next ten years. Keep the Wi-Fi in the living room.
The Wiring Gauntlet: Surviving the 3-Way Setup
This is where the project usually falls apart. A Jack-and-Jill bathroom almost always has a 3-way switch setup: one switch at each door, controlling the same vanity light. Standard mechanical switches are forgiving; you can sometimes muddle through the wiring and get them to work. Motion sensors are not. They require precise identification of the circuit flow.
こちらの商品もおすすめです

- 電圧: 単4形乾電池 2本
- 昼/夜モード
- タイマー設定時間: 15分、30分、1時間(デフォルト)、2時間

- 無電圧接点リレー出力付き天井取り付け型PIR人感センサー
- 12/24VDCまたは12/24VAC低電圧電源
- EMS、HVAC、および建物制御入力用COM、NO、NC絶縁リレー接点

- 低電圧DC天井埋め込み型マイクロ波人感センサースイッチ
- 10~30 VDC範囲の12 VDC / 24 VDC入力
- 調整可能なタイムラグ、照度(Lux)閾値、感度を備えた最大動作電流10A仕様
- 高負荷対応型 埋込型天井取付けマイクロ波人感センサースイッチ
- 100-265 VAC 商用電源入力、10Aモデル
- 調整可能なタイムラグ、照度(Lux)閾値、感度を備えた5.8 GHzマイクロ波検知
- 埋込型天井取付けマイクロ波人感センサースイッチ
- 100-265 VAC商用電圧入力、5Aモデル
- 調整可能なタイムラグ、照度(Lux)閾値、感度を備えた5.8 GHzマイクロ波検知
- 220V電源対応 天井取付けRZ037 PIR(赤外線)人感センサー調光器
- 定格負荷660W、最大動作電流3A
- LUXボタンによる照度センサーのON/OFFおよびユーザー設定の調光明るさ制御
- 110V電源対応 天井取付けRZ037 PIR(赤外線)人感センサー調光器
- 定格負荷330W、最大動作電流3A
- LUXボタンによる照度センサーのON/OFFおよびユーザー設定の調光明るさ制御

- 低電圧DC対応 天井取付けマイクロ波人感センサースイッチ
- 10~30 VDC範囲の12 VDC / 24 VDC入力
- 調整可能なタイムラグ、照度(Lux)閾値、感度を備えた最大動作電流10A仕様
- 高負荷対応 天井取付型マイクロ波人感センサースイッチ
- 100-265 VAC 商用電源入力、10Aモデル
- 調整可能なタイムラグ、照度(Lux)閾値、感度を備えた5.8 GHzマイクロ波検知
- 天井取り付け型マイクロ波人感センサースイッチ
- 100-265 VAC商用電圧入力、5Aモデル
- 調整可能なタイムラグ、照度(Lux)閾値、感度を備えた5.8 GHzマイクロ波検知

- 低電圧DC埋込型天井PIR人感センサースイッチ
- 10~30 VDC範囲の12 VDC / 24 VDC入力
- 最大動作電流10A(調整可能なタイムラグ、照度閾値、感度設定付き)

- 高負荷対応 埋込型天井PIR人感センサースイッチ
- 100-265 VAC 商用電源入力、10Aモデル
- 360度検知(調整可能なタイムラグ、照度閾値、感度設定付き)
- 埋込型天井PIR人感センサースイッチ
- 100-265 VAC商用電圧入力、5Aモデル
- 360度検知(調整可能なタイムラグ、照度閾値、感度設定付き)

- 屋内用照明ON/OFF制御ワイヤレススイッチ&受信機キット
- 100-230VAC、50/60Hz、定格電流5A受信機
- 2.4GHz通信対応 CR2032電池駆動ワイヤレススイッチ
- Occupancy(自動点灯/自動消灯)
- 12–24V DC (10–30VDC)、最大10A
- 360°検知エリア、直径8–12m
- タイムラグ 15秒–30分
- 照度センサー オフ/15/25/35 Lux
- 高/低感度
- 自動点灯/自動消灯人感モード
- 100–265V AC, 10A(中性線必須)
- 360°検知範囲、検知直径8–12 m
- タイムデレイ15秒–30分、Lux OFF/15/25/35、感度 高/低
- 自動点灯/自動消灯人感モード
- 100–265V AC, 5A(中性線必須)
- 360°検知範囲、検知直径8–12 m
- タイムデレイ15秒–30分、Lux OFF/15/25/35、感度 高/低
The Master and The Slave
You cannot simply buy two standard motion sensors and install them at both doors. If you do, they will fight each other. When one sensor triggers, it sends voltage down the line that the other sensor isn’t expecting, often tripping the internal breaker or popping the device entirely. This is the “Two-Door Dilemma” that fills up DIY forums on Sunday nights.
You must use a specific 3-Way Kit containing a Master Unit and a Slave (or Auxiliary) Unit. The Master unit houses the actual sensor brain and the high-voltage relay. The Slave unit is just a remote trigger that tells the Master “Hey, I saw movement.”
The Traveler Wire Trap
In a standard 3-way setup, you have “Traveler” wires running between the two switch boxes. These are often red, but in older houses, they might be any color the original electrician had in his truck. Do not trust the wire colors. You need to use a multimeter to identify three specific wires:
Rayzeek人感センサーのポートフォリオを見る.
お探しの製品が見つかりませんか?ご安心ください。課題を解決する手段は常に複数存在します。当社の製品ポートフォリオのいずれかがお役に立つかもしれません。
- The Line: The wire bringing fresh power from the breaker panel (usually in only one of the two boxes).
- The Load: The wire going up to the light fixture (usually in the other box).
- The Travelers: The wires connecting the two boxes.
The Rayzeek RZ023 kit uses the existing traveler wires to communicate between the Master and Slave. However, unlike a mechanical switch, the Master unit needs a constant power source to keep its internal brain alive.
The Non-Negotiable Neutral
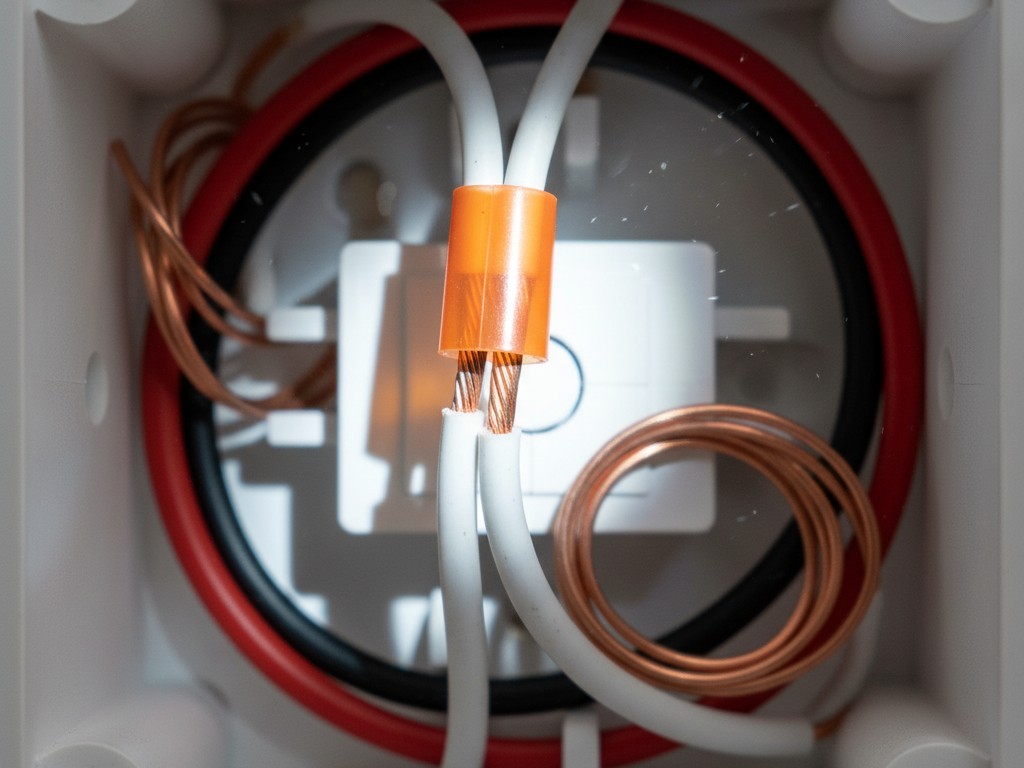
This brings us to the most critical failure point: the Neutral Wire.
Many older “No-Neutral Required” sensors work by trickling a tiny amount of electricity through the light bulb itself to complete the circuit to ground. This was fine when we all used 60-watt incandescent bulbs; the filament acted as a resistor and nobody noticed.
With modern LED bulbs, this “leakage current” is a disaster. The tiny trickle of electricity charges up the capacitor in the base of the LED bulb. When the capacitor gets full, it discharges—flash. Then it charges again. Flash. This is the “Ghost in the LED.” You will see the bathroom lights strobing faintly every 45 seconds, even when the switch is off.
To avoid this, you must use a sensor that requires a Neutral wire (usually the bundle of white wires tucked in the back of the box). The Rayzeek units need this hard path to ground so they can power their internal electronics without sending current through your expensive LED vanity bulbs. If your switch box does not have a neutral bundle, you are essentially out of luck for a reliable sensor installation without pulling new wire.
Note on Uncertainty: Be careful when reading the wiring diagrams included in the box. Rayzeek has revised their pigtail wire colors between the V1 and V2 models. Sometimes the traveler is Red, sometimes it is Black. Always read the paper insert that came with the specific unit you are holding, rather than relying on a PDF you found from three years ago.
Troubleshooting the Ghost
Even with a neutral wire, you may occasionally encounter a bulb that refuses to cooperate. Some builder-grade LEDs have such poor internal driver isolation that they will flicker if there is any electronics on the line. Before you tear the switch out of the wall, try swapping the bulb for a higher-quality brand like Cree or Philips. Often, the problem is the $2 bulb, not the $35 switch.
Also, be aware of what you are switching. These sensors are rated for Lighting Loads (resistive or capacitive). They are not always rated for Motor Loads (inductive). If you are trying to put this sensor on the exhaust fan to make it run automatically, stop. You need a switch rated for motors, or better yet, a humidity sensor. Putting a lighting sensor on a fan motor can fuse the relay contacts together, leaving the fan running permanently until you kill the breaker.
Final Configuration
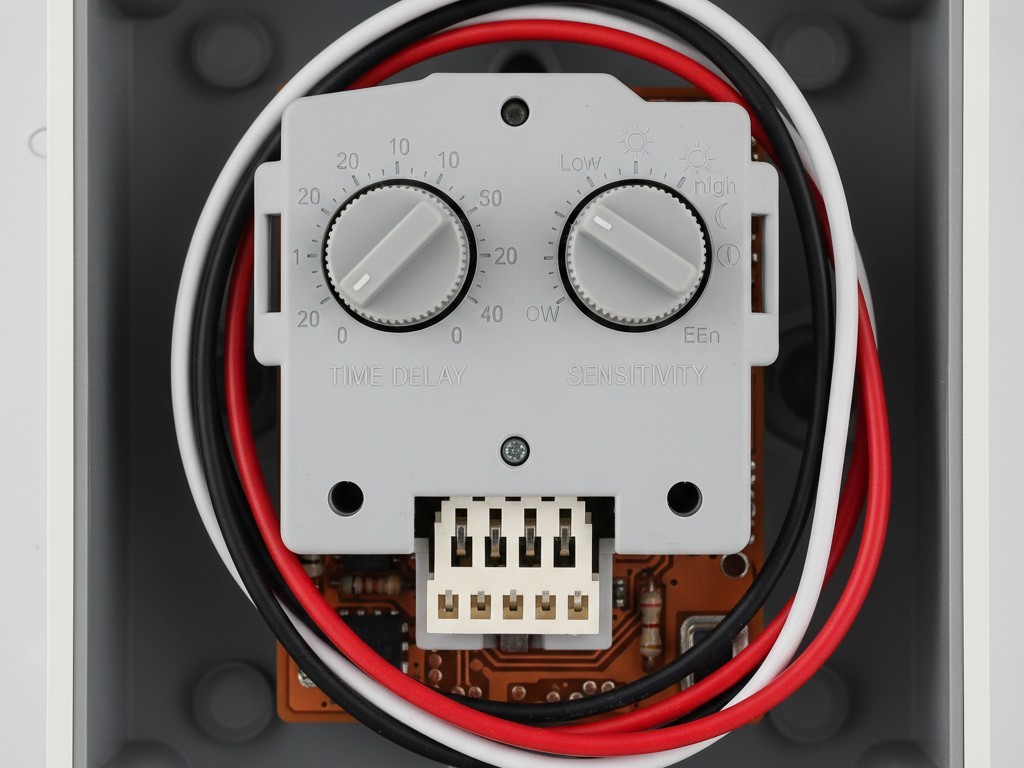
Once the unit is wired and the faceplate is screwed on—do not overtighten, or you will crack the plastic—you have two dials to adjust.
First is the タイムラグ(遅延時間). Set this to 5 minutes. Anything less (like 1 minute) and the lights will go out while your child is brushing their teeth. Anything more (like 30 minutes) defeats the purpose of saving energy.
Second is the 感度. Dial this down to about 70%. If you leave it at 100%, the sensor will pick up motion in the hallway every time the door is left ajar. You want the sensor to only care about people actually inside the bathroom.
人感センサーを活用した省エネソリューションをお探しですか?
PIR人感センサー、人感センサー搭載省エネ製品、人感センサースイッチ、商業施設向けOccupancy/Vacancy(在室/不在)ソリューションについては、お気軽にお問い合わせください。
There is a common complaint known as the “Shower Wave.” If the shower is recessed or has a thick curtain, the sensor cannot see the person inside. The lights go out mid-shampoo. The user has to stick a soapy hand out of the curtain and wave it around to re-trigger the sensor. This is annoying, but preferrable to the alternative of the lights staying on for hours. If this happens frequently, bump the timeout to 15 minutes, which is usually enough time to finish a shower.
You aren’t building a “smart” bathroom; you’re building a peaceful one. By forcing the manual-on (Vacancy) and automating the off, you remove the friction of remembering to flip the switch, without introducing the friction of being blinded at 2 AM. That is a trade-off worth $35 and an hour of wiring.







