

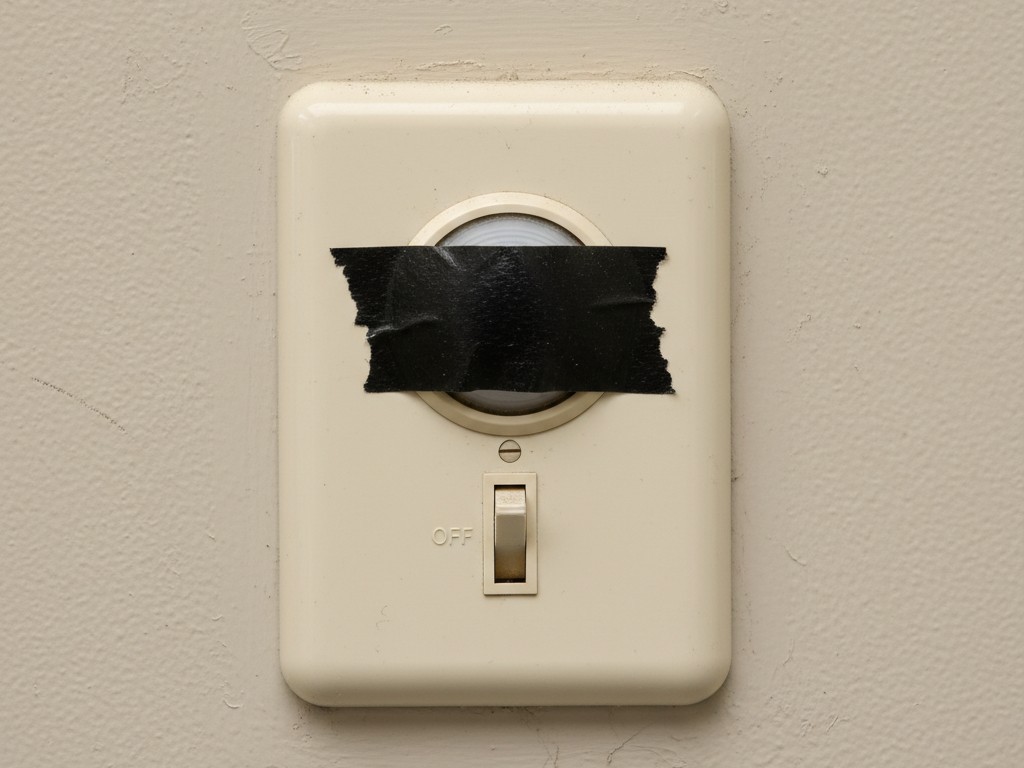
There is a specific, sinking feeling that comes with a phone call at 7:00 AM from a facility manager. The panic isn’t usually about the main switchgear or the panel schedules; it’s about a single office where the lights won’t stay on, or a hallway where they won’t turn off. These are the nuisance calls that destroy margins. A sensor that saves 15% theoretical energy but turns off on a CEO during a Zoom call is a sensor that gets taped over. Once a layer of black electrical tape goes over the lens, that sensor saves exactly 0% energy.
Hardware isn’t usually the problem. The Rayzeek RZ-series units are robust workhorses, but they ship with a fatal flaw: “Factory Defaults.” These settings are designed for a showroom or a test lab, not for a drafty masonry building in Detroit or a glass-walled conference room in Chicago. If you install them straight out of the box, relying on the “Plug and Play” promise, you are essentially scheduling your own return trip.
Reliability has to take priority over efficiency during commissioning. That doesn’t mean you ignore energy codes. It means acknowledging that a lighting control system only works if the tenants tolerate it. If they hate it, they will bypass it. To prevent the callback, you have to commission for human behavior, not just for watts.
Deconstructing the Dual-Tech Trap
Most modern specs call for Dual-Technology sensors—combining Passive Infrared (PIR) and Ultrasonic detection. On paper, this looks like the perfect marriage. In the field, it often causes the “ghost switching” that convinces tenants their building is haunted.
Lăsați-vă inspirat de portofoliile de senzori de mișcare Rayzeek.
Nu găsiți ceea ce căutați? Nu vă faceți griji. Există întotdeauna modalități alternative de a vă rezolva problemele. Poate vă poate ajuta unul dintre portofoliile noastre.
PIR relies strictly on line-of-sight to detect heat in motion. It catches a person walking into a room perfectly, but it has a major blind spot: it cannot see through partitions, high-back chairs, or restroom stalls. If you rely on PIR alone in a complex space, you get the “waving arms” phenomenon, where office workers have to perform calisthenics every 20 minutes just to keep the lights on.
Ultrasonic fills that gap. It floods the room with high-frequency sound waves and listens for the Doppler shift caused by movement. It sees around corners and over stall doors. Unfortunately, it also “sees” things that aren’t people. Ultrasonic sensors are notorious for detecting the vibration of a VAV box ramping up, the rattle of a loose diffuser, or even the airflow from a forced-air heater vent.
This is where the default settings betray you. Most units ship with both PIR and Ultrasonic sensitivities set to “High” or “Auto.” In a quiet hallway at 3 AM, when the heat kicks on, a high-sensitivity Ultrasonic sensor interprets that air movement as occupancy. The lights trigger. The facility manager sees the bill. You get the blame.
The Sensitivity Dial Protocols
Fixing this requires getting physical with the sensor. Pop the faceplate off. Underneath, usually hidden behind a secondary plastic guard, you will find the trimpots—those tiny dials that require a 1/8th inch “tweaker” screwdriver to adjust.
The Ultrasonic Rule of 70% If the sensor sits anywhere near an HVAC supply vent, never leave the Ultrasonic dial at the 12 o’clock (50%) or 5 o’clock (100%) position. Dial it back. A safe starting point for hallways and open offices is roughly 70% sensitivity. You want it sensitive enough to catch a walking person, but deaf to the vibration of the drop ceiling. If you are in a room with heavy airflow, dial it down to 50% or even lower. You are trading a bit of range for the guarantee that the lights won’t ghost-switch all night.
The Restroom Exception Restrooms require the opposite approach. This is the one place where you max out the Ultrasonic sensitivity. The partitions in a multi-stall restroom effectively blind the PIR lens. If a user sits in a stall for five minutes, PIR will assume the room is empty. You need the Ultrasonic waves to bounce off the tile and over the stall doors to detect minor motion. If you leave a restroom sensor on factory default (often a balanced mix), you risk plunging someone into darkness at a very vulnerable moment. That is a callback you do not want to take personally.
The Timeout Battle: 15 vs 30 Minutes
The dip switches next to the trimpots control the timeout—the delay before lights extinguish after motion stops. Factory defaults usually sit at an aggressive 15 minutes—sometimes even 10. This looks great on an energy model, but it is terrible for an accountant working on an Excel spreadsheet.
People in deep concentration sit incredibly still. We don’t move enough to trigger standard PIR thresholds, and if the Ultrasonic is dialed back to avoid HVAC interference, the sensor might not catch typing fingers. The result is the “Reading in the Dark” problem. The lights go out. The user waves their arms. They get annoyed. After the third time, they call maintenance.
Unless you are strictly bound by a local code that explicitly forbids it (like certain aggressive interpretations of Title 24), set the timeout to 30 minutes. Yes, you might burn 15 minutes of extra electricity when someone leaves for lunch. But compare that cost to the $350 ticket for a truck roll to come back and flip a dip switch. Or compare it to the cost of the user disabling the sensor entirely. A 30-minute timeout is the “peace of mind” setting. It covers the gaps in human movement and ensures the system feels invisible, rather than intrusive.
S-ar putea să vă intereseze și

- Tensiune: 2 baterii AAA
- Mod Zi/Noapte
- Temporizare: 15min, 30min, 1h (implicit), 2h

- Senzor de prezență PIR cu montaj pe tavan și ieșire de releu cu contact uscat
- Alimentare de joasă tensiune de 12/24VDC sau 12/24VAC
- Contacte de releu izolate COM, NO și NC pentru intrări de control al sistemelor EMS, HVAC și al clădirilor

- Întrerupător cu senzor de mișcare cu microunde încastrat în tavan, de joasă tensiune DC
- Intrare de 12 VDC / 24 VDC cu un interval cuprins între 10-30 VDC
- Curent de lucru maxim de 10A cu temporizare reglabilă, prag Lux și sensibilitate ajustabile
- Întrerupător cu senzor de mișcare cu microunde încastrat în tavan, pentru sarcini mai mari
- Intrare la tensiunea rețelei de 100-265 VAC, model de 10A
- Detectare cu microunde de 5.8 GHz cu temporizare reglabilă, prag Lux și sensibilitate ajustabile
- Întrerupător încastrat pentru plafon cu senzor de mișcare cu microunde
- Tensiune de intrare 100-265 VAC, model de 5A
- Detectare cu microunde de 5.8 GHz cu temporizare reglabilă, prag Lux și sensibilitate ajustabile
- Variator cu senzor de prezență PIR RZ037 pentru plafon, pentru alimentare la 220V
- Curent maxim de lucru de 3A cu sarcină nominală de 660W
- Butonul LUX controlează funcția ON/OFF a senzorului de lumină și luminozitatea setată de utilizator
- Variator cu senzor de prezență PIR RZ037 pentru plafon, pentru alimentare la 110V
- Curent maxim de lucru de 3A cu sarcină nominală de 330W
- Butonul LUX controlează funcția ON/OFF a senzorului de lumină și luminozitatea setată de utilizator

- Întrerupător cu senzor de mișcare cu microunde pentru plafon, de joasă tensiune C.C.
- Intrare de 12 VDC / 24 VDC cu un interval cuprins între 10-30 VDC
- Curent de lucru maxim de 10A cu temporizare reglabilă, prag Lux și sensibilitate ajustabile
- Întrerupător cu senzor de mișcare cu microunde pentru plafon, pentru sarcini mai mari
- Intrare la tensiunea rețelei de 100-265 VAC, model de 10A
- Detectare cu microunde de 5.8 GHz cu temporizare reglabilă, prag Lux și sensibilitate ajustabile
- Întrerupător cu senzor de mișcare cu microunde pentru plafon
- Tensiune de intrare 100-265 VAC, model de 5A
- Detectare cu microunde de 5.8 GHz cu temporizare reglabilă, prag Lux și sensibilitate ajustabile

- Întrerupător cu senzor de mișcare PIR încastrat în tavan, CC de joasă tensiune
- Intrare de 12 VDC / 24 VDC cu un interval cuprins între 10-30 VDC
- Curent maxim de lucru 10A cu temporizare reglabilă, prag Lux și sensibilitate

- Întrerupător cu senzor de mișcare PIR încastrat în tavan pentru sarcini mai mari
- Intrare la tensiunea rețelei de 100-265 VAC, model de 10A
- Detecție la 360 de grade cu temporizare reglabilă, prag Lux și sensibilitate
- Întrerupător cu senzor de mișcare PIR încastrat în tavan
- Tensiune de intrare 100-265 VAC, model de 5A
- Detecție la 360 de grade cu temporizare reglabilă, prag Lux și sensibilitate

- Kit de întrerupător și receptor wireless pentru controlul iluminatului de interior PORNIT/OPRIT
- Receptor 100-230VAC, 50/60Hz cu curent nominal de 5A
- Întrerupător wireless alimentat cu baterie CR2032 cu comunicare la 2.4GHz
- Prezență (PORNIRE automată/OPRIRE automată)
- 12–24V CC (10–30VCC), până la 10A
- Acoperire 360°, diametru 8–12 m
- Temporizare 15 s–30 min
- Senzor de lumină Oprit/15/25/35 Lux
- Sensibilitate ridicată/scăzută
- Mod de prezență Auto-ON/Auto-OFF
- 100–265V AC, 10A (necesită nul)
- Acoperire 360°; diametru de detecție 8–12 m
- Temporizare 15 s–30 min; Lux OFF/15/25/35; Sensibilitate ridicată/scăzută
- Mod de prezență Auto-ON/Auto-OFF
- 100–265V AC, 5A (necesită nul)
- Acoperire 360°; diametru de detecție 8–12 m
- Temporizare 15 s–30 min; Lux OFF/15/25/35; Sensibilitate ridicată/scăzută
The Secret Weapon: Vacancy Mode
There is a row of dip switches that often gets ignored, usually labeled “Occ / Vac.” Occupancy mode (Auto-On / Auto-Off) is the standard expectation: walk in, lights on; leave, lights off.
Căutați soluții de economisire a energiei activate de mișcare?
Contactați-ne pentru senzori de mișcare PIR compleți, produse de economisire a energiei cu activare la mișcare, întrerupătoare cu senzor de mișcare și soluții comerciale de prezență/vacanță.
But for private offices, conference rooms, and bedrooms, “Vacancy Mode” (Manual-On / Auto-Off) is superior. In this mode, the user must physically tap the switch to turn the lights on. The sensor only handles turning them off.
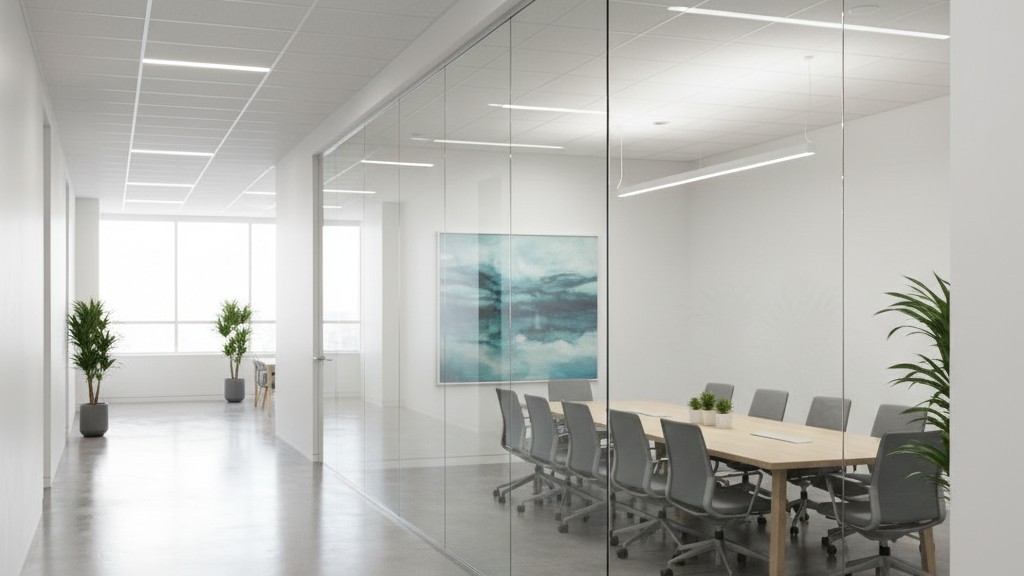
Why does this matter? In a conference room with a glass wall, hallway traffic can constantly trigger an Auto-On sensor. The lights cycle on and off all day, distracting everyone and wasting power. By switching to Vacancy Mode, you eliminate 100% of false-on triggers. The lights only come on when someone actually intends to use the room. Furthermore, if someone enters a room just to grab a file or drop off a package, they might not even turn the lights on, saving even more energy than an automated system would. It trains the user to take ownership of the “On,” while the sensor acts as the safety net for the “Off.”
Beyond the Wave Test
Finally, we need to address testing. The standard “Wave Test”—where the installer mounts the switch, puts it in “Test Mode” (8-second timeout), waves their arms, sees the lights click, and leaves—is almost useless. It proves the wiring is correct and the sensor isn’t dead, but it proves nothing about how the unit will behave on Tuesday morning.
You cannot replicate 30 minutes of sitting still by doing the funky chicken for 10 seconds. You cannot replicate the HVAC cycle by blowing on the sensor.
The only way to truly commission is to apply the logic of the “Callback Calculus” before you leave. Look at the room. Where is the vent? Where is the desk? Where is the door? If the vent is close, dial down the Ultrasonic. If the desk is around a corner, maximize the timeout. Do not trust the green LED blinking at you while you stand on the ladder; you are a giant heat signature moving violently. The sensor sees you easily. It needs to see the person who isn’t there yet.
Commissioning isn’t just about making lights turn on. The real goal is ensuring they never turn off when they shouldn’t, and never trigger when they needn’t. If you get those two things right, the tape stays in the truck, and you stay off the job site.







