
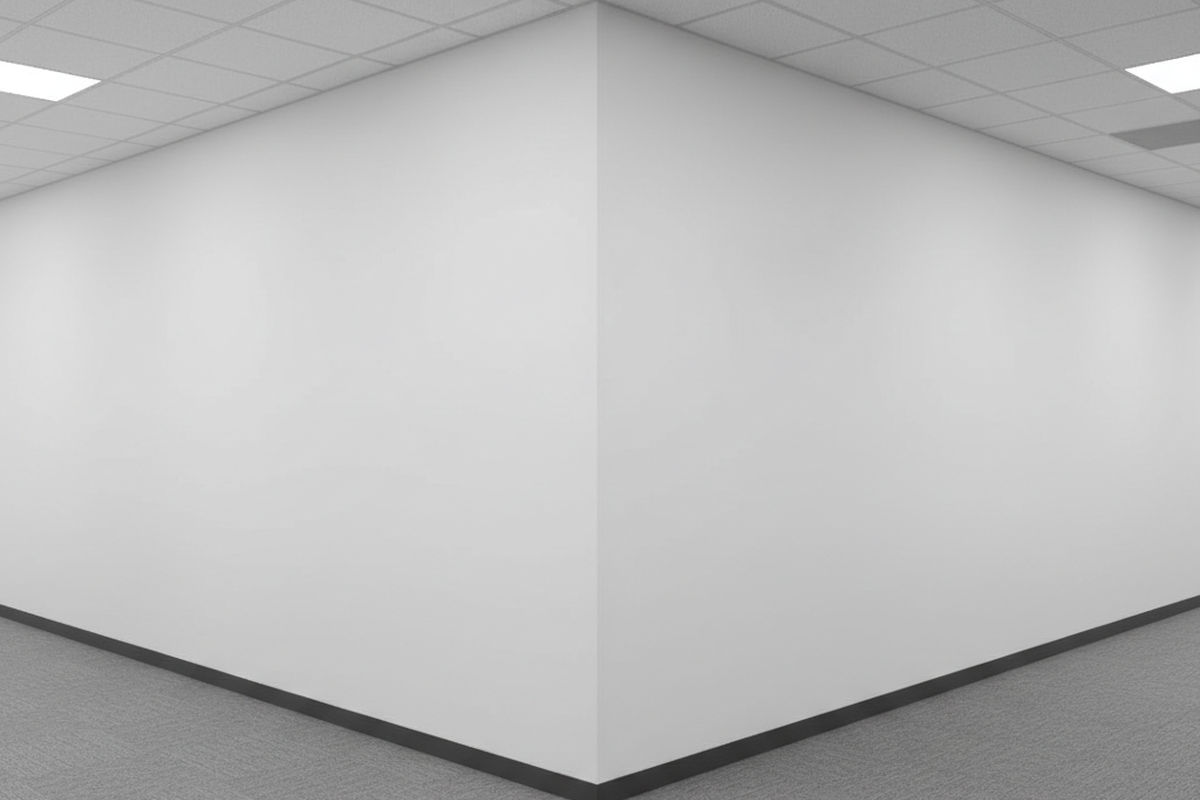
In commercial retrofits, the L-shaped corridor is the graveyard of “good enough” sensor placement. It’s the scenario where standard install-and-walk-away tactics consistently fail, usually resulting in a frantic wave of arms from someone plunged into darkness halfway to the break room.
A common assumption is that a high-end sensor with a 360-degree view and a massive detection radius can simply sit near the corner and cover both legs of the hallway. That assumption is expensive. It leads to callbacks, complaints about “haunted” lights, and eventually, a facility manager demanding the system be ripped out entirely.
The failure here is rarely a defect in the hardware itself. A Rayzeek ceiling mount or similar commercial-grade PIR (Passive Infrared) sensor will perform exactly as the laws of physics dictate. The problem is that the installer is asking the sensor to do something impossible: see through a wall, or detect motion that is effectively invisible to its lens. When a user rounds a blind corner, they enter a dead zone that a single vertex-mounted sensor often cannot resolve until it’s too late. The coffee spills, the shin bangs against a cart, and the lighting control system gets blamed for what is ultimately a failure of geometry.
The Physics of the “Blind” Sensor
To solve the L-shape, you have to stop thinking of a motion sensor as a camera. It doesn’t “see” people; it detects the movement of heat across a grid. Inside the white plastic dome of a PIR sensor sits a Fresnel lens—a faceted piece of optical plastic that slices the room into wedge-shaped detection zones. The sensor triggers when a heat source (a human body) crosses the boundary between these zones.
This mechanism creates a critical weakness often buried in product manuals: the difference between tangential and radial motion.
Tangential motion is movement across the sensor’s field of view. This cuts through multiple detection wedges rapidly, creating a strong, unmistakable signal. It is the best-case scenario for PIR.
Radial motion, however, is movement directly toward or away from the sensor. When a person walks straight at a sensor, they essentially stay within a single wedge for a longer duration. They present a static heat signature that grows slightly larger but doesn’t “move” across the grid. The sensor is nearly blind to this approach.
從 Rayzeek 動態感測器產品組合中獲得靈感。
找不到您想要的產品?別擔心。總有其他方法可以解決您的問題。也許我們的其中一個產品組合可以幫到您。
In a long corridor, a person walking down the center line is moving radially relative to a sensor placed at the far end. They might walk twenty feet before the sensor registers enough differential to trigger. Now, consider the L-shape. If you place a single sensor at the corner, users approaching from either leg of the L are moving radially—directly at the sensor. They remain in the blind spot until they are practically underneath the device.
You might be tempted to solve this with dual-technology sensors (combining PIR with Ultrasonic or Microwave detection) to fill the room with active waves. While technically true that Ultrasonic is more sensitive to minor motion, it introduces a new set of liabilities in a hallway. Ultrasonic waves bounce off hard surfaces and can penetrate drywall and glass. In a retrofit, this means the hallway lights trigger every time someone shifts in their chair in an adjacent office or walks past a closed door. For corridors, PIR remains the superior tool for stability, provided the layout respects the limitations of the lens.
The Vertex Strategy: Two Eyes on the Turn

The only way to guarantee a reliable calibration in an L-shaped corridor is to abandon the single-sensor economy. You cannot place one eye at the vertex and expect it to see effectively down both paths. The professional approach requires a dedicated sensor for each leg of the L, positioned to create an overlapping “kill zone” at the turn.
Instead of mounting one unit in the center of the intersection, push two sensors out away from the corner:
- Sensor A in the North leg, perhaps 10 to 15 feet back from the turn, looking South toward the intersection.
- Sensor B in the East leg, looking West toward the intersection.
The exact distance depends on the ceiling height and the coverage pattern of the specific Rayzeek model, but the intent is geometric: you want Sensor A to catch the person in the East leg moving tangentially (across its view) before they even reach the turn.
This creates a scenario where the sensors watch each other’s blind spots. The person walking down the North hallway is moving radially toward Sensor A (weak detection) but tangentially across the field of view of Sensor B (strong detection). By the time they reach the critical decision point—the corner—both sensors have had ample opportunity to register a tangential crossing. The lights are on before the user pivots.
This layout also demands physical tuning beyond simple placement. In complex layouts where a sensor might see through an open doorway into a conference room or stairwell, lens masking is non-negotiable. Most commercial sensors come with opaque sticker strips or plastic inserts. These aren’t packaging waste; they are essential tools for shaping the detection cone to match the corridor walls, ensuring the system ignores movement outside the hallway.
The Invisible Enemy: Airflow and Heat
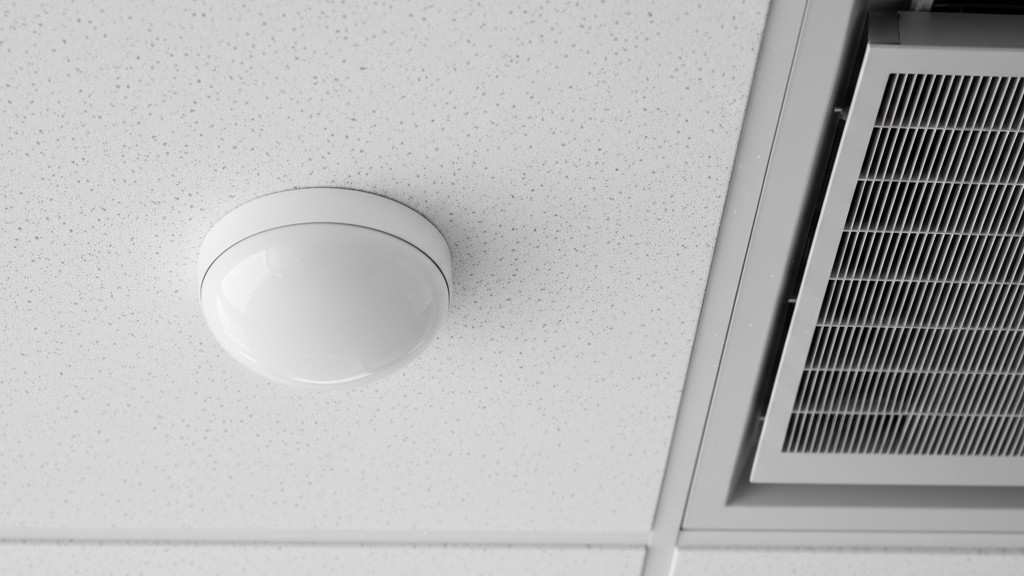
Even with perfect geometric placement, a sensor can be defeated by the environment. In the trade, we call these “ghost switches”—lights that cycle on and off all night with no humans present. In almost every case, the sensor isn’t faulty. It’s just losing a fight with the HVAC system.
您可能也會感興趣

- 電壓:2 粒 AAA 電池
- 日/夜模式
- 延遲時間:15 分鐘、30 分鐘、1 小時(預設)、2 小時

- 吸頂式 PIR 人體感應器,配備乾觸點繼電器輸出
- 12/24VDC 或 12/24VAC 低電壓供電
- 用於 EMS、HVAC 和建築控制輸入的 COM、NO 和 NC 隔離繼電器觸點

- 低壓直流嵌入式天花安裝微波人體感應開關
- 12 VDC / 24 VDC 輸入,支援 10-30 VDC 範圍
- 最大工作電流 10A,配備可調節延時、光感閾值及靈敏度
- 高負載嵌入式天花安裝微波人體感應開關
- 100-265 VAC 市電輸入,10A 型號
- 5.8 GHz 微波感應,配備可調節延時、光感閾值及靈敏度
- 嵌入式天花安裝微波人體感應開關
- 100-265 VAC 市電輸入,5A 型號
- 5.8 GHz 微波感應,配備可調節延時、光感閾值及靈敏度
- 適用於 220V 電源的天花安裝 RZ037 PIR 被動式紅外線佔空感應調光開關
- 最大工作電流 3A,額定負載 660W
- LUX 按鈕控制光線感應器開關及用戶設定之調光亮度
- 適用於 110V 電源的天花安裝 RZ037 PIR 被動式紅外線佔空感應調光開關
- 最大工作電流 3A,額定負載 330W
- LUX 按鈕控制光線感應器開關及用戶設定之調光亮度

- 低壓直流天花安裝微波人體感應開關
- 12 VDC / 24 VDC 輸入,支援 10-30 VDC 範圍
- 最大工作電流 10A,配備可調節延時、光感閾值及靈敏度
- 高負載吸頂式微波動態感應器開關
- 100-265 VAC 市電輸入,10A 型號
- 5.8 GHz 微波感應,配備可調節延時、光感閾值及靈敏度
- 吸頂式微波動態感應器開關
- 100-265 VAC 市電輸入,5A 型號
- 5.8 GHz 微波感應,配備可調節延時、光感閾值及靈敏度

- 低壓直流嵌頂式 PIR 動態感應器開關
- 12 VDC / 24 VDC 輸入,支援 10-30 VDC 範圍
- 最大工作電流 10A,具備可調式時間延遲、光照度閾值及靈敏度

- 高負載嵌頂式 PIR 動態感應器開關
- 100-265 VAC 市電輸入,10A 型號
- 360度偵測,具備可調式時間延遲、光照度閾值及靈敏度
- 嵌頂式 PIR 動態感應器開關
- 100-265 VAC 市電輸入,5A 型號
- 360度偵測,具備可調式時間延遲、光照度閾值及靈敏度

- 用於室內開關照明控制的無線開關及接收器套裝
- 100-230VAC,50/60Hz 接收器,額定電流 5A
- CR2032 電池供電無線開關,採用 2.4GHz 通訊
- 佔用感應(自動開啟/自動關閉)
- 12–24V DC (10–30VDC),最高 10A
- 360° 覆蓋,直徑 8–12 米
- 延遲時間 15 秒至 30 分鐘
- 光感應器 關閉/15/25/35 Lux
- 高/低靈敏度
- 自動開啟/自動關閉佔用模式
- 100–265V AC,10A(需接零線)
- 360° 全方位覆蓋;8–12 米偵測直徑
- 延遲時間 15 秒至 30 分鐘;Lux 關閉/15/25/35;靈敏度 高/低
- 自動開啟/自動關閉佔用模式
- 100–265V AC,5A(需接零線)
- 360° 全方位覆蓋;8–12 米偵測直徑
- 延遲時間 15 秒至 30 分鐘;Lux 關閉/15/25/35;靈敏度 高/低
PIR sensors detect heat differentials. A sudden blast of hot air from a ceiling supply vent during the winter morning warm-up cycle looks exactly like a person to a PIR element. If a sensor is mounted within four to six feet of a supply diffuser, the turbulence and temperature spike will trigger false positives. This is particularly common in commercial office parks where the “unoccupied” temperature setback is aggressive, leading to intense bursts of conditioning when the system wakes up.
If the layout forces a sensor near a vent, the sensitivity dial is not the solution. Turning down the sensitivity to ignore the HVAC usually makes the sensor too dull to pick up a person walking quietly. The solution is physical: move the sensor, or aggressively mask the lens segments facing the airflow. A piece of electrical tape on the interior lens can blind the sensor to the vent while keeping it sensitive to the floor below.
Wiring and Commissioning Logic
When implementing the two-sensor strategy for an L-turn, installers usually ask about the wiring architecture. Can two sensors control the same load? For standard commercial PIR units (like the Rayzeek RZ021 series), the answer is yes—provided they are wired in parallel.
In a parallel configuration, the sensors act as independent switches sharing a common line and load. If either sensor closes its relay (detects motion), the circuit completes, and the lights turn on. The lights will only turn off when both sensors see vacancy and their respective time delays expire. This is the “OR” logic required for full coverage.
Critical Warning: Ensure both sensors are fed from the same branch circuit phase. Crossing phases in a shared junction box is a code violation and a safety hazard that will result in a direct short if the relays close simultaneously.
Once wired, the temptation is to set the time delay to 15 or 30 minutes to prevent complaints. This is a crutch. A 30-minute timeout on a corridor sensor masks poor coverage; it simply keeps the lights on long enough that nobody notices the sensor missed the re-trigger. In a transient space like a hallway, a properly placed sensor system should reliably hold the lights with a 5-minute timeout. If the lights drop out at 5 minutes while people are still present, don’t extend the timer. Fix the sensor position or orientation.
Regarding sensitivity settings: leave them at roughly 75-80%. Maxing out sensitivity is a rookie move that invites interference from electrical noise and distant heat sources. It is far better to rely on the strong tangential signal created by the two-sensor layout than to run a single sensor at 100% sensitivity on a hair-trigger.
正在尋找動態感應節能解決方案?
歡迎聯絡我們以獲取完整的 PIR 動態感應器、動態感應節能產品、動態感應器開關以及人體感應/無人感應商業解決方案。
The Walk Test
The job isn’t done when the wire nuts are twisted. The final step is the verification walk, and it must be adversarial. Do not walk down the center of the hall waving your arms. Walk the “creep” path—hug the wall, move slowly, and carry nothing. Approach the corner from the blindest angle possible.
If you can round the corner into the L-intersection and take two steps into the dark before the lights strike, the system has failed. The lights must strike before the body pivots at the vertex. If they don’t, adjust the angle of the sensors or widen the mask opening. The goal is a seamless handoff, where the user never thinks about the sensor, the switch, or the darkness—only the path ahead.







