
Во многих ванных комнатах установлен отдельный таймер для вытяжного вентилятора — это простой и эффективный способ удаления влаги и запахов после принятия душа. Но что делать, если в этом же помещении хочется установить удобный светильник с датчиком движения? В этом случае возникают две автоматизированные системы с противоположными задачами. Таймер вентилятора работает в течение фиксированного времени, задаваемого вручную. Датчик движения реагирует на ваше присутствие, включая и выключая свет, когда вы входите и выходите.
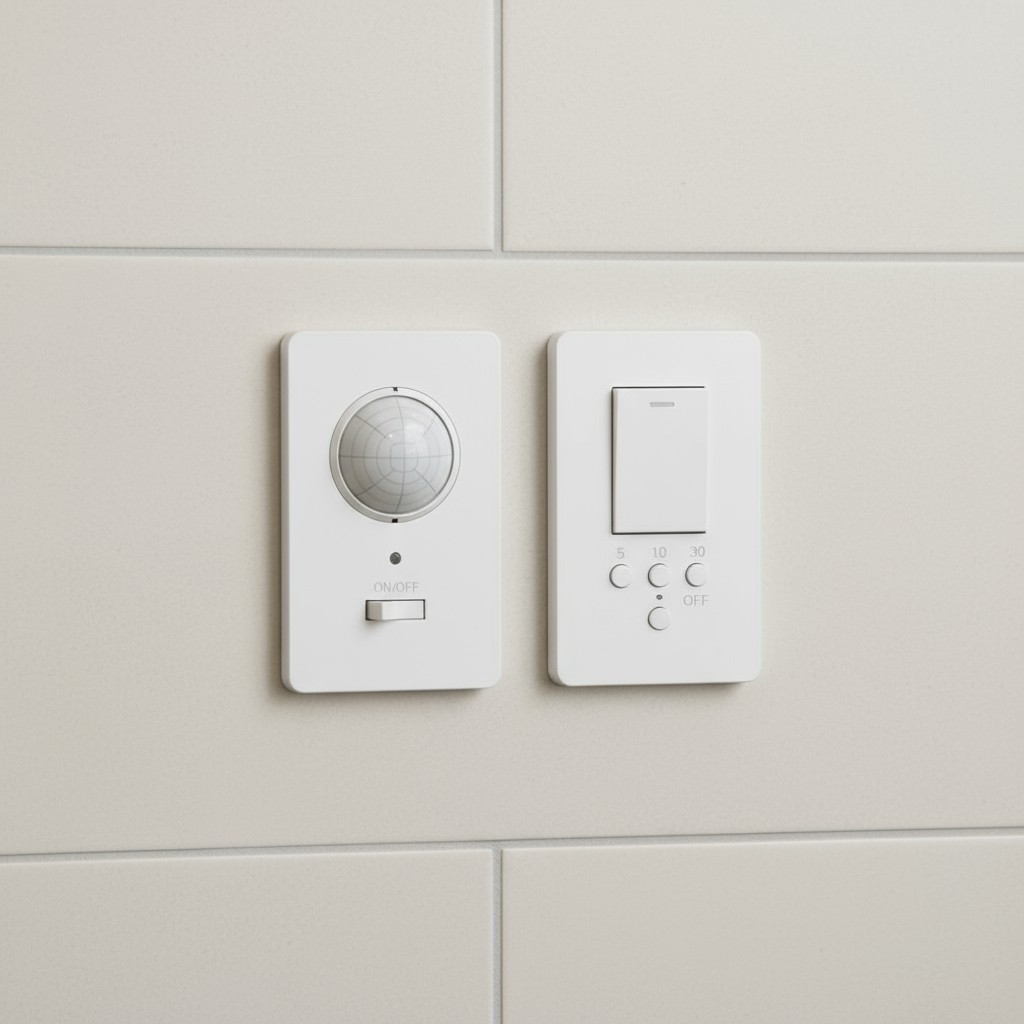
Некоторые монтажники инстинктивно пытаются объединить их, используя один датчик движения для управления и светом, и вентилятором. Это ошибка. Датчик и таймер не предназначены для согласованной работы, а их принудительное подключение к одной цепи приводит к сбоям, конфликтам времени работы и даже преждевременному выходу устройств из строя. В данном руководстве описан правильный подход: схема раздельного подключения, сохраняющая независимость каждой системы. Датчик движения Rayzeek управляет освещением, а существующий таймер продолжает управлять вентилятором. Раздельное подключение гарантирует предсказуемую и надежную работу обоих устройств.
Конфликт автоматизации: присутствие против цикла вентиляции
У таймера вентилятора в ванной комнате одна задача: удаление влажного воздуха. После принятия душа вы настраиваете его на работу от десяти до тридцати минут, что позволяет уйти, пока завершается цикл проветривания. Это система с ручным включением и отключением по таймеру.
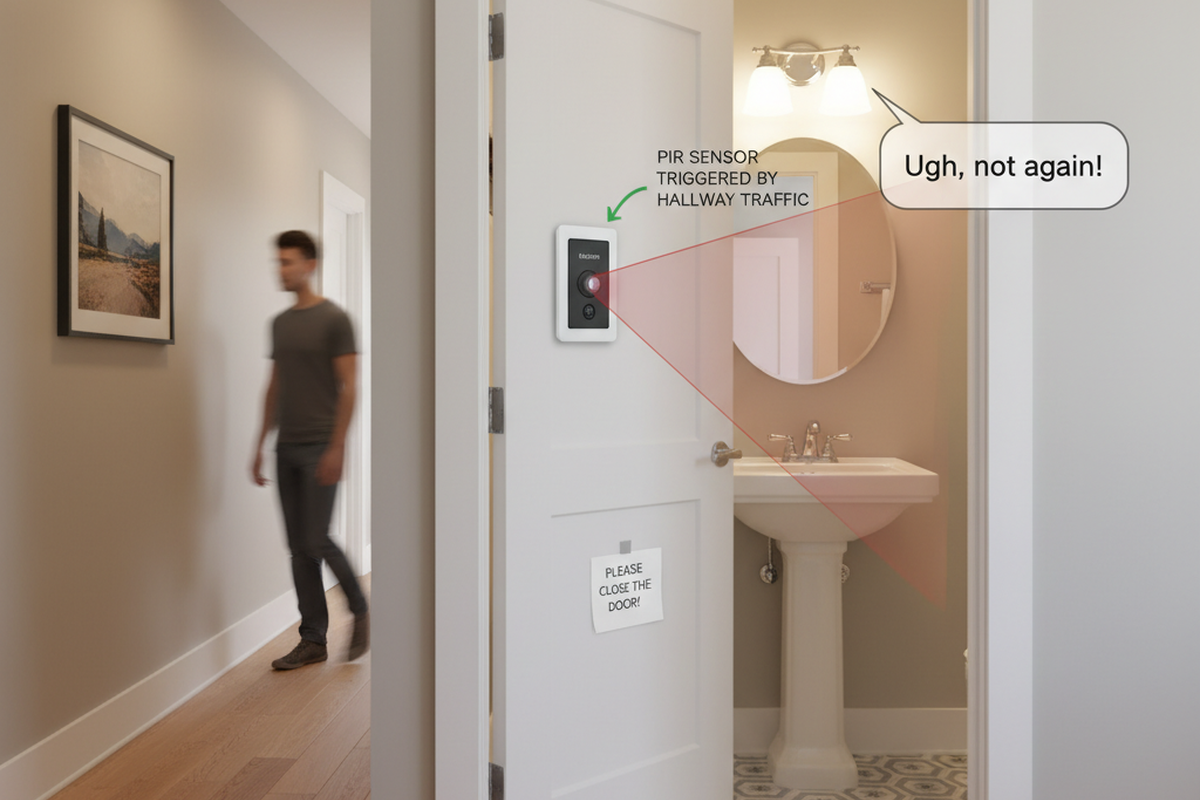
Выключатель с датчиком движения работает по совершенно иной логике. Он использует пассивное инфракрасное сканирование для обнаружения входящего в помещение человека и включает свет. Когда движение не обнаруживается в течение заданного интервала времени, он выключает свет для экономии энергии. Назначение этого устройства — динамически реагировать на ваше присутствие.
Конфликт неизбежен, если обе системы управляются совместно. Вентилятор должен продолжать работать долгое время после того, как ванная комната опустеет. Светильник с датчиком движения должен выключаться именно потому, что в ванной комнате никого нет. Если один датчик движения управляет обоими устройствами, он отключит питание вентилятора в середине цикла, что сведет на нет его функцию. Если обоими устройствами управляет таймер, свет будет гореть 30 минут в пустой комнате, расходуя электроэнергию. Это не просто неудобство монтажа, а фундаментальное противоречие двух несовместимых принципов автоматизации.
Почему независимое подключение — единственное надежное решение
Решение заключается в том, чтобы предоставить каждому устройству эксклюзивное управление своей нагрузкой. Датчик движения управляет светом. Таймер управляет вентилятором. Они работают по параллельным цепям и не создают помех друг для друга.
Такое разделение предотвращает две основные проблемы:
Ищете энергосберегающие решения с датчиками движения?
Свяжитесь с нами, чтобы заказать готовые PIR-датчики движения, энергосберегающие устройства с активацией по движению, выключатели с датчиками движения, а также коммерческие решения контроля присутствия (Occupancy/Vacancy).
Конфликты времени работы. Задержка отключения датчика движения обычно небольшая — максимум несколько минут, чтобы свет не горел в пустом помещении. Цикл работы вентилятора продолжительный, часто до 30 минут, чтобы полностью удалить влагу. Если датчик движения подключен к вентилятору, он всегда будет прерывать цикл вентиляции раньше времени. Независимое подключение позволяет вентилятору завершить работу спустя долгое время после того, как датчик отключит свет.
Электрические помехи и нагрузка на компоненты. Датчики движения содержат чувствительные электронные компоненты. Электродвигатели вентиляторов, особенно старых моделей, при отключении могут создавать электрические помехи или всплески обратной ЭДС, что может нарушить работу схемы датчика. Принудительное переключение датчиком одновременно осветительной нагрузки и мотора вентилятора может привести к нестабильной работе, ложным срабатываниям или сокращению срока службы устройства. Кроме того, таймер может быть не рассчитан на суммарную нагрузку. Разделение нагрузок гарантирует работу каждого устройства в предназначенном для него режиме.
Таким образом, решение состоит не в том, чтобы заставить их работать совместно, а в том, чтобы исключить любое их взаимодействие.
Надежная архитектура: одно устройство — одна задача
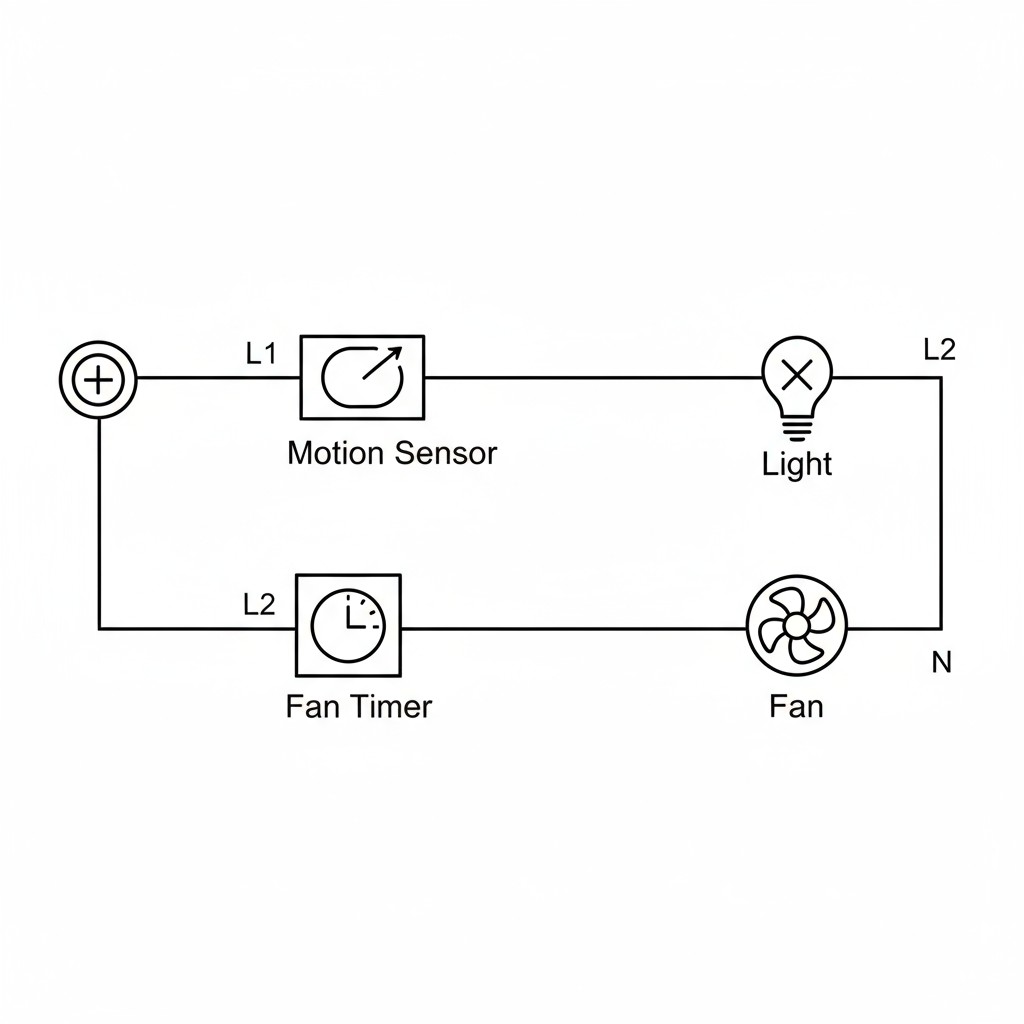
The recommended wiring is simple, assuming your bathroom has two separate switched circuits—one for the light and one for the fan, which is standard in most modern homes.
The Rayzeek motion sensor replaces the existing manual light switch. Its “line” terminal connects to the incoming hot wire, and its “load” terminal connects to the wire running to the light fixture. Once the neutral and ground are connected according to standard practice, the sensor has exclusive control over the lights.
The existing fan timer remains exactly where it is, with its wiring untouched. It continues to control the fan independently. When you activate the timer, the fan runs for its set duration and shuts off. Its operation has no effect on the light circuit, and the motion sensor’s activity has no effect on the fan circuit.
This modular approach also simplifies troubleshooting. If the sensor fails, the fan still works. If the timer breaks, the lights are unaffected. Each system can be serviced or upgraded without disturbing the other.
Essential Circuit Requirements
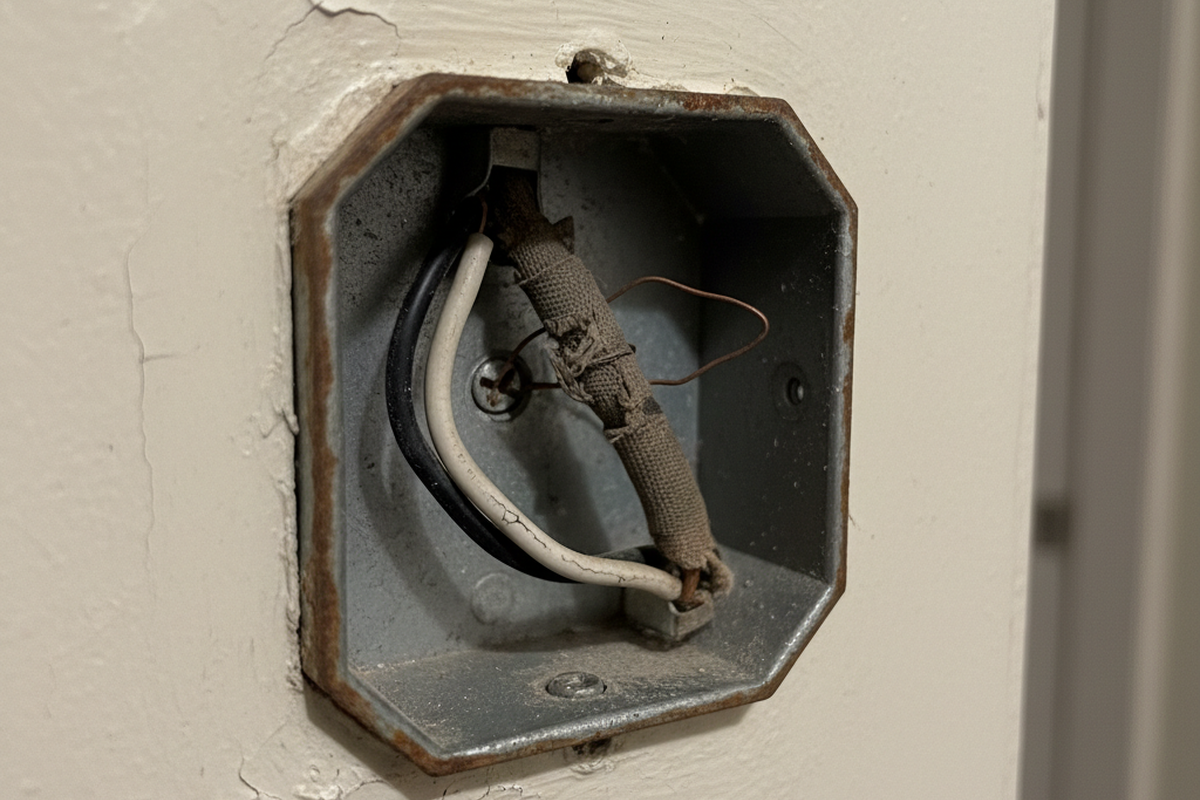
This setup requires that the Rayzeek sensor has access to a neutral wire. Modern sensors need a neutral connection to power their internal circuitry. In older homes, the switch box might only contain a hot and a switched leg, with the neutral running directly to the fixture. If that’s the case, you’ll either need to pull a neutral wire into the box or choose a sensor model specifically designed for no-neutral wiring. Always verify your wiring before purchasing a device.
Возможно, вас заинтересует

- Напряжение: 2 батарейки типа AAA
- Режим День/Ночь
- Задержка времени: 15 мин, 30 мин, 1 ч (по умолчанию), 2 ч
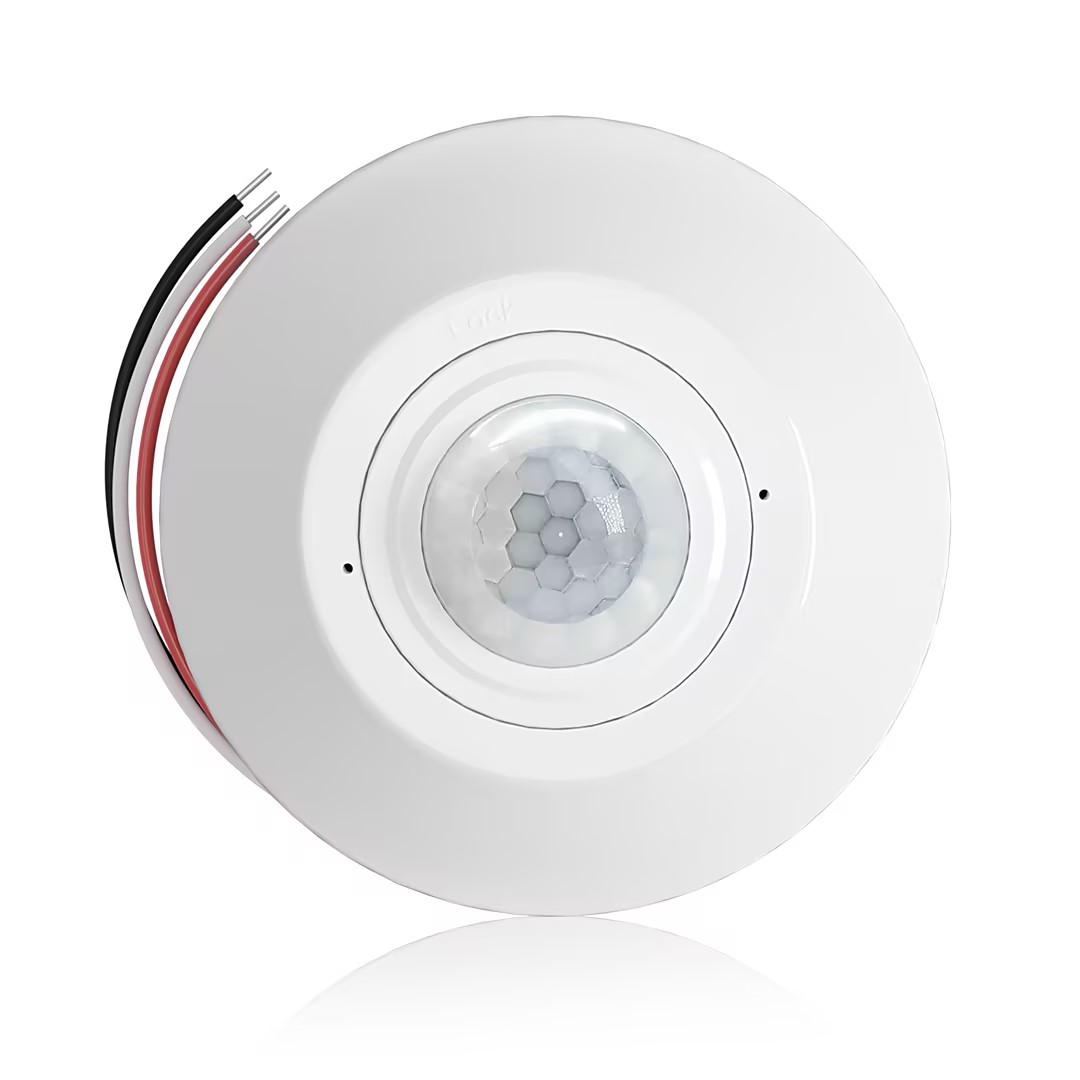
- Потолочный PIR-датчик присутствия с выходом реле с сухими контактами
- Низковольтное питание 12/24VDC или 12/24VAC
- Изолированные контакты реле COM, NO и NC для систем управления зданием (EMS), ОВК (HVAC) и автоматизации
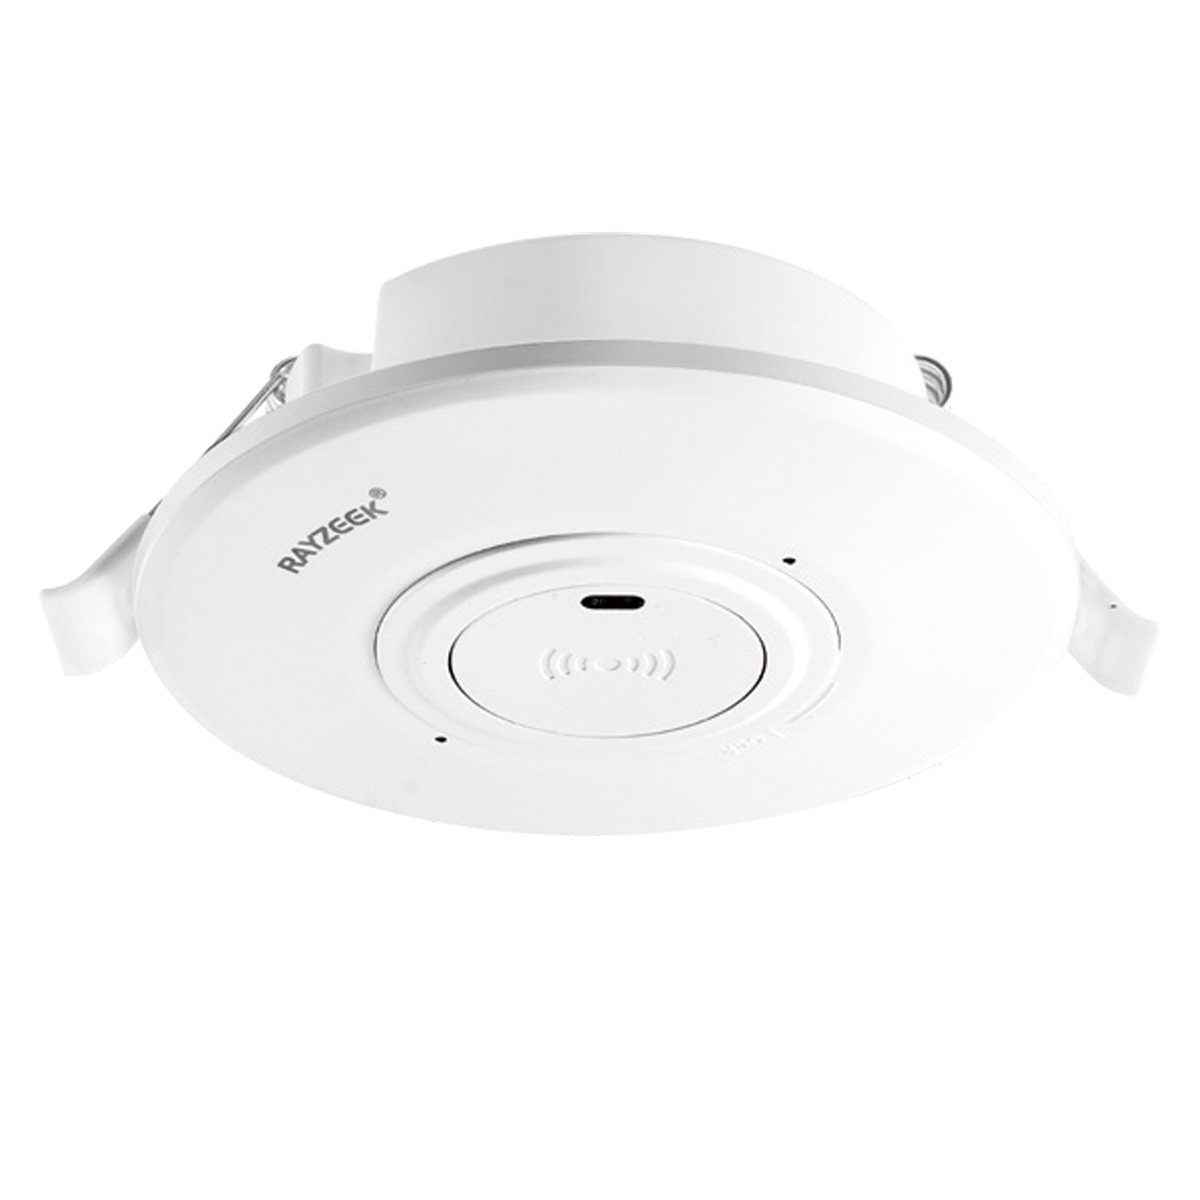
- Низковольтный встраиваемый потолочный микроволновый выключатель с датчиком движения постоянного тока
- Вход 12 VDC / 24 VDC с диапазоном 10-30 VDC
- Максимальный рабочий ток 10A с регулируемой задержкой времени, порогом освещенности (Lux) и чувствительностью
- Встраиваемый в потолок микроволновый датчик движения (выключатель) для повышенной нагрузки
- Входное сетевое напряжение 100-265 VAC, модель на 10A
- Микроволновое обнаружение на частоте 5.8 GHz с регулировкой задержки времени, порога освещенности (Lux) и чувствительности
- Встраиваемый в потолок микроволновый датчик движения (выключатель)
- Входное сетевое напряжение 100-265 VAC, модель на 5A
- Микроволновое обнаружение на частоте 5.8 GHz с регулировкой задержки времени, порога освещенности (Lux) и чувствительности
- Потолочный PIR-датчик присутствия с функцией диммера RZ037 для сетей 220V
- Максимальный рабочий ток 3A с номинальной нагрузкой 660W
- Кнопка LUX управляет включением/выключением датчика освещенности и установленной пользователем яркостью диммирования
- Потолочный PIR-датчик присутствия с функцией диммера RZ037 для сетей 110V
- Максимальный рабочий ток 3A с номинальной нагрузкой 330W
- Кнопка LUX управляет включением/выключением датчика освещенности и установленной пользователем яркостью диммирования
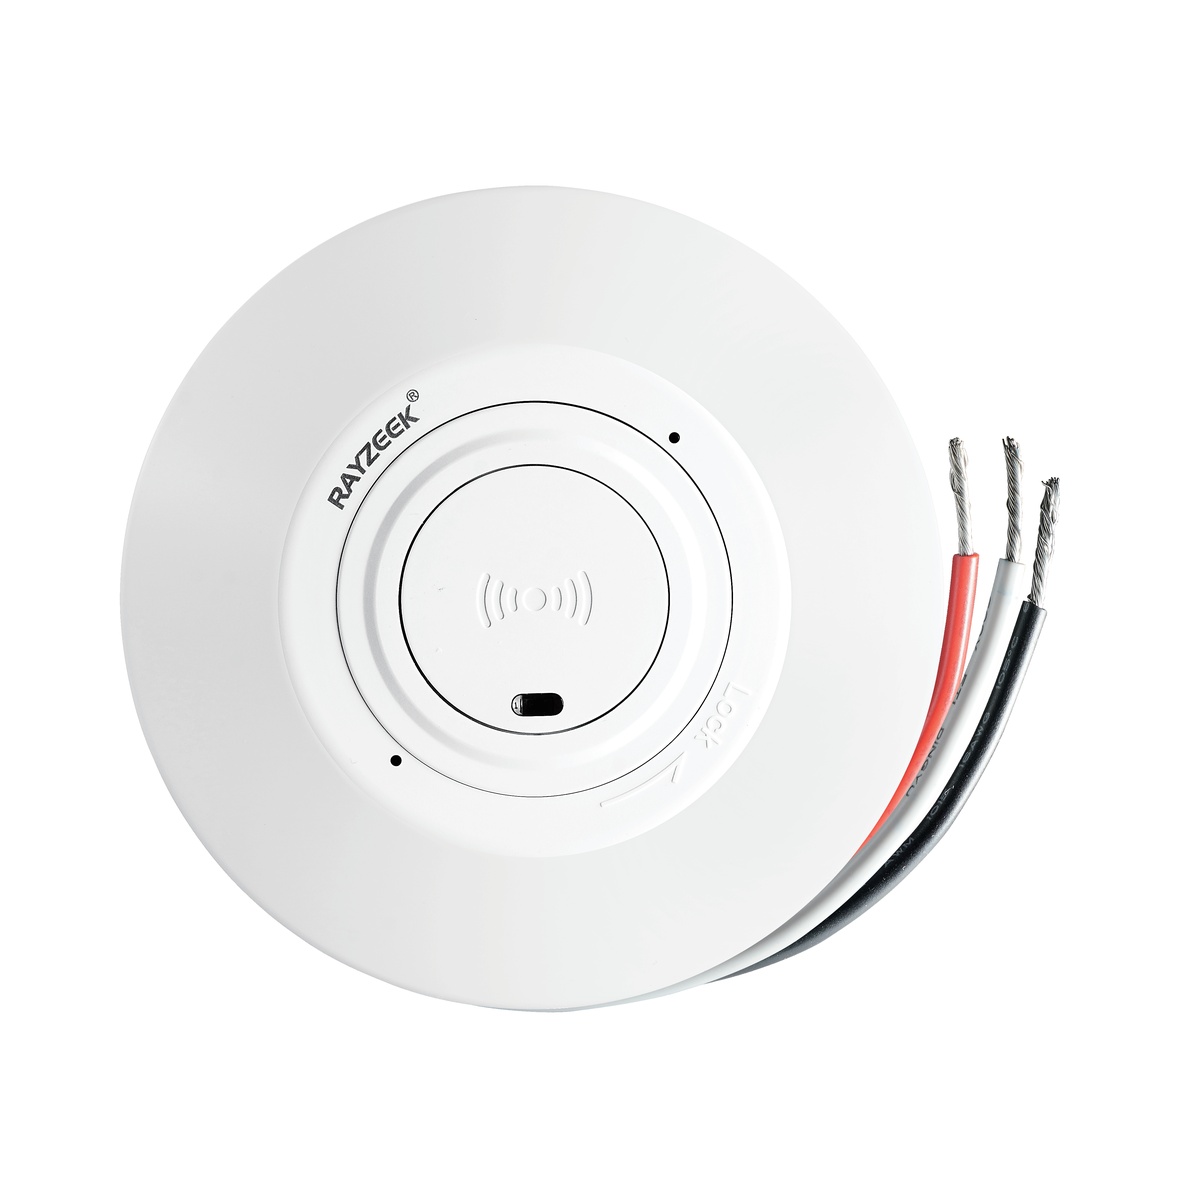
- Низковольтный потолочный микроволновый датчик движения (выключатель) постоянного тока (DC)
- Вход 12 VDC / 24 VDC с диапазоном 10-30 VDC
- Максимальный рабочий ток 10A с регулируемой задержкой времени, порогом освещенности (Lux) и чувствительностью
- Потолочный микроволновый датчик движения (выключатель) для повышенной нагрузки
- Входное сетевое напряжение 100-265 VAC, модель на 10A
- Микроволновое обнаружение на частоте 5.8 GHz с регулировкой задержки времени, порога освещенности (Lux) и чувствительности
- Потолочный микроволновый датчик движения (выключатель)
- Входное сетевое напряжение 100-265 VAC, модель на 5A
- Микроволновое обнаружение на частоте 5.8 GHz с регулировкой задержки времени, порога освещенности (Lux) и чувствительности
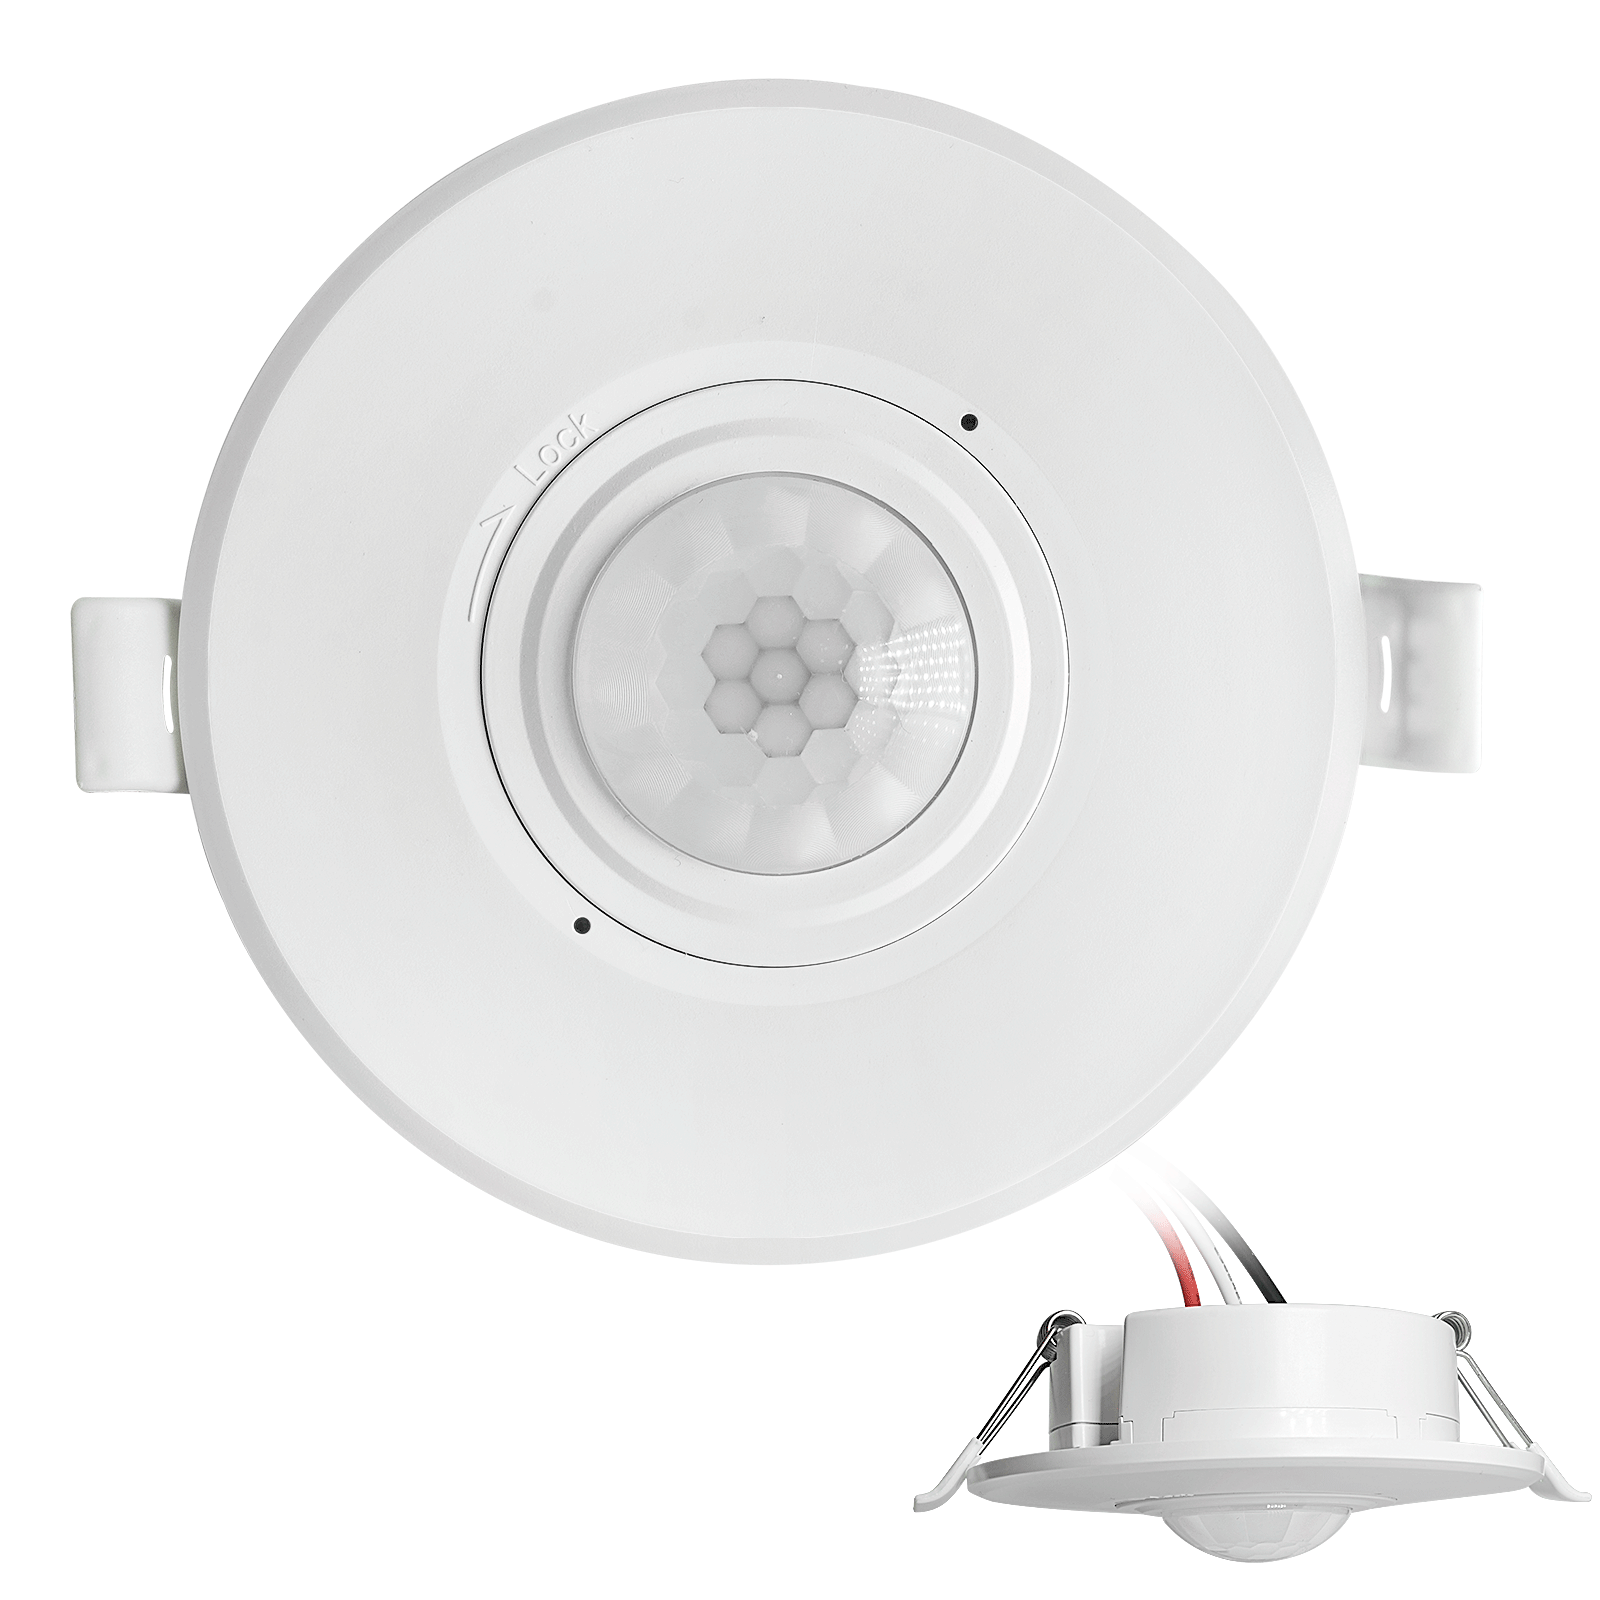
- Низковольтный встраиваемый потолочный датчик-выключатель движения PIR постоянного тока
- Вход 12 VDC / 24 VDC с диапазоном 10-30 VDC
- Максимальный рабочий ток 10 А с регулировкой задержки времени, порога освещенности (Lux) и чувствительности
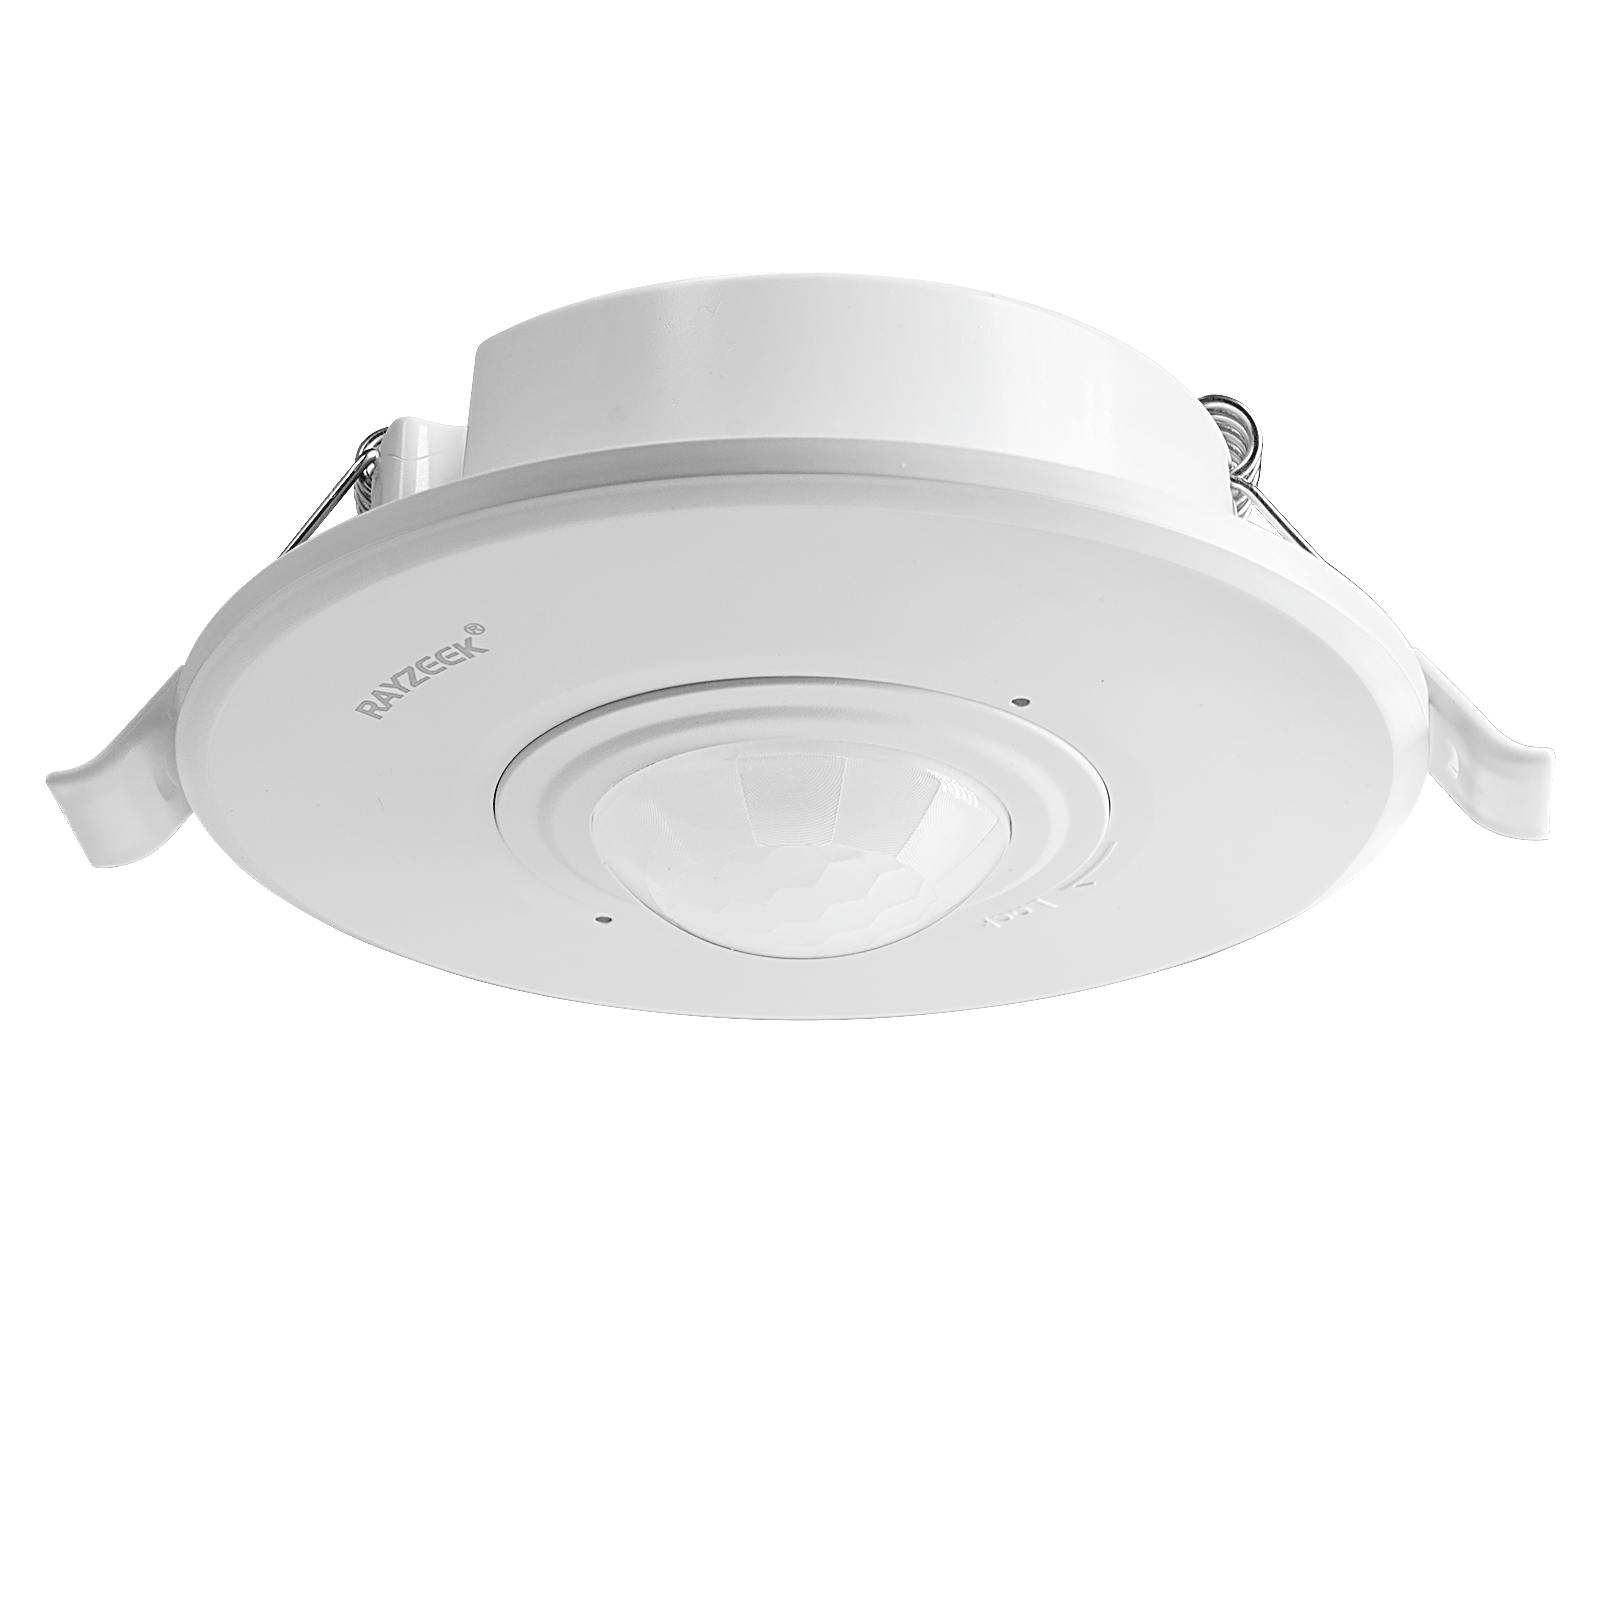
- Встраиваемый потолочный датчик-выключатель движения PIR для повышенной нагрузки
- Входное сетевое напряжение 100-265 VAC, модель на 10A
- Обнаружение на 360 градусов с регулировкой задержки времени, порога освещенности (Lux) и чувствительности
- Встраиваемый потолочный датчик-выключатель движения PIR
- Входное сетевое напряжение 100-265 VAC, модель на 5A
- Обнаружение на 360 градусов с регулировкой задержки времени, порога освещенности (Lux) и чувствительности
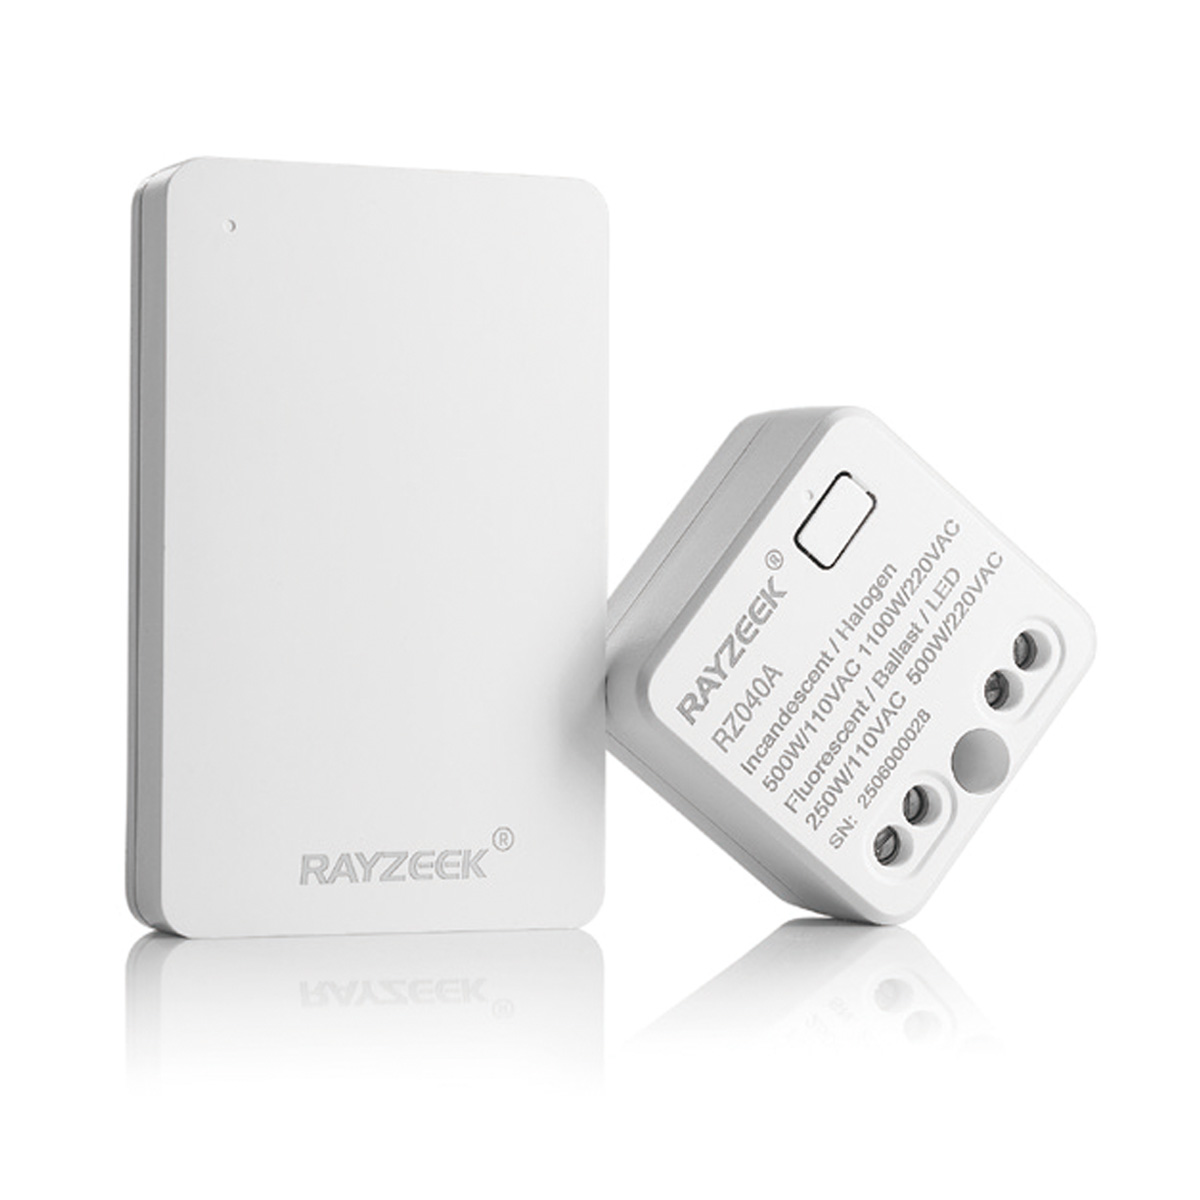
- Комплект из беспроводного выключателя и приемника для управления внутренним освещением (вкл/выкл)
- Приемник 100–230 В переменного тока, 50/60 Гц с номинальным током 5 А
- Беспроводной выключатель на базе батарейки CR2032 с частотой связи 2.4 ГГц
- Контроль присутствия (автоматическое включение и выключение)
- 12–24 В постоянного тока (10–30 В постоянного тока), до 10 А
- Зона покрытия 360°, диаметр обнаружения 8–12 м
- Задержка времени от 15 с до 30 мин
- Датчик освещенности: Выкл / 15 / 25 / 35 Люкс
- Высокая/низкая чувствительность
- Режим присутствия: авто-включение / авто-выключение
- 100–265V AC, 10A (требуется нейтраль)
- Зона покрытия 360°; диаметр обнаружения 8–12 м
- Задержка времени 15 с–30 мин; Lux ВЫКЛ/15/25/35; Чувствительность Высокая/Низкая
- Режим присутствия: авто-включение / авто-выключение
- 100–265V AC, 5A (требуется нейтраль)
- Зона покрытия 360°; диаметр обнаружения 8–12 м
- Задержка времени 15 с–30 мин; Lux ВЫКЛ/15/25/35; Чувствительность Высокая/Низкая
Proper grounding is also a non-negotiable safety requirement for both the sensor and the timer.
What to Do With a Single-Circuit Constraint
Older homes sometimes have a single circuit serving both the fan and the light. In this scenario, achieving true independent automation is impossible without rewiring. If the sensor and timer are on the same circuit, the sensor will inevitably cut power to both loads when its timeout expires, defeating the fan timer.
The safest approach here is to compromise. Install the Rayzeek motion sensor to control only the light, giving you the primary convenience benefit. Then, replace the fan timer with a simple manual on-off switch. You’ll lose the timed purge function, but you’ll avoid the reliability issues of a conflicting system. You will simply have to remember to turn the fan off manually.
Avoid the temptation to wire the sensor to control both loads on a single circuit. The incompatible timing logic and risk of electrical interference will lead to unpredictable behavior and user frustration. If automated control of both is a must, the only reliable solution is to run a new circuit—a job best left to a professional electrician.
Installation and Configuration Tips
When installing the Rayzeek sensor, turn off the power at the breaker and use a voltage tester to confirm the circuit is dead.
Sensor Positioning
Place the sensor where its detection field covers the bathroom’s main entry and activity areas. Most sensors use a conical field of view, so mounting it near the door and pointed inward is usually effective. Keep it away from direct shower steam, heating vents, or windows where direct sunlight could cause false triggers.
Timeout and Sensitivity Settings
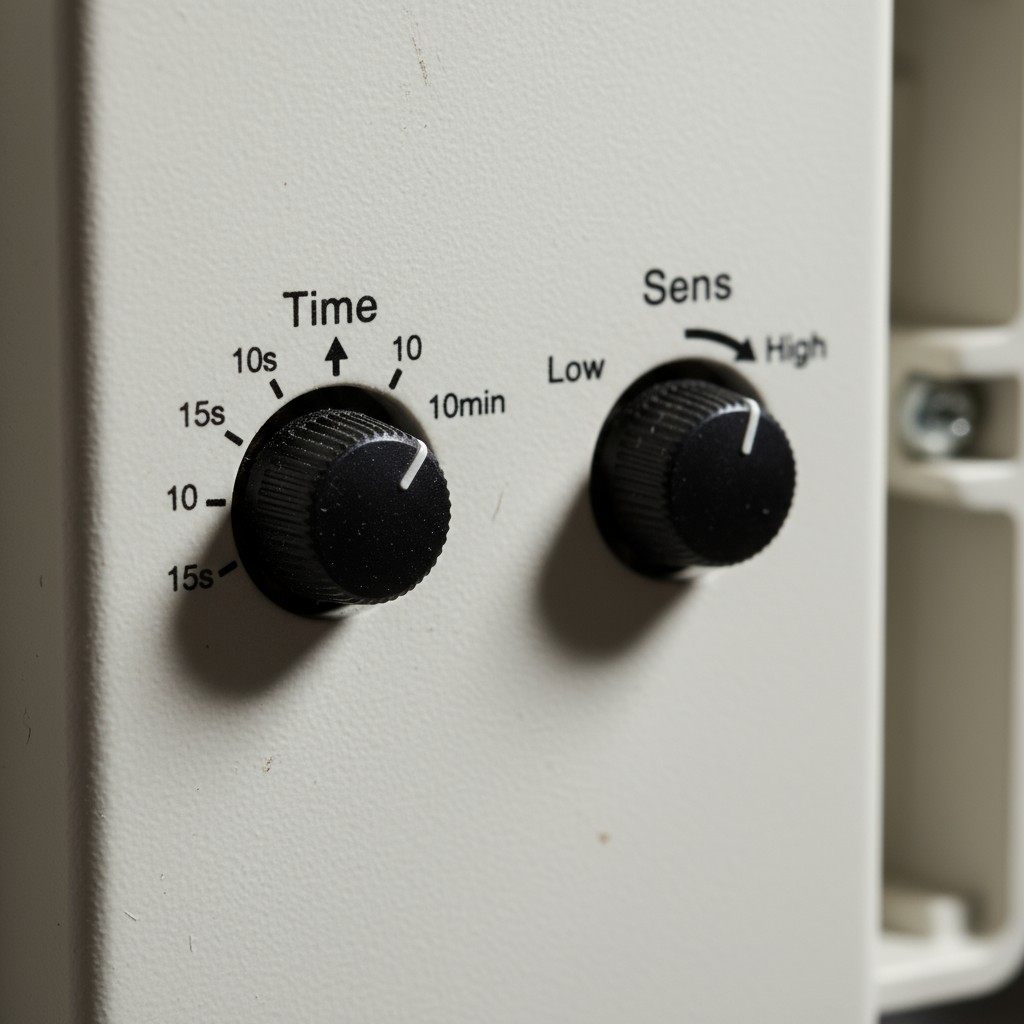
For a bathroom, a longer timeout of one to three minutes is ideal. This prevents the light from shutting off if you’re standing still at the sink or sitting. A timeout that’s too short will force you to wave your arms to turn the light back on, defeating the purpose of the automation.
Start with a moderate sensitivity setting. If the sensor fails to detect you, increase it. If it triggers falsely, reduce it. These settings are typically adjusted with small dials or DIP switches on the device itself. Test the sensor under normal conditions to ensure it activates reliably upon entry and deactivates a few minutes after you leave.
Вдохновляйтесь линейками датчиков движения Rayzeek.
Не нашли то, что искали? Не волнуйтесь, всегда есть альтернативные варианты решения ваших задач. Возможно, вам подойдет одна из наших линеек продукции.
The One Rule to Follow: Don’t Combine Controls
The most critical mistake is wiring a motion sensor to control both the light and the fan. The sensor’s short timeout logic is fundamentally at odds with the fan’s long purge cycle requirement. It will always shut the fan off too soon, leaving the bathroom humid and prone to mold.
If you encounter unexpected behavior, here’s how to troubleshoot:
- Light turns off while you’re in the room? Your timeout is too short or the sensor isn’t positioned to see the whole space.
- Light and fan both shut off together? This is the classic sign that they’re wired incorrectly to the same sensor. The circuits must be separated.
- Fan doesn’t shut off? The timer itself is likely faulty.
When wired correctly, the system is seamless. The light turns on when you enter and off when you leave. The fan runs for its full cycle when you tell it to. Each device performs its task independently and predictably, giving you a smarter, more convenient bathroom without the headaches.