Escritórios domésticos geram um tipo específico de frustração: você está lendo, programando ou concentrado em uma videochamada, e as luzes se apagam como se a sala tivesse decidido que você saiu. Em seguida, vem o mexer de ombros, o aceno sem jeito de braço ou o rolar da cadeira feito unicamente para manter as luzes acesas. Parece ridículo e quebra o foco.
A maioria das pessoas supõe que isso acontece porque o sensor é “fraco” ou “barato”. Em ambientes de trabalho em mesa, o sensor raramente é fraco; ele geralmente está apenas apontado para o trecho errado da sala. O tempo de desligamento automático é configurado para um corredor, mas o uso é estacionário.
Um segundo problema se esconde atrás do primeiro. Se você tentar resolver isso apenas “aumentando a sensibilidade”, muitas vezes troca uma perturbação (desligamento falso) por outra (acionamento falso aleatório). Animais de estimação, correntes de ar do HVAC e ventiladores de teto começam a acionar as luzes.
Um tempo de atraso maior e uma “visão” melhor geralmente resolvem isso sem transformar o escritório em um ambiente mal-assombrado.
O problema do aceno de braço (e por que geralmente não é um “sensor ruim”)
Os desligamentos falsos em mesas seguem um padrão. O interruptor fica ao lado da porta, a mesa fica mais ao fundo da sala e a luz indicadora do sensor detecta o movimento com precisão—só não a pessoa no teclado. Isso aparece nos registros de chamados com tanta frequência que é quase uma categoria própria: “sensor do escritório desliga”.”
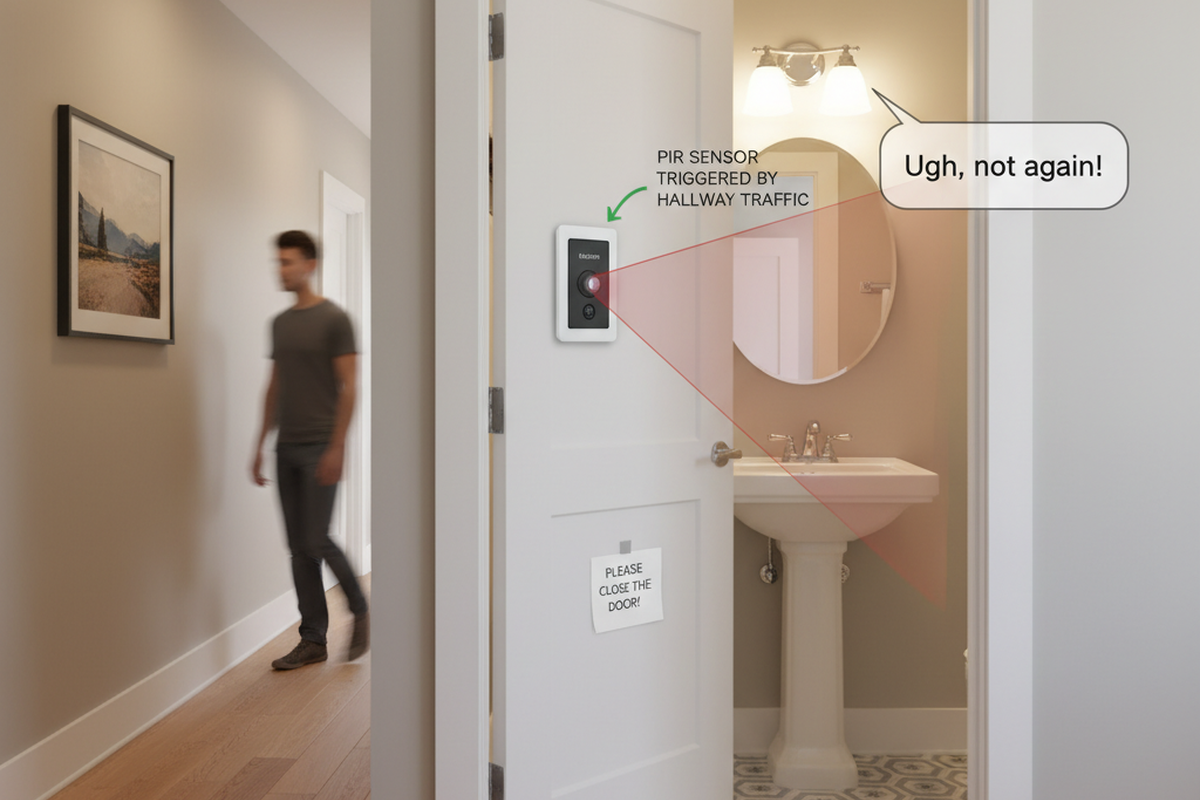
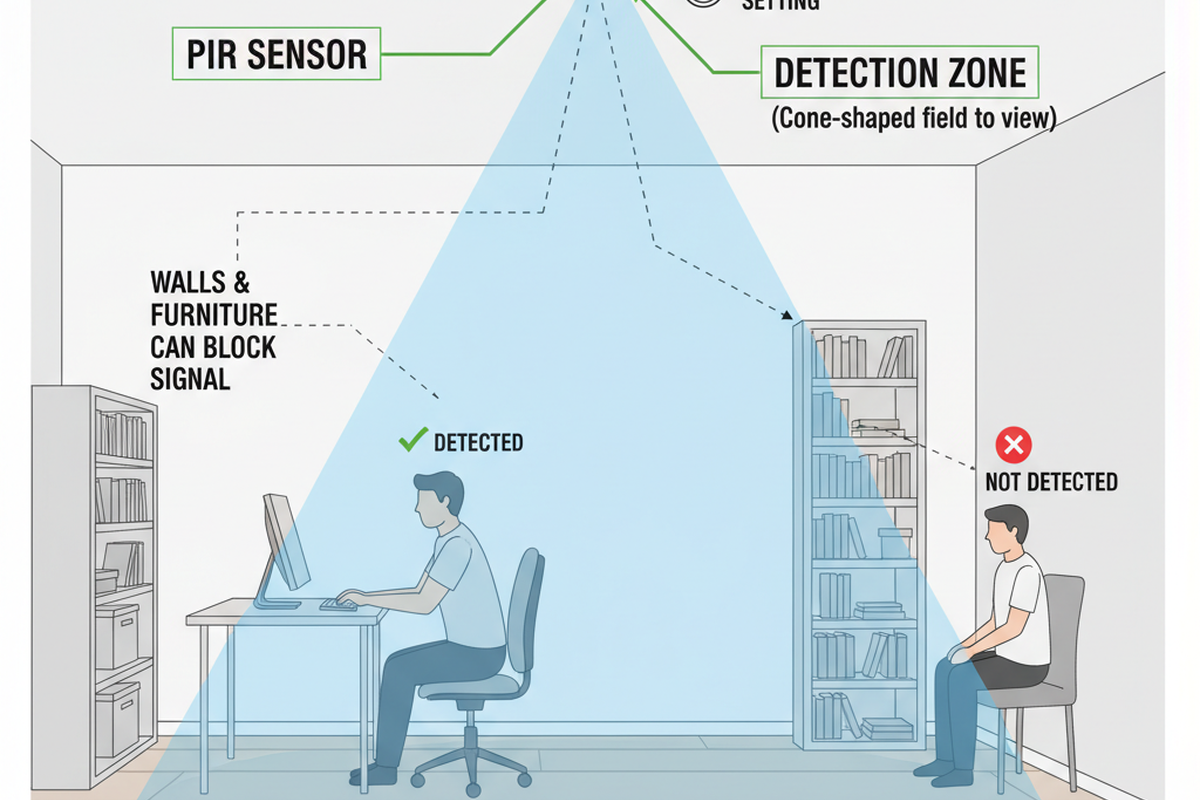
Para entender o motivo, imagine o interruptor de parede como uma câmera montada na entrada da porta. Se essa câmera apontar para o centro vazio da sala, para o movimento da porta ou para o corredor, ela pode estar “funcionando” perfeitamente e, ainda assim, perder a atividade relevante na mesa. Um teste sentado usando o LED indicador revela isso instantaneamente: se o LED mal pisca enquanto você digita, o sensor não é muito fraco. Ele simplesmente não está vendo o movimento que importa.
As pessoas também se confundem no modo sem perceber. “Ele liga quando eu passo” é um problema diferente de “ele desliga enquanto estou trabalhando”.” Modo de presença é acendimento automático/desligamento automático. Modo de vacância é acendimento manual/desligamento automático. Em escritórios—especialmente aqueles com janelas voltadas para o norte ou parceiros com horários diferentes—o modo de vacância é frequentemente a solução silenciosa. Ele elimina os incômodos acendimentos falsos enquanto ainda evita o consumo durante a noite toda.
Um atraso maior não é uma falha moral. Em uma sala pequena com iluminação LED, a diferença de custo entre um tempo de desligamento de 5 minutos e de 15 minutos é insignificante, mas o custo da interrupção é real. Um atraso razoável reconquista a confiança. Quando as pessoas confiam na automação, elas param de ignorá-la usando luminárias de mesa e soluções improvisadas que acabam ficando acesas 24 horas por dia, 7 dias por semana.
Um modelo mental rápido: trate o PIR como uma câmera
Um sensor PIR não mede a “presença” da forma como um ser humano a entende. Ele responde ao movimento em seu campo de visão, especificamente ao movimento que cruza suas zonas de detecção. O trabalho de mesa apresenta um desafio porque digitar e usar o mouse são movimentos minúsculos, muitas vezes direcionados para frente ou para trás em relação ao sensor, e não cruzando-o. Monitores frequentemente bloqueiam as partes do corpo que mais se movem.
Mantenha o modelo mental simples: trate o sensor como uma câmera com enquadramento fixo. Faça três perguntas:
- O que está no enquadramento? A partir do local de montagem do interruptor, o sensor está apontado para a mesa ou por cima dela? Ele está vendo principalmente a entrada da porta, o corredor ou uma janela com variação de iluminação?
- Does the desk motion register? When you are seated, do your natural movements—hands, shoulders, head—cross the sensor’s “grid,” or do they look like nothing?
- Is the background noisy? Is a fan or heater vent competing for attention?
Don’t touch sensitivity yet.
If you change sensitivity first, you often get rewarded in the worst way: the light stays on longer, but for the wrong reasons. In small rooms with glass doors or corridor exposure, max sensitivity makes the sensor pick up movement that isn’t occupancy. The light becomes chatty, turning on when someone walks by or retriggering when a reflection shifts. If you then increase the time delay to stop the false-offs, those wrong triggers keep the light on even longer. That’s how “fix false-off” becomes “now it’s on all day.”
Você Também Pode Se Interessar Por

- Tensão: 2 Pilhas AAA
- Modo Dia/Noite
- Atraso de tempo: 15min, 30min, 1h(padrão), 2h
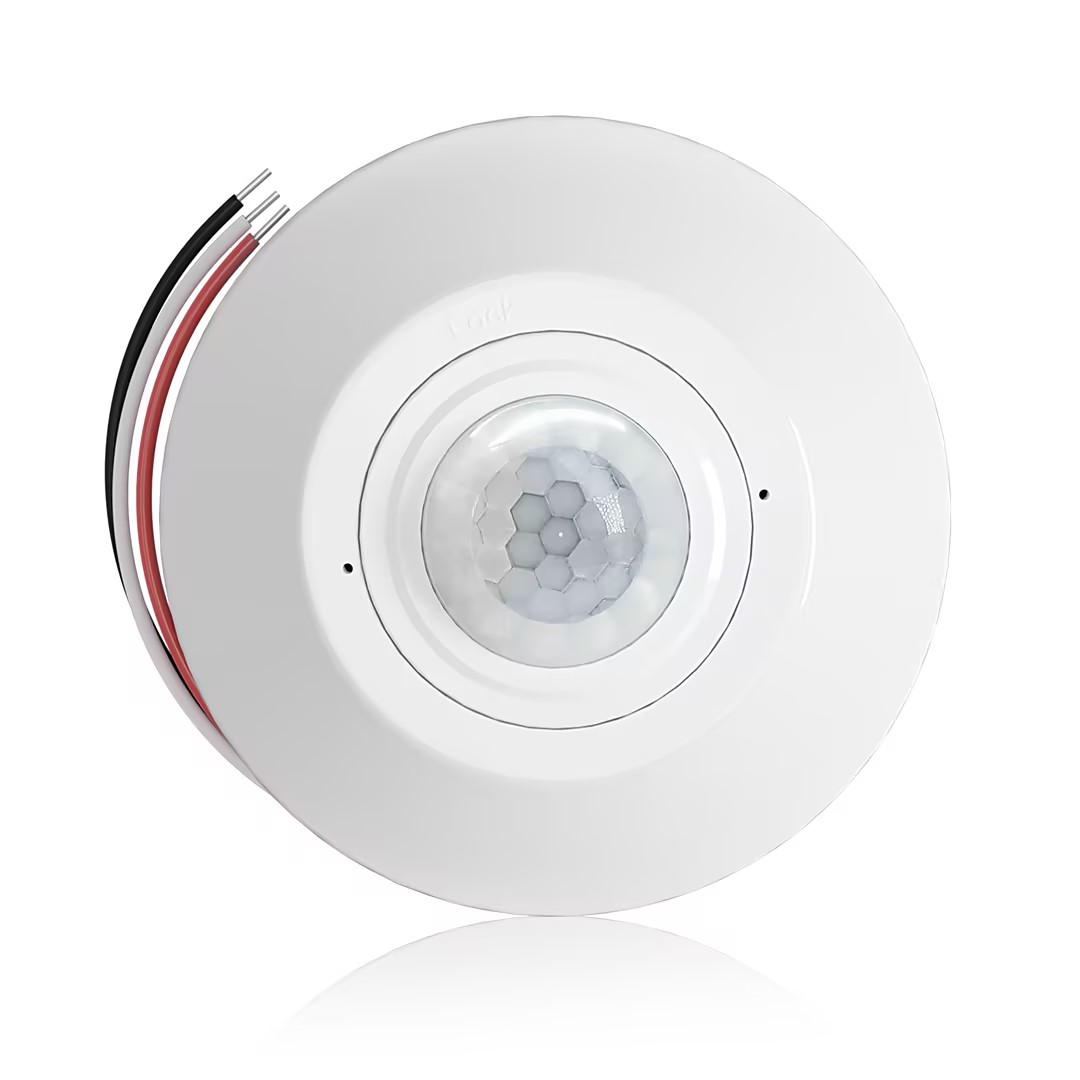
- Sensor de ocupação PIR para montagem no teto com saída de relé de contato seco
- Alimentação de baixa tensão de 12/24VDC ou 12/24VAC
- Contatos de relé isolados COM, NO e NC para entradas de EMS, HVAC e controle predial
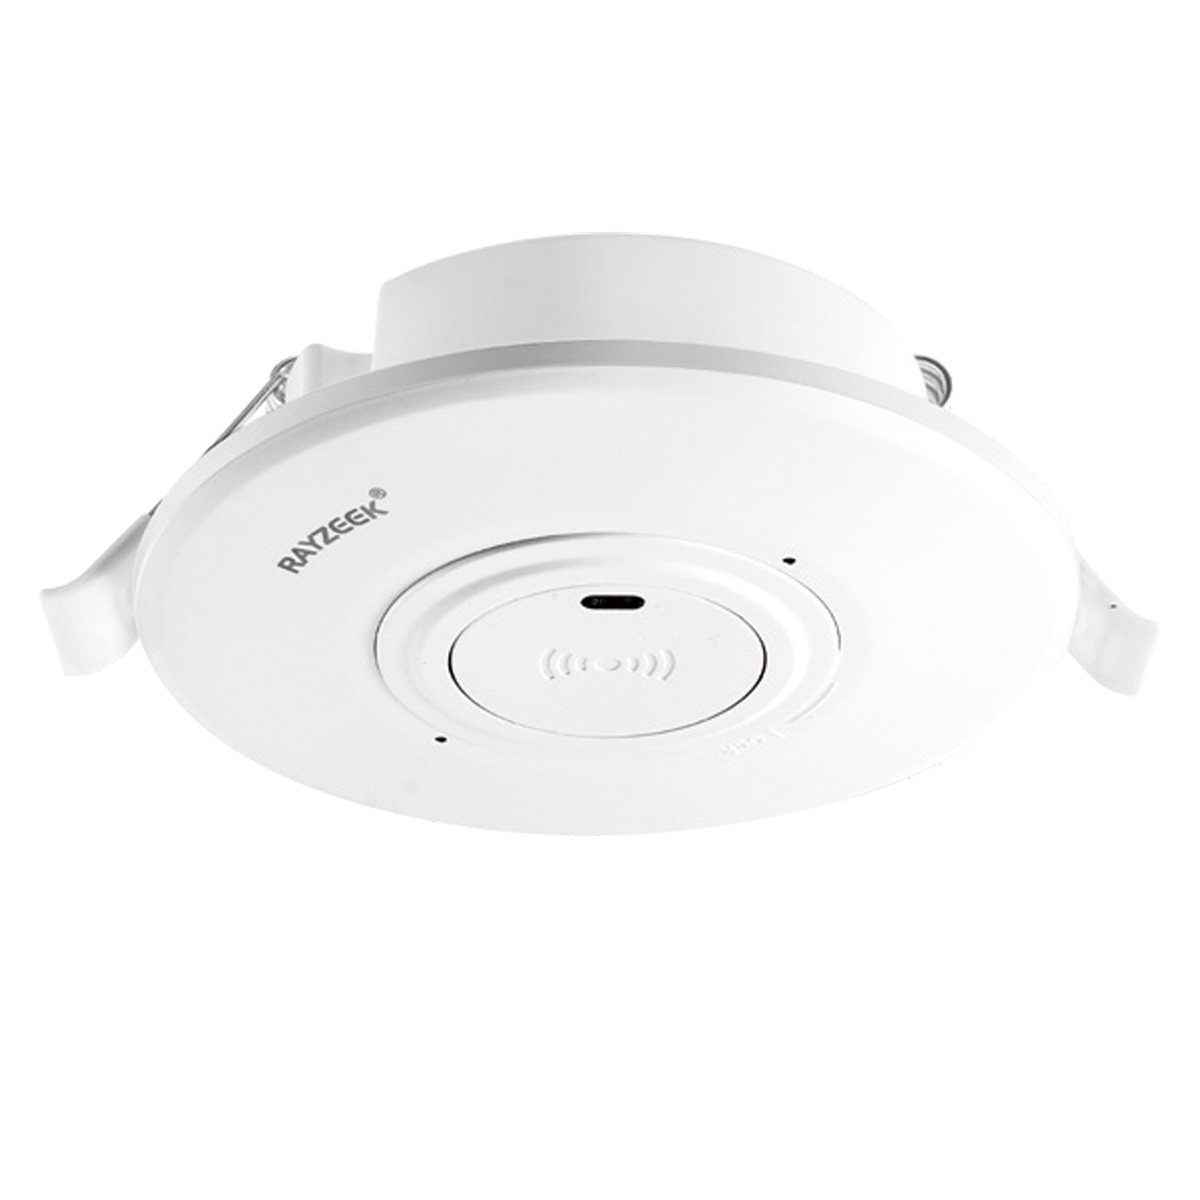
- Interruptor sensor de movimento de micro-ondas embutido no teto em baixa tensão CC
- Entrada de 12 VDC / 24 VDC com faixa de 10-30 VDC
- Corrente máxima de trabalho de 10A com tempo de retardo, limite Lux e sensibilidade ajustáveis
- Interruptor sensor de movimento de micro-ondas embutido no teto para maior carga
- Entrada de tensão de rede de 100-265 VAC, modelo 10A
- Detecção de micro-ondas de 5,8 GHz com tempo de atraso, limite de Lux e sensibilidade ajustáveis
- Interruptor de sensor de movimento de micro-ondas embutido para teto
- Entrada de tensão de rede de 100-265 VAC, modelo 5A
- Detecção de micro-ondas de 5,8 GHz com tempo de atraso, limite de Lux e sensibilidade ajustáveis
- Dimmer de sensor de presença PIR para teto RZ037 para alimentação de 220V
- Corrente máxima de trabalho de 3A com carga nominal de 660W
- O botão LUX controla o Ligar/Desligar do sensor de luz e o brilho de dimerização definido pelo usuário
- Dimmer de sensor de presença PIR para teto RZ037 para alimentação de 110V
- Corrente máxima de trabalho de 3A com carga nominal de 330W
- O botão LUX controla o Ligar/Desligar do sensor de luz e o brilho de dimerização definido pelo usuário
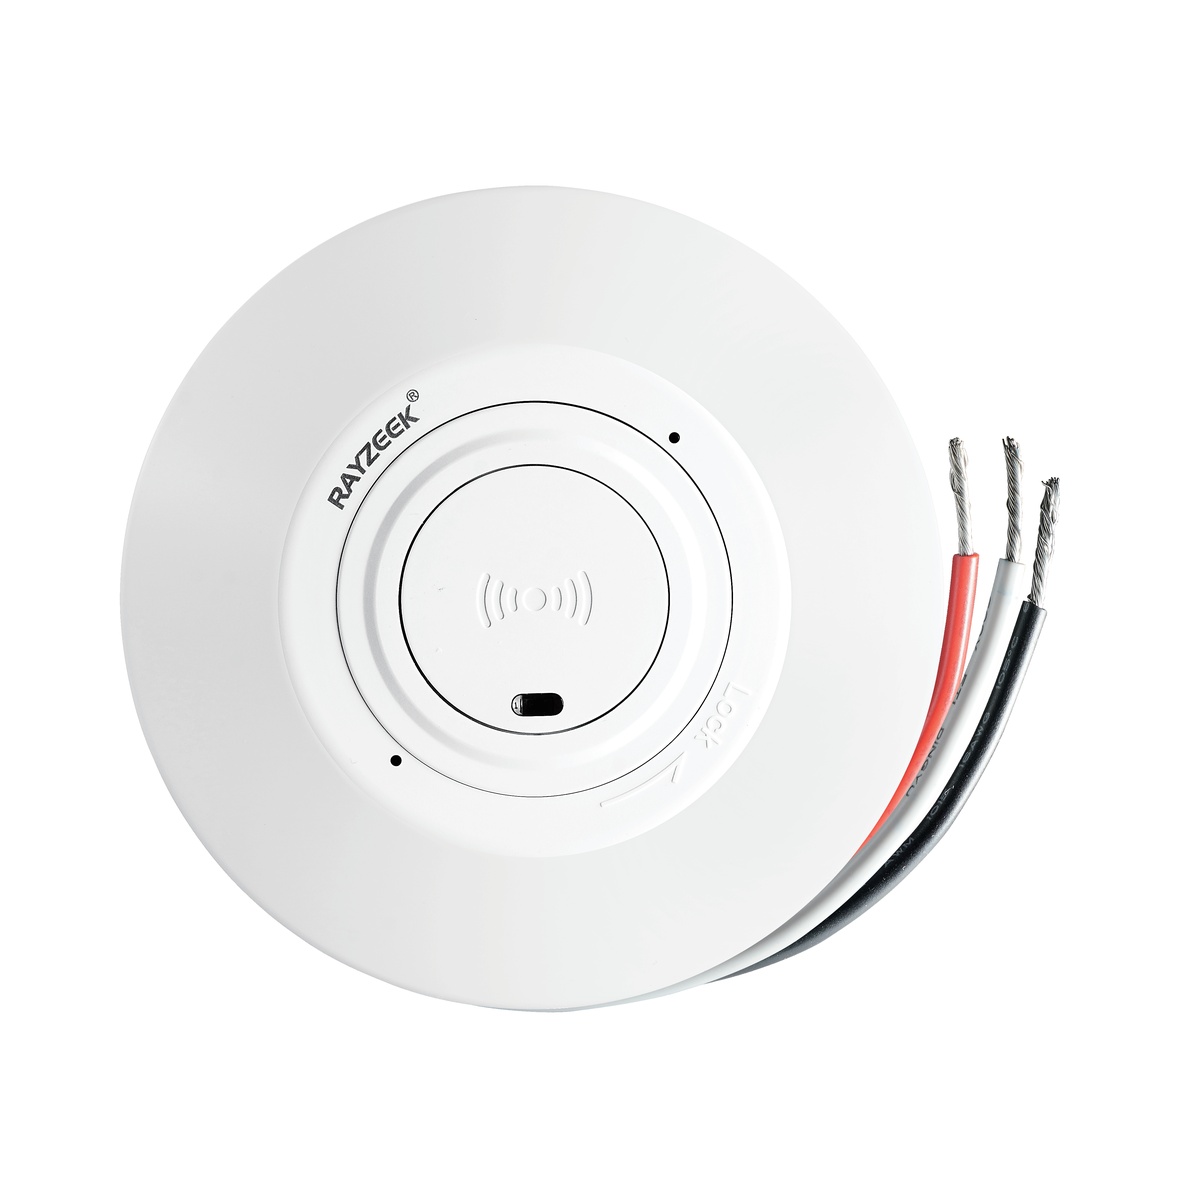
- Interruptor de sensor de movimento de micro-ondas para teto em baixa tensão CC
- Entrada de 12 VDC / 24 VDC com faixa de 10-30 VDC
- Corrente máxima de trabalho de 10A com tempo de retardo, limite Lux e sensibilidade ajustáveis
- Interruptor de sensor de movimento de micro-ondas para teto de maior carga
- Entrada de tensão de rede de 100-265 VAC, modelo 10A
- Detecção de micro-ondas de 5,8 GHz com tempo de atraso, limite de Lux e sensibilidade ajustáveis
- Interruptor com sensor de movimento por micro-ondas para montagem no teto
- Entrada de tensão de rede de 100-265 VAC, modelo 5A
- Detecção de micro-ondas de 5,8 GHz com tempo de atraso, limite de Lux e sensibilidade ajustáveis
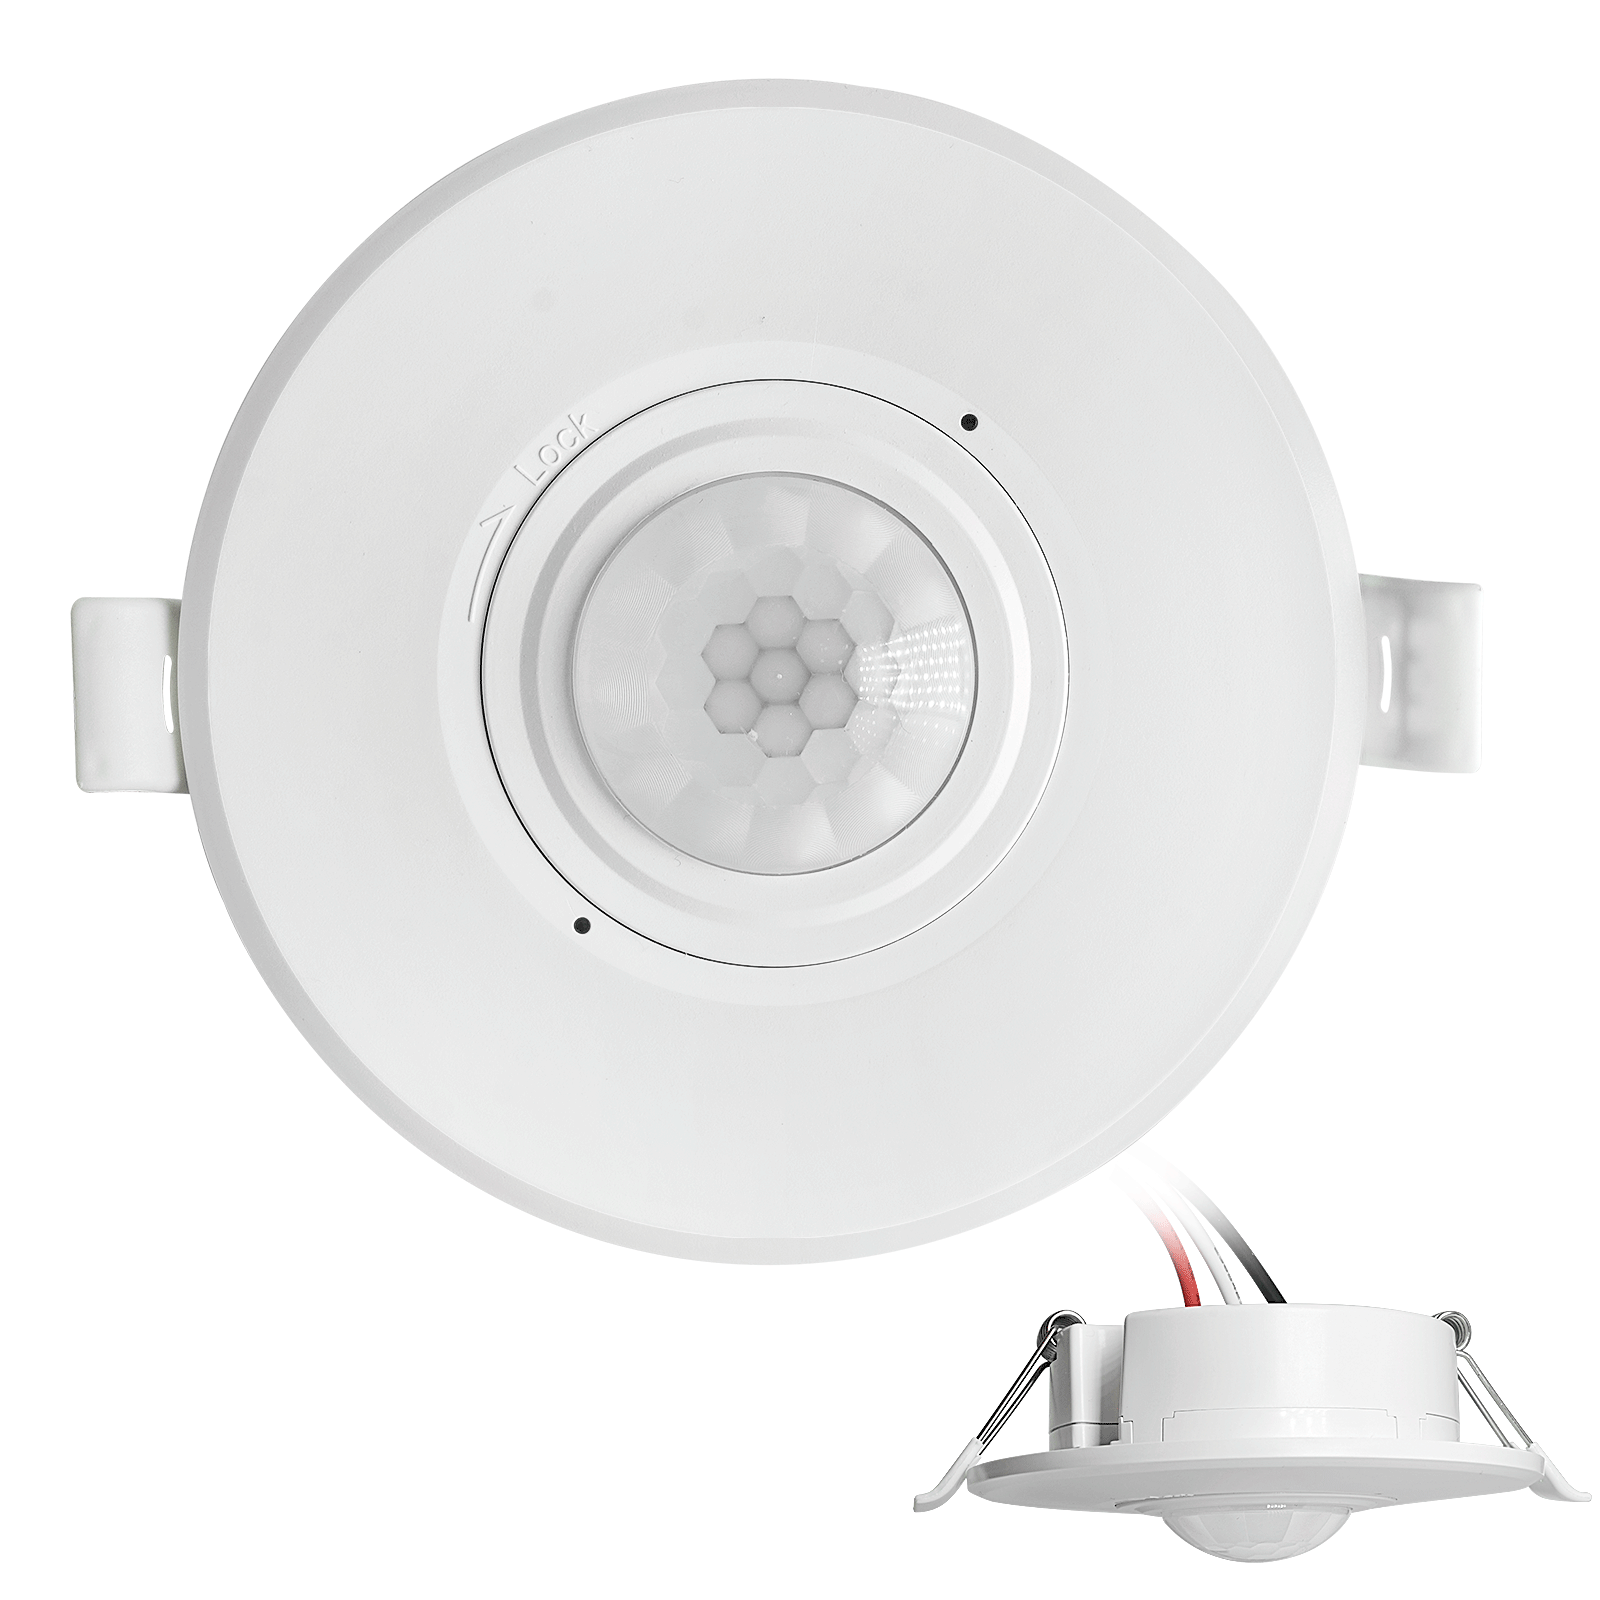
- Interruptor com sensor de movimento PIR de teto embutido CC de baixa tensão
- Entrada de 12 VDC / 24 VDC com faixa de 10-30 VDC
- Corrente máxima de trabalho de 10A com tempo de atraso, limite de Lux e sensibilidade ajustáveis
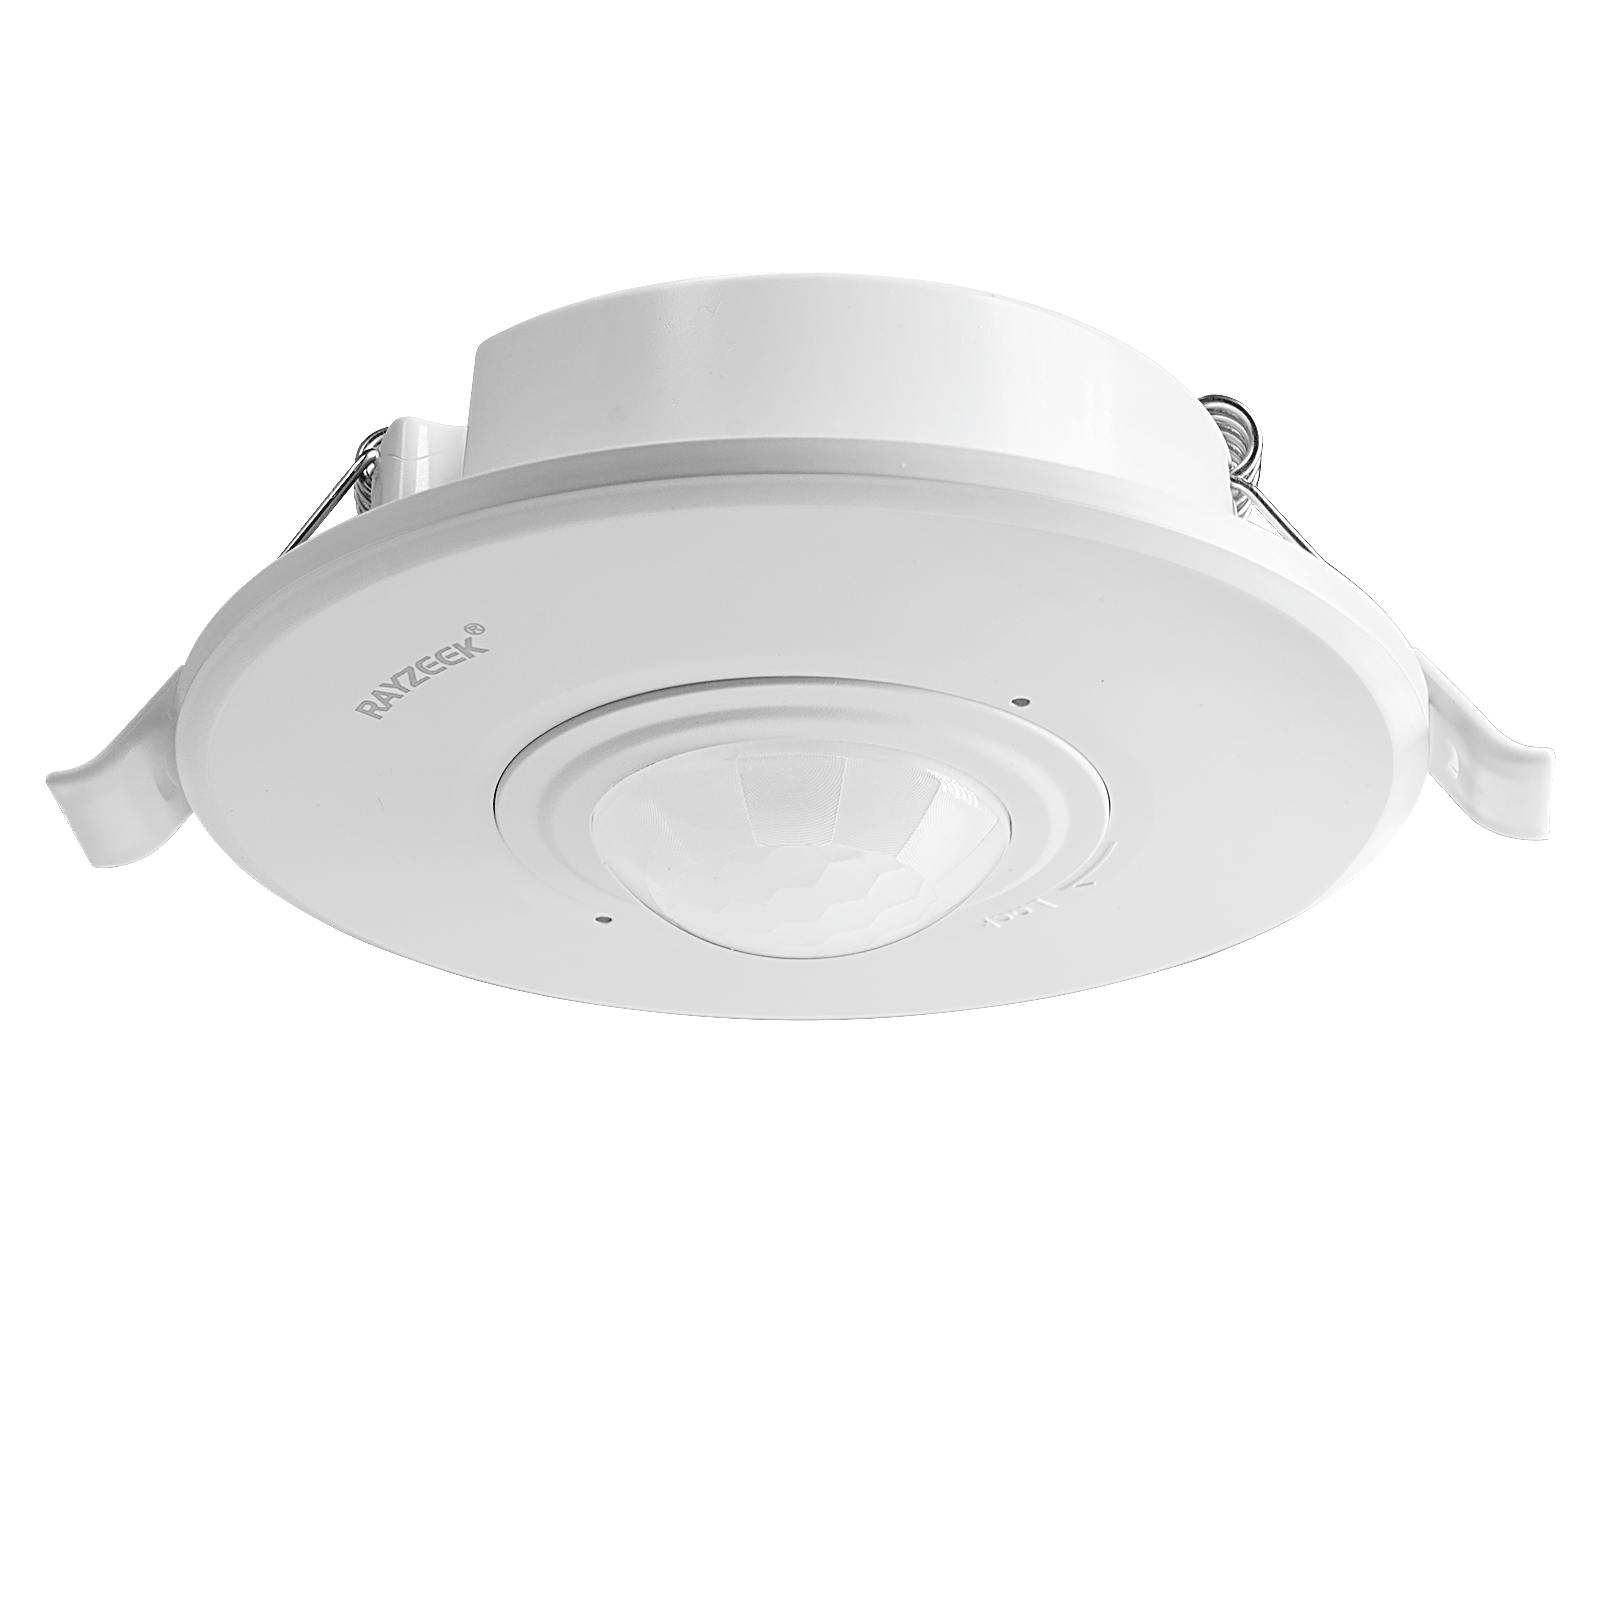
- Interruptor com sensor de movimento PIR de teto embutido para maior carga
- Entrada de tensão de rede de 100-265 VAC, modelo 10A
- Detecção de 360 graus com tempo de atraso, limite de Lux e sensibilidade ajustáveis
- Interruptor com sensor de movimento PIR de teto embutido
- Entrada de tensão de rede de 100-265 VAC, modelo 5A
- Detecção de 360 graus com tempo de atraso, limite de Lux e sensibilidade ajustáveis
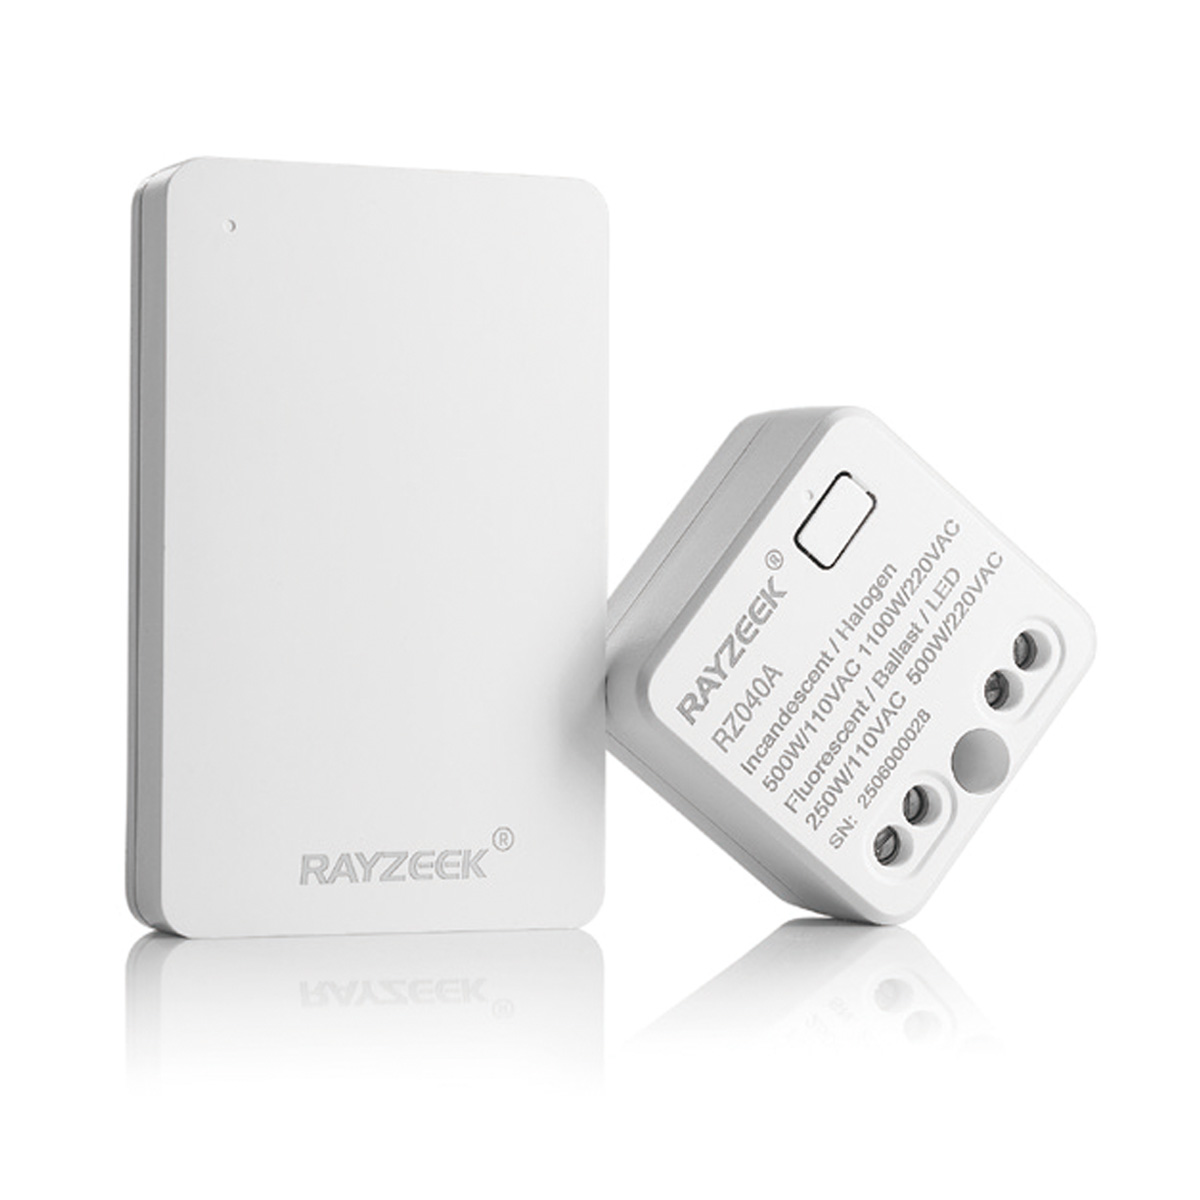
- Kit de receptor e interruptor sem fio para controle de iluminação LIGA/DESLIGA em ambientes internos
- Receptor de 100-230VAC, 50/60Hz com corrente nominal de 5A
- Interruptor sem fio alimentado por CR2032 com comunicação de 2,4 GHz
- Ocupação (LIGA automático/DESLIGA automático)
- 12–24V CC (10–30VDC), até 10A
- Cobertura de 360°, 8–12 m de diâmetro
- Temporização: 15 s–30 min
- Sensor de luz: Desligado/15/25/35 Lux
- Sensibilidade Alta/Baixa
- Modo de ocupação Liga-Automático/Desliga-Automático
- 100–265V AC, 10A (neutro obrigatório)
- Cobertura de 360°; diâmetro de detecção de 8–12 m
- Temporização: 15 s–30 min; Lux DESLIGADO/15/25/35; Sensibilidade Alta/Baixa
- Modo de ocupação Liga-Automático/Desliga-Automático
- 100–265V AC, 5A (neutro obrigatório)
- Cobertura de 360°; diâmetro de detecção de 8–12 m
- Temporização: 15 s–30 min; Lux DESLIGADO/15/25/35; Sensibilidade Alta/Baixa
Keep the problem tight. Change only two knobs at first: what the sensor can see (aim, coverage, placement) and the time delay. Lock everything else for a couple of days. Measure one thing: how many nuisance shutoffs happen per day during real work. Once that stabilizes, sensitivity becomes last-mile tuning rather than desperate guessing.
The 60-Second Sit-Test (Before Buying Anything)
The sit-test is embarrassingly simple, which is why it works.
Sit exactly how you actually work: hands on keyboard, eyes on screen, shoulders relaxed. Don’t “perform motion.” Watch the sensor’s indicator LED. If it barely reacts during normal work, the diagnosis is practically done: the sensor’s frame isn’t intersecting with meaningful motion.
From there, treat the fix like a controlled experiment. Pick two variables to adjust and leave the rest alone:
- The sensing geometry: Aim the sensor down or across the desk plane if adjustable. Avoid aiming into the doorway or hall. If you can mask the coverage pattern, favor the desk and block the corridor.
- The time delay: Choose a starting point that fits cognitive work, not hallway traffic—often 10 to 20 minutes. Adjust based on real annoyance, not theory.
Write down the number of nuisance shutoffs for 48 hours. A sticky note works. You don’t need a spreadsheet; you just need to break the loop of changing five settings at once and learning nothing.
HVAC and fans matter more than people expect. If a register blows warm air across the sensor, or a ceiling fan creates moving thermal patterns, high sensitivity will read that as “motion.” This looks like random false-ons at night or retriggers when the room is empty. Run the sit-test with the fan on and then off, or with the heat cycling. If the sensor behavior changes, don’t crank the sensitivity. Aim away from the vent, narrow the field, and keep the sensitivity sane.
Inspire-se com os portfólios de sensores de movimento da Rayzeek.
Não encontrou o que procura? Não se preocupe. Sempre existem formas alternativas de resolver seus problemas. Talvez um de nossos portfólios possa ajudar.
Once the sit-test shows what the sensor sees, the effective levers become obvious: mode, delay, and geometry. Sensitivity is not the hero of this story.
The Bad Advice Trap: “Just Crank Sensitivity”
The internet loves one-liner fixes, and “turn it up to max” is the most common.
In real rooms, this reliably creates new problems. A glass door facing a hallway makes a high-sensitivity sensor feel haunted. A 35 lb dog moving through the edge of the room triggers it. A ceiling fan or a warm air plume becomes a motion source the sensor can’t ignore. When you eventually extend the time delay to stop the lights from dying, those false-ons keep the system running longer and more often.
The rebuild is boring, but effective: narrow what the sensor can see, put the desk into that view, pick a humane delay, and only then nudge sensitivity if the room is unusually calm. Sensitivity is a finishing touch, not the foundation.
Start-Here Configuration (Office Defaults That Don’t Punish Stillness)
For a typical desk-bound home office with LED lighting (often pulling just 9–12 watts), the goal isn’t maximum theoretical energy savings. The goal is a control system that respects focus and doesn’t get disabled out of spite.
A “start here” configuration that behaves like a human expects looks like this:
- Use vacancy mode (manual-on, auto-off). Essential if the office gets daylight or if the door faces a busy hallway.
- Set a humane delay. Start with 10–20 minutes for quiet work. Shorten it later only if the office proves it can reliably detect seated work without arm-waving.
- Keep sensitivity in the middle. Unless you have a strong reason to change it, leave it alone. In offices with pets or vents, high sensitivity is the fastest route to false-ons.
- Prioritize the desk view. If the device allows masking or aiming, use it to keep cross-traffic out of frame.
This setup is opinionated for a reason: people disable automation they don’t trust. A long delay in a private office isn’t “waste” if it prevents the user from ripping the sensor out or leaving a separate lamp on all day because the overhead is unreliable.
Respect the coupling, though. If the office door opens straight to a corridor, a longer delay can amplify the pain of false-ons. Control the field of view first (what it sees), then extend the delay (how long it stays on). Otherwise, the system becomes generous to the wrong triggers.
Live with the new settings for 48 hours. The room needs time to show its real behavior during actual work, not during a five-minute tweak session.
Troubleshooting Path: If It Still Times Out (Or Starts Turning On Randomly)
If the system still misbehaves, don’t try every setting in the menu. Observe and change one thing at a time.
Confirm detection during the sit-test, adjust geometry so the desk is in view, and extend the delay. If the sensor cannot reliably “see” meaningful seated motion, stop expecting the menu to fix physics.
Occlusion is often the deciding factor. Tall monitors, partitions, and built-in desk niches create dead zones. A wall switch at the doorway may only see the entrance, while you sit in a small cave of cabinetry and screens. In that layout, even a generous 20-minute timeout is just a bandage. The real fix is adding a second viewpoint—often a discreet corner-mounted or ceiling-adjacent sensor aimed across the desk plane. It sounds like “more stuff,” but it’s often cheaper and calmer than endless settings roulette.
Procurando soluções de economia de energia ativadas por movimento?
Entre em contato conosco para sensores de movimento PIR completos, produtos de economia de energia ativados por movimento, interruptores com sensor de movimento e soluções comerciais de Presença/Ausência (Occupancy/Vacancy).
If you are renting or can’t change the wiring, the architecture changes but the goal remains the same. A renter-safe path might be a plug-in lamp on a controlled outlet paired with a better-placed sensor at desk height. The important shift is accepting constraints instead of fighting them with hacks. If you aren’t sure about line-voltage work, hire a licensed electrician. The goal is a reliable office, not a risky DIY story.
If the problem is “it turns on by itself,” treat HVAC and background motion as suspects before blaming the device. Look for vents, fans, or doorways exposing the sensor to heat signatures. Lowering sensitivity and narrowing coverage often improves behavior more than any “micro-motion” setting. Solving false-ons makes it easier to choose a longer delay without feeling like the light is staying on all day for no reason.
If you’re thinking, “Fine, I’ll just buy an mmWave presence sensor,” that can be a valid escalation. But treat it as an escalation, not a default. Presence sensors introduce their own maintenance costs: firmware changes, router reboots, and platform updates. Before adding that complexity, confirm whether a simple vacancy-mode setup plus correct geometry would have solved it. Many “PIR failures” are actually just bad camera angles.
What “Success” Looks Like
Success in a home office isn’t a sensor that impresses guests. It’s a room where you can sit for a long stretch—reading, thinking, typing—and never once notice the lights. The best configuration is the one that becomes boring.
The only metric worth tracking is nuisance shutoffs per day. If it’s still more than zero after a geometry fix and a humane delay, something is still misaligned. There isn’t a universal perfect number for delay; that’s why ranges exist and why a 48-hour trial beats a confident guess.
This guide skips the deep theory of PIR internals and Fresnel lens physics because knowing it rarely changes what fixes a desk-bound office. The practical levers are view, mode, and delay. If those are right and the room still times out, adding a second sensor viewpoint stops being an upsell and starts being the clean fix.