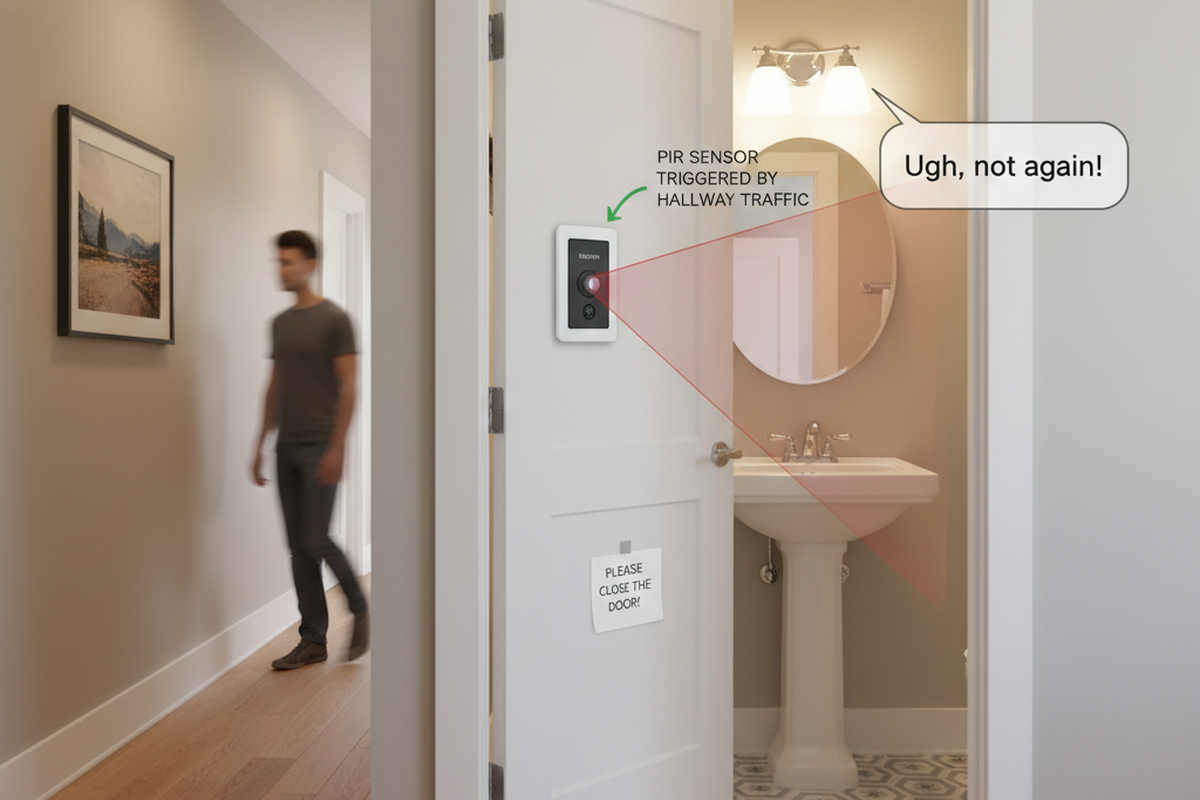
There is a particular kind of frustration every installer knows. It’s the moment a seemingly straightforward job, one pairing a motion sensor with modern LED fixtures and a dimmer, goes sideways. The lights flicker with a nervous, inconsistent pulse. They strobe like a nightclub. Or, in the most maddening scenarios, they refuse to turn off completely, casting a faint, ghostly glow in an otherwise dark room.
The temptation is to blame a single faulty component, but the reality is almost always more subtle. These failures rarely stem from one bad part. They emerge from a quiet disagreement at the electrical level, a fundamental incompatibility between how the sensor controls power, how the dimmer shapes it, and what the LED’s sensitive internal driver needs to see. Understanding this conflict is the key to moving past the guesswork and toward a reliable solution.
The Obvious Culprits We Sometimes Overlook
Before descending into the complexities of AC power waves, it’s worth acknowledging that a surprising number of these issues are born from simple oversights made in the rush of a busy day. We’ve seen seasoned professionals get tripped up by a tiny dial on the sensor itself, set to require darkness for activation while they test the system under bright work lights. The sensor, performing its job perfectly, simply refuses to turn on.
Just as common is the assumption that any LED will dim. If the fixture’s packaging doesn’t explicitly state it is dimmable, its internal driver is built for a clean, full power signal. When it receives the chopped, modified power from a dimmer, it interprets it as electrical chaos, protesting with a flicker that can’t be fixed.
The efficiency of LEDs can also create its own paradox. Many dimmers require a minimum electrical load, a small but essential power draw to function correctly. A single, hyper-efficient 7-watt LED bulb might not provide enough of a load to satisfy a dimmer designed for a 60-watt incandescent world. The dimmer struggles, and the light flickers as a result. Sometimes, simply adding another bulb to the circuit can provide the necessary load, and the problem vanishes. Addressing these simple points first can often prevent a deep dive into unnecessary component replacement.
Flickering, Fading, and the Architecture of Power
When the simple fixes don’t work, the issue almost certainly lies in the way the dimmer communicates with the LED. The most common symptom, a persistent flicker or strobe, is a sign of a fundamental mismatch in dimming technology. This isn’t just an annoyance; the continuous electrical stress from an improper power signal can dramatically shorten the life of the LED driver, causing its internal components to degrade and fail long before they should.
The conflict originates from two different methods of shaping electricity. Older, leading-edge dimmers were designed for the simple, forgiving nature of incandescent bulbs. They work by abruptly cutting off the front of each AC sine wave, a crude but effective method that creates a sharp voltage spike. The sensitive electronics in a modern LED driver can react poorly to this harsh interruption, momentarily starving for power with each cycle and causing the light to buzz or flicker.
A more modern approach, the trailing-edge dimmer, offers a gentler solution. By cutting off the back half of the sine wave, it creates a much smoother power curve that the capacitive loads in LED drivers are designed to handle. This is why most quality LED fixtures specify a trailing-edge or ELV dimmer; it’s the language they are built to understand, ensuring stable, flicker-free light from full brightness down to the lowest levels.
こちらの製品もおすすめ
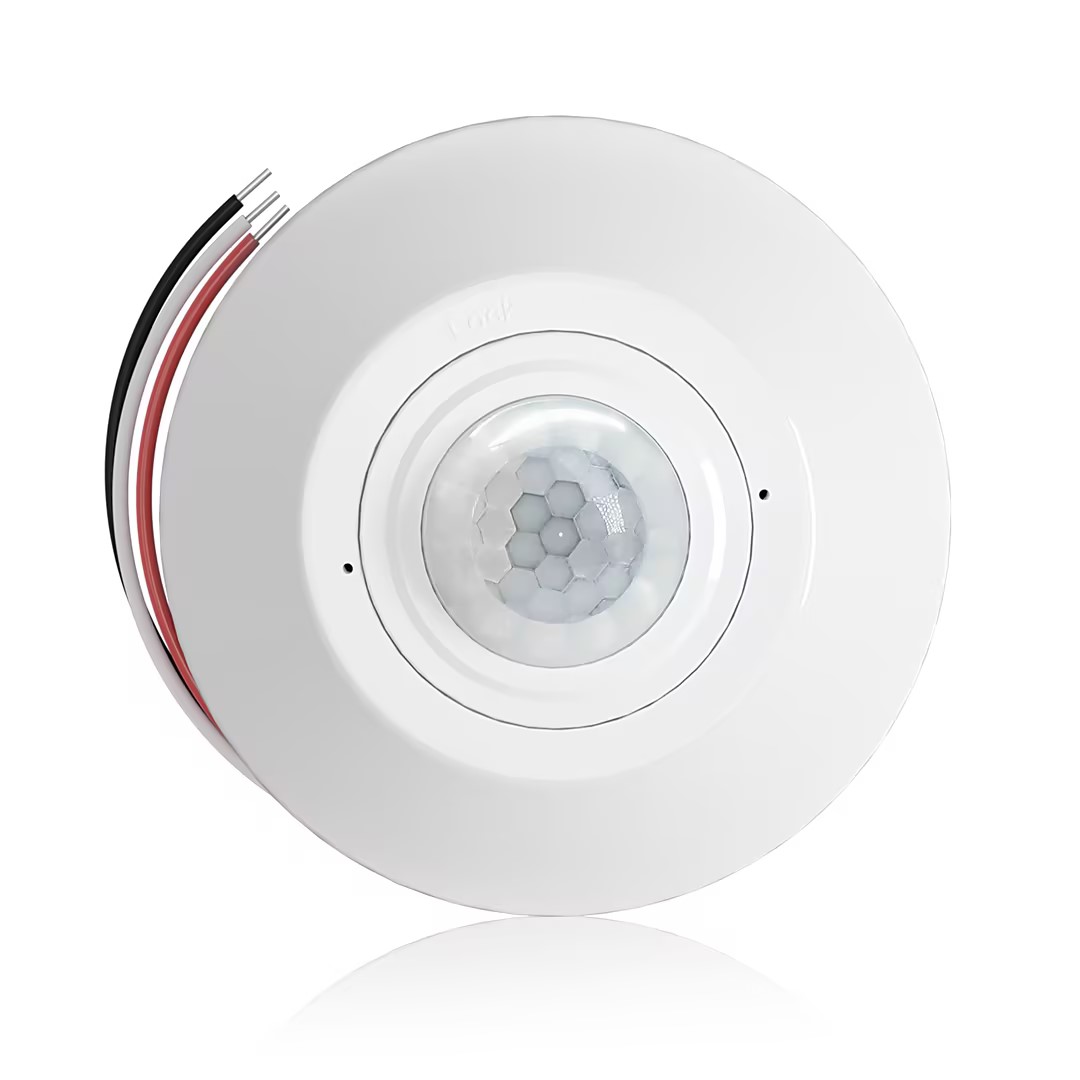
- 無電圧接点リレー出力を備えた天井取付型 PIR 占有・無人検知センサー
- 12/24VDC または 12/24VAC の低電圧電源
- EMS、HVAC、およびビル管理制御入力用の COM、NO、NC 絶縁リレー接点
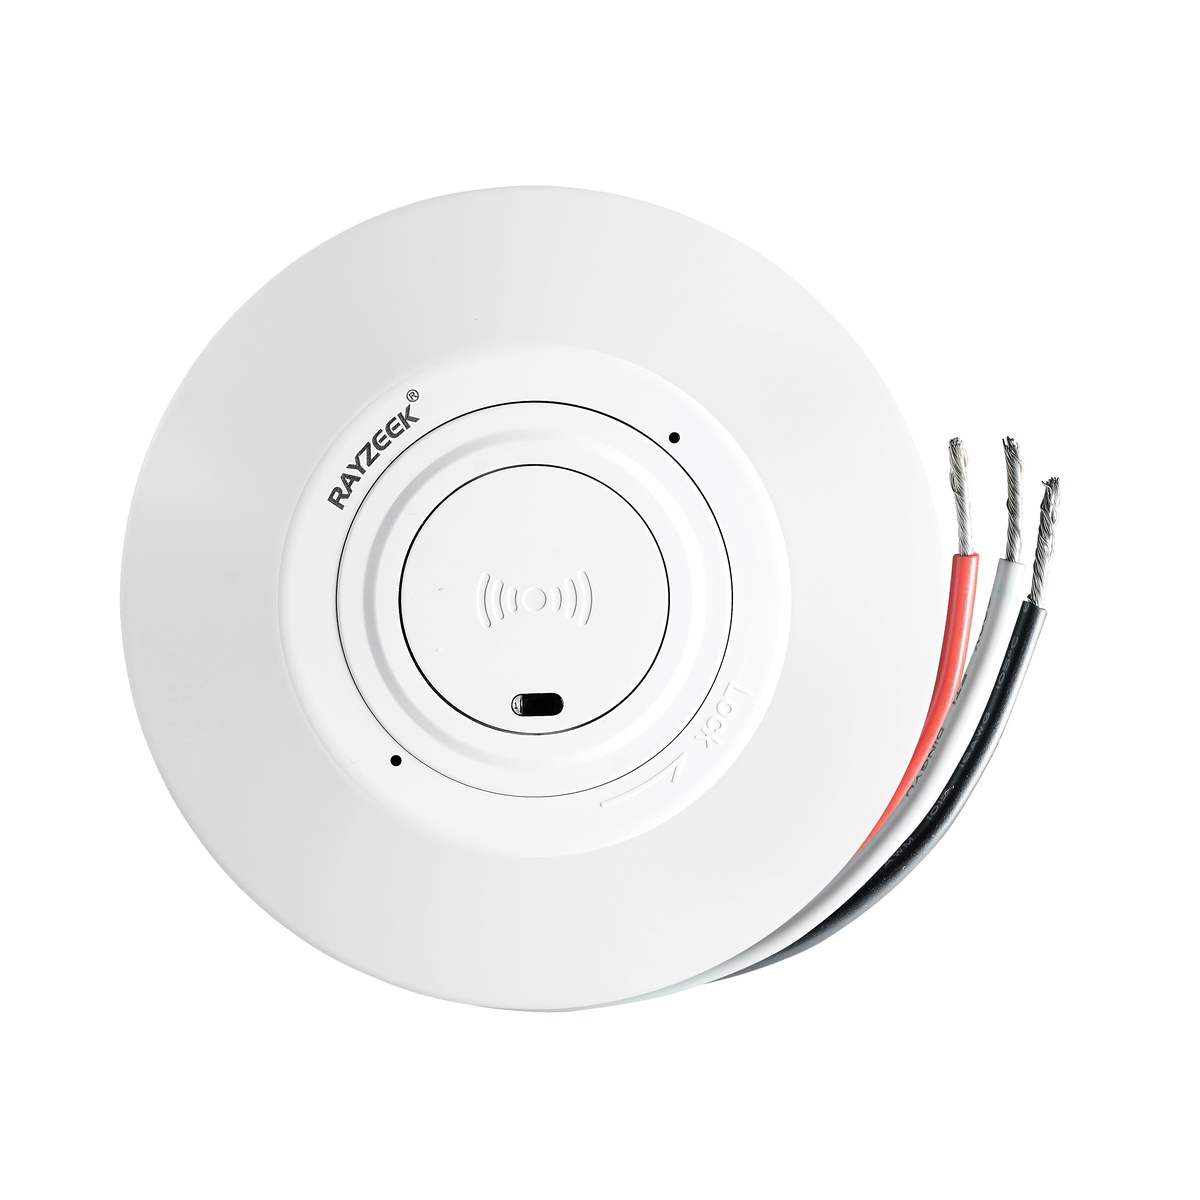
- 低電圧 DC 天井埋込型 マイクロ波モーションセンサースイッチ
- 12 VDC / 24 VDC 入力(許容範囲:10-30 VDC)
- 最大動作電流 10A、調整可能なタイムディレイ、照度しきい値、および感度
- 高負荷対応 天井埋込型 マイクロ波モーションセンサースイッチ
- 100-265 VAC 商用電圧入力、10A モデル
- 5.8 GHz マイクロ波検知、調整可能なタイムディレイ、照度しきい値、および感度
- 天井埋込型 マイクロ波モーションセンサースイッチ
- 100-265 VAC 商用電圧入力、5A モデル
- 5.8 GHz マイクロ波検知、調整可能なタイムディレイ、照度しきい値、および感度
- 220V 電源用 天井取付型 RZ037 PIR 占有・無人検知センサー調光器
- 最大動作電流 3A、定格負荷 660W
- LUX ボタンによる調光センサーのオン/オフおよびユーザー設定の調光輝度制御
- 110V 電源用 天井取付型 RZ037 PIR 占有・無人検知センサー調光器
- 最大動作電流 3A、定格負荷 330W
- LUX ボタンによる調光センサーのオン/オフおよびユーザー設定の調光輝度制御
- 低電圧DC天井取付型マイクロ波動体検知センサースイッチ
- 12 VDC / 24 VDC 入力(許容範囲:10-30 VDC)
- 最大動作電流 10A、調整可能なタイムディレイ、照度しきい値、および感度
- 高負荷天井取付型マイクロ波動体検知センサースイッチ
- 100-265 VAC 商用電圧入力、10A モデル
- 5.8 GHz マイクロ波検知、調整可能なタイムディレイ、照度しきい値、および感度
- 天井取付型マイクロ波動体検知センサースイッチ
- 100-265 VAC 商用電圧入力、5A モデル
- 5.8 GHz マイクロ波検知、調整可能なタイムディレイ、照度しきい値、および感度
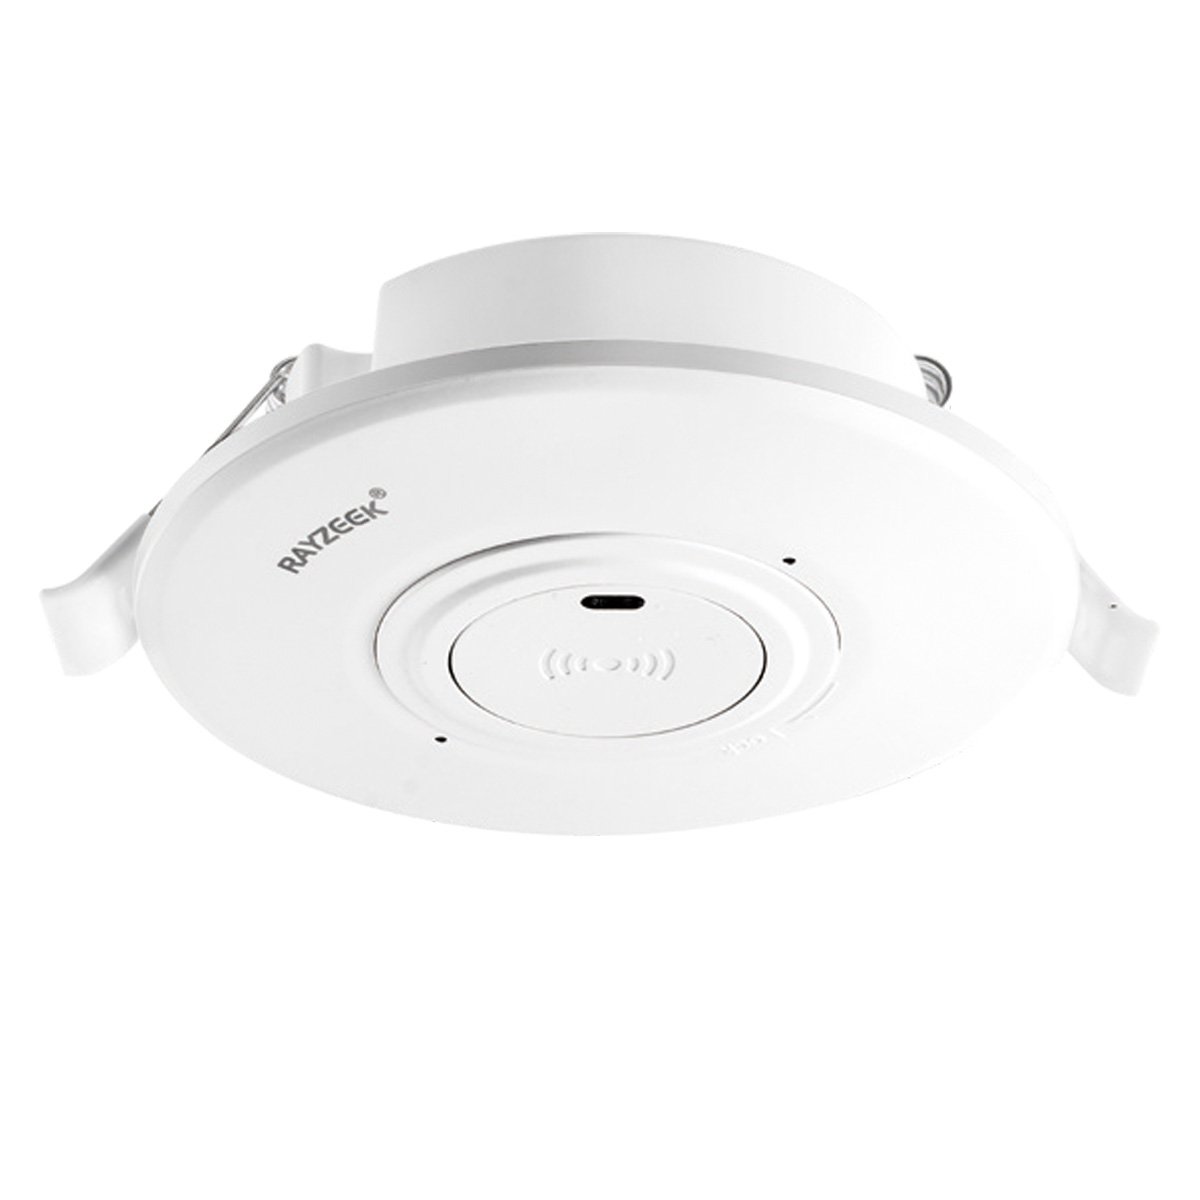
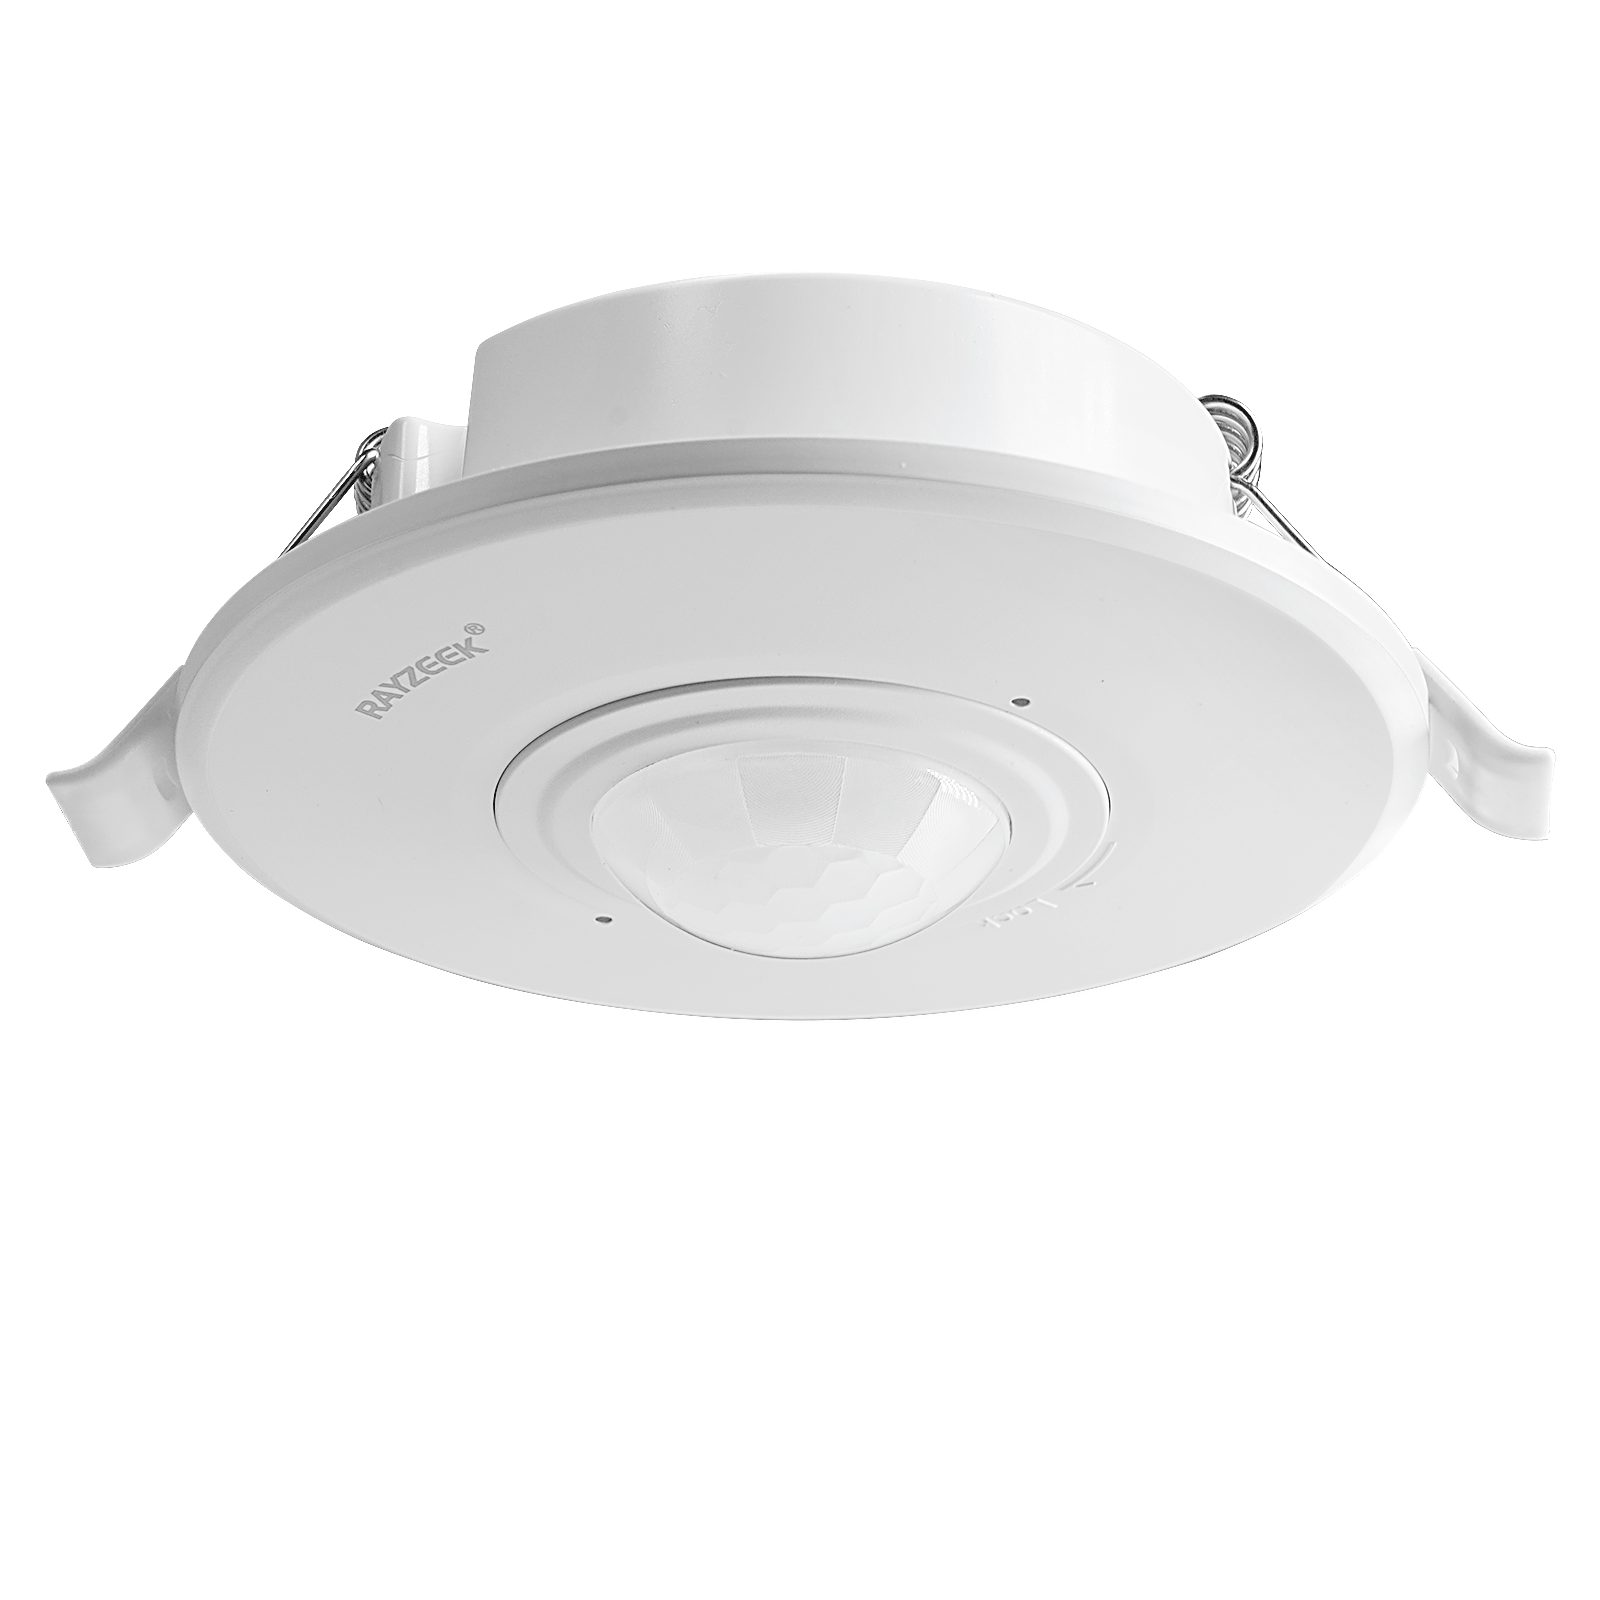
- 低電圧DC埋込型天井PIR動体検知センサースイッチ
- 12 VDC / 24 VDC 入力(許容範囲:10-30 VDC)
- 最大動作電流10A、調整可能なタイムディレイ、ルクス閾値、および感度設定
- 高負荷埋込型天井PIR動体検知センサースイッチ
- 100-265 VAC 商用電圧入力、10A モデル
- 360度検知、調整可能なタイムディレイ、ルクス閾値、および感度設定
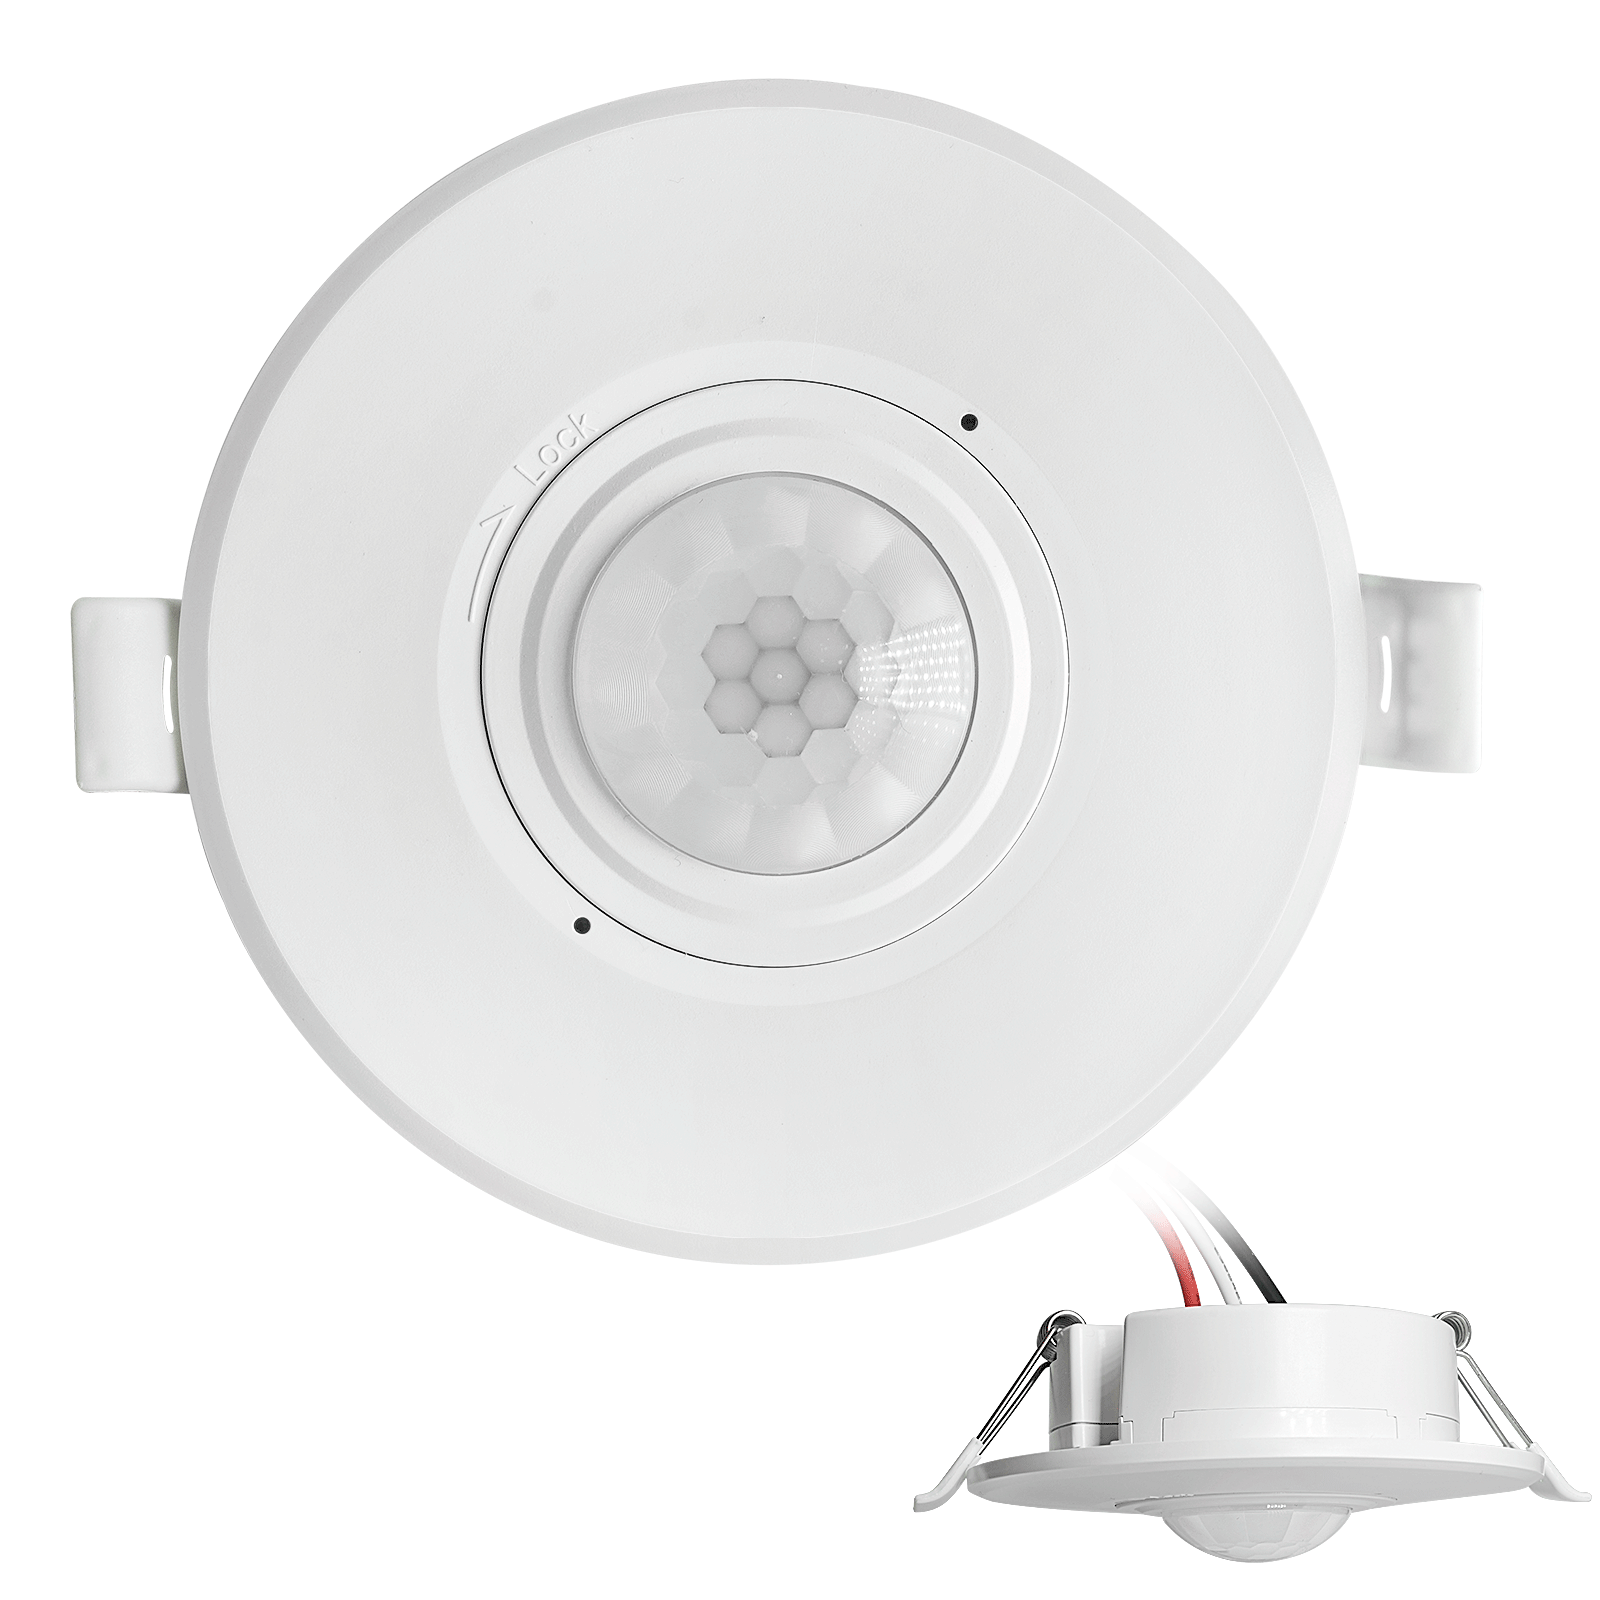
- 埋込型天井PIR動体検知センサースイッチ
- 100-265 VAC 商用電圧入力、5A モデル
- 360度検知、調整可能なタイムディレイ、ルクス閾値、および感度設定

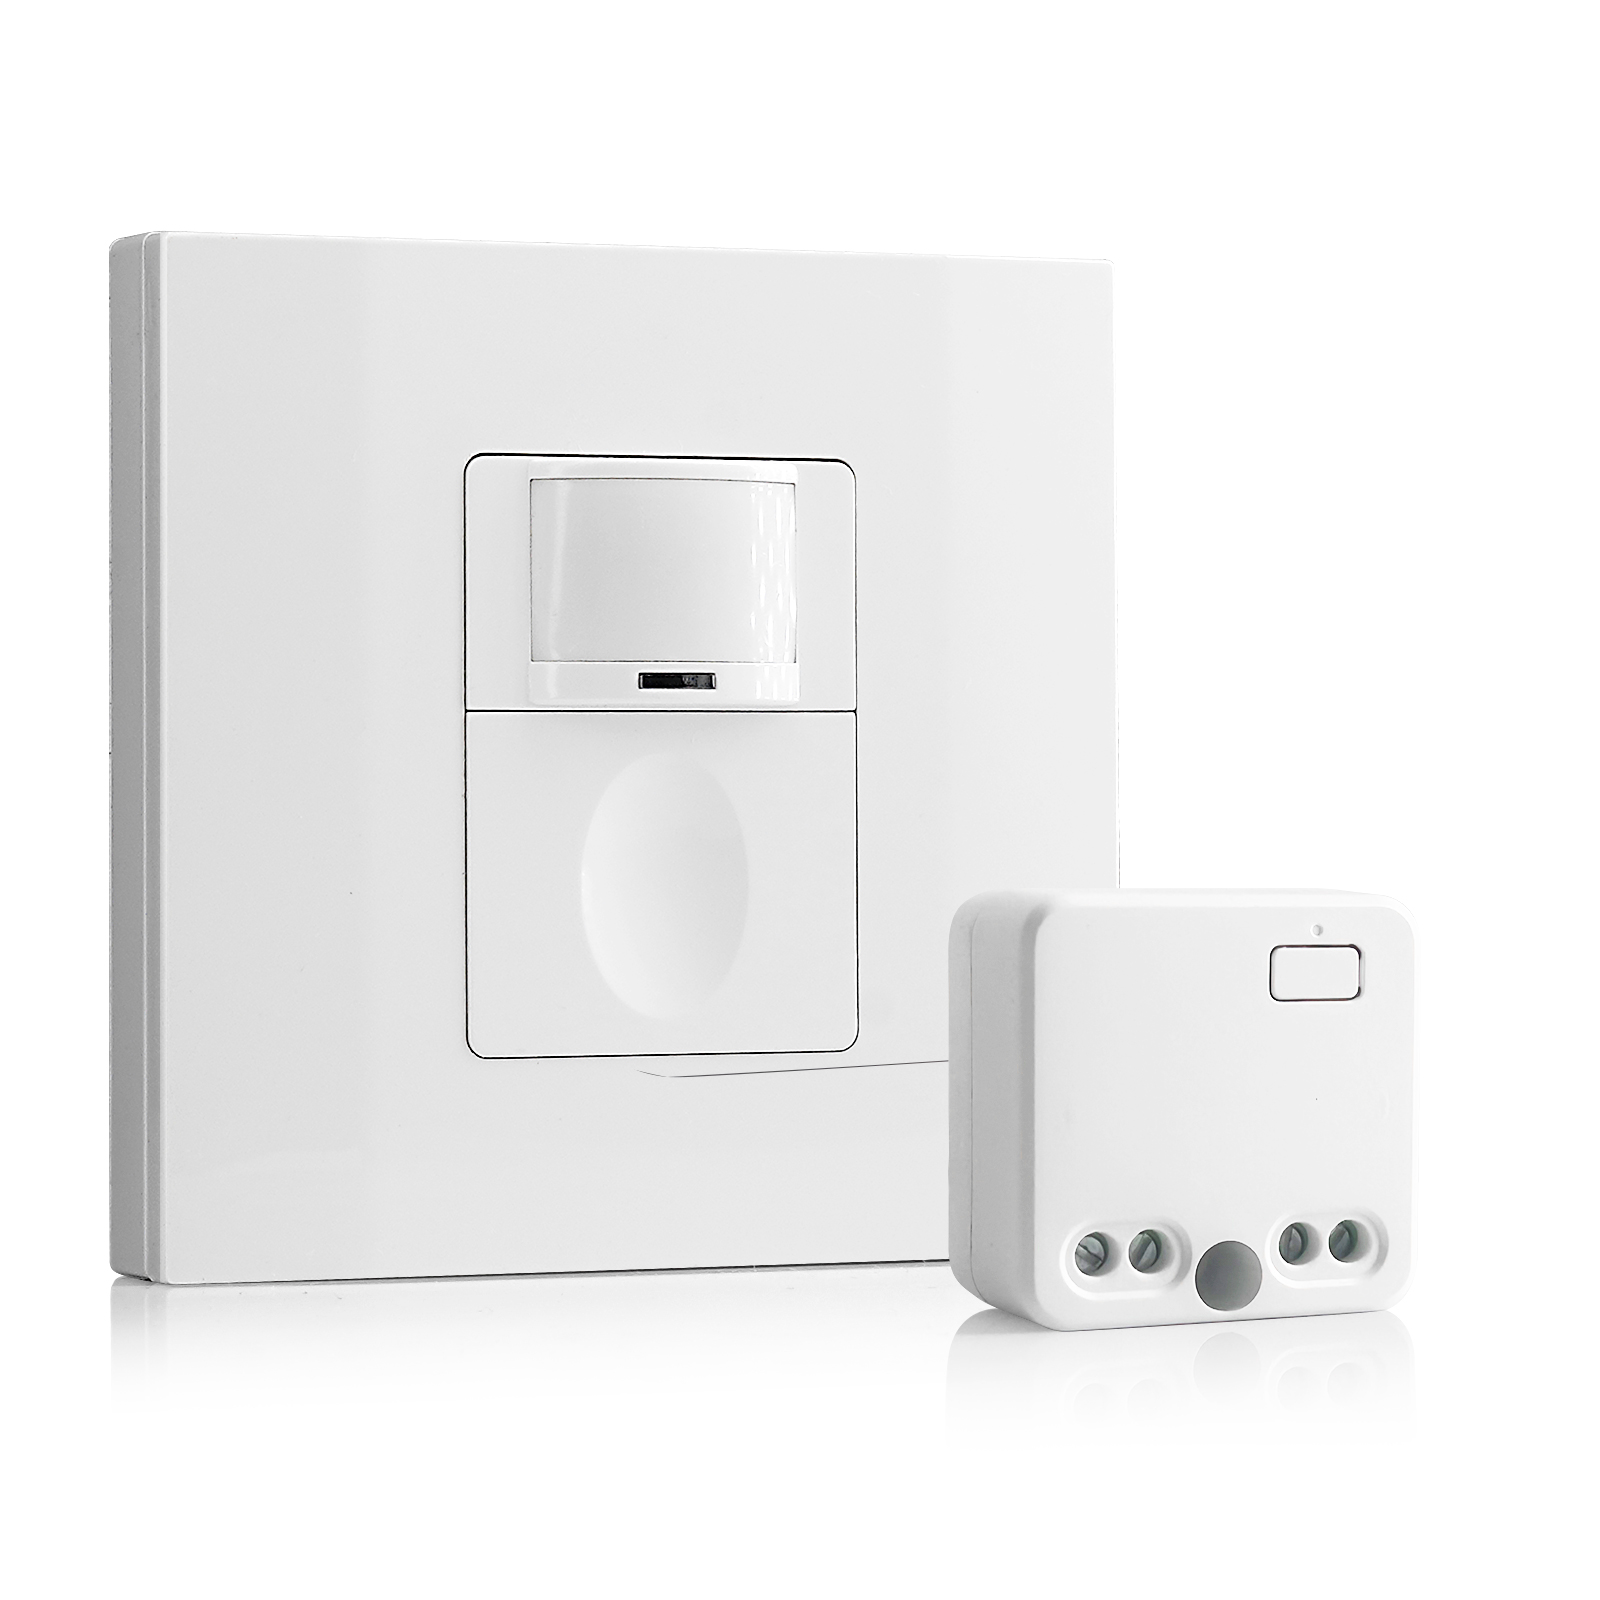
- 屋内用ON/OFF照明制御ワイヤレススイッチ&レシーバーキット
- 100-230VAC、50/60Hzレシーバー、定格電流5A
- CR2032電池駆動ワイヤレススイッチ、2.4GHz通信
- 在室(自動オン/自動オフ)
- 12–24V DC(10–30VDC)、最大10A
- 360°検知範囲、直径8–12 m
- タイムディレイ 15秒–30分
- 照度センサー オフ/15/25/35 Lux
- 高/低感度
- 自動オン/自動オフ在室モード
- 100–265V AC、10A(中性線が必要)
- 360°検知範囲、検知直径8–12 m
- タイムディレイ 15秒–30分、ルクス オフ/15/25/35、感度 高/低
- 自動オン/自動オフ在室モード
- 100–265V AC, 5A (中性線必須)
- 360°検知範囲、検知直径8–12 m
- タイムディレイ 15秒–30分、ルクス オフ/15/25/35、感度 高/低
- 100V-230VAC
- 送信距離: 最大20m
- ワイヤレス動きセンサー
- 有線制御
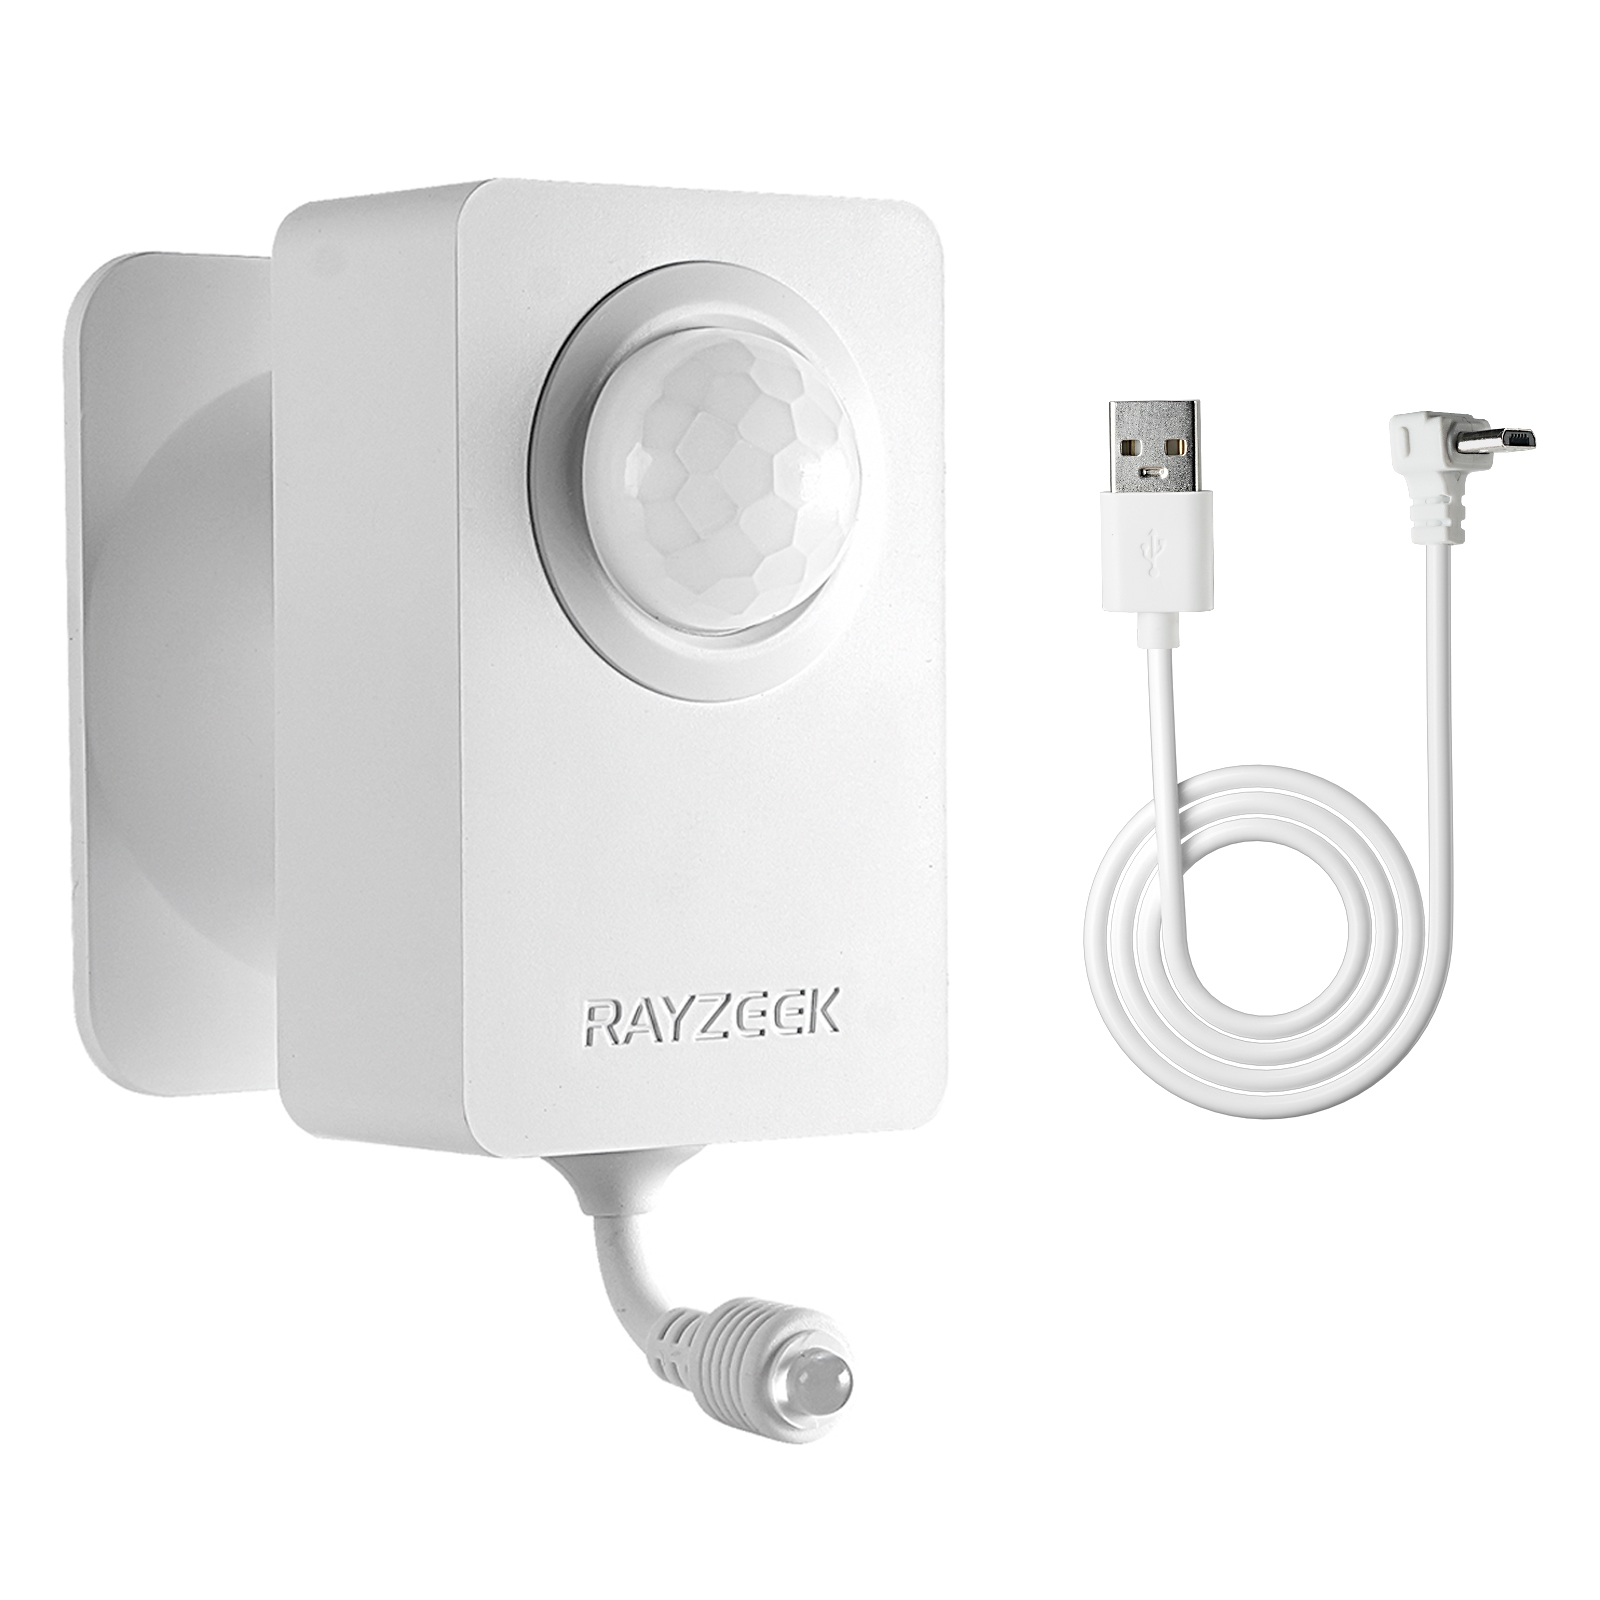
- 電圧: 単4電池×2本 / 5V DC (Micro USB)
- 昼/夜モード
- タイムディレイ: 15分、30分、1時間(デフォルト)、2時間
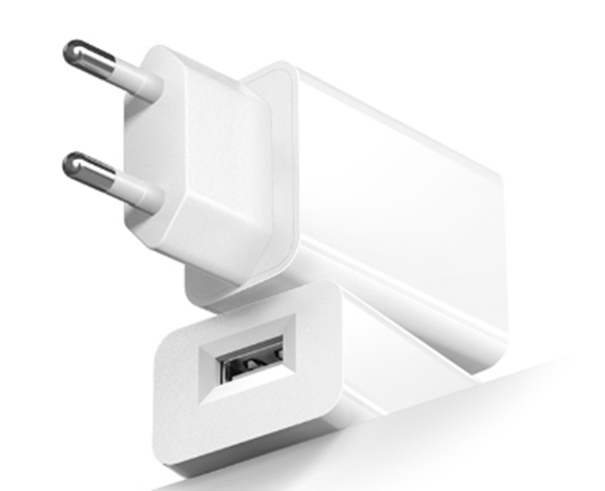
- EUプラグ電源アダプター
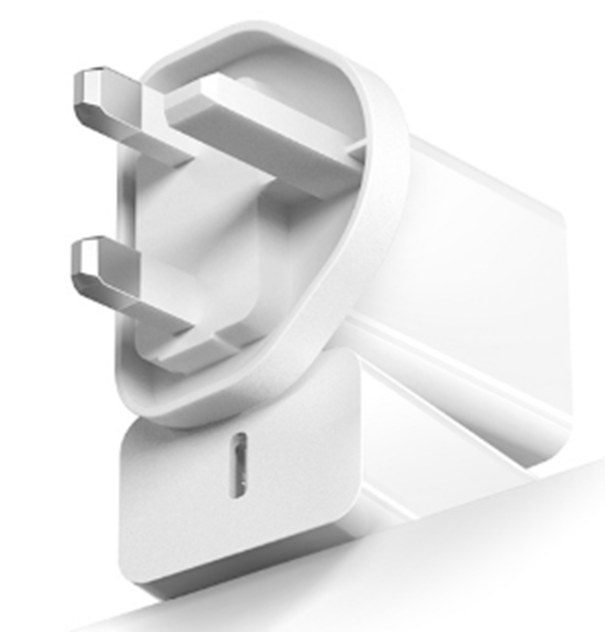
- UKプラグ電源アダプター
The Lingering Glow of a Leaky Switch
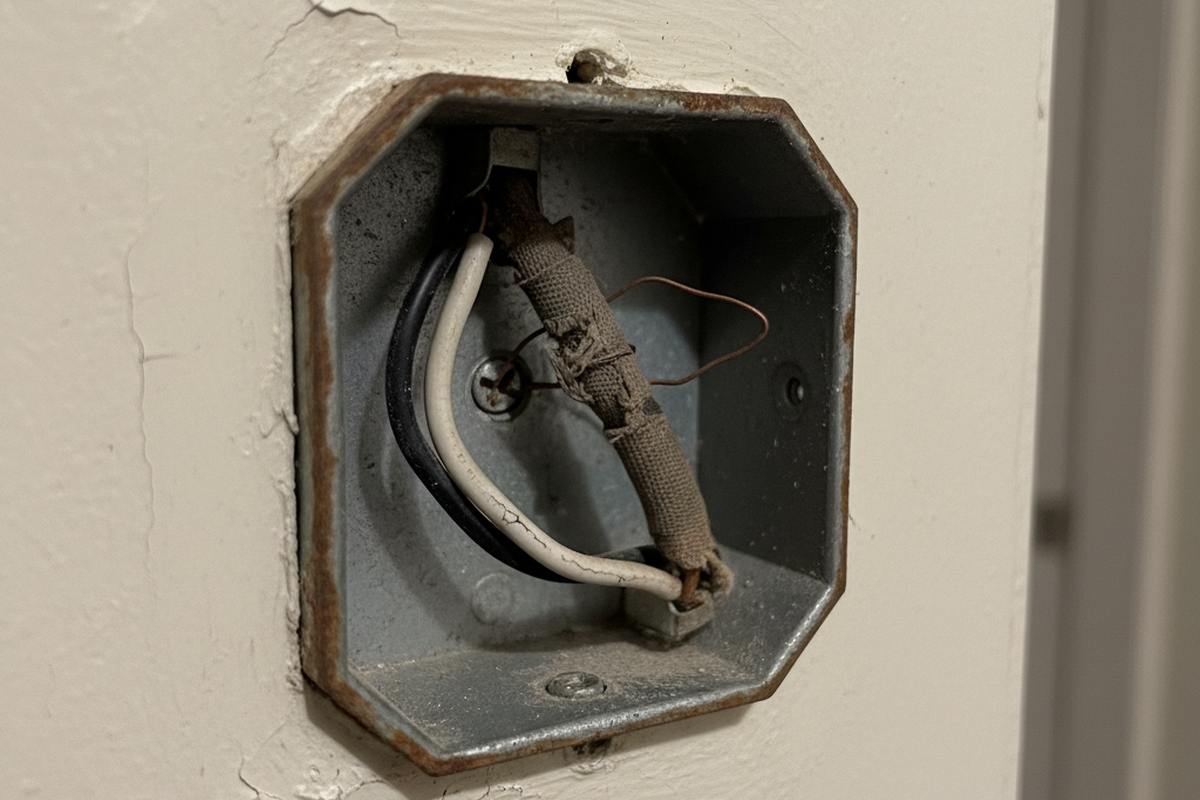
Perhaps the most unsettling problem is ghosting, the phenomenon of lights that continue to glow dimly even after being turned off. This is almost always caused by a sensor or dimmer that powers its own electronics by leaking a tiny amount of current through the light fixtures themselves. It’s a clever design that allows for installation in switch boxes that lack a dedicated neutral wire.
動き検知連動の省エネソリューションをお探しですか?
各種PIR動きセンサー、動き検知連動の省エネ製品、動きセンサーライトスイッチ、商用向けのOccupancy/Vacancy(在室/不在)ソリューションについては、当社までお気軽にお問い合わせください。
With an old incandescent bulb, this minuscule current was never enough to heat the filament and produce light. But today’s LEDs are so efficient that even a trickle of electricity can be enough to activate the driver and cause a faint, persistent glow. The problem is often worse on circuits with very low wattage, as there is less of a load to absorb the leakage.
For this reason, the presence of a dedicated neutral wire is the single most important factor for reliable performance. A neutral wire provides a clean return path for electricity, allowing the sensor to power itself without sending any current through the fixtures. This connection completely eliminates the mechanism that causes ghosting and provides a more stable power source for the switch, improving its dimming performance. While switches that don’t require a neutral offer flexibility, they represent an inherent electrical compromise.
Navigating the Realities of Older Buildings
In the controlled environment of a lab, these rules are simple. But on a job site, especially in an older building, ideal wiring is a luxury. When you open a switch box and find no neutral wire, you have to manage the leakage current. The most effective tool for this is a load resistor. This small component, wired in parallel with the first light fixture, acts as a decoy. It gives the dimmer’s leakage current a path to follow, satisfying the switch’s need for power without allowing enough voltage to build up and illuminate the LEDs.
Other environmental factors can introduce their own chaos. If lights behave erratically only when an HVAC unit kicks on or an elevator starts moving, the culprit is electrical noise flooding the circuit. The huge inrush of current needed to start a large motor creates significant distortion on the power line, which a sensitive dimmer can misinterpret as a signal to flicker. The best practice is always to isolate lighting on its own dedicated circuit, but when that isn’t possible, a high-quality dimmer with robust internal filtering can often mitigate the interference.
For Absolute Reliability, Separate Power from Control
For commercial projects or any installation where performance cannot be compromised, there is a more robust approach that sidesteps these problems entirely. The 0-10V dimming protocol is the professional standard because it fundamentally changes the relationship between the switch and the light.
Rayzeek の人感センサーポートフォリオからヒントを見つけましょう。
お探しのものが見つかりませんか?ご安心ください。課題を解決する代替手段は常に存在します。当社の製品ポートフォリオがヒントになるかもしれません。
Instead of manipulating the high-voltage power line, a 0-10V system supplies full, clean power directly to the LED driver at all times. The dimming instruction is sent along a separate, dedicated pair of low-voltage wires. The switch sends a simple DC voltage signal, from 10 volts for full brightness down to 1 volt for minimum brightness. A signal of 0 volts tells the driver to turn off completely.
Because the control signal is completely isolated from the main power, this method is immune to electrical noise, minimum load requirements, and the entire leading-edge versus trailing-edge debate. The result is perfectly smooth, consistent, and reliable dimming across any number of fixtures. It represents a move away from electrical compromise and toward precise, intentional control.