
The Sleep Crime of Auto-On
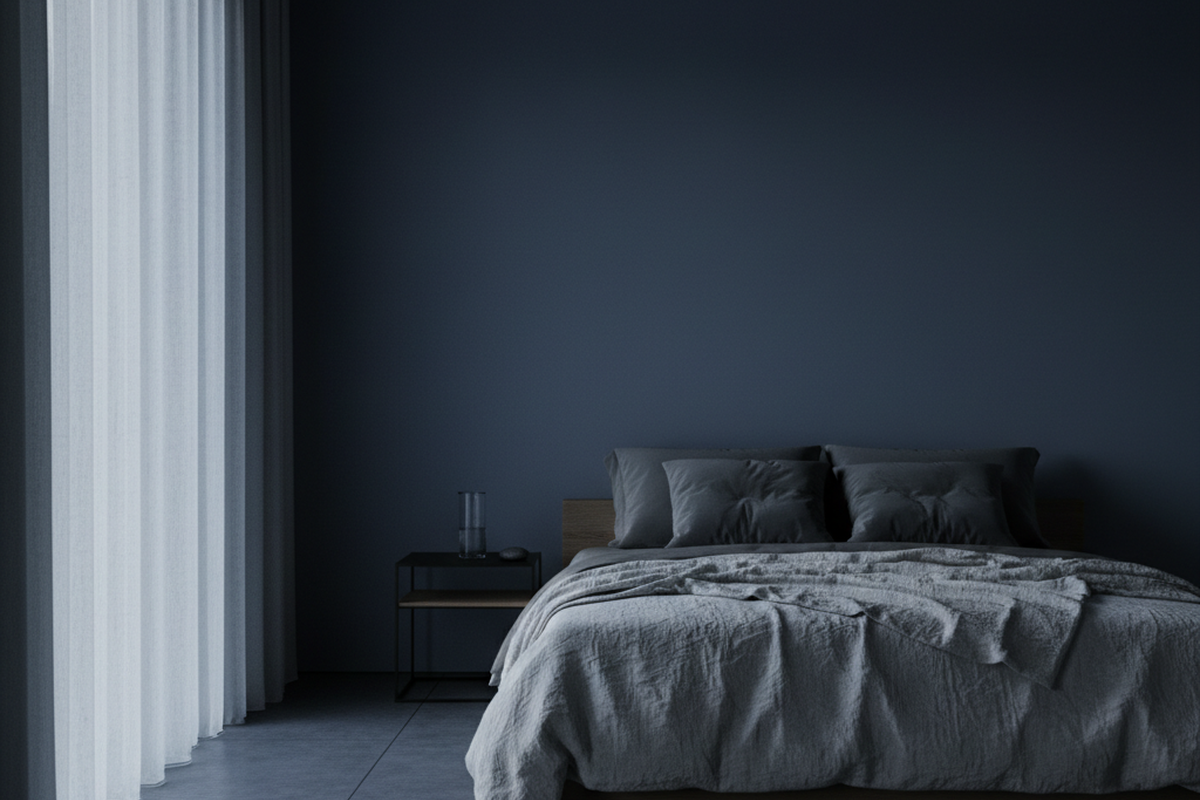
There is a specific kind of regret that only occurs at 2:00 a.m. It happens when you roll over in bed—perhaps just shifting the duvet or getting up for water—and suddenly the room floods with 5000K daylight-white illumination at 100% brightness. Your pupils, dilated for darkness, contract in pain. The spouse wakes up. The baby stirs. You stand there, blinded and blinking, realizing the “smart” motion sensor you installed to make life easier has just committed a sleep crime.
This isn’t a tech failure. It’s a philosophy problem. Most homeowners—and frankly, far too many electricians—treat bedrooms like hallways. They install standard occupancy sensors that operate on simple “Auto-On / Auto-Off” logic. This works perfectly in a pantry where your hands are full of groceries. In a bedroom, however, it’s a disaster. A bedroom isn’t a transient space; it’s a zone of stillness, subtle movement, and darkness. When you install a sensor that equates “any movement” with “needs light,” you’re building a trap for your future self.
The situation gets even more volatile with pets. A cat jumping off the dresser at 3:00 a.m. shouldn’t trigger a lighting event that rivals a police interrogation. Yet countless DIY smart home projects end with frustrated homeowners ripping out expensive sensors and reinstalling dumb toggle switches because the “system” couldn’t distinguish between a person needing to see and a dog needing to stretch. You don’t need to abandon automation to fix this; you just need to invert it.
Vacancy Mode: The Only Ethical Choice
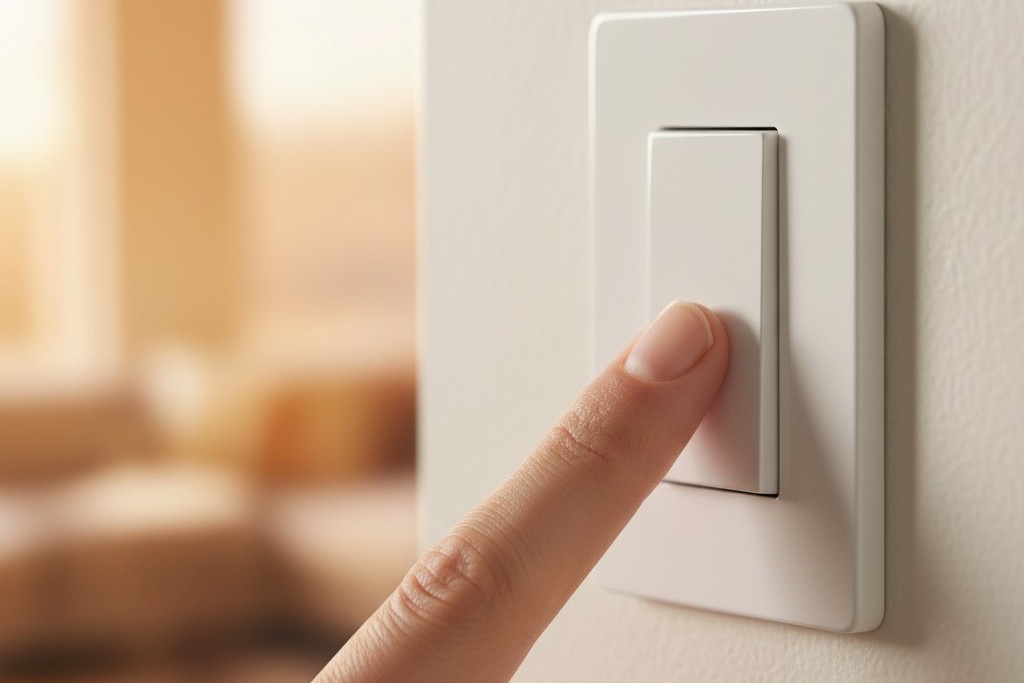
The industry term for the solution is “Vacancy Mode,” though you’ll often see it listed on spec sheets as “Manual-On / Auto-Off.” The distinction looks subtle on paper, but it changes your entire relationship with the room. In Vacancy Mode, the light never turns on automatically. You must physically press the button to turn the lights on when you enter. This sounds primitive to those chasing a futuristic “Star Trek” home, but it is the critical firewall that protects your sleep.
When you walk into the bedroom at 8:00 p.m. with laundry, you tap the switch. The light comes on. When you leave, or when you eventually go to sleep, the sensor takes over. It watches for the absence of motion. If you leave the room and forget the lights, the sensor cleans up after you. If you fall asleep reading, the sensor turns the lights off. But crucially, when you roll over in the middle of the night, the sensor remains dormant. It knows that unless you explicitly asked for light by pressing the button, it has no business energizing the circuit.
This “Manual-On” requirement restores the hierarchy of control. It acknowledges that in a bedroom, darkness is the default preference. Contrast this with the “Auto-On” (Occupancy) logic used in public restrooms or cubicle farms, which assumes that if a human is present, they must want light. That assumption is invalid for a master suite or a nursery. By forcing a physical interaction to initiate the light, you eliminate 100% of accidental triggers—whether from a tossing sleeper, a wandering pet, or a drifting curtain.
Måske er du også interesseret i

- Spænding: 2 AAA-batterier
- Dag/nat-tilstand
- Tidsforsinkelse: 15 min, 30 min, 1 t (standard), 2 t

- Loftmonteret PIR-tilstedeværelsessensor med tørkontaktrelæudgang
- 12/24VDC eller 12/24VAC lavspændingsforsyning
- Isolerede relækontakter (COM, NO og NC) til EMS-, HVAC- og bygningsstyringsindgange

- Lavspændings DC indbygget loftmonteret mikrobølge-bevægelsessensor-afbryder
- 12 VDC / 24 VDC-indgang med 10-30 VDC-område
- Maks. 10A arbejdsstrøm med justerbar tidsforsinkelse, Lux-tærskel og følsomhed
- Indbygget loftmonteret mikrobølge-bevægelsessensor-afbryder til højere belastning
- 100-265 VAC netspændingsindgang, 10A-model
- 5,8 GHz mikrobølgeregistrering med justerbar tidsforsinkelse, Lux-tærskel og følsomhed
- Indbygget loftmonteret mikrobølge-bevægelsessensorkontakt
- 100-265 VAC netspændingsindgang, 5A-model
- 5,8 GHz mikrobølgeregistrering med justerbar tidsforsinkelse, Lux-tærskel og følsomhed
- Loftmonteret RZ037 PIR-tilstedeværelsessensor-dæmper til 220V-strømforsyning
- Maksimal arbejdsstrøm på 3A med 660W nominel belastning
- LUX-knap styrer lyssensor TIL/FRA samt brugerdefineret lysdæmpning
- Loftmonteret RZ037 PIR-tilstedeværelsessensor-dæmper til 110V-strømforsyning
- Maksimal arbejdsstrøm på 3A med 330W nominel belastning
- LUX-knap styrer lyssensor TIL/FRA samt brugerdefineret lysdæmpning

- Lavspændings DC loftmonteret mikrobølge-bevægelsessensorkontakt
- 12 VDC / 24 VDC-indgang med 10-30 VDC-område
- Maks. 10A arbejdsstrøm med justerbar tidsforsinkelse, Lux-tærskel og følsomhed
- Loftmonteret mikrobølge-bevægelsessensorkontakt til højere belastning
- 100-265 VAC netspændingsindgang, 10A-model
- 5,8 GHz mikrobølgeregistrering med justerbar tidsforsinkelse, Lux-tærskel og følsomhed
- Loftmonteret mikrobølge-bevægelsessensorkontakt
- 100-265 VAC netspændingsindgang, 5A-model
- 5,8 GHz mikrobølgeregistrering med justerbar tidsforsinkelse, Lux-tærskel og følsomhed

- Lavspændings DC PIR-bevægelsessensorkontakt til indbygning i loft
- 12 VDC / 24 VDC-indgang med 10-30 VDC-område
- Maks. arbejdsstrøm 10A med justerbar tidsforsinkelse, Lux-tærskel og følsomhed

- PIR-bevægelsessensorkontakt til indbygning i loft til højere belastning
- 100-265 VAC netspændingsindgang, 10A-model
- 360-graders registrering med justerbar tidsforsinkelse, Lux-tærskel og følsomhed
- PIR-bevægelsessensorkontakt til indbygning i loft
- 100-265 VAC netspændingsindgang, 5A-model
- 360-graders registrering med justerbar tidsforsinkelse, Lux-tærskel og følsomhed

- Trådløst kontakt- og modtagersæt til indendørs TÆND/SLUK-belysningsstyring
- 100-230VAC, 50/60Hz modtager med 5A mærkestrøm
- CR2032-drevet trådløs kontakt med 2,4GHz-kommunikation
- Tilstedeværelse (Auto-TÆND/Auto-SLUK)
- 12–24V DC (10–30VDC), op til 10A
- 360° dækning, 8–12 m diameter
- Tidsforsinkelse 15 s–30 min
- Lyssensor Fra/15/25/35 Lux
- Høj/Lav følsomhed
- Auto-ON/Auto-OFF tilstedeværelsestilstand
- 100–265V AC, 10A (nulleder påkrævet)
- 360° dækning; 8–12 m detekteringsdiameter
- Tidsforsinkelse 15 s–30 min; Lux OFF/15/25/35; Følsomhed Høj/Lav
- Auto-ON/Auto-OFF tilstedeværelsestilstand
- 100–265V AC, 5A (nulleder påkrævet)
- 360° dækning; 8–12 m detekteringsdiameter
- Tidsforsinkelse 15 s–30 min; Lux OFF/15/25/35; Følsomhed Høj/Lav
The Hardware Reality: Why Rayzeek?
Once you’re sold on Vacancy Mode, you have to pick the hardware. You could buy into a high-end ecosystem like Lutron Maestro or a fully integrated smart home system, but for secondary bedrooms, guest rooms, and kids’ rooms, the economics rarely make sense. Paying $60 to $80 per switch for a room that simply needs to turn itself off is a hard swallow. This is where the Rayzeek RZ021 and similar wall-box sensors find their utility. They aren’t trying to be part of a complex mesh network; they are standalone utility devices that cost a fraction of the premium brands—often sitting around the $20 mark.
There is a temptation to over-complicate this with voice assistants or app-based controls. You might think, “Why not just use Alexa or a WiFi switch?” But consider the latency. Waking a voice assistant, waiting for the cloud to process the command, and waiting for the light to respond takes 2 to 3 seconds. In the middle of the night, shouting at a robot to turn on a light (or worse, to turn it off) is significantly more disruptive than a silent tactile click. Furthermore, WiFi switches introduce a reliability point of failure—if the router is rebooting, your lights shouldn’t be dumb. Rayzeek sensors use passive infrared (PIR) technology that is entirely local. No firmware updates, no app crashes, no cloud outages.
Let’s be real about the trade-off. A $20 sensor doesn’t feel as luxurious as an $80 dimmer. The plastic might feel slightly lighter, and the button travel might be different. Long-term reliability is generally good, but if one fails in seven years, the replacement cost is negligible compared to a proprietary system failure. The value proposition is simple: it provides the “Auto-Off” energy saving without the “Auto-On” annoyance, and it does so without requiring a hub or an IP address. It is dumb automation, which is often the smartest kind for a sleeping area.
Bliv inspireret af Rayzeek bevægelsessensor-porteføljer.
Finder du ikke det, du søger? Fortvivl ikke. Der er altid alternative måder at løse dine problemer på. Måske kan en af vores porteføljer hjælpe.
The Physics of Stillness (Settings)

The hardware is only half the battle; configuration is where most installations fail. If you install a Rayzeek sensor and leave it on the factory default settings, you will likely hate it within 24 hours. Factory defaults are usually set to “Test Mode” or a very short timeout (15 seconds to 1 minute) to allow the installer to verify function quickly.
If you leave this active in a bedroom, you’ll experience the “waving arm dance.” You’ll be sitting in bed reading, or perhaps folding clothes on the floor, and the lights will cut out. You’ll have to wave your arm frantically to re-trigger the sensor. That’s not automation. That’s a nuisance.
Bedrooms require aggressive timeout settings—aggressive in length, not brevity. A human reading a book or scrolling on a phone can remain remarkably still. A standard PIR sensor looks for heat moving across its field of view. Small movements, like turning a page, might not register if the sensitivity is too low or the timeout is too short. The “15-minute” setting is the absolute minimum floor for a bedroom. Personally, pushing it to 30 minutes is safer. Yes, you lose a few minutes of energy savings if you leave the room, but you gain the sanity of not having the lights die on you while you’re putting on socks.
On the Rayzeek units, these settings are typically handled via physical dip switches hidden behind the faceplate or under the button cover. Consult the specific datasheet—do not guess. There is usually a matrix of three or four switches controlling Time Delay, Light Sensitivity, and Mode (Vacancy vs. Occupancy). You want the Time Delay maximized (15m or 30m) and the Mode set strictly to Manual-On (Vacancy). Ignore the Light Sensitivity setting for vacancy mode; since you are manually turning the light on, you don’t need the sensor to decide if the room is dark enough.
Installation Realities
Before you order a dozen sensors, perform a “behind the wall” reality check. The most common point of failure for this upgrade has nothing to do with the sensor and everything to do with your wiring. Most modern sensors, including standard Rayzeek models, require a ground wire to function correctly, and many prefer a neutral wire (the bundle of white wires tucked in the back of the box). If you live in a home built before the mid-80s, you might open the switch box and find only two wires (a switch loop) with no ground and no neutral.
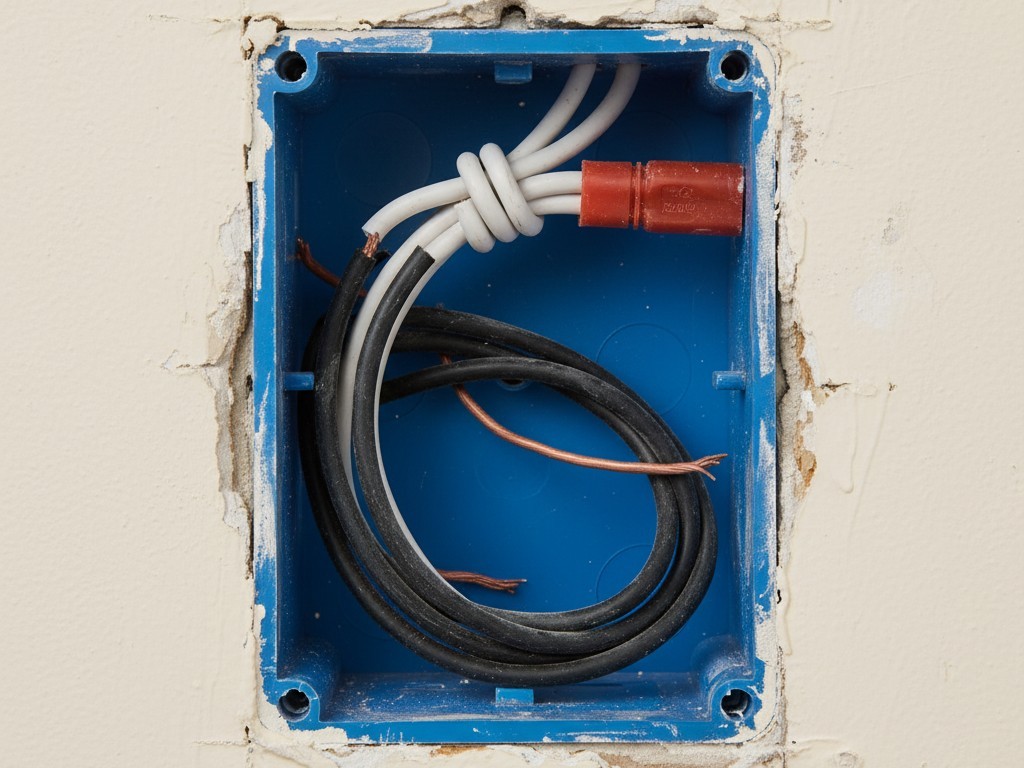
If you encounter this “No Neutral” situation, don’t try to force a standard sensor to work. It won’t. You need to specifically hunt for a “No Neutral Required” model, which usually relies on a trickle current through the ground wire (meaning you must have a ground). If you have neither ground nor neutral, you’re likely looking at a rewire or a battery-operated solution.
Søger du bevægelsesaktiverede energibesparende løsninger?
Kontakt os for komplette PIR-bevægelsessensorer, bevægelsesaktiverede energibesparende produkter, bevægelsessensorafbrydere og kommercielle tilstedeværelses-/fraværsløsninger.
Also, watch out for the “LED Flicker Ghost.” Cheap LED bulbs sometimes struggle with the solid-state switching in motion sensors, leading to ghosting (glowing when off) or strobing. Ensure the sensor is rated for LED loads—most modern Rayzeeks are, but checking the load rating on the side of the unit is mandatory.
The goal is to make the technology invisible. A bedroom lighting system succeeds when you don’t think about it. It should be on when you need it, off when you forget it, and dark when you are sleeping. By enforcing Vacancy Mode and extending your timeout delays, you strip away the “smart home” friction and leave behind just the utility. You get the energy savings of the kids never leaving the lights on, without the 2 a.m. retinal burn of a sensor that thinks it knows better than you do.







