
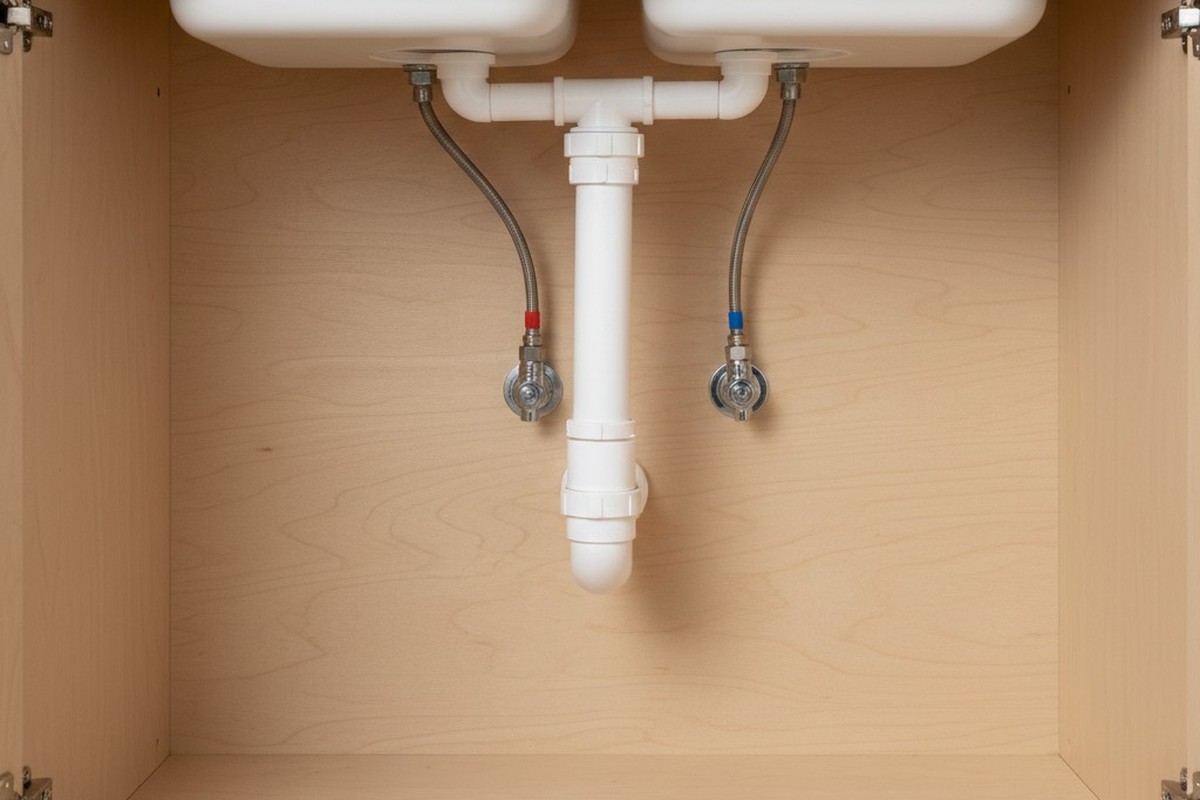
The most expensive component of a Reverse Osmosis (RO) system isn’t the membrane, the tank, or the remineralization cartridge. It’s the friction required to service it.
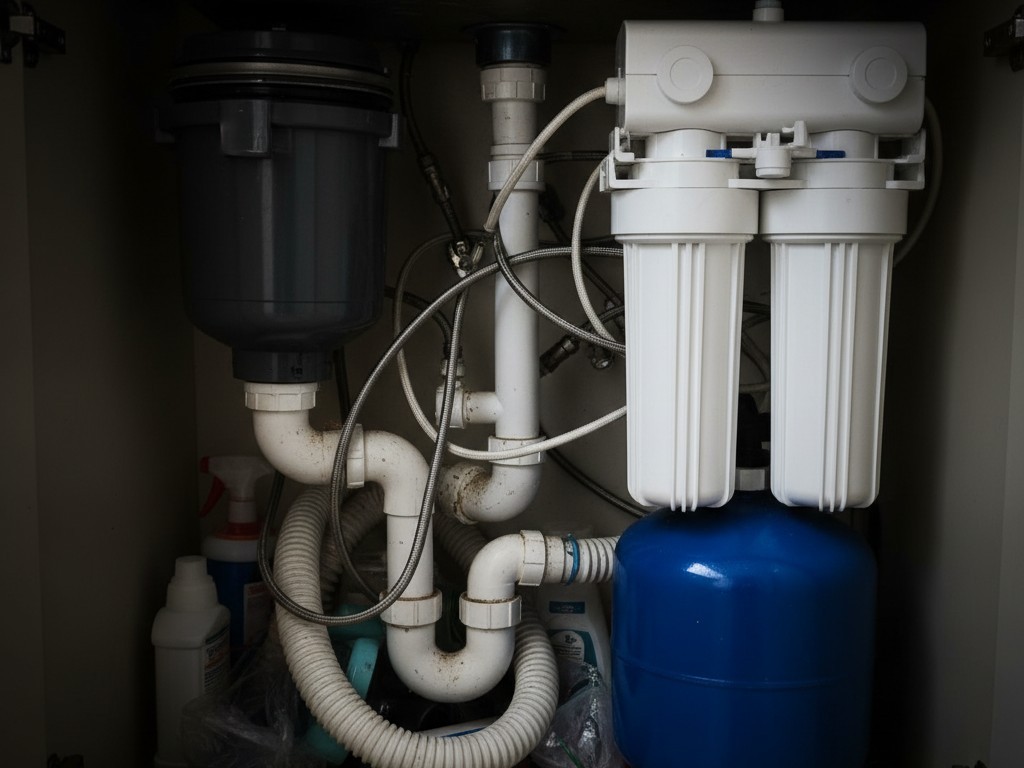
Consider the contortions required to change a sediment filter: knees on a hard tile floor, torso twisted into a pretzel, head jammed between a garbage disposal and a P-trap. Now add darkness. In that pitch-black cavity, a simple five-minute filter swap transforms into a trial of endurance. You’re holding a flashlight in your teeth (likely a Maglite Solitaire or a cheap phone torch), drooling slightly, while trying to wrestle a filter wrench with one hand and stabilize the housing with the other.
The physical indignity is bad enough, but the inevitable neglect is worse. When a maintenance task requires a headlamp and a chiropractor, homeowners subconsciously defer it. An iSpring RCC7 membrane designed to last two years dies in eight months because the pre-filters weren’t changed, simply because the owner couldn’t face the “black hole” under the sink.
Even worse, darkness hides the early warning signs of catastrophic failure. A slow drip from a loose compression fitting on an APEC system can rot a particle board cabinet floor for weeks before it ever spills out onto the kitchen tiles. If you can’t see the plumbing, you can’t trust the plumbing.
The Hardware Fix: Automating Visibility
A brighter flashlight isn’t the answer. The fix is removing the friction entirely by making the cabinet illuminate itself. This requires a hardwired sensor approach, specifically leveraging technology like the Rayzeek RZ021. But before drilling holes, you have to distinguish between the two primary sensor architectures available: the Door Contact (Reed Switch) and the Motion Sensor (PIR).
Novices often gravitate toward Door Contact sensors—the RZ022 style—where a magnet on the door triggers a switch on the frame. In theory, this is sound. In practice, under-sink cabinets are hostile environments for precision alignment. Cabinet doors sag over time. Hinges loosen. If the magnet drifts just three millimeters out of alignment, the light stays on forever, cooking the LED strip and the driver. Or it never turns on at all. For a retrofit scenario where you want “set and forget” reliability, the mechanical dependency of a reed switch is a liability.
Quizás le interese

- Tensión: 2 pilas AAA
- Modo Día/Noche
- Temporización: 15 min, 30 min, 1 h (por defecto), 2 h

- Sensor de presencia PIR para montaje en techo con salida de relé de contacto seco
- Alimentación de baja tensión de 12/24VDC o 12/24VAC
- Contactos de relé aislados COM, NO y NC para entradas de EMS, HVAC y control de edificios

- Interruptor con sensor de movimiento por microondas empotrable en techo de baja tensión DC
- Entrada de 12 VDC / 24 VDC con rango de 10-30 VDC
- Corriente de funcionamiento máxima de 10A con retardo de tiempo, umbral de Lux y sensibilidad ajustables
- Interruptor con sensor de movimiento por microondas empotrable en techo para cargas más elevadas
- Entrada de tensión de red de 100-265 VAC, modelo de 10A
- Detección por microondas de 5,8 GHz con temporizador, umbral Lux y sensibilidad ajustables
- Interruptor con sensor de movimiento por microondas empotrable para techo
- Entrada de tensión de red de 100-265 VAC, modelo de 5A
- Detección por microondas de 5,8 GHz con temporizador, umbral Lux y sensibilidad ajustables
- Regulador con sensor de presencia PIR RZ037 de techo para alimentación de 220V
- Corriente de funcionamiento máxima de 3A con carga nominal de 660W
- El botón LUX controla el encendido/apagado del sensor de luz y la regulación de brillo ajustada por el usuario
- Regulador con sensor de presencia PIR RZ037 de techo para alimentación de 110V
- Corriente de funcionamiento máxima de 3A con carga nominal de 330W
- El botón LUX controla el encendido/apagado del sensor de luz y la regulación de brillo ajustada por el usuario

- Interruptor con sensor de movimiento por microondas de techo para CC de bajo voltaje
- Entrada de 12 VDC / 24 VDC con rango de 10-30 VDC
- Corriente de funcionamiento máxima de 10A con retardo de tiempo, umbral de Lux y sensibilidad ajustables
- Interruptor con sensor de movimiento por microondas de techo para mayor carga
- Entrada de tensión de red de 100-265 VAC, modelo de 10A
- Detección por microondas de 5,8 GHz con temporizador, umbral Lux y sensibilidad ajustables
- Interruptor con sensor de movimiento por microondas de techo
- Entrada de tensión de red de 100-265 VAC, modelo de 5A
- Detección por microondas de 5,8 GHz con temporizador, umbral Lux y sensibilidad ajustables

- Interruptor con sensor de movimiento PIR para montaje empotrable en techo de CC de bajo voltaje
- Entrada de 12 VDC / 24 VDC con rango de 10-30 VDC
- Corriente máxima de trabajo de 10 A con tiempo de retardo, umbral de luxes y sensibilidad ajustables

- Interruptor con sensor de movimiento PIR empotrable en techo para mayor carga
- Entrada de tensión de red de 100-265 VAC, modelo de 10A
- Detección de 360 grados con tiempo de retardo, umbral de luxes y sensibilidad ajustables
- Interruptor con sensor de movimiento PIR empotrable en techo
- Entrada de tensión de red de 100-265 VAC, modelo de 5A
- Detección de 360 grados con tiempo de retardo, umbral de luxes y sensibilidad ajustables

- Kit de emisor inalámbrico y receptor para el control de iluminación de encendido/apagado en interiores
- Receptor de 100-230 V CA, 50/60 Hz con corriente nominal de 5 A
- Interruptor inalámbrico alimentado por CR2032 con comunicación de 2,4 GHz
- Presencia (encendido automático/apagado automático)
- 12–24 V CC (10–30 V CC), hasta 10 A
- Cobertura de 360°, 8–12 m de diámetro
- Tiempo de retardo de 15 s a 30 min
- Sensor de luz Desactivado/15/25/35 Lux
- Sensibilidad alta/baja
- Modo de presencia con encendido/apagado automático
- 100–265V CA, 10A (requiere neutro)
- Cobertura de 360°; diámetro de detección de 8–12 m
- Temporización: 15 s–30 min; Lux OFF/15/25/35; Sensibilidad Alta/Baja
- Modo de presencia con encendido/apagado automático
- 100–265V CA, 5A (requiere neutro)
- Cobertura de 360°; diámetro de detección de 8–12 m
- Temporización: 15 s–30 min; Lux OFF/15/25/35; Sensibilidad Alta/Baja
The superior approach for the under-sink domain is the Passive Infrared (PIR) Motion Sensor. These units detect the heat signature of your hand or face entering the cabinet space. The advantage here is the elimination of moving parts. You open the door, the infrared signature changes, and the cabinet floods with 4000K light.
When you are wrestling a 10-inch filter housing and your elbow bumps the door partially closed, the light stays on because it sees usted, not the door position. It turns the cabinet into a responsive workspace rather than a closet. We can skip the physics of Fresnel lenses, but know this: these sensors need a direct line of sight. They cannot be buried behind a dense thicket of RO tubing.
The Power Architecture Trap
The single most common failure point in these retrofits has nothing to do with the light itself. It’s about where you steal the power.
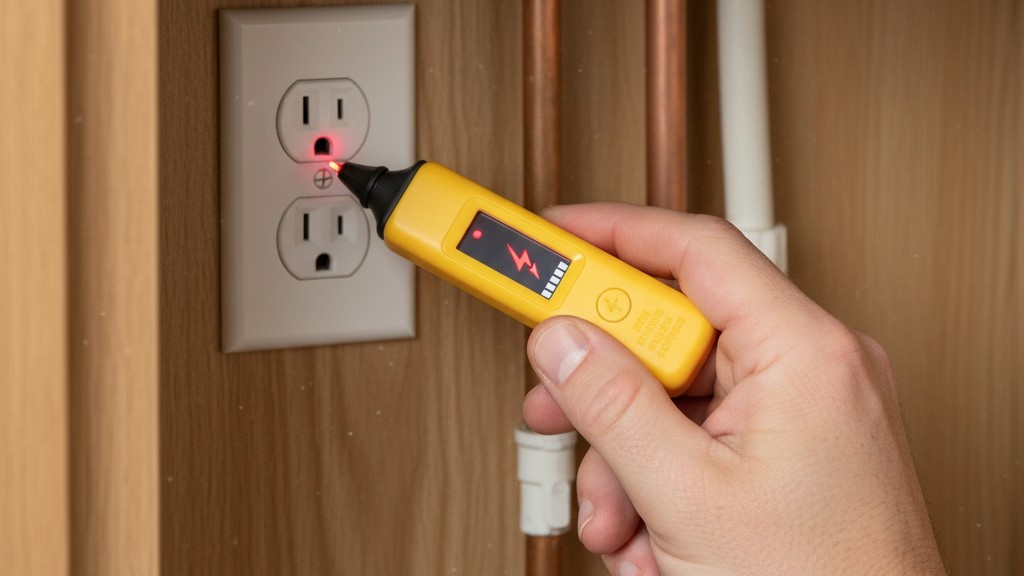
In 90% of modern kitchens, the outlet under the sink is dedicated to the garbage disposal. This is a “switched” outlet. If you plug your LED driver into this, your fancy new lighting system will only work when the garbage disposal is grinding chicken bones. Obviously, this is useless. Before purchasing any components, grab a non-contact voltage tester or a multimeter. Check both receptacles on the outlet. Often, electricians will split the outlet—top half hot, bottom half switched—but you cannot assume this without verification.
If you find yourself with only switched power, the project scope changes. You are now looking at tapping into the dishwasher circuit (often hardwired nearby) or pulling a new line, which escalates this from a “Saturday morning tweak” to actual electrical work.
However, if you have a constant hot source, the rest is low-voltage assembly. The goal is to convert that 120V AC down to 12V or 24V DC immediately. Do not run 120V lines around the cabinet interior. Using a compact driver plugged into the constant hot, you can run low-voltage wire to the Rayzeek sensor and then to the LED strips.
¿Busca soluciones de ahorro de energía activadas por movimiento?
Póngase en contacto con nosotros para obtener sensores de movimiento PIR completos, productos de ahorro de energía activados por movimiento, interruptores con sensor de movimiento y soluciones comerciales de presencia/vacancia.
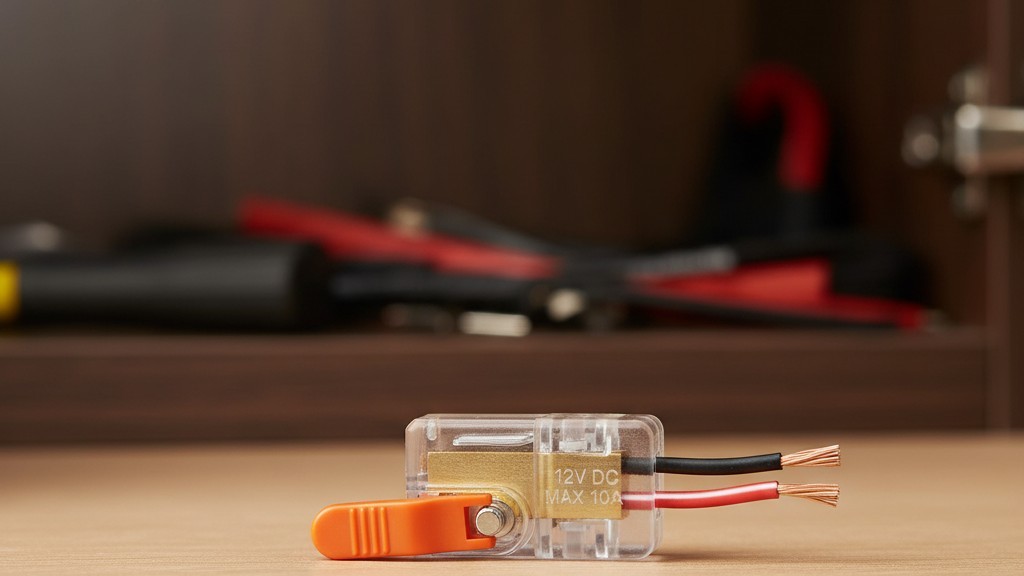
Now, let’s handle the connections. Under-sink environments are technically “damp locations” by code in many jurisdictions, and certainly by common sense. Standard wire nuts are bulky and prone to loosening if snagged by a stray bleach bottle. The standard for this work should be Wago lever nuts. They clamp down on stranded low-voltage wire securely and offer a lower profile. While checking your local regulations regarding low-voltage penetrations is on you, the universal rule is simple: keep high-voltage connections inside a junction box and only expose the 12V side to the cabinet interior.
Installation for Longevity
Mounting the sensor is a game of strategic avoidance. The under-sink area is a chaotic ecosystem of drain pipes, P-traps, disposal bodies, and supply lines. If you mount the Rayzeek sensor on the floor or low on the wall, it will eventually get wet. A filter change will spill water. A drain will eventually weep.
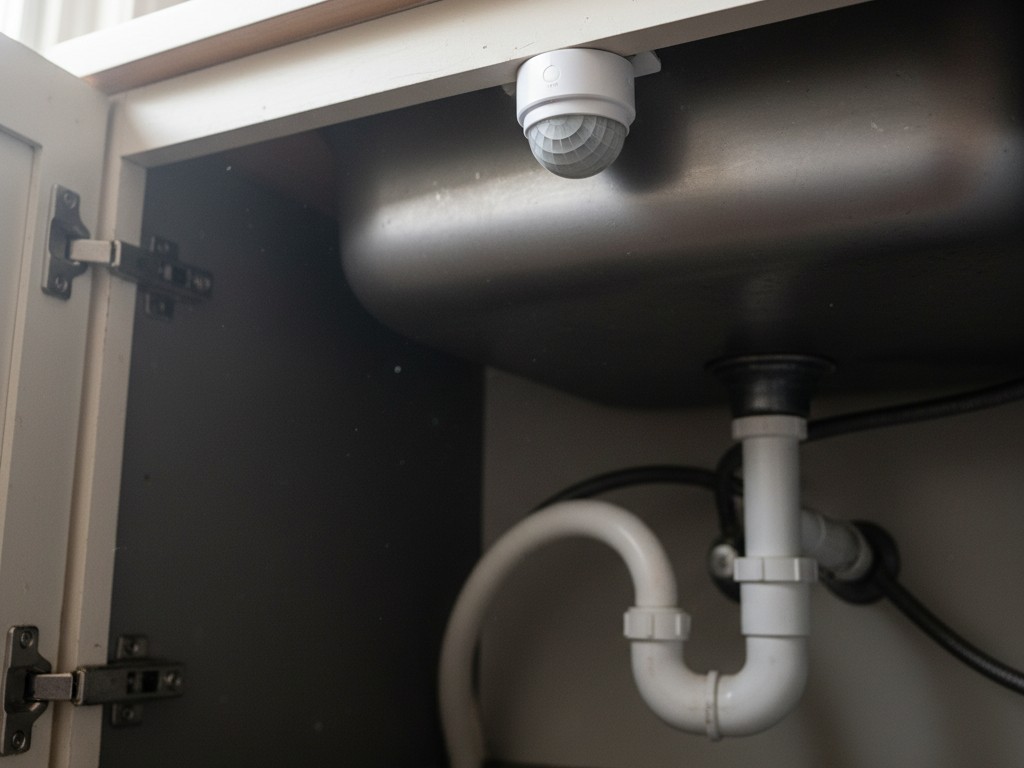
The sensor must be mounted high, ideally on the upper face frame or the ceiling of the cabinet, looking down. This protects the electronics from gravity-fed water damage and ensures the “eye” of the sensor has the widest possible field of view.
Cable management here is a safety requirement, not an aesthetic choice. An RO system has roughly five to seven tubes running between the manifold, the tank, and the faucet. Adding loose electrical wires to this spaghetti is a recipe for disaster. When you pull the filter housing wrench, you do not want to snag the power wire for the lights. Use adhesive clips or screw-down zip ties to route every inch of wire tight against the cabinet carcass. The system should be invisible until it turns on. If you can snag it with a bottle of dishwasher detergent, it is installed wrong.
The Battery Delusion
There is always a temptation to bypass the wiring work and buy a three-pack of stick-on battery puck lights. They are cheap, available at every checkout counter, and install in seconds.
Don’t do it. Battery lights are the “fast food” of home maintenance—satisfying for ten minutes, regrettable for the long haul. The batteries will die. They always die. And they will die exactly when you have a leak at 11 PM on a Tuesday.
Inspírese con los portafolios de sensores de movimiento Rayzeek.
¿No encuentra lo que busca? No se preocupe. Siempre existen formas alternativas de resolver sus problemas. Quizá alguno de nuestros portafolios pueda ayudarle.
When the batteries die, you won’t replace them immediately. You will throw the dead puck in a junk drawer, intending to buy AAAs later. The cabinet returns to darkness. The friction returns. The leak goes unnoticed. The filter change gets deferred.
The entire purpose of the upgrade is reliability—making the visibility of your plumbing systems automatic and inevitable. A hardwired sensor draws a negligible amount of “vampire power”—pennies a year—which is a rounding error compared to the cost of replacing a water-damaged subfloor. Treat the light as a utility, same as the water flowing through the pipes. It should just be there, waiting for you to open the door.







