ไฟเซนเซอร์ตรวจจับความเคลื่อนไหวฟังดูเหมือนเป็นการ "อัปเกรดเล็กๆ น้อยๆ" ที่สะอาดหมดจดที่สุดในบ้าน แค่ถอดสวิตช์ผนังอันเก่าออก ใส่สวิตช์ที่ฉลาดกว่าเข้าไปแทน แล้วจู่ๆ ห้องเก็บของหรือโถงทางเดินก็จะไม่ใช่สถานที่ที่เปิดไฟทิ้งไว้เป็นชั่วโมงๆ อีกต่อไป
แต่บ้านเก่ามักจะมีวิธีที่ทำให้เรื่องราวไม่ได้ง่ายดายแบบนั้น
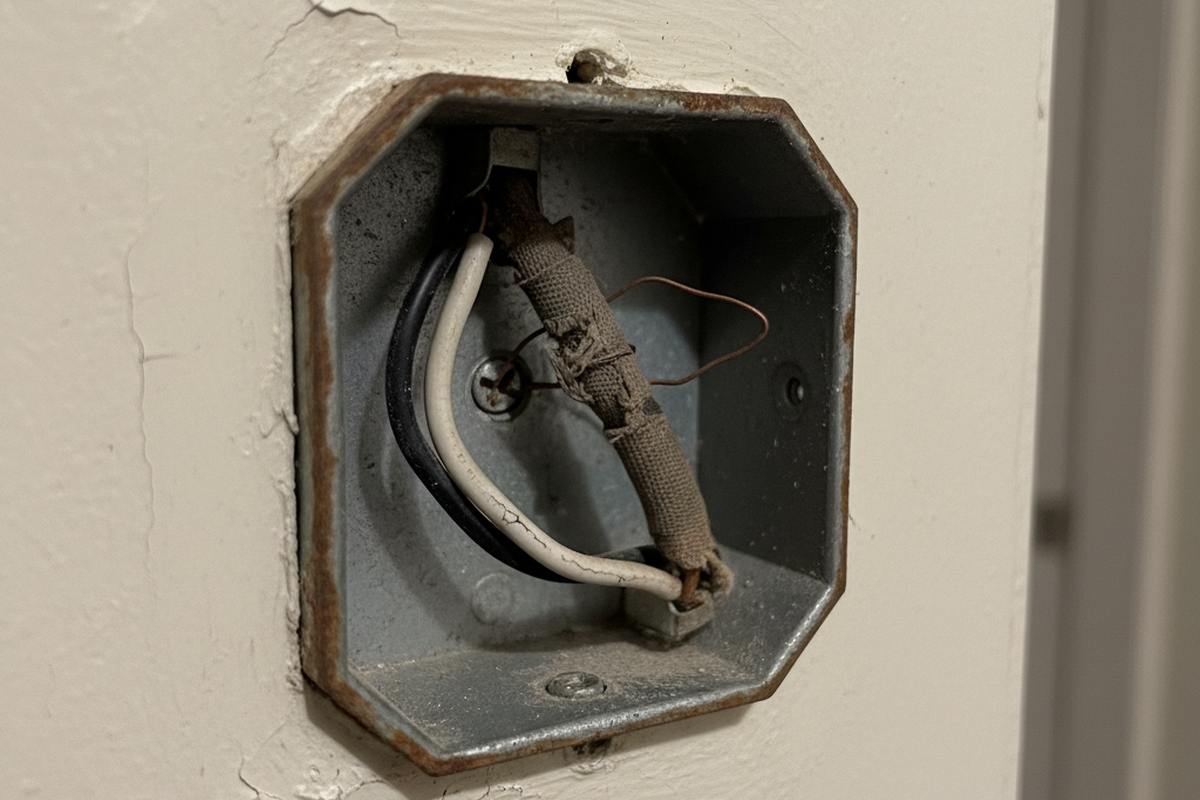
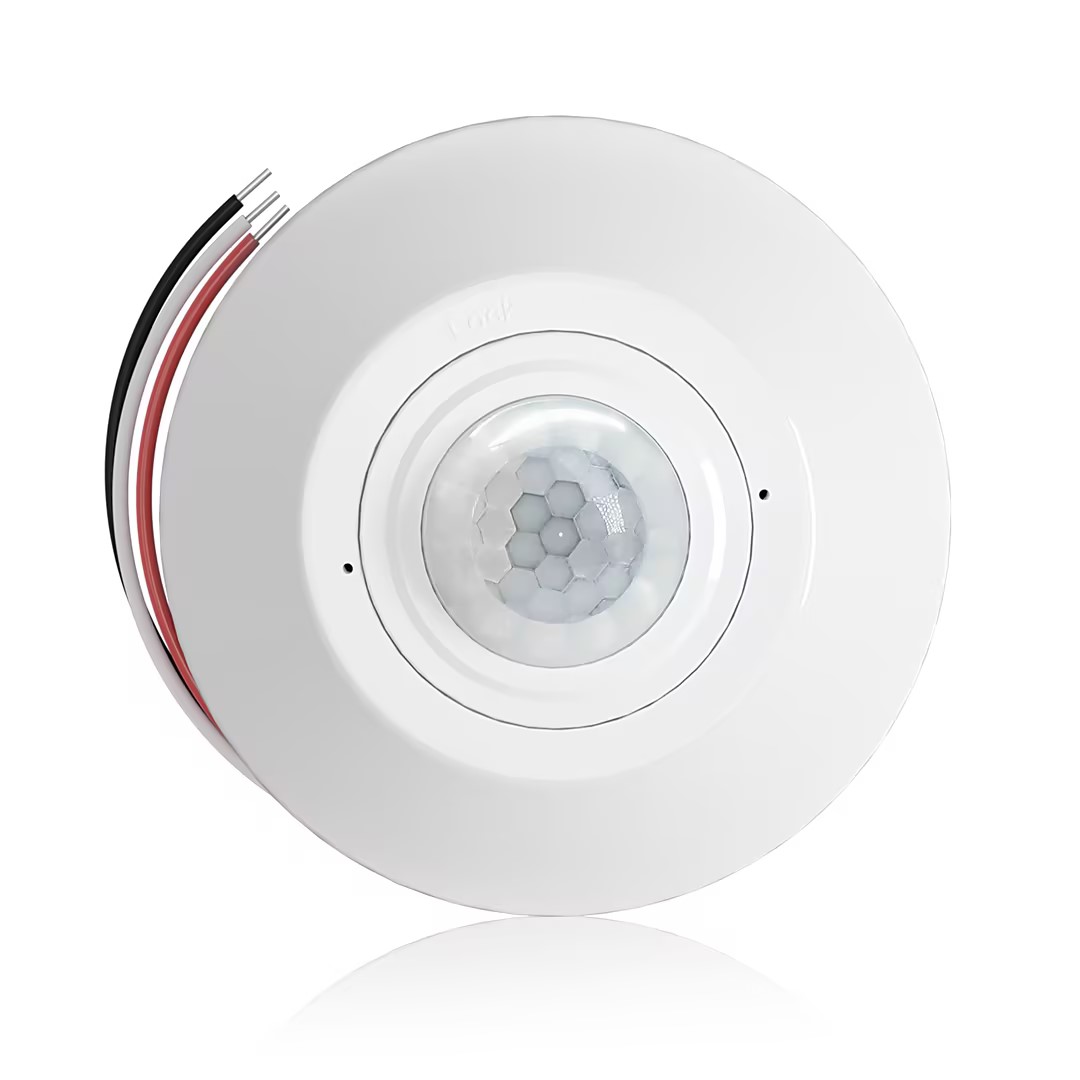
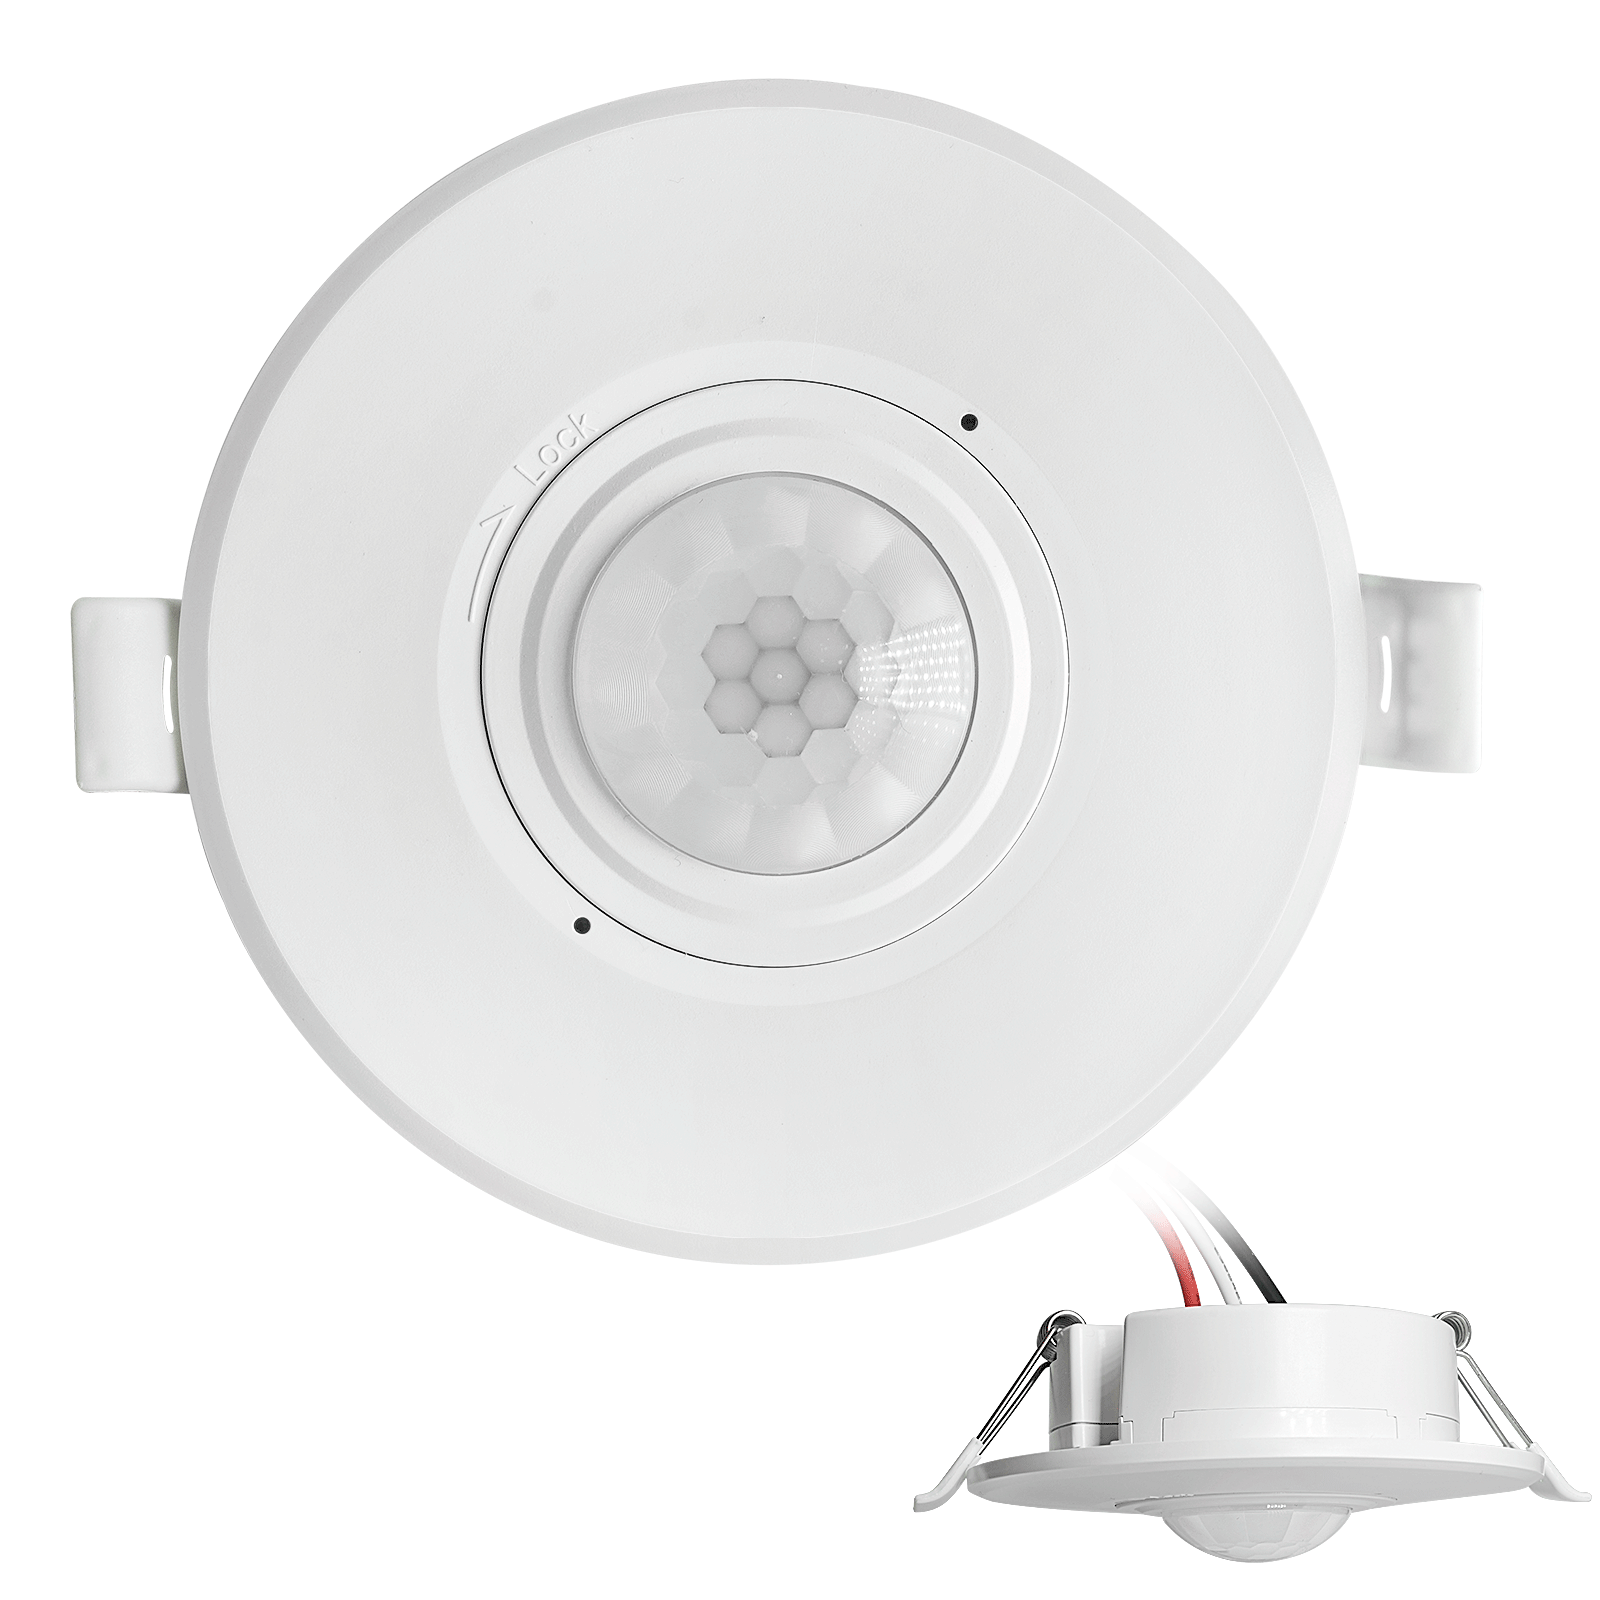
รูปแบบเฉพาะอย่างหนึ่งที่มักพบในบ้านที่สร้างช่วงทศวรรษ 1910–1970 คือ กล่องบนผนังที่มีสายฉนวนเพียงสองเส้นและสายดิน ซึ่งมักจะเป็นกล่องโลหะแบบตื้น วงแหวนปลาสเตอร์ หรือสายเคเบิลเก่าที่กรอบแตกง่าย เมื่อใส่สวิตช์ตรวจจับความเคลื่อนไหวแบบไม่ใช้สายสายนิวทรัล (no-neutral) เข้าไป มันก็ดูเหมือนจะทำงานได้ดี—จนกระทั่งมีการเปลี่ยนหลอดไฟ ในห้องเก็บของของบ้านสไตล์บังกะโลปี 1926 วิธีแบบไม่ใช้สายนิวทรัลดูใช้งานได้ดีกับหลอดไส้ แต่พอเปลี่ยนมาใช้หลอด LED แบบแพ็กประหยัดราคาถูก ก็กระตุ้นให้เกิดกลุ่มอาการคลาสสิกทันที นั่นคือ ไฟหรี่เรืองแสงขึ้นมาจางๆ ตอนที่สั่ง "ปิด" และมีแสงแฟลชกะพริบเป็นครั้งคราวในตอนกลางคืน
สวิตช์ไม่ได้ "เสีย" กะทันหัน แต่ระบบเปลี่ยนไป และข้อจำกัดเรื่องการเดินสายไฟนั้นมีอยู่แต่แรกแล้ว ในหมวดหมู่นี้ คำถามเรื่องสายนิวทรัลไม่ใช่รายละเอียดเล็กๆ น้อยๆ แต่เป็นตัวทำนายว่าการติดตั้งนี้จะเสร็จสิ้นในครั้งเดียว หรือจะเป็นปัญหาเรื้อรังที่ต้องตามแก้ในระยะยาว
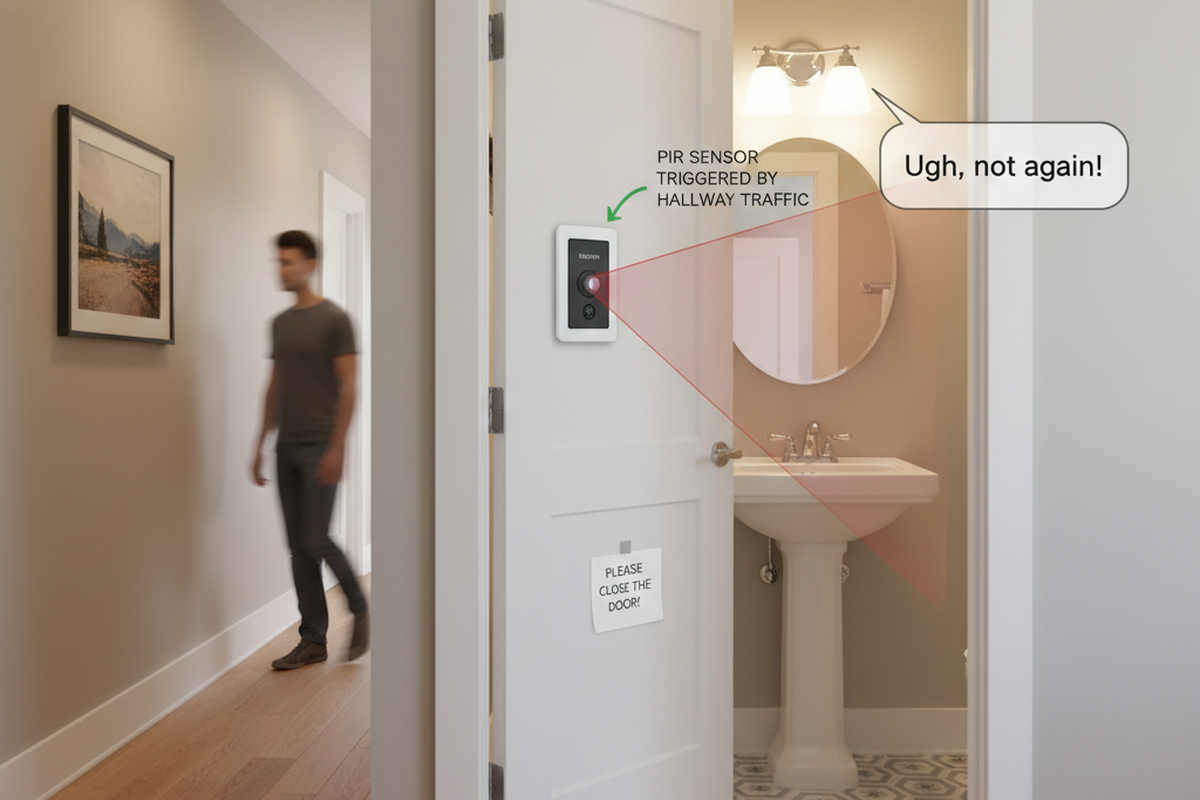
นอกจากนี้ คำว่า "PIR sensor" มักจะถูกนำมาใช้ปะปนกันจนสับสน สวิตช์ผนังแบบ PIR คือสถาปัตยกรรมระบบแบบหนึ่ง ส่วนเซนเซอร์ติดเพดาน เซนเซอร์ที่รวมอยู่ในโคมไฟ หรือหลอดไฟอัจฉริยะก็เป็นอีกแบบหนึ่ง โดยทั่วไปแล้วเป้าหมายไม่ใช่ "ต้องมีตัวตรวจจับ PIR อยู่ในกล่องผนัง" แต่คือ "ไฟเปิดปิดอัตโนมัติโดยไม่ต้องใช้มือเปิดและทำงานเหมือนไฟปกติ" ข้อกำหนดเรื่องสายนิวทรัลจะขึ้นอยู่กับสถาปัตยกรรมระบบ ไม่ใช่คำอธิบายทางการตลาด
สิ่งสำคัญที่สุด: การใช้สายดินแทนสายนิวทรัล การพ่วงสายนิวทรัลแบบผิดๆ (bootleg neutrals) และการยืมสายนิวทรัลจากวงจรอื่น ไม่ใช่วิธีแก้ปัญหา แต่เป็นสิ่งที่เป็นอันตราย
ตรวจสอบความจริงเมื่อเปิดกล่อง: คุณมีสายนิวทรัลจริงๆ หรือไม่?
ความสับสนส่วนใหญ่เกี่ยวกับ "ไม่มีสายนิวทรัล" เริ่มต้นจากข้อสันนิษฐานที่ฟังดูสมเหตุสมผล: สวิตช์เปิดปิดหรือสวิตช์หรี่ไฟตัวเก่ามีสายไฟต่ออยู่สองเส้น ดังนั้นในกล่องก็ต้องไม่มีสายนิวทรัล
แต่ข้อสันนิษฐานนั้นมักจะไม่ถูกต้อง
ในบ้านสไตล์โคโลเนียลย่านชานเมืองปี 1974 เจ้าของบ้านยืนยันว่าไม่มีสายนิวทรัลเพราะสวิตช์หรี่ไฟตัวเก่าใช้สายเพียงสองเส้น แต่เมื่อเปิดกล่องออกดูก็เปลี่ยนการตัดสินใจทั้งหมด เพราะมีกลุ่มสายไฟสีขาวมัดรวมและใส่หมวกหมุนสาย (wirenut) อยู่ด้านหลัง สวิตช์หรี่ไฟตัวเก่าไม่เคยต้องใช้งานมัน แต่สายนิวทรัลนั้นมีอยู่ ข้อจำกัดที่แท้จริงจึงกลายเป็นเรื่องของปริมาณสายและพื้นที่ในกล่อง (อุปกรณ์ที่มีขนาดเทอะทะในกล่องที่แน่นอยู่แล้ว) ไม่ใช่เรื่องที่เป็นไปไม่ได้ทางไฟฟ้า การค้นพบนี้เป็นเรื่องที่พบได้บ่อยมากจนควรจัดให้เป็นขั้นตอนเริ่มต้น (ขั้นตอนที่ศูนย์): ตรวจสอบกล่องไฟก่อน แล้วค่อยไปซื้อของ
คำว่า "มีสายนิวทรัล" ในกล่องผนัง น้อยครั้งนักที่จะโผล่มาเป็นสายไฟเดี่ยวๆ เส้นเดียวที่รอให้เราใช้งานอย่างเรียบร้อย แต่มักจะเป็นชุดสายไฟสีขาวที่มัดรวมกันอยู่ด้านหลังด้วยหมวกหมุนสาย บางครั้งก็ถูกยัดไว้ข้างหลังตัวอุปกรณ์ ในการเดินสายไฟยุคใหม่ เรื่องนี้อาจจะเห็นได้ชัดเจน แต่ในกล่องไฟรุ่นเก่า มันอาจจะเป็นกลุ่มสายที่ยุ่งเหยิง บางครั้งสายสั้น บางครั้งถูกฝังอยู่หลังสายฉนวนผ้าแบบเก่า หรือซ่อนอยู่ในกล่องแบบหลายช่อง (multi-gang) ซึ่งยากจะบอกว่าสายไหนเป็นของวงจรไหนโดยไม่ได้ทำแผนผังวงจรอย่างจริงจัง
คำว่า "ไม่มีสายนิวทรัล" ในบ้านรุ่นเก่า มักจะมีลักษณะเป็นวงจรแบบสวิตช์ลูป (switch loop): กระแสไฟวิ่งไปที่โคมไฟบนเพดาน จากนั้นสายเคเบิลแบบสองเส้นจะวิ่งลงมาที่สวิตช์แล้ววิ่งกลับขึ้นไป ในรูปแบบนั้น สายนิวทรัลจะไม่เคยมาถึงกล่องผนังเลย สายฉนวนสองเส้นที่สวิตช์คือสายเส้นไฟเข้า (hot-down) และสายเส้นไฟกลับไปยังโหลด (switched-hot-up) (หรือรูปแบบอื่นที่คล้ายกัน) พร้อมกับสายดิน ซึ่งพบได้บ่อยมากในบ้านจัดสรรแถบมิดเวสต์ช่วงทศวรรษ 1950–1960 และบ้านสไตล์บังกะโลรุ่นเก่า นี่ไม่ใช่ "บ้านที่ไม่ดี" แต่เป็นเพียงสถาปัตยกรรมระบบการเดินสายไฟที่มีมาก่อนยุคของอุปกรณ์ควบคุมที่ต้องพึ่งพาสายนิวทรัล
โดยทั่วไปคุณสามารถสรุปสถานการณ์ในกล่องไฟออกมาเป็นคำถามแตกแขนงได้ดังนี้:
- หากมีมัดสายนิวทรัลอยู่ในกล่อง: สวิตช์ผนังที่ต้องใช้สายนิวทรัล—รวมถึงสวิตช์ควบคุมไฟอัจฉริยะและสวิตช์ PIR หลายรุ่น—จะสามารถใช้งานได้ การติดตั้งจะหลีกเลี่ยงปัญหาเรื่องการประนีประนอมด้วยวิธี "ดึงไฟผ่านโหลด (powering through the load)"
- หากไม่มีสายนิวทรัลอยู่ในกล่อง (วงจรสวิตช์ลูปแบบคลาสสิก): โปรเจกต์นี้จะไม่ใช่แค่การ "เปลี่ยนไปใช้สวิตช์ผนังยี่ห้ออื่น" อีกต่อไป แต่มันจะกลายเป็นการ "เลือกสถาปัตยกรรมระบบควบคุมแบบอื่น" หรือการวางแผนเปลี่ยนสายไฟเพื่อดึงสายนิวทรัลมายังจุดที่อุปกรณ์จำเป็นต้องใช้จริงๆ
ความจริงของงานปรับปรุงระบบเก่าจะสร้างอุปสรรคตรงนี้ กล่องโลหะแบบตื้น สายไฟที่สั้น ฉนวนที่กรอบแตกง่าย และกล่องแบบหลายช่องที่หนาแน่น ไม่ใช่แค่เรื่องน่ารำคาญใจ แต่เป็นตัวทำนายความล้มเหลว หากฉนวนแตกเมื่อมีการขยับสายไฟ หากกล่องไฟมีสายอยู่จนเต็มขีดจำกัดแล้ว หรือหากจุดต่อสายไฟถูกอัดกันจนแน่นและเกิดความร้อน สถานะที่ว่า "มันยัดเข้าถ้าออกแรงดัน" จึงไม่ใช่ความสำเร็จ แต่จะเป็นปัญหาที่ต้องเรียกช่างมาซ่อมแซมในอนาคตอันใกล้
คุณอาจจะสนใจใน
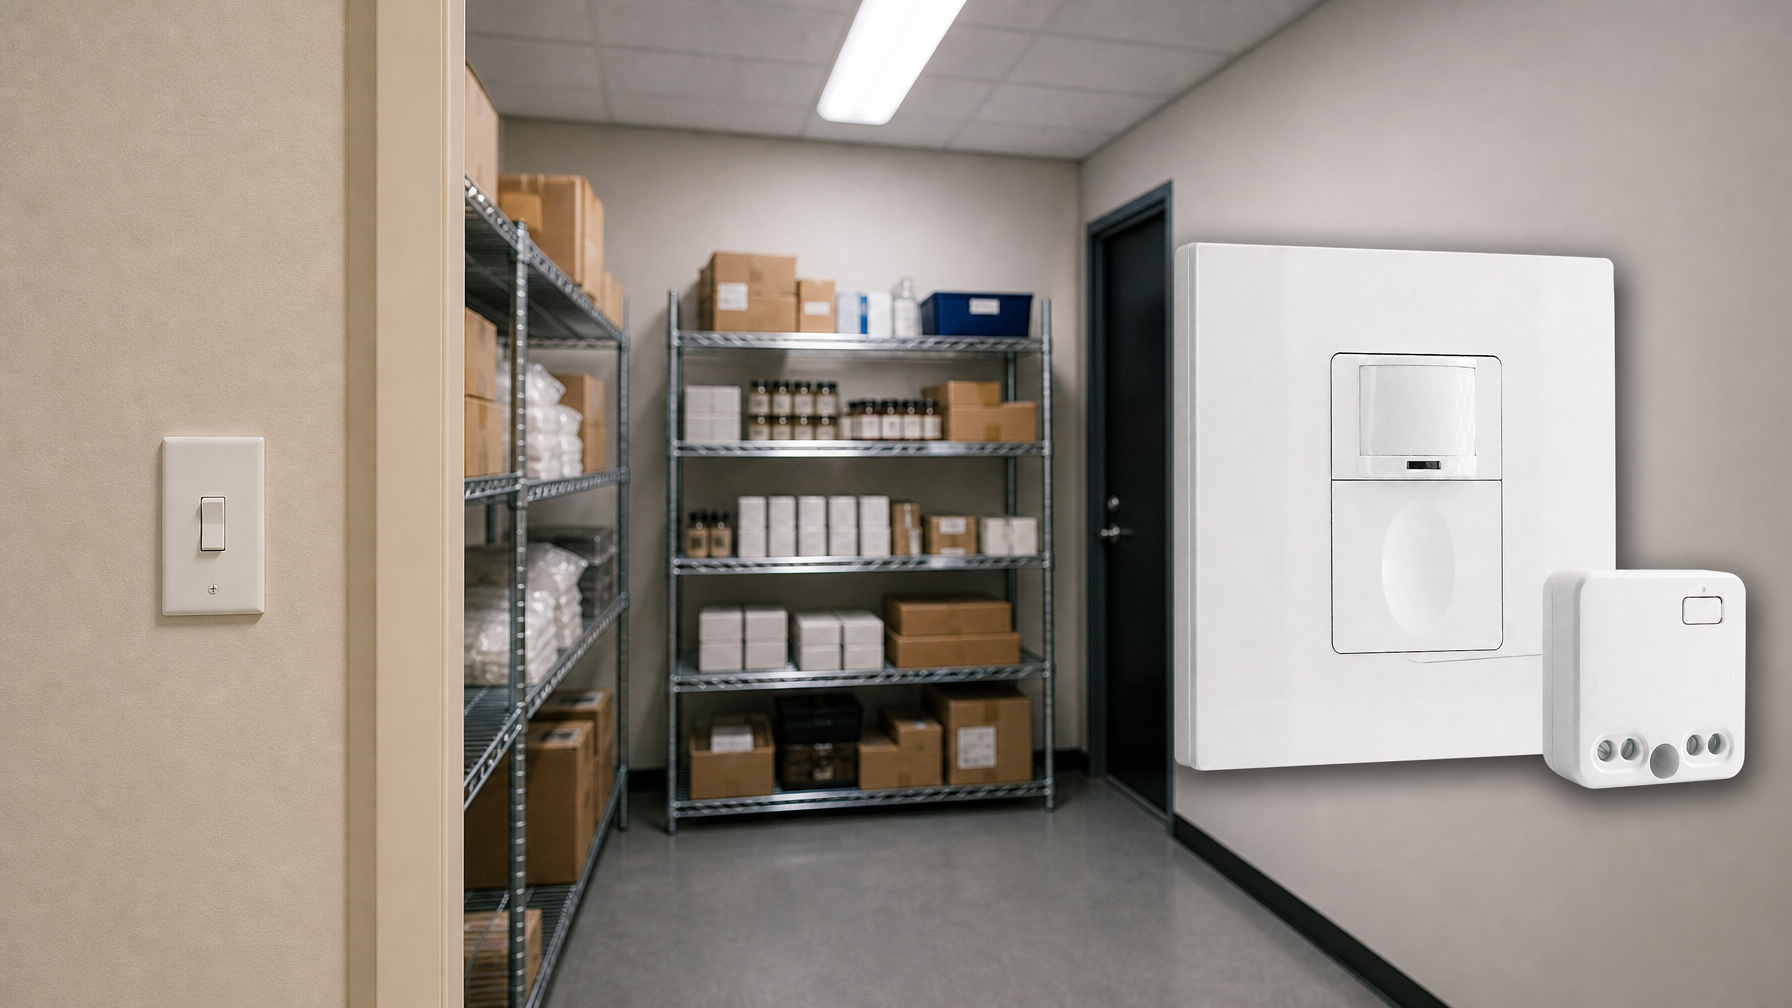
- เซนเซอร์ตรวจจับความเคลื่อนไหว PIR แบบติดเพดาน พร้อมเอาต์พุตรีเลย์ดรายคอนแทค
- แหล่งจ่ายไฟแรงดันต่ำ 12/24VDC หรือ 12/24VAC
- หน้าสัมผัสรีเลย์แบบแยกอิสระ COM, NO และ NC สำหรับสัญญาณอินพุตของ EMS, HVAC และการควบคุมอาคาร
- สวิตช์เซนเซอร์ตรวจจับความเคลื่อนไหวไมโครเวฟแบบฝังฝ้าเพดาน แรงดันต่ำ DC
- อินพุต 12 VDC / 24 VDC พร้อมช่วงรองรับ 10-30 VDC
- กระแสทำงานสูงสุด 10A พร้อมความสามารถในการปรับหน่วงเวลา, ค่าเกณฑ์ Lux และความไวในการตรวจจับ
- สวิตช์เซนเซอร์ตรวจจับความเคลื่อนไหวไมโครเวฟแบบฝังฝ้าเพดาน รองรับโหลดสูงพิเศษ
- อินพุตแรงดันไฟบ้าน 100-265 VAC, รุ่น 10A
- ระบบตรวจจับด้วยคลื่นไมโครเวฟ 5.8 GHz พร้อมความสามารถในการปรับหน่วงเวลา, ค่าเกณฑ์ Lux และความไวในการตรวจจับ
- สวิตช์เซนเซอร์ตรวจจับความเคลื่อนไหวไมโครเวฟแบบฝังฝ้าเพดาน
- อินพุตแรงดันไฟบ้าน 100-265 VAC, รุ่น 5A
- ระบบตรวจจับด้วยคลื่นไมโครเวฟ 5.8 GHz พร้อมความสามารถในการปรับหน่วงเวลา, ค่าเกณฑ์ Lux และความไวในการตรวจจับ
- สวิตช์หรี่ไฟเซนเซอร์ตรวจจับความเคลื่อนไหว RZ037 PIR แบบติดเพดาน สำหรับระบบไฟ 220V
- กระแสทำงานสูงสุด 3A พร้อมโหลดพิกัด 660W
- ปุ่ม LUX ควบคุมการเปิด/ปิดระบบเซนเซอร์แสง และควบคุมระดับความสว่างในการหรี่ไฟที่ผู้ใช้ตั้งค่าไว้
- สวิตช์หรี่ไฟเซนเซอร์ตรวจจับความเคลื่อนไหว RZ037 PIR แบบติดเพดาน สำหรับระบบไฟ 110V
- กระแสทำงานสูงสุด 3A พร้อมโหลดพิกัด 330W
- ปุ่ม LUX ควบคุมการเปิด/ปิดระบบเซนเซอร์แสง และควบคุมระดับความสว่างในการหรี่ไฟที่ผู้ใช้ตั้งค่าไว้
- สวิตช์เซนเซอร์ตรวจจับความเคลื่อนไหวระบบไมโครเวฟ แบบติดเพดาน ไฟฟ้ากระแสตรงแรงดันต่ำ
- อินพุต 12 VDC / 24 VDC พร้อมช่วงรองรับ 10-30 VDC
- กระแสทำงานสูงสุด 10A พร้อมความสามารถในการปรับหน่วงเวลา, ค่าเกณฑ์ Lux และความไวในการตรวจจับ
- สวิตช์เซนเซอร์ตรวจจับความเคลื่อนไหวระบบไมโครเวฟ แบบติดเพดาน รองรับโหลดสูง
- อินพุตแรงดันไฟบ้าน 100-265 VAC, รุ่น 10A
- ระบบตรวจจับด้วยคลื่นไมโครเวฟ 5.8 GHz พร้อมความสามารถในการปรับหน่วงเวลา, ค่าเกณฑ์ Lux และความไวในการตรวจจับ
- สวิตช์เซนเซอร์ตรวจจับความเคลื่อนไหวระบบไมโครเวฟ แบบติดเพดาน
- อินพุตแรงดันไฟบ้าน 100-265 VAC, รุ่น 5A
- ระบบตรวจจับด้วยคลื่นไมโครเวฟ 5.8 GHz พร้อมความสามารถในการปรับหน่วงเวลา, ค่าเกณฑ์ Lux และความไวในการตรวจจับ
- สวิตช์เซนเซอร์ตรวจจับความเคลื่อนไหว PIR แบบฝังฝ้าเพดาน ไฟฟ้ากระแสตรงแรงดันต่ำ
- อินพุต 12 VDC / 24 VDC พร้อมช่วงรองรับ 10-30 VDC
- กระแสไฟฟ้าทำงานสูงสุด 10A พร้อมระบบปรับตั้งเวลาหน่วง, ค่าความสว่าง (Lux), และความไวในการตรวจจับ
- สวิตช์เซนเซอร์ตรวจจับความเคลื่อนไหว PIR แบบฝังฝ้าเพดาน รองรับโหลดสูง
- อินพุตแรงดันไฟบ้าน 100-265 VAC, รุ่น 10A
- ตรวจจับรอบทิศทาง 360 องศา พร้อมระบบปรับตั้งเวลาหน่วง, ค่าความสว่าง (Lux), และความไวในการตรวจจับ
- สวิตช์เซนเซอร์ตรวจจับความเคลื่อนไหว PIR แบบฝังฝ้าเพดาน
- อินพุตแรงดันไฟบ้าน 100-265 VAC, รุ่น 5A
- ตรวจจับรอบทิศทาง 360 องศา พร้อมระบบปรับตั้งเวลาหน่วง, ค่าความสว่าง (Lux), และความไวในการตรวจจับ
- ชุดสวิตช์ไร้สายและตัวรับสัญญาณ สำหรับควบคุมการเปิด/ปิดไฟภายในอาคาร
- ตัวรับสัญญาณรองรับแรงดันไฟ 100-230VAC, 50/60Hz พิกัดกระแสไฟฟ้า 5A
- สวิตช์ไร้สายใช้พลังงานจากถ่าน CR2032 การสื่อสารผ่านคลื่นความถี่ 2.4GHz
- โหมดตรวจจับการใช้งานพื้นที่ (เปิดอัตโนมัติ/ปิดอัตโนมัติ)
- 12–24V DC (10–30VDC), สูงสุด 10A
- ครอบคลุมพื้นที่ 360°, เส้นผ่านศูนย์กลางการตรวจจับ 8–12 ม.
- เวลาหน่วง 15 วินาที – 30 นาที
- เซนเซอร์วัดแสง ปิด/15/25/35 Lux
- ความไวในการตรวจจับ สูง/ต่ำ
- โหมดตรวจจับการใช้งานพื้นที่ เปิดอัตโนมัติ/ปิดอัตโนมัติ
- 100–265V AC, 10A (จำเป็นต้องใช้สายนิวทรัล)
- ครอบคลุมพื้นที่ 360°; เส้นผ่านศูนย์กลางการตรวจจับ 8–12 ม.
- เวลาหน่วง 15 วินาที – 30 นาที; ค่า Lux ปิด/15/25/35; ความไวในการตรวจจับ สูง/ต่ำ
- โหมดตรวจจับการใช้งานพื้นที่ เปิดอัตโนมัติ/ปิดอัตโนมัติ
- 100–265V AC, 5A (จำเป็นต้องใช้สายสายนิวทรัล)
- ครอบคลุมพื้นที่ 360°; เส้นผ่านศูนย์กลางการตรวจจับ 8–12 ม.
- เวลาหน่วง 15 วินาที – 30 นาที; ค่า Lux ปิด/15/25/35; ความไวในการตรวจจับ สูง/ต่ำ
- 100V-230VAC
- ระยะการส่งสัญญาณ: สูงสุด 20 ม.
- เซนเซอร์ตรวจจับความเคลื่อนไหวแบบไร้สาย
- การควบคุมแบบเดินสาย
- แรงดันไฟฟ้า: แบตเตอรี่ AAA 2 ก้อน / 5V DC (Micro USB)
- โหมดกลางวัน/กลางคืน
- เวลาหน่วง: 15 นาที, 30 นาที, 1 ชม. (ค่าเริ่มต้น), 2 ชม.
- อะแดปเตอร์แปลงไฟปลั๊กแบบ EU
- อะแดปเตอร์แปลงไฟปลั๊กแบบ UK
นอกจากนี้ยังมีจุดที่ต้องหยุดทำอย่างชัดเจน วงจรที่ไม่ทราบที่มาในแผงไฟรุ่นเก่า วงจรที่ปะปนกันในกล่องแบบหลายช่อง หรือร่องรอยความซับซ้อนของวงจรสาขาแบบใช้สายร่วมกัน (multi-wire branch circuit) หรือสายนิวทรัลร่วม (shared neutral) คือจุดที่คุณควรหยุดคิดทึกทักเอาเองว่ามันคือการเปลี่ยนอุปกรณ์แบบง่ายๆ นี่ไม่ใช่การกีดกัน แต่เป็นสาเหตุที่ทำให้เกิดปัญหาเบรกเกอร์ทริปโดยหาสาเหตุไม่ได้ สายนิวทรัลที่ร้อนเกินไป และเส้นทางความผิดพร่องของกระแสไฟที่ชวนสับสน
ทำไมสวิตช์เซนเซอร์แบบไม่ต้องต่อสายสายนิวทรัลถึงทำงานผิดปกติเมื่อใช้กับหลอด LED (เปิดเผยกลไก ไม่ใช่เรื่องลี้ลับ)
สวิตช์ผนังเซนเซอร์ตรวจจับการเคลื่อนไหวและการเข้าใช้งานพื้นที่แบบไม่ใช้สายสายนิวทรัล (No-neutral) ต้องเผชิญกับปัญหาพื้นฐานทางฟิสิกส์ นั่นคือ อุปกรณ์อิเล็กทรอนิกส์ในสวิตช์ต้องการพลังงาน แต่ไม่มีสายนิวทรัลเพื่อทำให้วงจรจ่ายไฟปกติสมบูรณ์ การออกแบบจำนวนมากแก้ปัญหานี้ด้วยการ "ดึง" กระแสไฟฟ้าปริมาณเล็กน้อยผ่านโหลดในขณะที่ปิดไฟอยู่ กระแสไฟฟ้านั้นมีปริมาณน้อยมากจนโดยทั่วไปแล้วไม่ทำให้ไส้หลอดอินแคนเดสเซนต์ (หลอดไส้) ส่องสว่างขึ้นมา
แต่ไดรเวอร์ LED ไม่ใช่ไส้หลอดไฟ หลอด LED และชุดโคมไฟสำเร็จรูป (retrofit trims) หลายรุ่นตอบสนองอย่างเห็นได้ชัดต่อกระแสไฟรั่ว (leakage currents) เพียงเล็กน้อย
นี่คือสาเหตุที่เรื่องเล่าประเภท "เมื่อวานยังใช้ได้อยู่เลย" มักจะเกิดขึ้นตอนที่มีการเปลี่ยนหลอดไฟ ในสถานการณ์ห้องเก็บของของบ้านสไตล์บังกะโลปี 1926 สวิตช์แบบไม่ใช้สายนิวทรัลทำงานได้ปกติกับหลอดไส้ พอเปลี่ยนมาใช้หลอด LED แบบแพ็กประหยัดที่ซื้อจากห้างค้าปลีก—ประเภท "แพ็กสามชิ้นกำลังลดราคา"—จู่ๆ ไฟก็เรืองแสงจางๆ ตลอดทั้งคืน และบางครั้งก็กะพริบเหมือนจังหวะหัวใจเต้น สวิตช์ไม่ได้โดนผีหลอก แต่ไดรเวอร์ LED เพิ่งจะเริ่มทำหน้าที่เป็นมิเตอร์ที่แสดงให้เห็นกระแสไฟรั่วอย่างชัดเจน นี่คือเหตุผลว่าทำไมการถามหาว่า "มีเซนเซอร์ที่ทำงานร่วมกับ LED ได้ทุกรุ่นไหม" จึงเป็นการถามหาสิ่งที่สินค้าหมวดหมู่นี้โดยทั่วไปไม่สามารถรับประกันให้ได้
กลไกนี้แสดงผลออกมาในอาการมากกว่าหนึ่งอย่าง ในการรีโนเวทห้องครัวที่มีโคมไฟดาวน์ไลท์ LED แบบสำเร็จรูปหลายดวง เซนเซอร์แบบไม่ใช้สายนิวทรัลเปิดทำงานได้ตามปกติ จากนั้นก็เริ่มทำงานเป็นรอบๆ หลังจากเริ่มร้อนขึ้น: เปิดหนึ่งวินาที ดับไปหลายวินาที แล้ววนซ้ำไปเรื่อยๆ เมื่อเปลี่ยนกลับมาใช้สอยตช์เปิดปิดธรรมดา อาการดังกล่าวก็หายไป นั่นคือเบาะแสสำคัญในการวินิจฉัย: สายไฟไม่ได้มีผีสิง แต่การโต้ตอบกันระหว่างแผงวงจรอิเล็กทรอนิกส์ของตัวควบคุมกับพฤติกรรมของไดรเวอร์ต่างหากที่เป็นตัวแปร การเปลี่ยนยี่ห้อเซนเซอร์มักจะกลายเป็นการเสียเงินเปล่าเพราะข้อจำกัดที่เป็นรากเหง้า (การป้อนไฟให้อุปกรณ์ผ่านตัวโหลด) ยังคงอยู่
แผนผังอาการจะช่วยหยุดการเดาสุ่ม มันอาจจะไม่ใช่เครื่องถอดรหัสสากลที่ใช้ได้กับทุกกรณี แต่มีความน่าเชื่อถือดังนี้:
- ไฟเรืองแสงจางๆ เมื่อสั่ง "ปิด": มีกระแสไฟรั่วผ่านตัวโหลด + ความไวของไดรเวอร์ LED
- ไฟกะพริบเป็นจังหวะทุกๆ 2-3 วินาทีเมื่อสั่ง "ปิด": ไดรเวอร์กำลังชาร์จและคายประจุจากกระแสไฟขนาดเล็ก และตัวสวิตช์น่าจะกำลัง "ดึง" ไฟไปเลี้ยงตัวเองทีละน้อย
- ไฟสั่นกระตุก (เปิด/ปิดอย่างรวดเร็ว) หรือทำงานเป็นรอบหลังจากผ่านไปไม่กี่นาที: เกิดจากกรณีขอบเขตของโหลดขั้นต่ำ (minimum load), พฤติกรรมของไดรเวอร์เมื่อเกิดความร้อน หรือระบบอิเล็กทรอนิกส์ที่ไม่รองรับกับลักษณะของโหลดนั้นๆ
- Sensor never fully “off”: Again, load sensitivity and the control’s method of powering itself.
This is where “universal LED compatible” marketing claims should set off skepticism. LEDs are not one thing. A19 bulbs, BR30 floods, retrofit can trims, and integrated fixtures all use different driver designs. Even within one brand, internal driver revisions happen. A system that behaves today can misbehave a year later when a single lamp gets replaced with “whatever was on sale.”
That doesn’t mean every no-neutral PIR wall switch is junk. It means no-neutral is a trade: you get convenience now in exchange for a narrower compatibility envelope and more future sensitivity. When choosing a Rayzeek PIR sensor wall switch, that trade needs to be clear: the label “PIR” doesn’t make the neutral constraint disappear.
The stability move is to choose an architecture that doesn’t rely on leakage current through the lamp driver—whenever possible.
Reliability-First Decision Ladder (Old-Work Friendly)
This approach beats product shopping: start with the most reliable architecture and move down to compromises, explicitly labeled.
Rung 1: Use a neutral-present location and a neutral-required switch (when the box actually has neutrals). If a wall box has a real neutral bundle, a neutral-required PIR or occupancy switch is the straightforward choice. This avoids the “sip through the load” mechanism and removes a major source of LED glow and flicker complaints. The constraint usually isn’t electrical, but physical: box depth, box fill, conductor condition, and whether the old wiring can be rearranged safely. In the 1974 example, the fix path became “make the box serviceable for a bulky device,” sometimes meaning a deeper box or a box extender rather than an exotic switch.
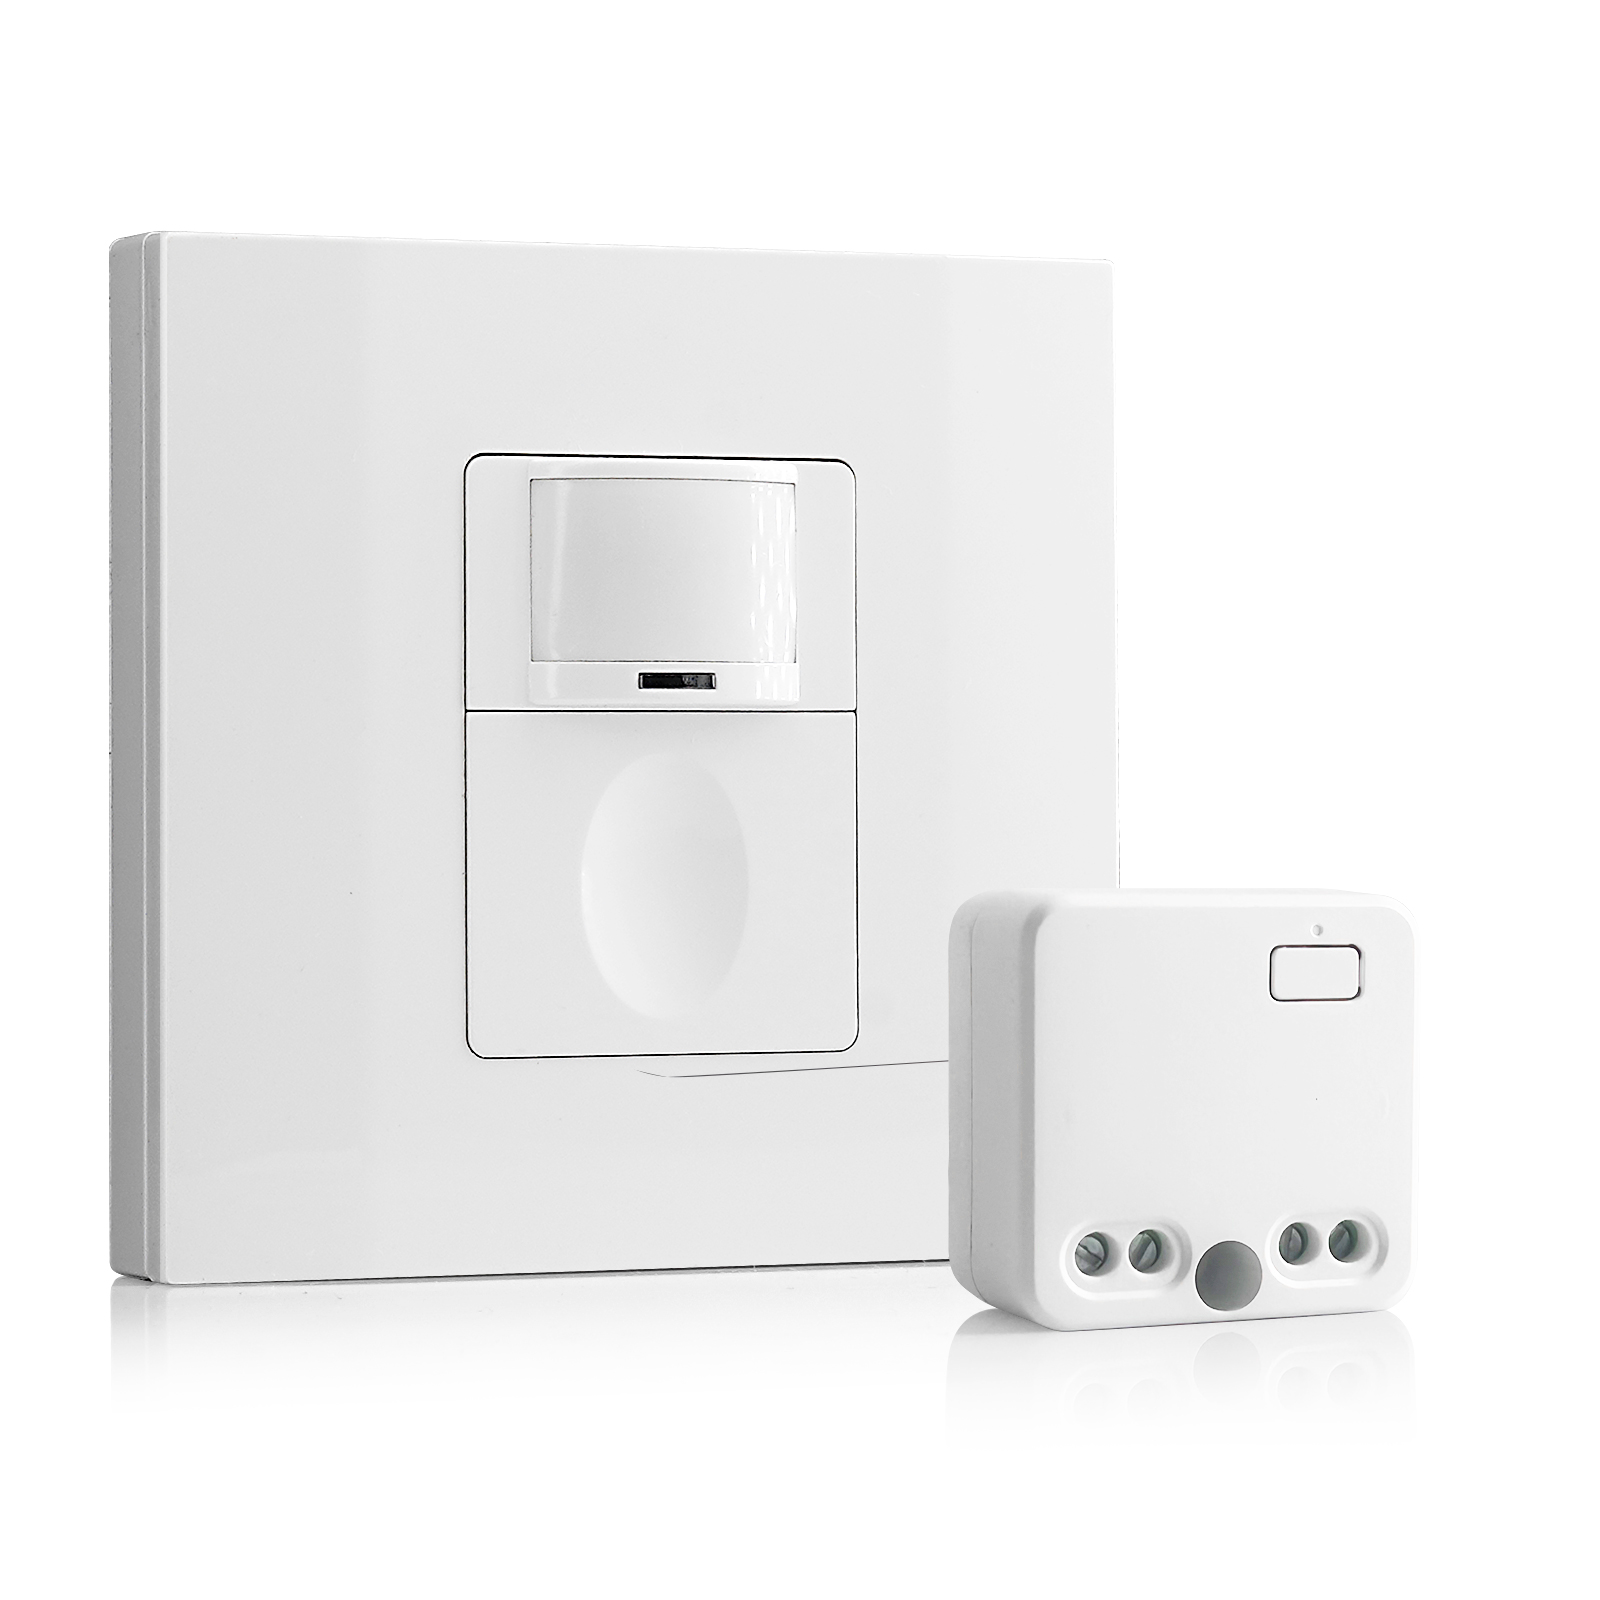
Rung 2: Move the sensing to the fixture or ceiling when the wall box is a switch loop. In switch-loop houses—power at the ceiling, two-wire down to the switch—the grown-up move is often to stop trying to make the wall box do something it was never wired to do. A ceiling-mounted occupancy sensor or a fixture-integrated sensor can be fed where neutrals already exist (at the fixture). That’s why a landlord in a 1929 duplex hallway ultimately chose a fixture-level solution: plaster-and-lath and short conductors in an old box made “pull a neutral” the expensive, dusty option. The wall switch could go back to being a simple, predictable disconnect.
This mental shift helps avoid bad work. If the real goal is auto-off in a hallway or pantry, you don’t lose anything by letting the sensor live at the ceiling. The only thing lost is the idea that the wall must look a certain way. The gain is predictability.
Rung 3: Pull a neutral (or rewire) when the wall-switch architecture is non-negotiable. Sometimes you really do want the control at the wall, and the walls are already open for a remodel. In that case, the reliable solution is to wire the location correctly. This is where local code enforcement and permit expectations matter. The correct approach varies by AHJ, scope (new work vs old work), and existing wiring method. But the bottom line is: if the switch’s installation sheet says “neutral required,” the wiring needs to meet that requirement. Doing it right may require permitted work.
A brief category reminder (because it derails purchases): PIR does not automatically mean “no neutral.” PIR is a sensing technology, not a wiring workaround. A Rayzeek PIR wall switch is still a wall switch, with the same wiring realities as other electronic controls. If a product is neutral-required, it’s neutral-required. If a product claims no-neutral operation, it’s operating inside the leakage-current and compatibility trade space described earlier.
Rung 4: Use a no-neutral wall switch only when it is explicitly designed for no-neutral operation and the load is known-stable. This is the narrow-case compromise. It can be acceptable in low-stakes areas (a closet, a pantry, a utility room) when the device is listed and explicitly rated for the wiring scenario, and when the actual LED lamps/trims are known to behave with that control. The moment the load becomes a moving target—future bulb swaps, mixed lamp brands, retrofit trims with touchy drivers—reliability drops. This isn’t a moral judgment—it’s an engineering constraint.
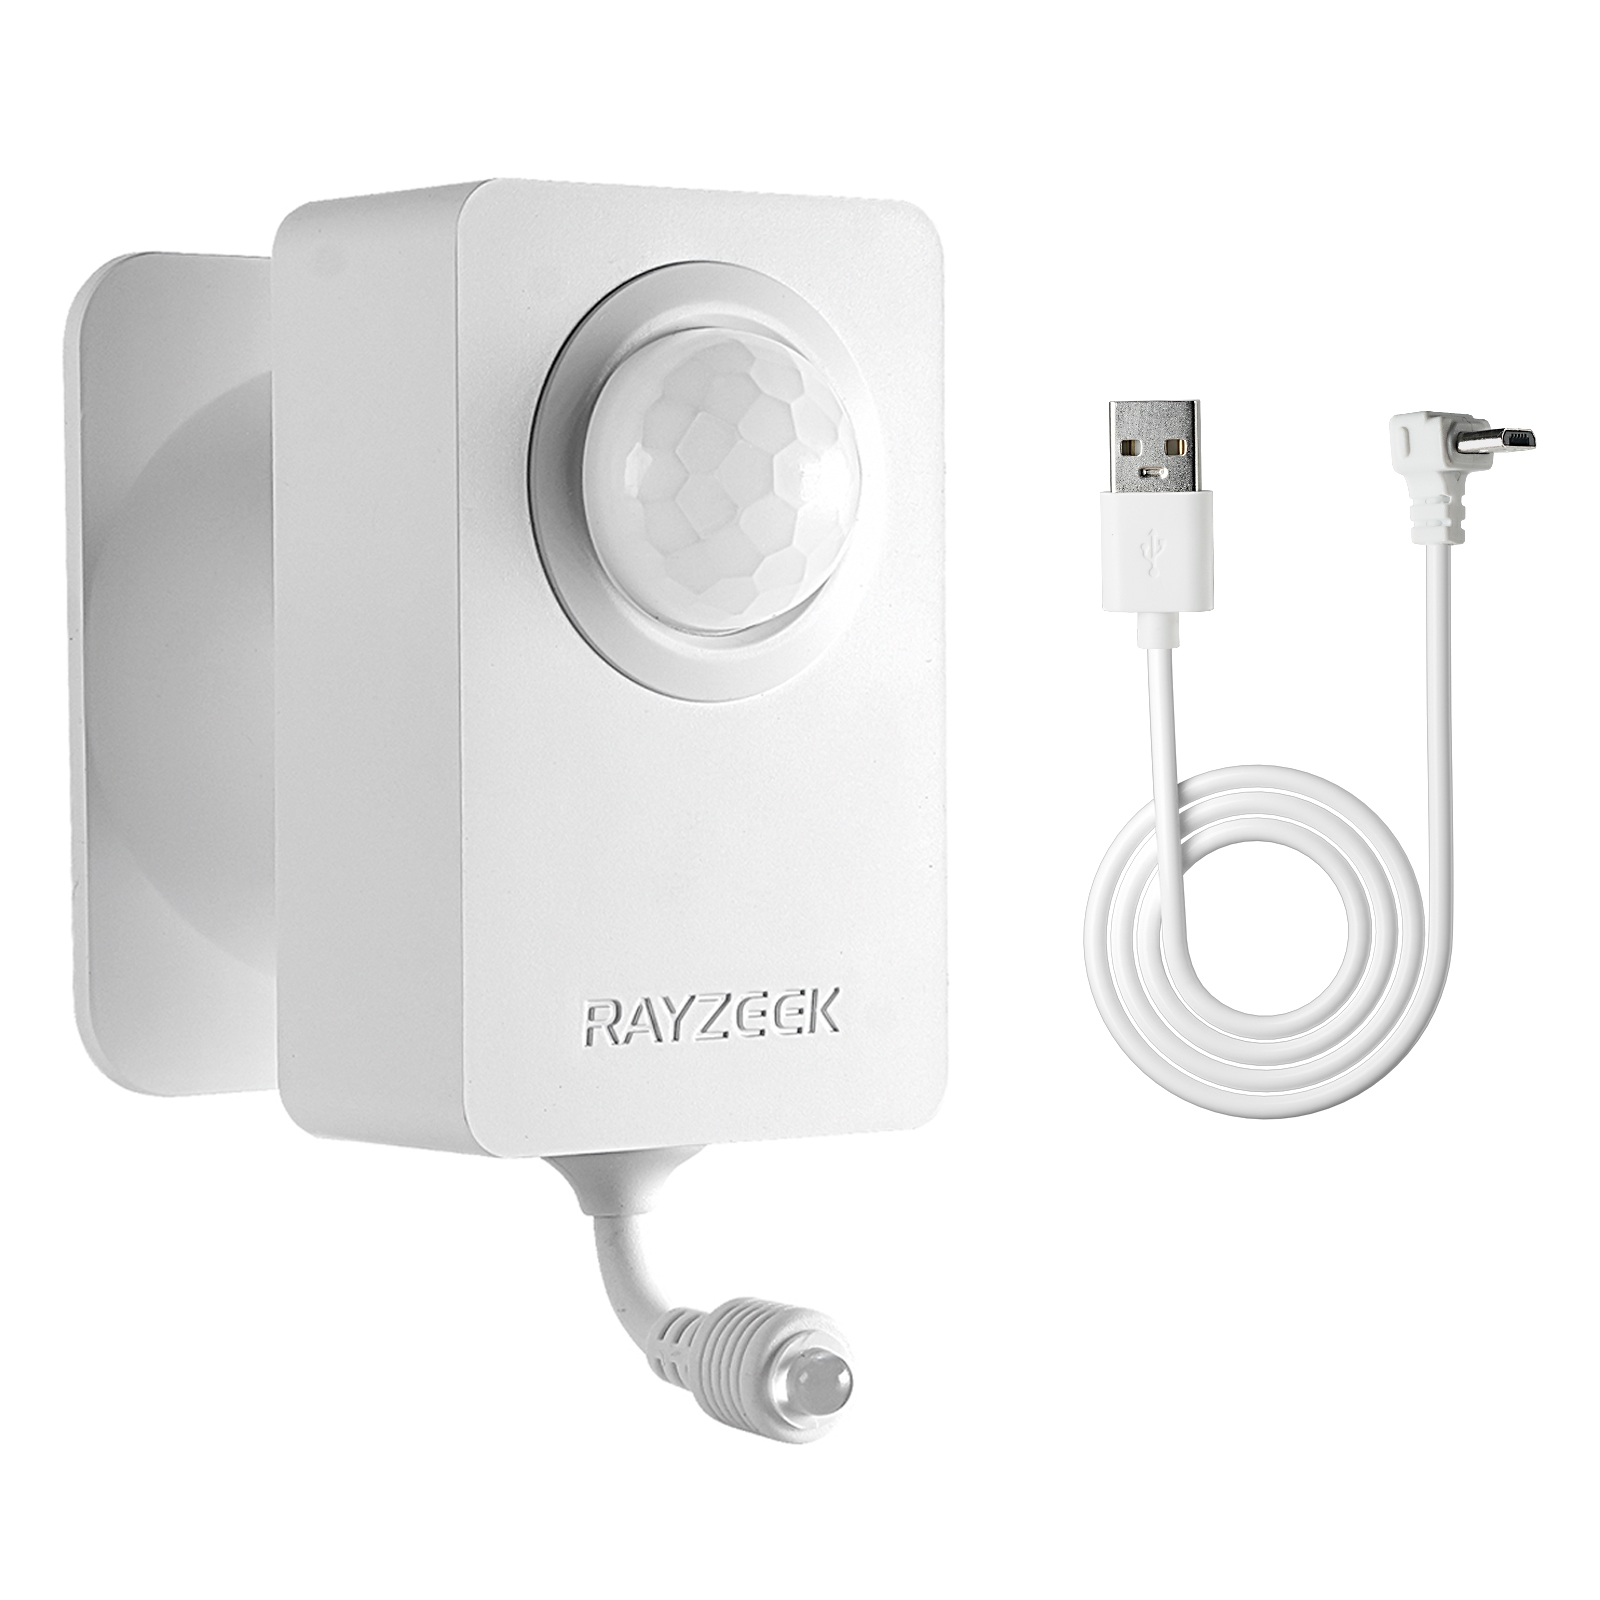
Rung 5: Choose a different “hands-free” solution when invasiveness is the real constraint. Sometimes the best outcome isn’t a wall switch at all: a plug-in sensor, a fixture with integrated sensing, or a smart lamp approach that doesn’t require changing old wiring in shallow boxes. It’s not as satisfying as a “normal switch,” but it can be safer and more stable than forcing electronics into a box that barely tolerated a toggle.
A final stop-sign rung belongs here: if the box contains mixed circuits, shared neutrals, or a multi-wire branch circuit situation you can’t confidently map, this is professional territory. A 1968 tri-level basement finish scenario is a good example: adding a modern control exposed sloppy neutral splicing and caused breaker trips until the circuit topology was corrected. The lesson isn’t that smart switches are bad, but that modern devices reveal old neutral mistakes faster.
สิ่งที่คุณควรหลีกเลี่ยง (พูดกันตรงๆ ไม่มีอ้อมค้อม)
สายกราวด์ไม่ใช่สายนิวทรัล การพ่วงสายนิวทรัลไม่ใช่เรื่องที่ฉลาด และการทำบูทเลกนิวทรัล (การต่อสายกราวด์เข้ากับนิวทรัล) ก็ไม่ใช่สิ่งที่ควรทำ “เพียงแค่เพื่อให้สวิตช์ทำงานได้”
กำลังมองหาโซลูชันประหยัดพลังงานที่ทำงานด้วยการตรวจจับความเคลื่อนไหวอยู่ใช่ไหม?
ติดต่อเราเพื่อรับโซลูชันเชิงพาณิชย์สำหรับเซนเซอร์ตรวจจับความเคลื่อนไหว PIR แบบครบวงจร ผลิตภัณฑ์ประหยัดพลังงานที่ทำงานด้วยการตรวจจับความเคลื่อนไหว สวิตช์เซนเซอร์ตรวจจับความเคลื่อนไหว และระบบตรวจจับเมื่อมีคนอยู่/ห้องว่าง
In a 1957 rambler bedroom multi-gang, a DIY install tried to power a sensor switch by landing the neutral on a ground screw in a metal box. It “worked” in the shallow sense that the device powered up. It also produced a tingle on the plate screw and nuisance GFCI trips elsewhere, because the return current paths were wrong and neutrals had been mixed across circuits. Unwinding that kind of work takes hours: mapping circuits, separating neutrals, restoring grounding, and making the box safe again. It’s not an online “hack.” It’s a liability grenade.
Bad advice usually sounds like: “There’s no neutral, so just tie into the ground,” or “borrow a neutral from the other switch in the multi-gang.” The failure modes are predictable: shock risk, unpredictable device behavior, nuisance trips that mask real faults, and overheated or loose neutral connections in crowded boxes. The fact that it might “work for years” is survivorship bias, not a safety argument.
The minimum acceptable alternatives are boring on purpose: keep a standard switch, move the sensor to the fixture/ceiling where neutrals exist, or wire the location correctly by pulling the right cable and following listing requirements. Those options preserve the future serviceability of the house and don’t make the next electrician’s job an archaeological dig.
If the only path to making a device power up is a code-violating connection, the correct answer is “wrong device or wrong location,” not “how do I hack this.”
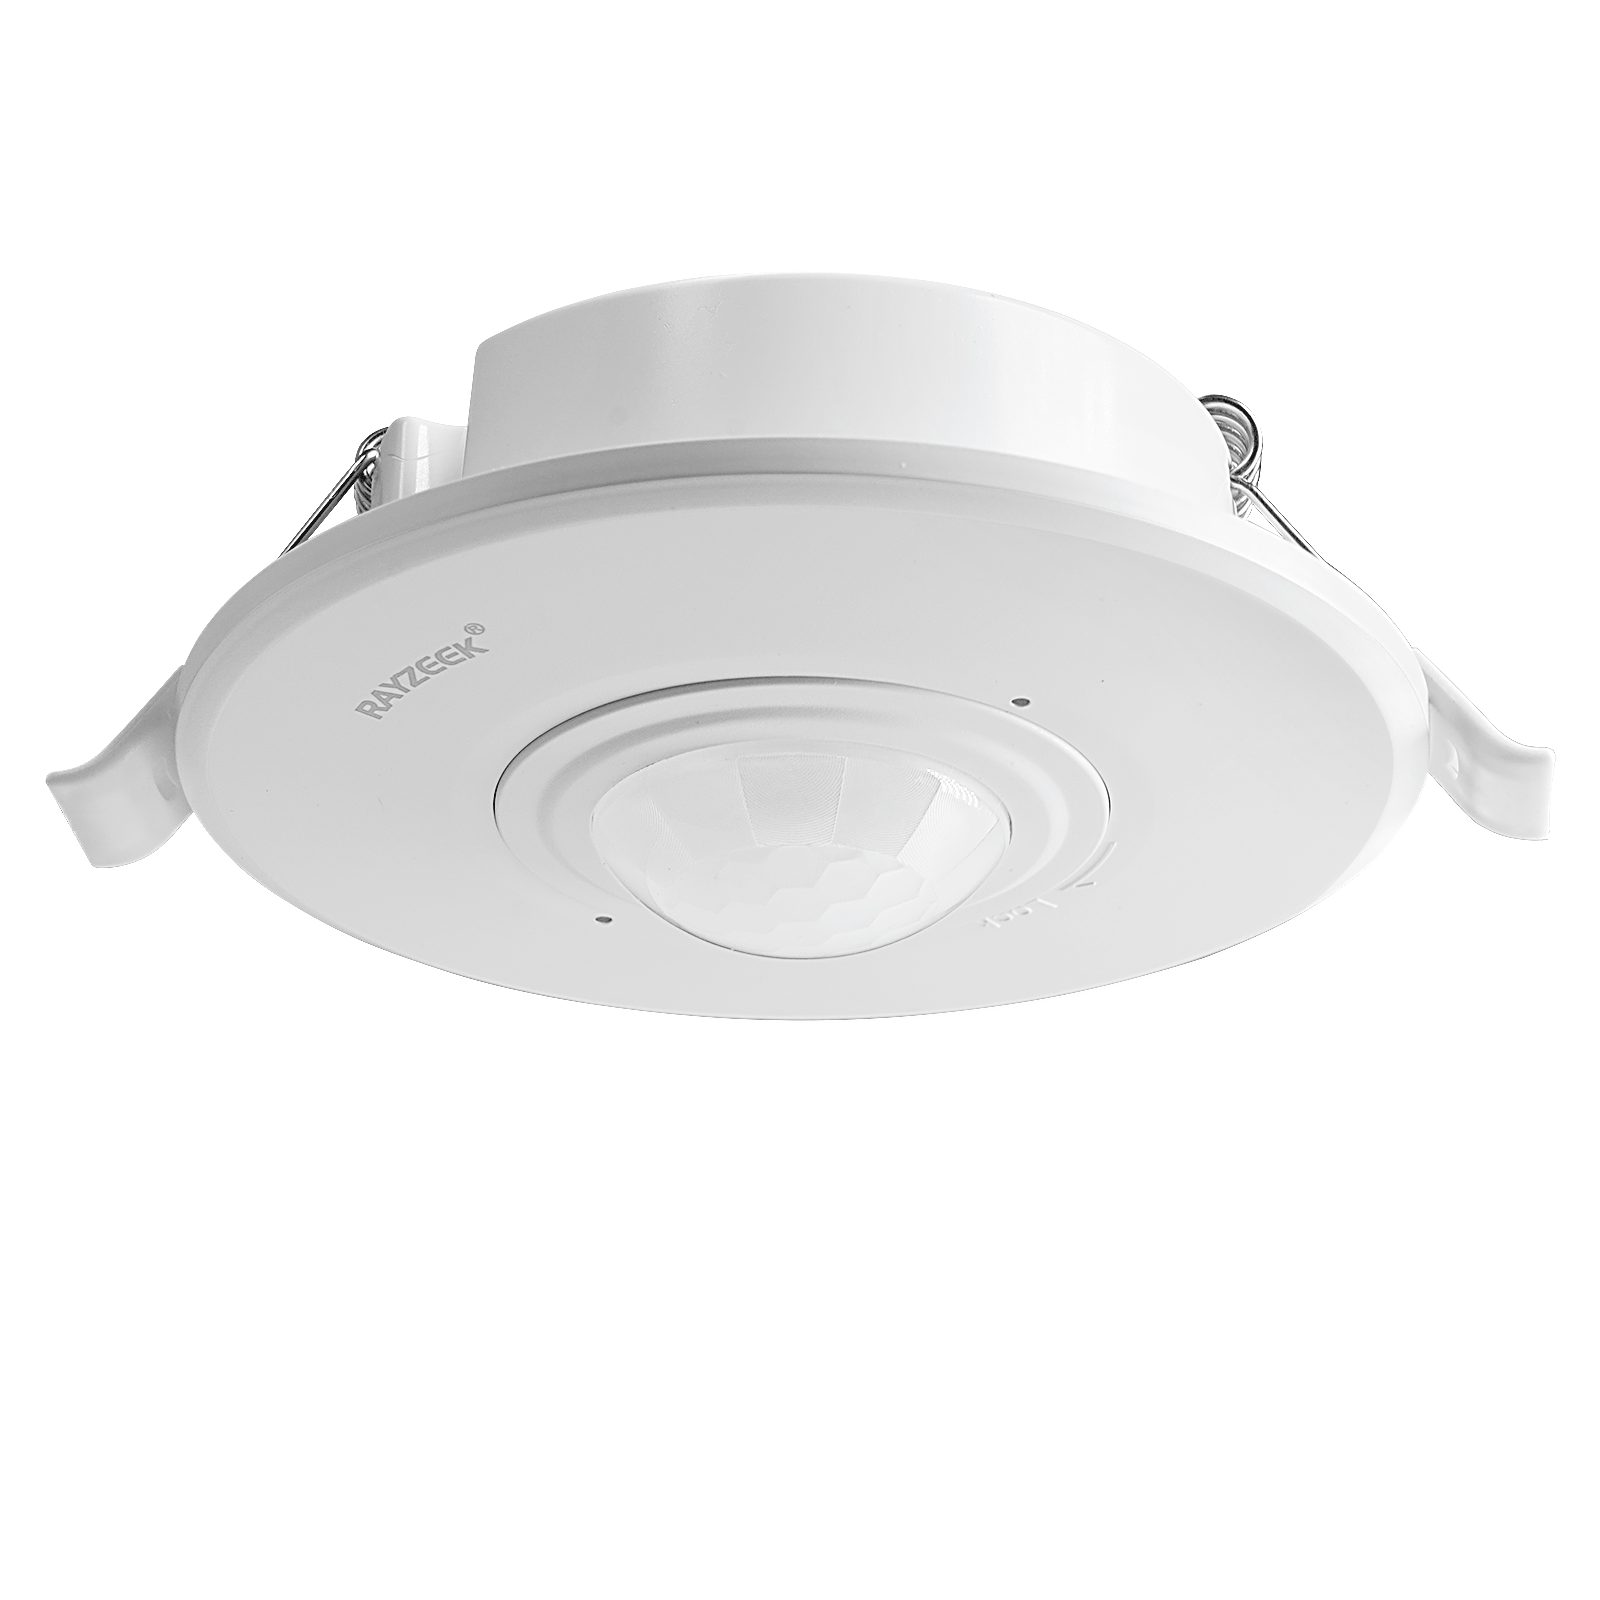
พื้นที่ที่เหมาะสำหรับการใช้งานสวิตช์ Rayzeek PIR (และสิ่งที่คุณต้องตรวจสอบในเอกสารข้อมูล)
สวิตช์เซนเซอร์ PIR ของ Rayzeek ทำงานภายใต้หลักการเดียวกันกับอุปกรณ์ควบคุมบนผนังอิเล็กทรอนิกส์อื่นๆ นั่นคือ ต้องเข้ากันได้กับระบบสายไฟในกล่องและพฤติกรรมของโหลด สำหรับบ้านเก่าที่ไม่มีสายสายนิวทรัล (Neutral) ที่ผนัง ความเข้ากันได้นั้นจะเป็นตัวตัดสินว่าผลลัพธ์ที่ได้จะให้ความรู้สึกเหมือนสวิตช์ไฟธรรมดา หรือเหมือนกับการทดลองวิทยาศาสตร์ที่แปลกประหลาด
Because product lines and specs change over time, the most useful guidance is not pretending a single model number is universally right. Instead, check the Rayzeek installation sheet and device labeling for these factors every time:
- Neutral requirement: If it says neutral required, treat it as a hard requirement. A switch loop without neutral is a redesign problem, not a “workaround” problem.
- Load type and ratings: Look for explicit notes on LED loads vs incandescent, and whether it’s rated for your specific lighting (A19 bulbs, integrated fixtures, retrofit trims).
- Minimum load: If a device has a minimum load requirement, treat it as a reliability constraint. Low-wattage LED loads can sit below that threshold even when “six cans” feels like a lot.
- Single-pole vs 3-way: Older hallways and stair circuits often involve 3-way switching. If the intended location is a multi-location circuit, the device must be listed and wired for that configuration.
- Listing context (UL/ETL): In the real world, listed devices matter because they come with defined wiring methods and constraints. Install the device per its instructions, not per forum creativity.
- Physical fit: If the box is shallow metal, conductors are short, or insulation is brittle cloth, a “bulky” device becomes a safety and longevity issue. A deeper box or alternative architecture may be the real solution.
The LED behavior section is where you should bring the mechanism back into the decision. If the planned Rayzeek PIR wall switch (or any no-neutral switch) relies on a no-neutral design approach, the symptom family described earlier is the risk envelope: glow, flicker, pulsing, or cycling—especially after lamp swaps or warm-up. The kitchen retrofit-trim cycling story is a useful reminder here: the “bad switch” narrative often evaporates when the load changes, because the driver is the unstable element.
รับแรงบันดาลใจจากกลุ่มผลิตภัณฑ์เซนเซอร์ตรวจจับการเคลื่อนไหวของ Rayzeek
ยังไม่พบสิ่งที่คุณต้องการใช่ไหม? ไม่ต้องกังวล ยังมีวิธีอื่น ๆ อีกเสมอในการแก้ปัญหาของคุณ บางทีหนึ่งในกลุ่มผลิตภัณฑ์ของเราอาจช่วยคุณได้
Treat “universal no-neutral” claims as sales language until the details prove otherwise. The rebuild is simple and unglamorous: confirm whether neutrals exist in the box, confirm the final lamp/trim plan, read the minimum load and LED notes, and choose the architecture that avoids relying on the lamp driver cooperating.
If the wiring reality can’t support the spec sheet requirements, the best Rayzeek choice may be “not at the wall box,” even if the original vision was a wall switch.
FAQ + A Practical Close
“The old switch had two wires. Does that mean there’s no neutral?” No. Two wires on the old device only means the old device didn’t use a neutral. In many 1970s-era boxes, neutrals are bundled in the back and capped. In many older switch-loop boxes, the neutral truly isn’t there. Verify what’s in the box, then make decisions based on that reality.
“It works with incandescent but not with LED. Is the sensor defective?” Not necessarily. That exact pattern is a clue: the control may be powering itself through the load, and the LED driver is sensitive enough to show leakage current as glow, pulsing, or flicker. The reliability-first ladder points to more stable outcomes: use a neutral-present location, move the sensor to the fixture/ceiling, or ensure the chosen device and the specific LED load are compatible and stable.
“What’s the safest path if the wall box has no neutral?” The safest path avoids inventing a neutral: keep the wall switch simple and put the sensing where neutrals exist (fixture/ceiling), or rewire properly during a remodel. The unsafe path is trying to force a wall device to work by using ground as neutral or borrowing neutrals across circuits.
This guide intentionally does not teach meter testing or circuit mapping step-by-step. That work is where older homes get dangerous fast—especially with mixed circuits, shared neutrals, and crowded metal boxes. The practical boundary is simple: verify the box, read the Rayzeek installation sheet for the specific device in hand, and if the wiring reality and the spec don’t match, change the architecture or hire a licensed electrician to make the wiring match the requirement.
Stable motion lighting is achievable in old houses. The way to get it isn’t cleverness—it’s choosing the correct wiring reality and refusing the hacks that make “simple upgrades” turn into expensive repairs.