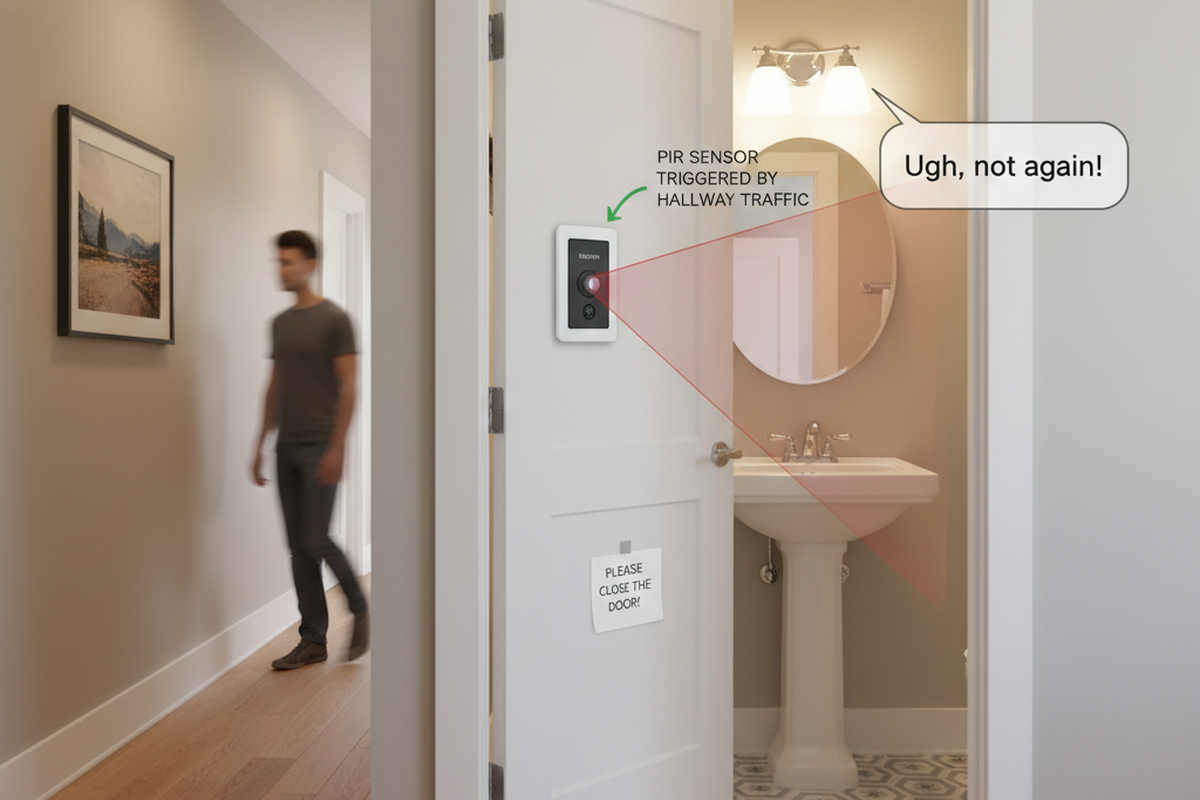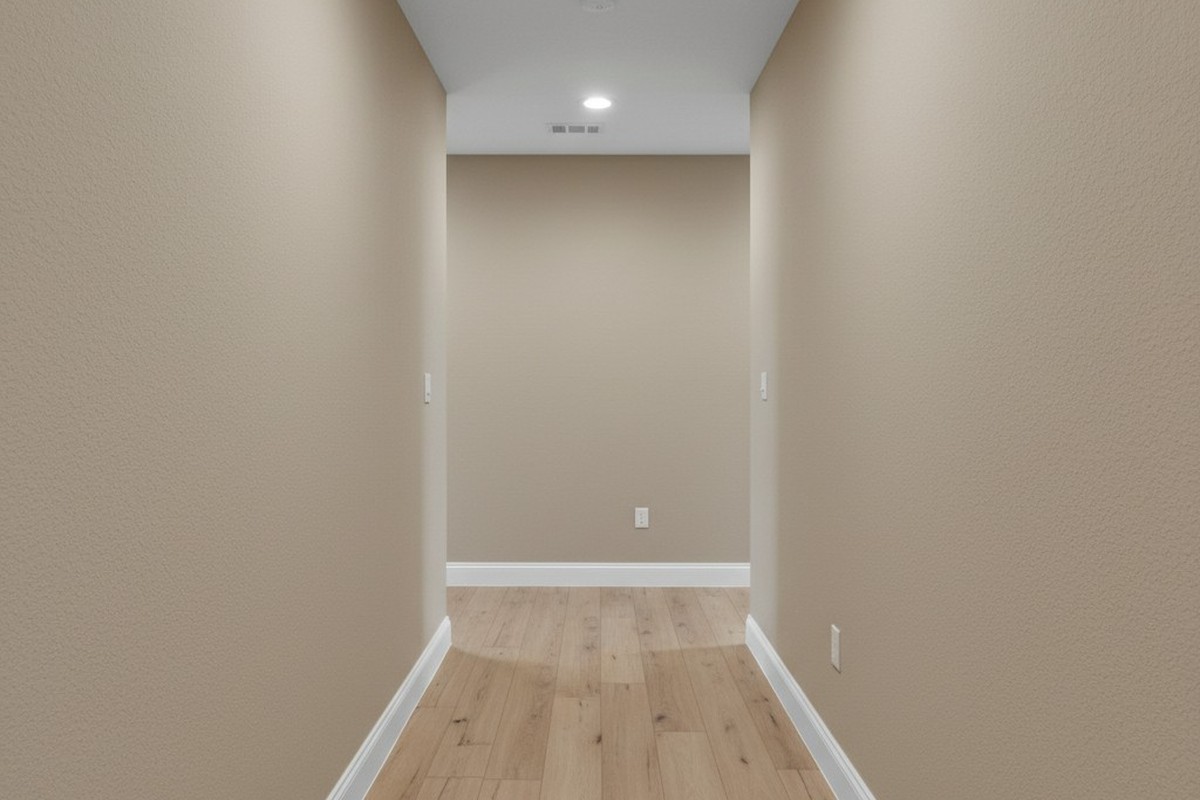
You’ve likely seen this in a commercial building, or maybe even your own hallway. You walk out of a bedroom, hands full of laundry or groceries, into the dark. You take three steps toward the kitchen, expecting the motion sensor to catch you, but the hallway stays pitch black. You have to walk another ten feet, almost to the end of the hall, before the lights finally snap on. Or worse, you find yourself doing the “waving arms” dance in the dark, hoping to catch the sensor’s attention.
This is a geometry failure, not just a nuisance. It happens because someone treated an L-shaped hallway like a straight line. They swapped out an existing switch for a motion sensor, assumed the “180-degree field of view” on the box was magic, and called it a day. But physics doesn’t care about your convenience, and infrared heat signatures can’t bend around drywall. If the sensor can’t see you, the lights stay off. It’s that simple.
ทำไมรูปทรงตัว L (L-Shape) จึงมีประสิทธิภาพเหนือกว่าเซนเซอร์ PIR มาตรฐาน
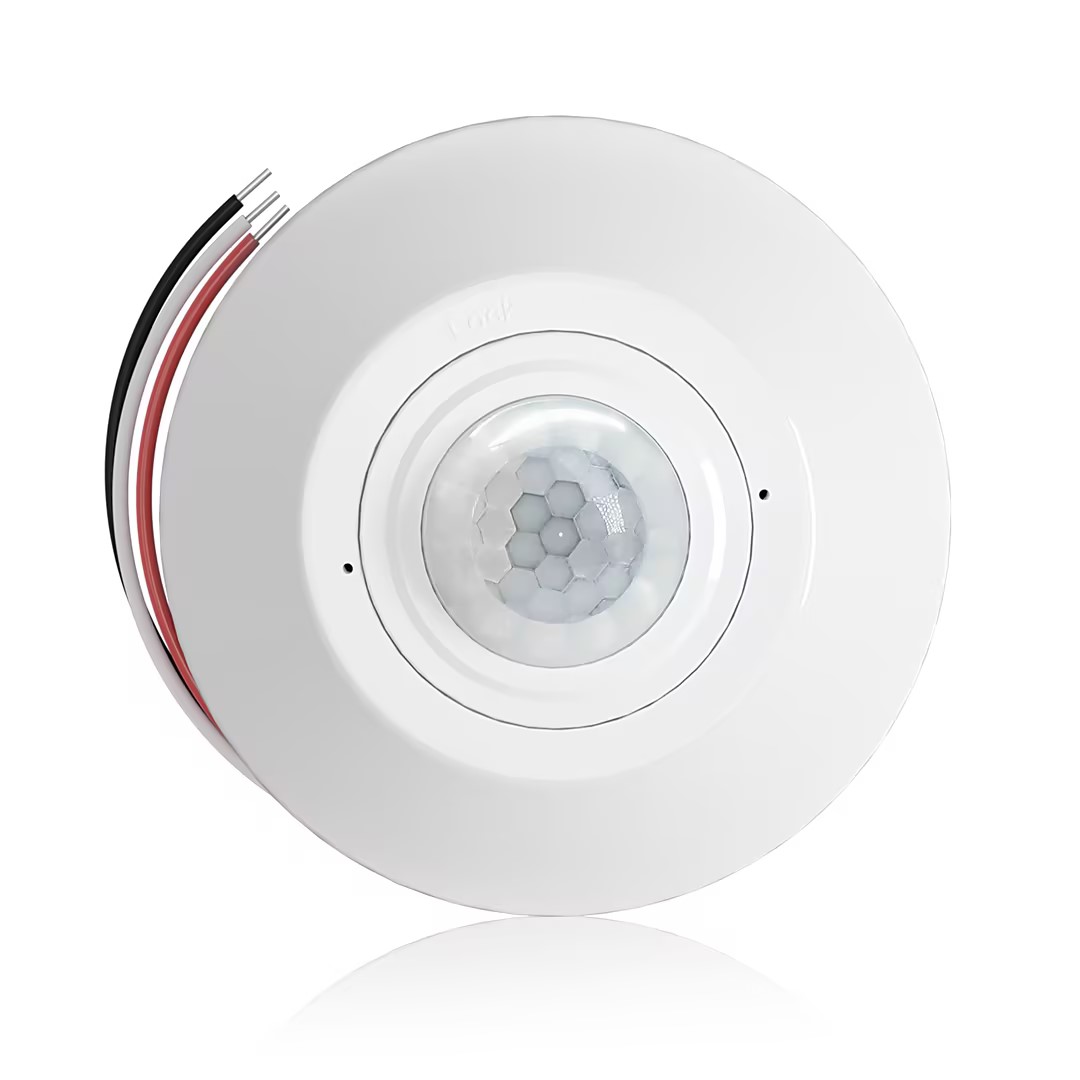
ในการแก้ไขปัญหานี้ คุณต้องเข้าใจก่อนว่าเซนเซอร์กำลังทำงานอะไรอยู่กันแน่ เซนเซอร์สำหรับใช้งานในบ้านส่วนใหญ่ ซึ่งรวมถึงซีรีส์ Rayzeek RZ จะใช้เทคโนโลยี Passive Infrared (PIR) โดยจะตรวจจับความแตกต่างของความร้อนที่เคลื่อนที่ผ่านเลนส์ Fresnel

Think of the sensor like a flashlight beam. If you taped a flashlight to the switch box, where would the light hit? In an L-shaped hallway, usually with switch boxes at the far ends of the “legs,” that beam hits the opposite wall and stops. The other leg of the hallway stays in shadow.
There’s a misconception that these sensors work like radar or sonar, bouncing signals around corners. They don’t. (Ultrasonic sensors exist, mostly in commercial bathrooms, but they’re overkill for a house and prone to false triggers every time the HVAC kicks on). For a standard PIR switch, line-of-sight is non-negotiable. If you’re standing in the “shadow” of the corner—the area the lens physically can’t see—you don’t exist to the system.
This is also why “pet immunity” is such a headache in these layouts. People try to mask the bottom of the lens to avoid the cat triggering the lights at 3 AM, which further narrows the vertical detection cone. If you have bad horizontal placement และ you tape off the bottom of the lens, you’ve effectively built a light switch that requires you to stand directly in front of it and wave.
So, how do you solve the blind corner? You have two options: a carpenter’s solution (moving the device) or an electrician’s solution (wiring a network).
Strategy 1: The Fulcrum Mount (The Carpenter’s Fix)
In many retrofits—specifically in older farmhouses or renovations where the layout is quirky—the existing switch boxes are in the worst possible spots, usually at the far ends of the hallway. If you install a sensor at the end of the hall, it only sees down one leg. The most robust fix is often to ignore the electrical boxes you have and cut in a new one where you actually need it.

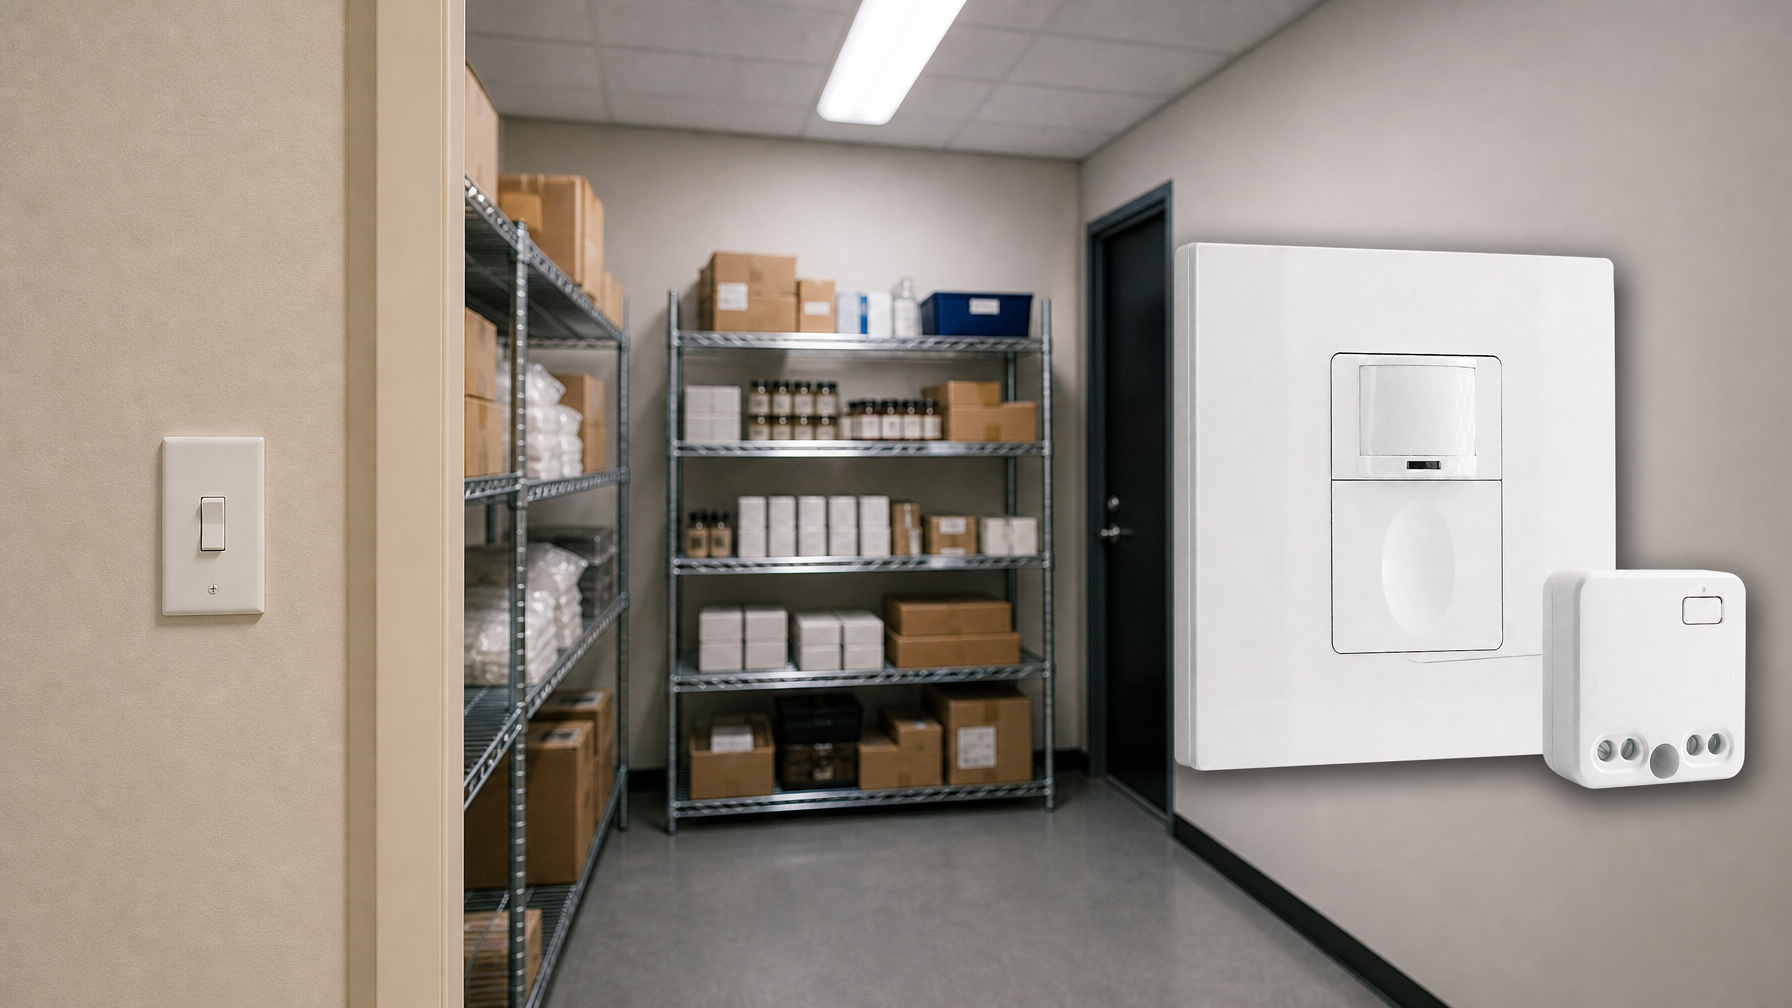
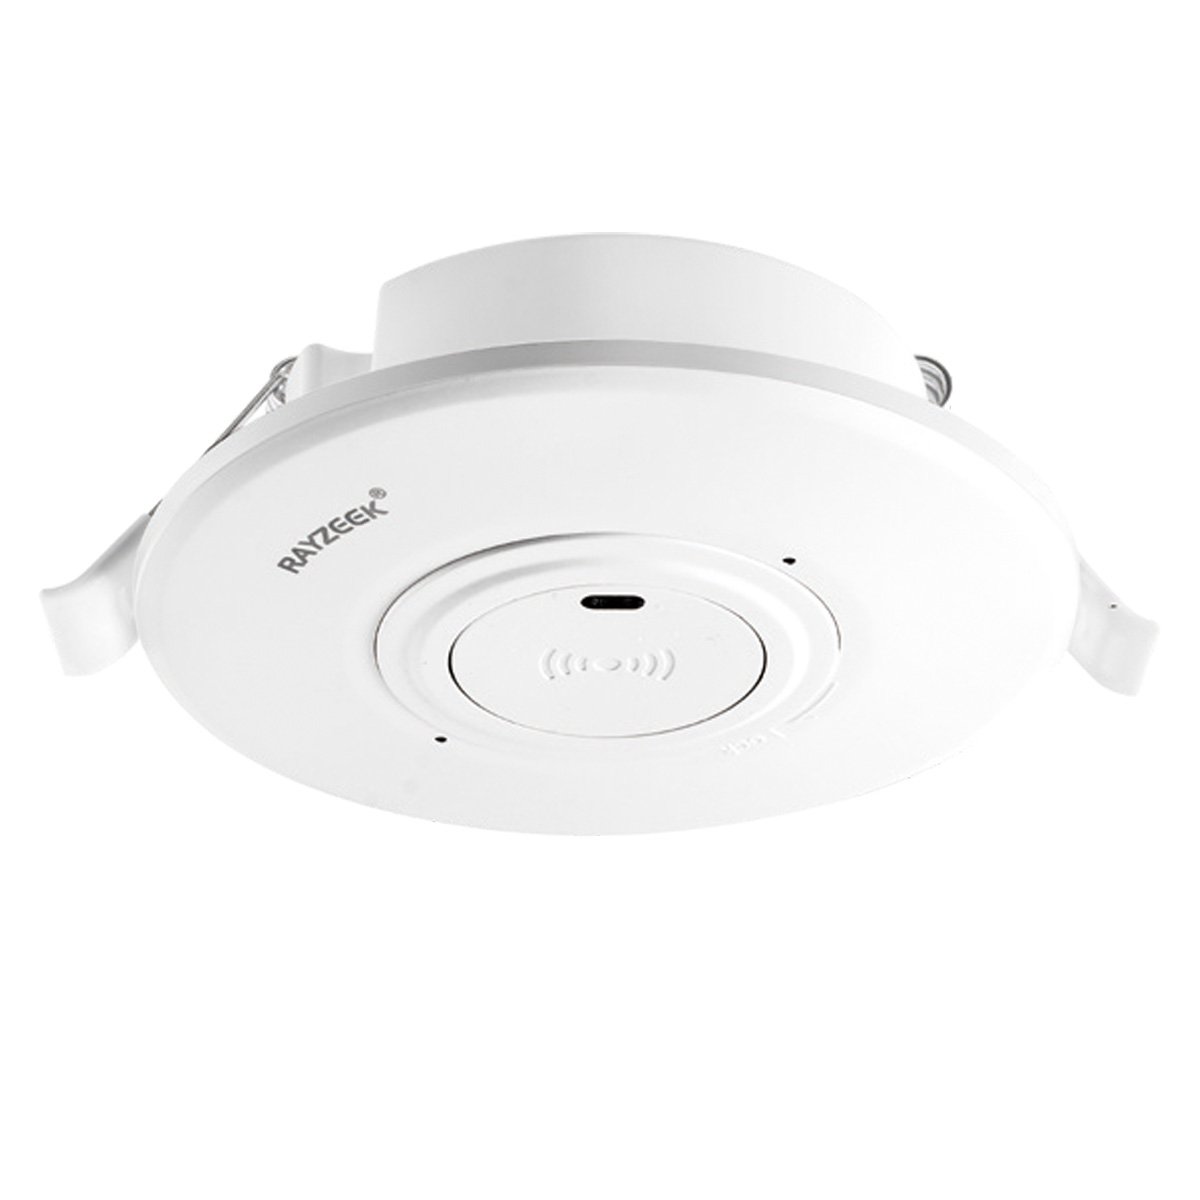
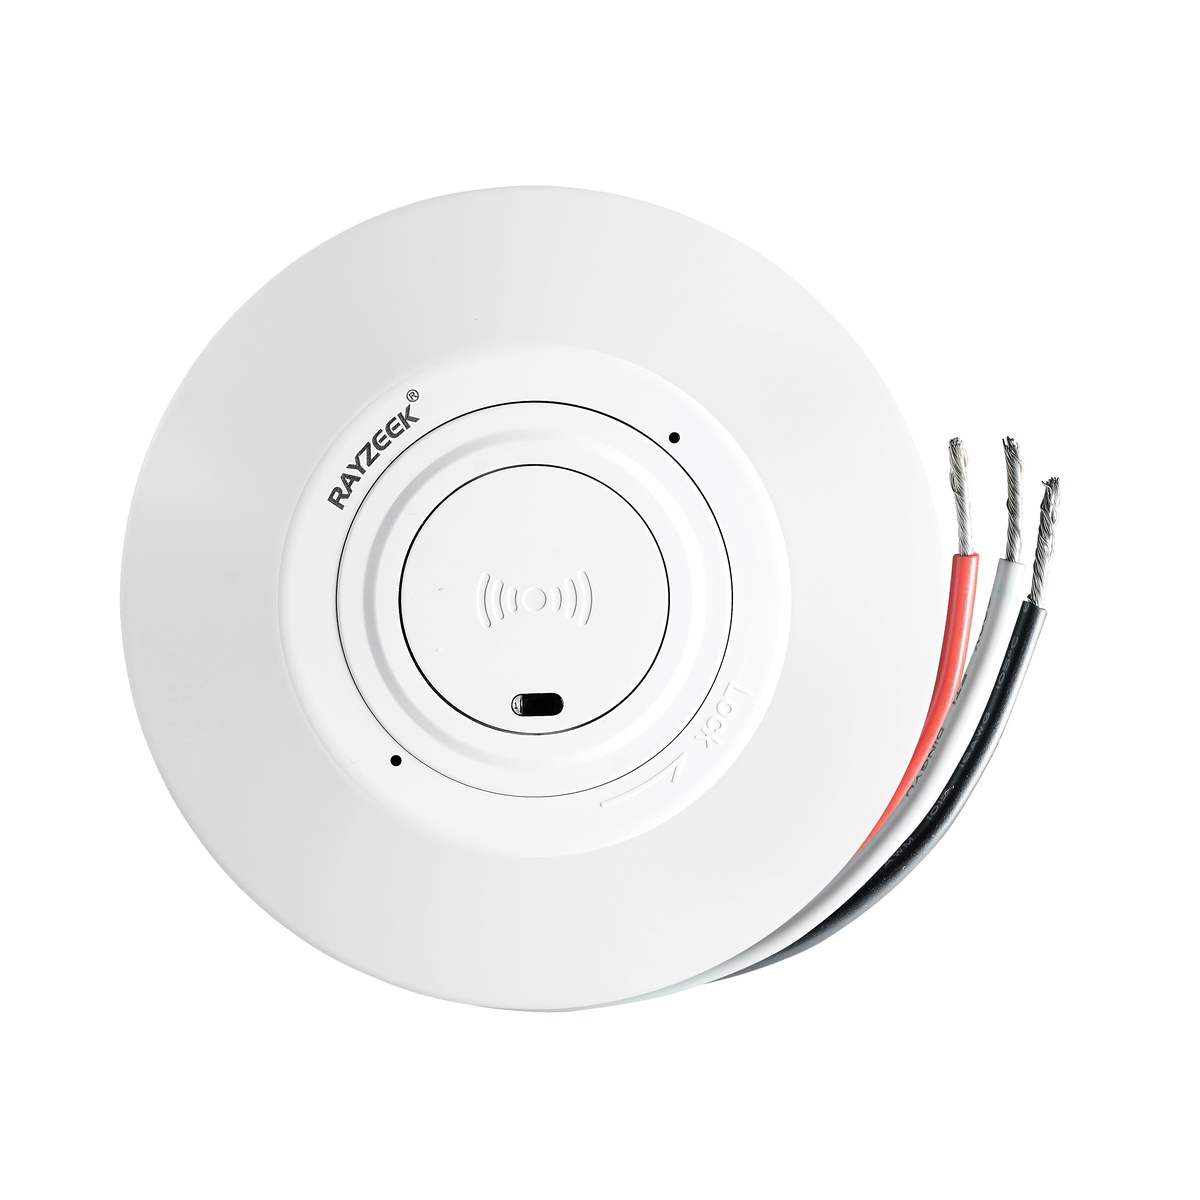
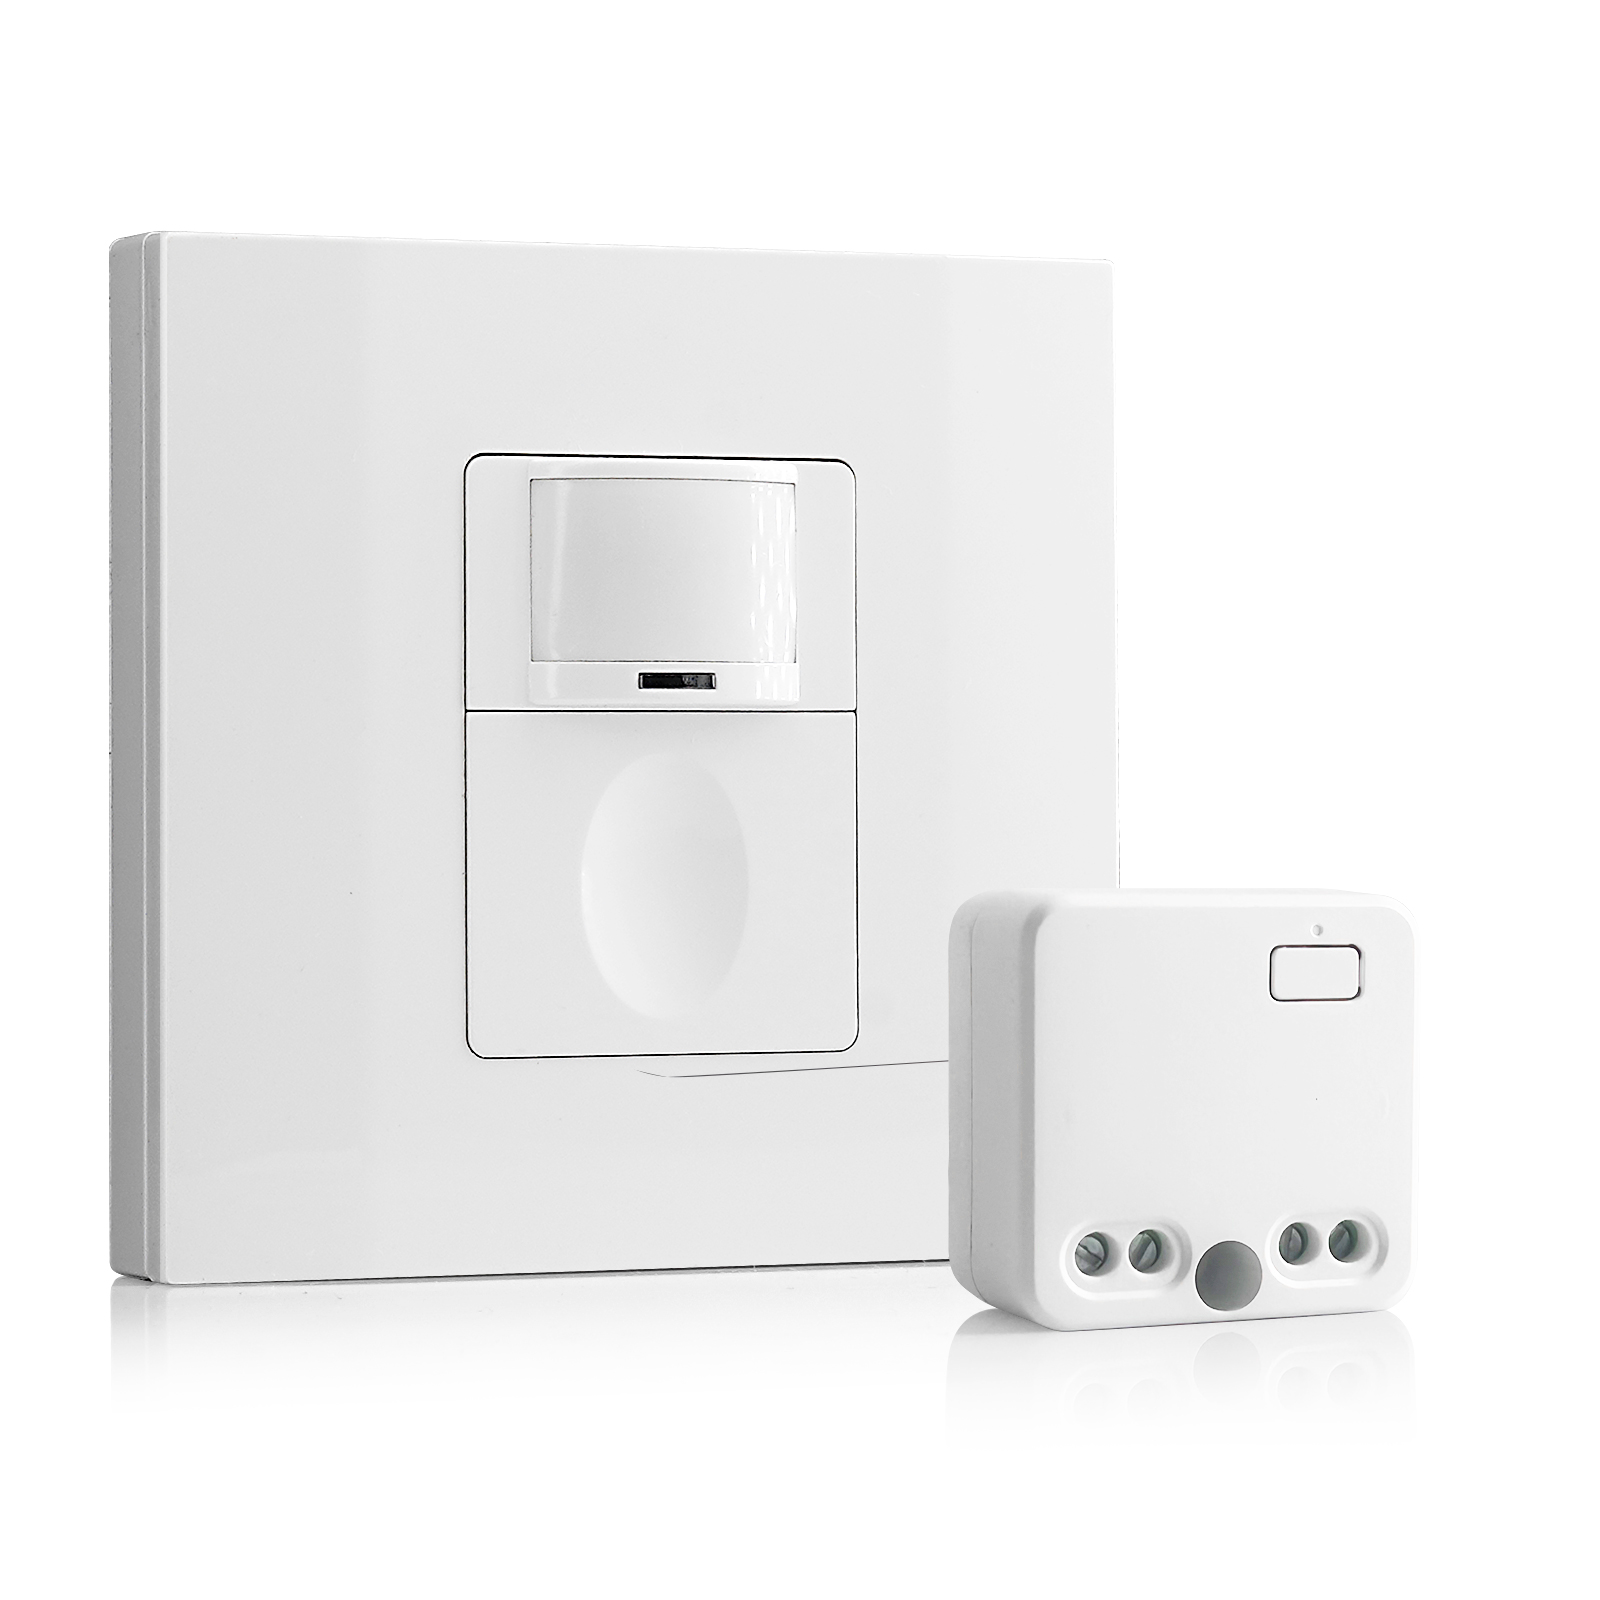
We call this the Fulcrum Strategy. You identify the outer corner of the “L”—the vertex where the two hallways meet. If you place a wide-angle sensor (like the Rayzeek RZ021) on that corner, usually ceiling-mounted or high on the wall, it has a clear shot down both legs of the hallway. It’s the sniper’s perch of motion detection.
คุณอาจจะสนใจใน
- เซนเซอร์ตรวจจับความเคลื่อนไหว PIR แบบติดเพดาน พร้อมเอาต์พุตรีเลย์ดรายคอนแทค
- แหล่งจ่ายไฟแรงดันต่ำ 12/24VDC หรือ 12/24VAC
- หน้าสัมผัสรีเลย์แบบแยกอิสระ COM, NO และ NC สำหรับสัญญาณอินพุตของ EMS, HVAC และการควบคุมอาคาร
- สวิตช์เซนเซอร์ตรวจจับความเคลื่อนไหวไมโครเวฟแบบฝังฝ้าเพดาน แรงดันต่ำ DC
- อินพุต 12 VDC / 24 VDC พร้อมช่วงรองรับ 10-30 VDC
- กระแสทำงานสูงสุด 10A พร้อมความสามารถในการปรับหน่วงเวลา, ค่าเกณฑ์ Lux และความไวในการตรวจจับ
- สวิตช์เซนเซอร์ตรวจจับความเคลื่อนไหวไมโครเวฟแบบฝังฝ้าเพดาน รองรับโหลดสูงพิเศษ
- อินพุตแรงดันไฟบ้าน 100-265 VAC, รุ่น 10A
- ระบบตรวจจับด้วยคลื่นไมโครเวฟ 5.8 GHz พร้อมความสามารถในการปรับหน่วงเวลา, ค่าเกณฑ์ Lux และความไวในการตรวจจับ
- สวิตช์เซนเซอร์ตรวจจับความเคลื่อนไหวไมโครเวฟแบบฝังฝ้าเพดาน
- อินพุตแรงดันไฟบ้าน 100-265 VAC, รุ่น 5A
- ระบบตรวจจับด้วยคลื่นไมโครเวฟ 5.8 GHz พร้อมความสามารถในการปรับหน่วงเวลา, ค่าเกณฑ์ Lux และความไวในการตรวจจับ
- สวิตช์หรี่ไฟเซนเซอร์ตรวจจับความเคลื่อนไหว RZ037 PIR แบบติดเพดาน สำหรับระบบไฟ 220V
- กระแสทำงานสูงสุด 3A พร้อมโหลดพิกัด 660W
- ปุ่ม LUX ควบคุมการเปิด/ปิดระบบเซนเซอร์แสง และควบคุมระดับความสว่างในการหรี่ไฟที่ผู้ใช้ตั้งค่าไว้
- สวิตช์หรี่ไฟเซนเซอร์ตรวจจับความเคลื่อนไหว RZ037 PIR แบบติดเพดาน สำหรับระบบไฟ 110V
- กระแสทำงานสูงสุด 3A พร้อมโหลดพิกัด 330W
- ปุ่ม LUX ควบคุมการเปิด/ปิดระบบเซนเซอร์แสง และควบคุมระดับความสว่างในการหรี่ไฟที่ผู้ใช้ตั้งค่าไว้
- สวิตช์เซนเซอร์ตรวจจับความเคลื่อนไหวระบบไมโครเวฟ แบบติดเพดาน ไฟฟ้ากระแสตรงแรงดันต่ำ
- อินพุต 12 VDC / 24 VDC พร้อมช่วงรองรับ 10-30 VDC
- กระแสทำงานสูงสุด 10A พร้อมความสามารถในการปรับหน่วงเวลา, ค่าเกณฑ์ Lux และความไวในการตรวจจับ
- สวิตช์เซนเซอร์ตรวจจับความเคลื่อนไหวระบบไมโครเวฟ แบบติดเพดาน รองรับโหลดสูง
- อินพุตแรงดันไฟบ้าน 100-265 VAC, รุ่น 10A
- ระบบตรวจจับด้วยคลื่นไมโครเวฟ 5.8 GHz พร้อมความสามารถในการปรับหน่วงเวลา, ค่าเกณฑ์ Lux และความไวในการตรวจจับ
- สวิตช์เซนเซอร์ตรวจจับความเคลื่อนไหวระบบไมโครเวฟ แบบติดเพดาน
- อินพุตแรงดันไฟบ้าน 100-265 VAC, รุ่น 5A
- ระบบตรวจจับด้วยคลื่นไมโครเวฟ 5.8 GHz พร้อมความสามารถในการปรับหน่วงเวลา, ค่าเกณฑ์ Lux และความไวในการตรวจจับ
- สวิตช์เซนเซอร์ตรวจจับความเคลื่อนไหว PIR แบบฝังฝ้าเพดาน ไฟฟ้ากระแสตรงแรงดันต่ำ
- อินพุต 12 VDC / 24 VDC พร้อมช่วงรองรับ 10-30 VDC
- กระแสไฟฟ้าทำงานสูงสุด 10A พร้อมระบบปรับตั้งเวลาหน่วง, ค่าความสว่าง (Lux), และความไวในการตรวจจับ
- สวิตช์เซนเซอร์ตรวจจับความเคลื่อนไหว PIR แบบฝังฝ้าเพดาน รองรับโหลดสูง
- อินพุตแรงดันไฟบ้าน 100-265 VAC, รุ่น 10A
- ตรวจจับรอบทิศทาง 360 องศา พร้อมระบบปรับตั้งเวลาหน่วง, ค่าความสว่าง (Lux), และความไวในการตรวจจับ
- สวิตช์เซนเซอร์ตรวจจับความเคลื่อนไหว PIR แบบฝังฝ้าเพดาน
- อินพุตแรงดันไฟบ้าน 100-265 VAC, รุ่น 5A
- ตรวจจับรอบทิศทาง 360 องศา พร้อมระบบปรับตั้งเวลาหน่วง, ค่าความสว่าง (Lux), และความไวในการตรวจจับ
- ชุดสวิตช์ไร้สายและตัวรับสัญญาณ สำหรับควบคุมการเปิด/ปิดไฟภายในอาคาร
- ตัวรับสัญญาณรองรับแรงดันไฟ 100-230VAC, 50/60Hz พิกัดกระแสไฟฟ้า 5A
- สวิตช์ไร้สายใช้พลังงานจากถ่าน CR2032 การสื่อสารผ่านคลื่นความถี่ 2.4GHz
- โหมดตรวจจับการใช้งานพื้นที่ (เปิดอัตโนมัติ/ปิดอัตโนมัติ)
- 12–24V DC (10–30VDC), สูงสุด 10A
- ครอบคลุมพื้นที่ 360°, เส้นผ่านศูนย์กลางการตรวจจับ 8–12 ม.
- เวลาหน่วง 15 วินาที – 30 นาที
- เซนเซอร์วัดแสง ปิด/15/25/35 Lux
- ความไวในการตรวจจับ สูง/ต่ำ
- โหมดตรวจจับการใช้งานพื้นที่ เปิดอัตโนมัติ/ปิดอัตโนมัติ
- 100–265V AC, 10A (จำเป็นต้องใช้สายนิวทรัล)
- ครอบคลุมพื้นที่ 360°; เส้นผ่านศูนย์กลางการตรวจจับ 8–12 ม.
- เวลาหน่วง 15 วินาที – 30 นาที; ค่า Lux ปิด/15/25/35; ความไวในการตรวจจับ สูง/ต่ำ
- โหมดตรวจจับการใช้งานพื้นที่ เปิดอัตโนมัติ/ปิดอัตโนมัติ
- 100–265V AC, 5A (จำเป็นต้องใช้สายสายนิวทรัล)
- ครอบคลุมพื้นที่ 360°; เส้นผ่านศูนย์กลางการตรวจจับ 8–12 ม.
- เวลาหน่วง 15 วินาที – 30 นาที; ค่า Lux ปิด/15/25/35; ความไวในการตรวจจับ สูง/ต่ำ
- 100V-230VAC
- ระยะการส่งสัญญาณ: สูงสุด 20 ม.
- เซนเซอร์ตรวจจับความเคลื่อนไหวแบบไร้สาย
- การควบคุมแบบเดินสาย
- แรงดันไฟฟ้า: แบตเตอรี่ AAA 2 ก้อน / 5V DC (Micro USB)
- โหมดกลางวัน/กลางคืน
- เวลาหน่วง: 15 นาที, 30 นาที, 1 ชม. (ค่าเริ่มต้น), 2 ชม.
- อะแดปเตอร์แปลงไฟปลั๊กแบบ EU
- อะแดปเตอร์แปลงไฟปลั๊กแบบ UK
This requires getting your hands dirty. You’ll need a “cut-in” or “old work” box (like the blue Carlon boxes with the flip-out wings), a drywall saw, and a fish tape. You pull the line voltage from one of the existing switch locations, snake it through the ceiling or attic, and drop it down to this new corner location. You then blank off the old switches or turn them into permanent power feeds.
It sounds like more work, but run the math on the callback cost. Spending an hour fishing a wire and patching a small square of drywall is cheaper than buying wireless battery-powered sensors that fail every six months, or coming back three times because the client is complaining about the lights not turning on. With the sensor at the fulcrum, the geometry problem is solved instantly. One device, 100% coverage, zero blind spots.
Strategy 2: The Wired 3-Way (The Electrician’s Fix)
If you can’t cut into the drywall—maybe it’s a condo with concrete walls or a high-end finish you can’t touch—you have to use the existing box locations. This means you need two sensors, one at each end of the L, working together. This is where most installations go wrong because people assume a motion sensor wires up exactly like a mechanical 3-way switch. It doesn’t.
In a standard mechanical 3-way, the switches toggle power back and forth along “traveler” wires. If you just swap those mechanical switches for sensors, you often end up with a system where one sensor kills power to the other, or they fight for control. The lights might strobe, or one end of the hall will work while the other is dead.
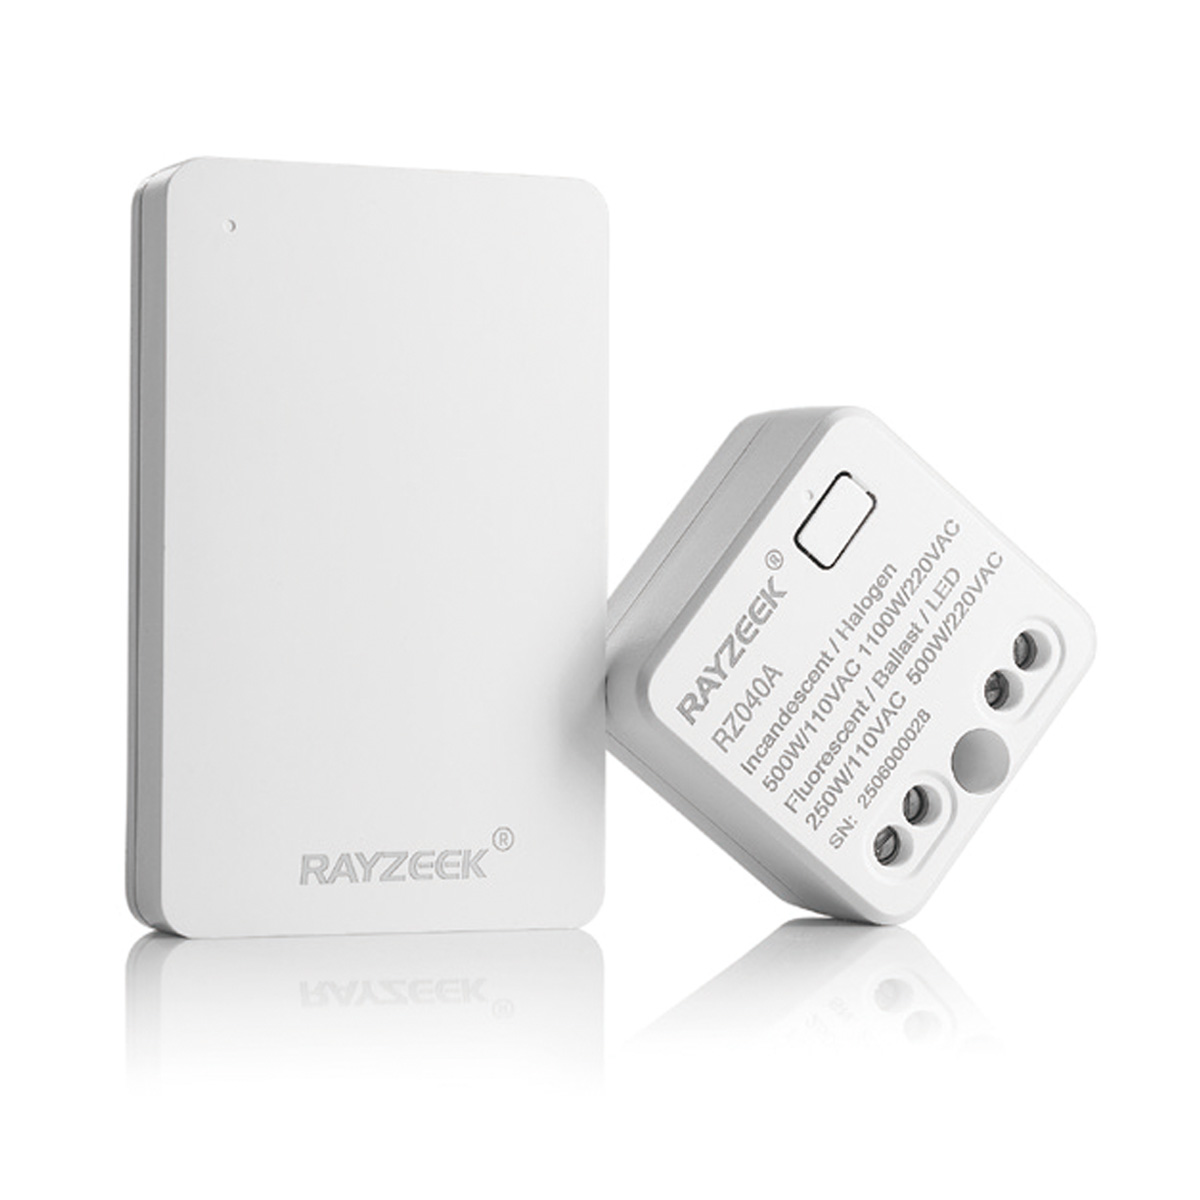
For Rayzeek units (and similar hardwired sensors), you typically wire them in parallel or use a specific “3-way” model that communicates via a traveler. The goal is that if ตัวใดตัวหนึ่ง sensor triggers, the load (the light) gets power.
There is a massive point of confusion here for anyone who has just browsed a forum: don’t confuse “multi-location dimming” logic with motion sensor logic. You aren’t trying to dim the lights from both ends; you’re just trying to close the circuit.
รับแรงบันดาลใจจากกลุ่มผลิตภัณฑ์เซนเซอร์ตรวจจับการเคลื่อนไหวของ Rayzeek
ยังไม่พบสิ่งที่คุณต้องการใช่ไหม? ไม่ต้องกังวล ยังมีวิธีอื่น ๆ อีกเสมอในการแก้ปัญหาของคุณ บางทีหนึ่งในกลุ่มผลิตภัณฑ์ของเราอาจช่วยคุณได้
When you wire this, you usually tie the “Line” (hot) wire to both sensors. You tie the “Load” wire (the one going to the light) to the output of ทั้งสอง sensors. This creates a logical “OR” gate: if Sensor A sees motion OR Sensor B sees motion, the light turns on.
Note: Always check the specific schematic for your model (e.g., RZ021 vs RZ023). Some newer models require a dedicated traveler wire for communication, and the color of that wire in the box can vary by batch—sometimes it’s yellow, sometimes it’s a striped red. Don’t guess.

This approach works because it covers both entries. As soon as you step into the hallway from either end, the local sensor catches you. By the time you walk around the blind corner, the second sensor picks you up, keeping the timer active. It creates a seamless handover.
กำลังมองหาโซลูชันประหยัดพลังงานที่ทำงานด้วยการตรวจจับความเคลื่อนไหวอยู่ใช่ไหม?
ติดต่อเราเพื่อรับโซลูชันเชิงพาณิชย์สำหรับเซนเซอร์ตรวจจับความเคลื่อนไหว PIR แบบครบวงจร ผลิตภัณฑ์ประหยัดพลังงานที่ทำงานด้วยการตรวจจับความเคลื่อนไหว สวิตช์เซนเซอร์ตรวจจับความเคลื่อนไหว และระบบตรวจจับเมื่อมีคนอยู่/ห้องว่าง
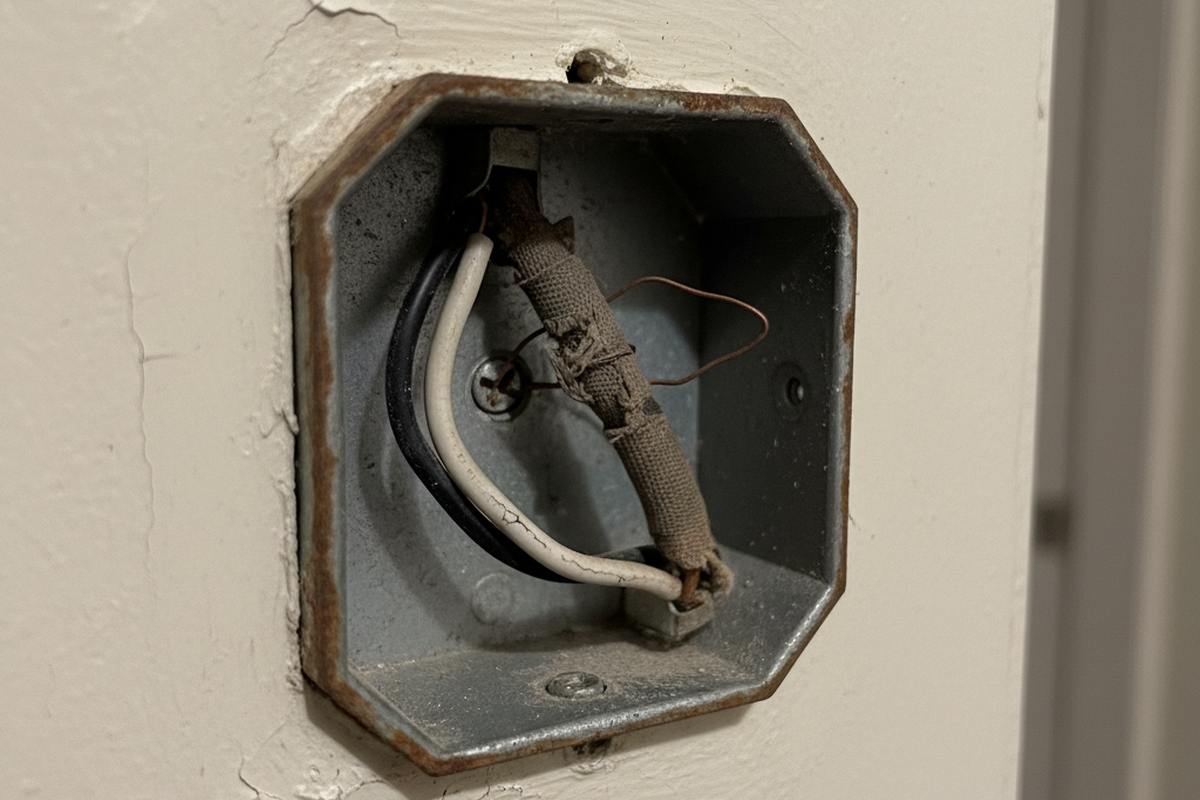
The “No-Neutral” Trap
While we’re discussing wiring, we need to address the “No-Neutral” option. Many older homes (pre-1980s) don’t have a bundle of white neutral wires in the switch box. Manufacturers know this, so they sell “No-Neutral Required” sensors (often denoted with an -N suffix).
Avoid these unless you have absolutely no choice.
To function without a neutral, the sensor has to trickle a tiny amount of current through the light bulb itself to stay powered up. This is called “leakage current.” In the days of incandescent bulbs, this was fine; the filament didn’t care. But with modern LED wafers or low-wattage bulbs, that tiny current is often enough to charge the capacitors in the LED driver.
The result? “Ghosting” (the light glows faintly when off) or flickering. You’ll get a call a week later saying the hallway lights are strobing like a disco. If you open the box and see a bundle of white wires tucked in the back, use the standard 3-wire sensor (Hot, Neutral, Load). It provides a clean, stable return path for the sensor’s electronics and eliminates the ghosting issue entirely.
Final Simulation: Don’t Just Crank the Time
Finally, don’t try to fix a placement problem with a settings change. I see this constantly: the sensor is in a blind spot, so the installer cranks the timeout dial to “30 Minutes.” The logic is, “If it stays on for a long time, it won’t turn off while they are walking in the shadow.”
This defeats the purpose of the sensor. You’re just installing a very expensive, annoying light switch that wastes electricity.
Before you screw the faceplate on, do a real walk-test. Set the time delay to the minimum (usually 15 seconds or “Test Mode”). Walk the path. Walk from the bedroom to the kitchen. Walk from the living room to the bathroom. See exactly where the light triggers. If you can take three steps in the dark before it fires, adjust the sensitivity or the angle. If you can’t fix it with angle, you need to move the box or add a second sensor. Don’t leave the site until the geometry works.