
Utilizing a motion-activated light at homes, offices, or public indoor spaces could significantly reduce electricity waste while adding a hands-free, automated lighting experience. Most of the time, a motion sensor light switch is the optimal solution for indoor use because it’s easy to upgrade and replace your existing wall switch and the wall sensor switch is more accessible for users to have manual override control.
Contents
- Step 1. Prepare Tools for Installation
- Step 2. Place the Motion Sensor
- Step 3. Wire the Motion Sensor to the Light
- Step 4. Adjust the Motion Sensor
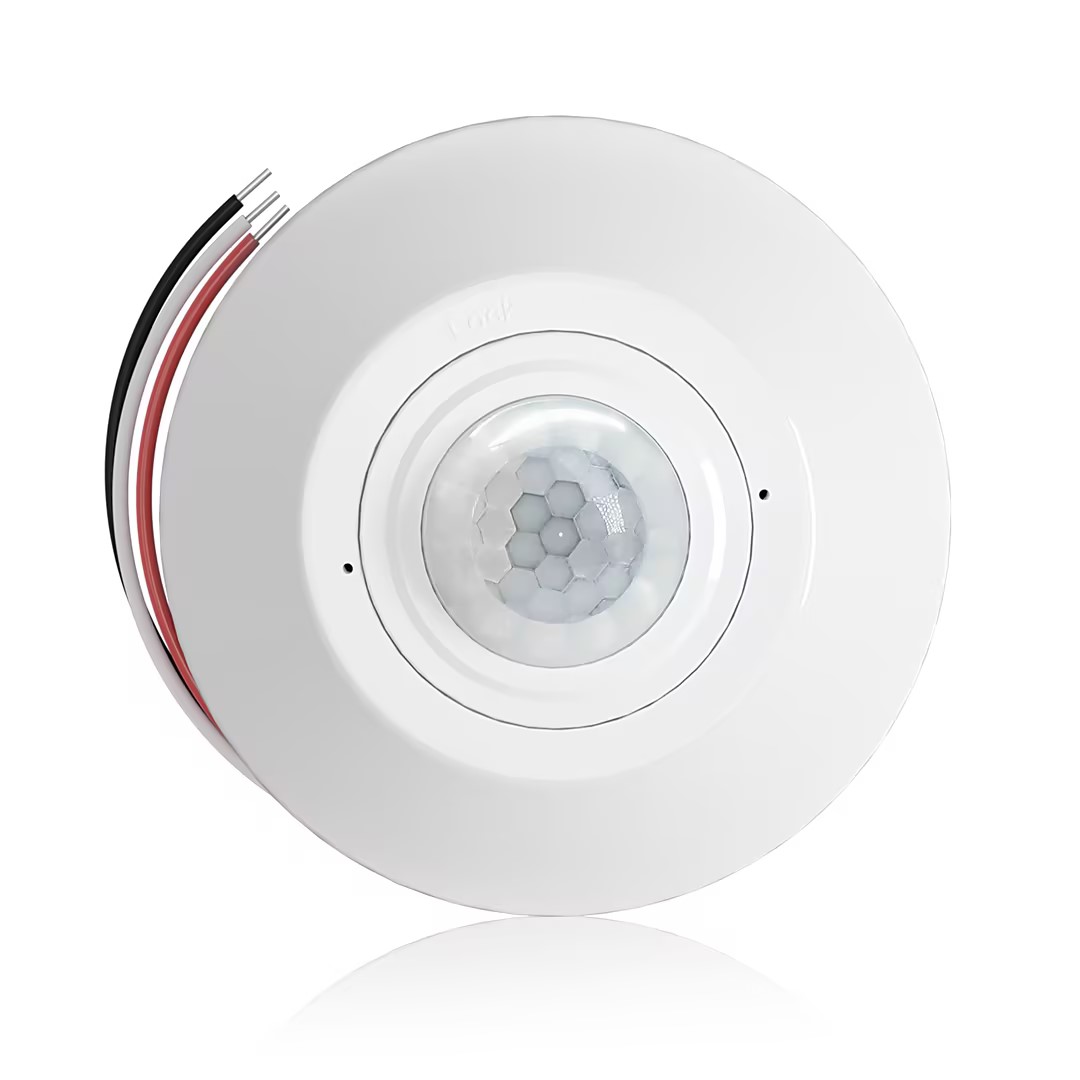
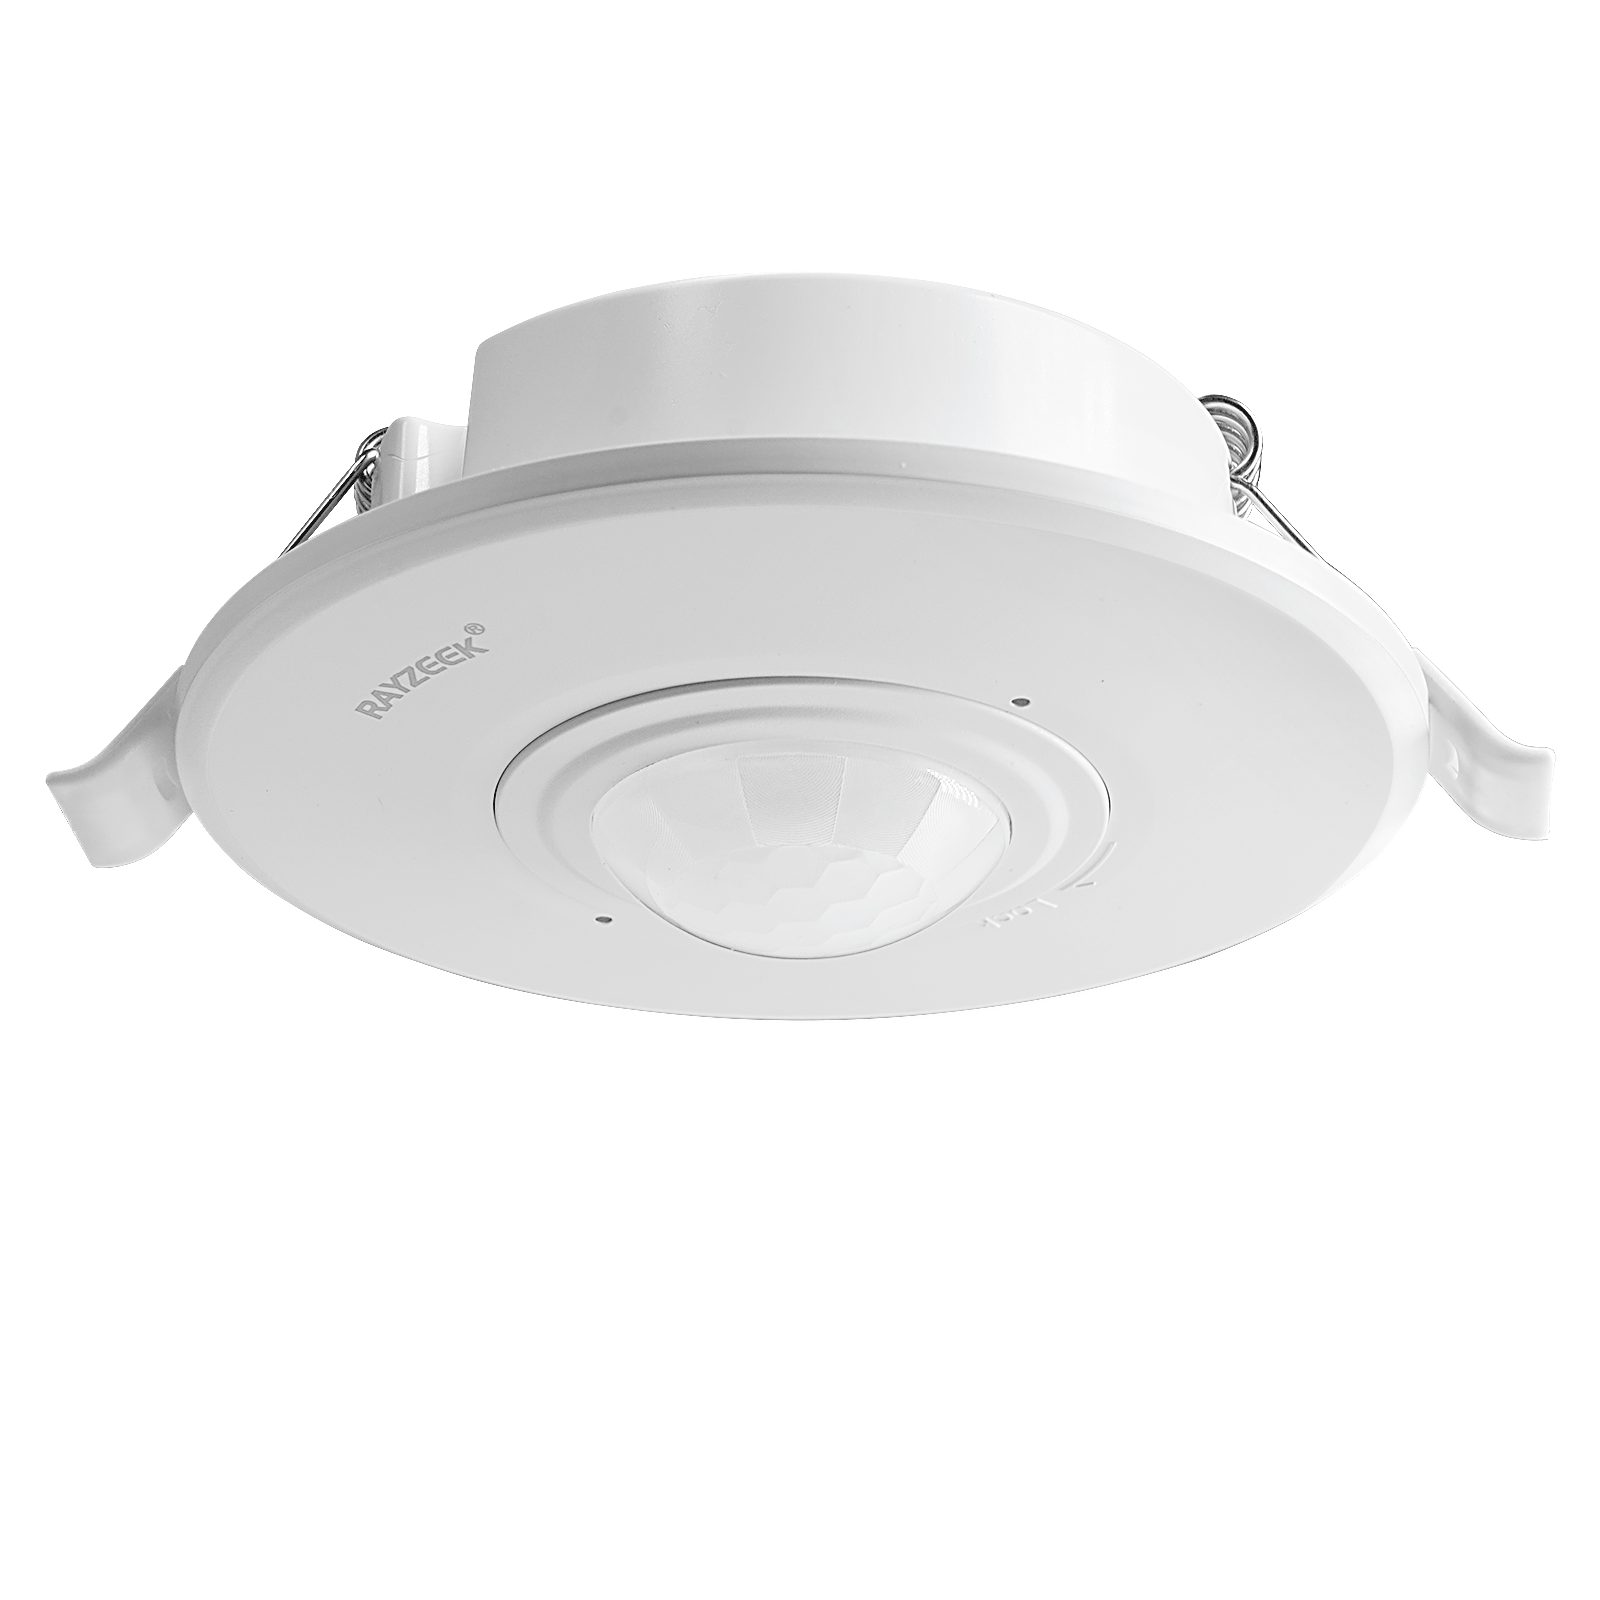
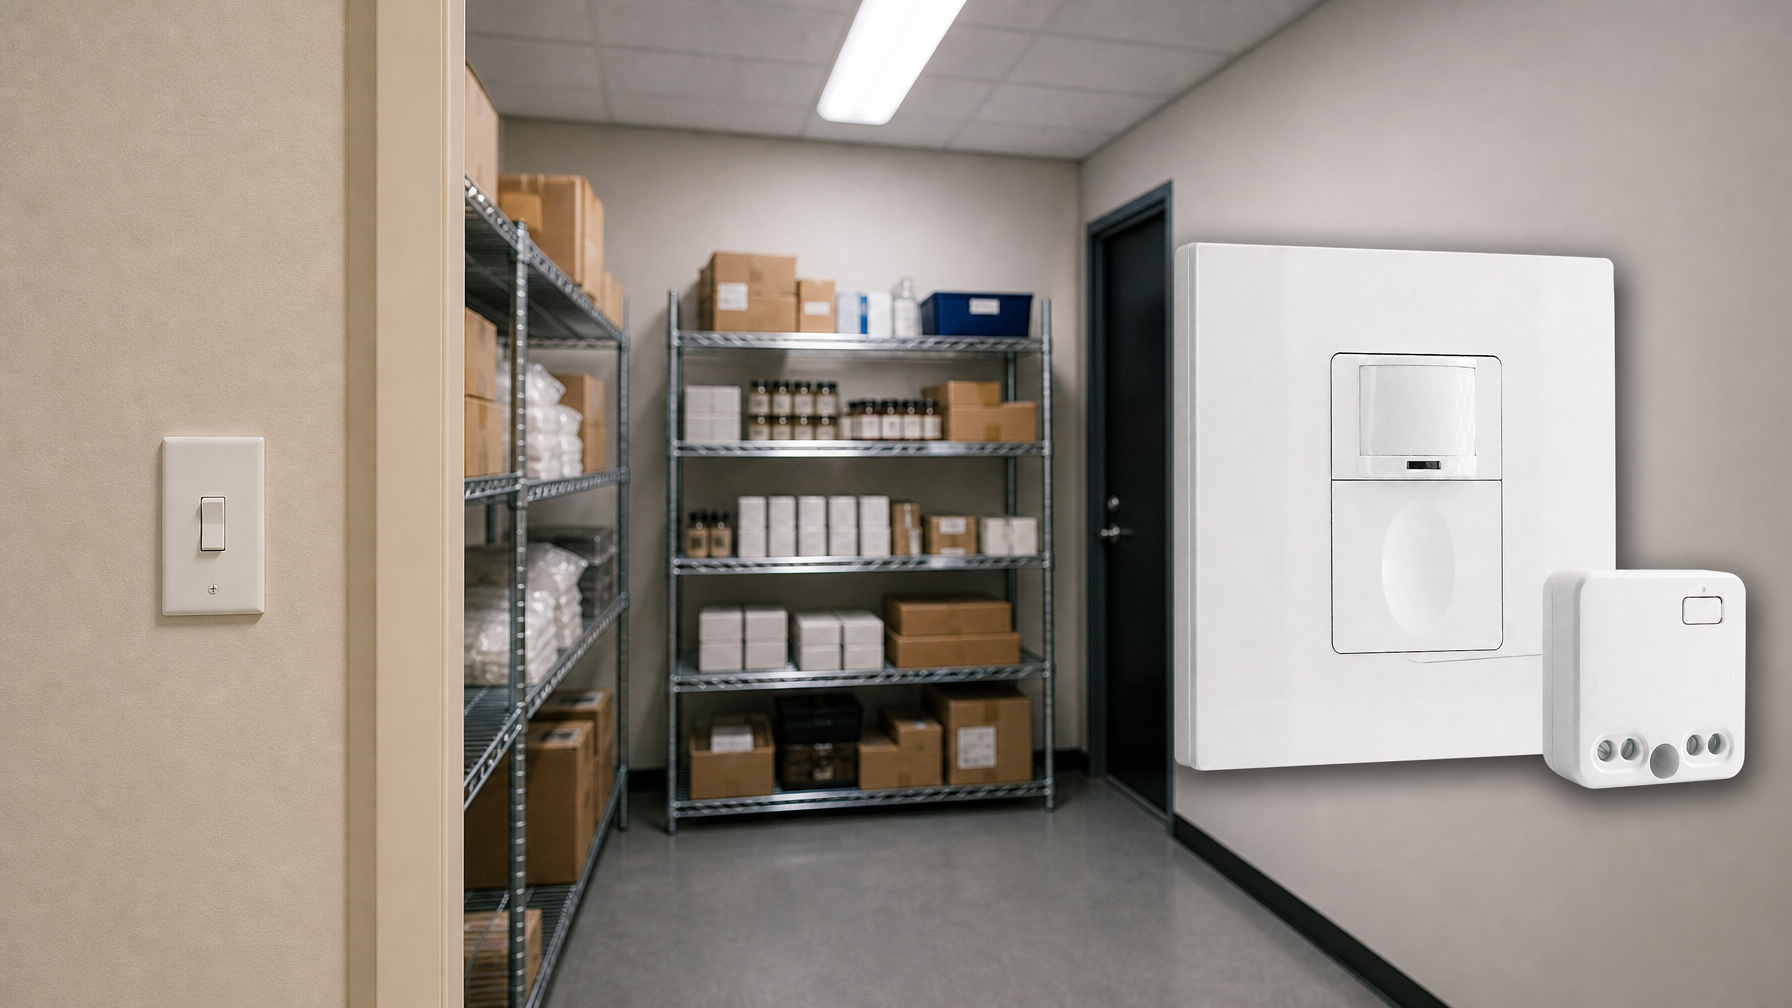
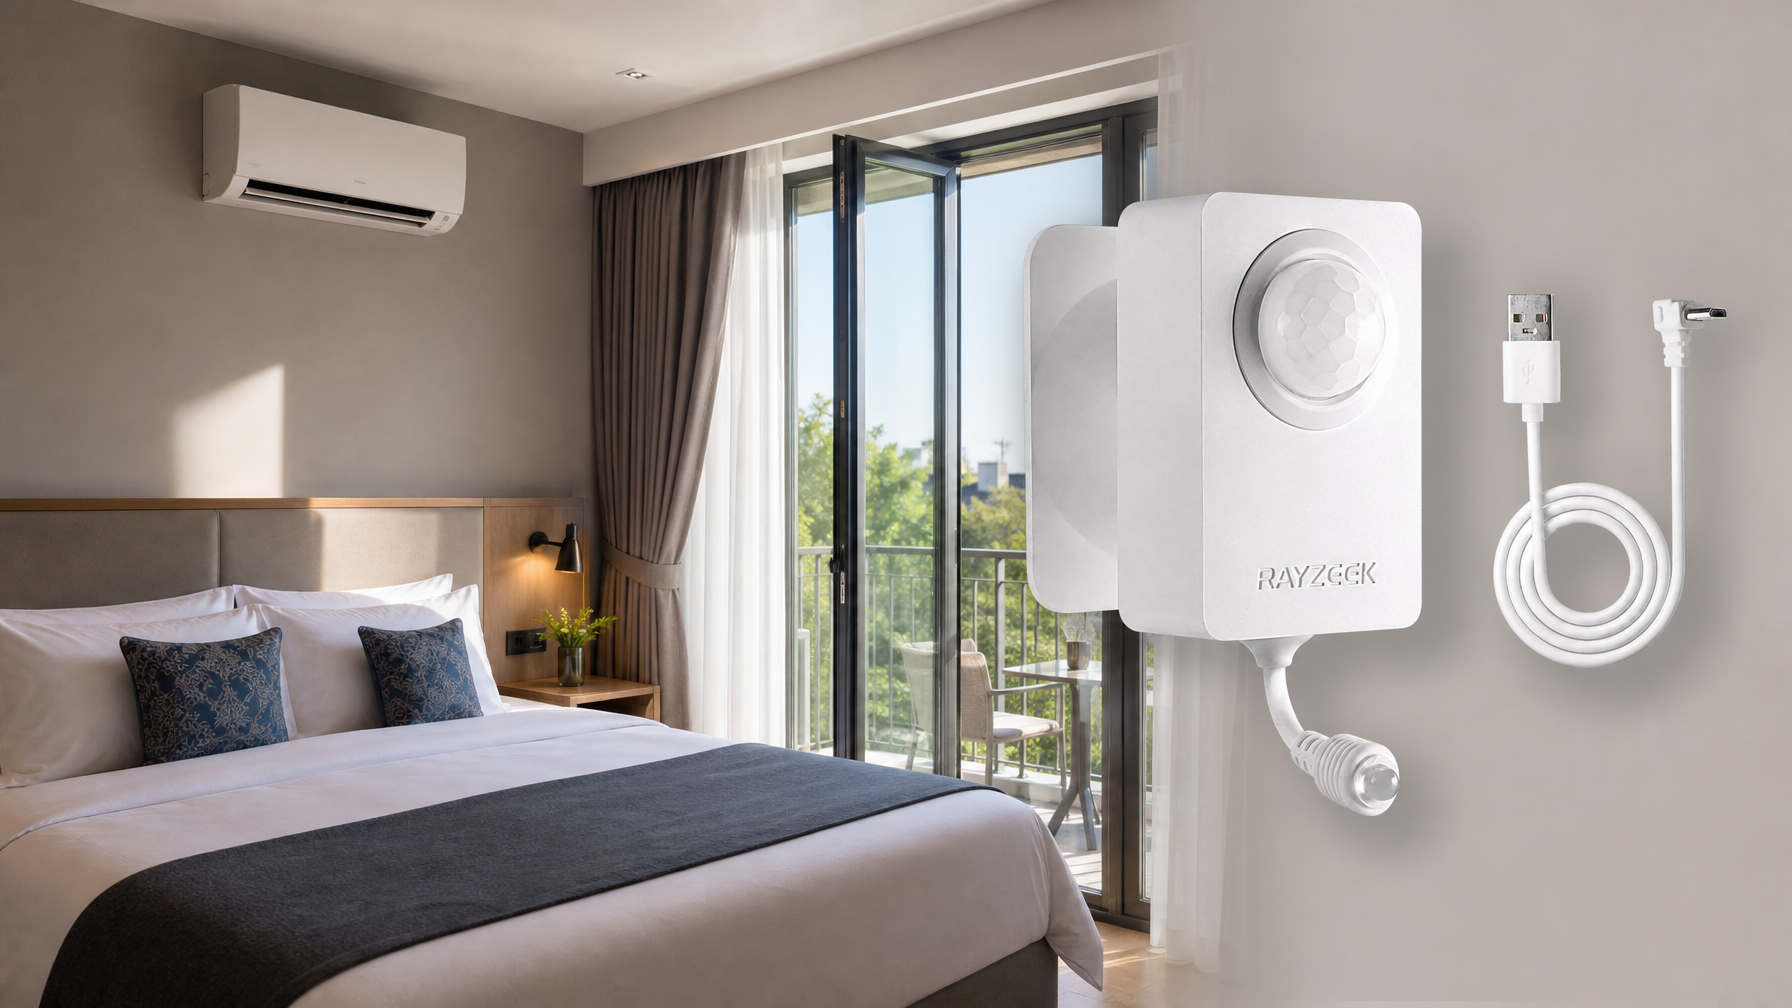
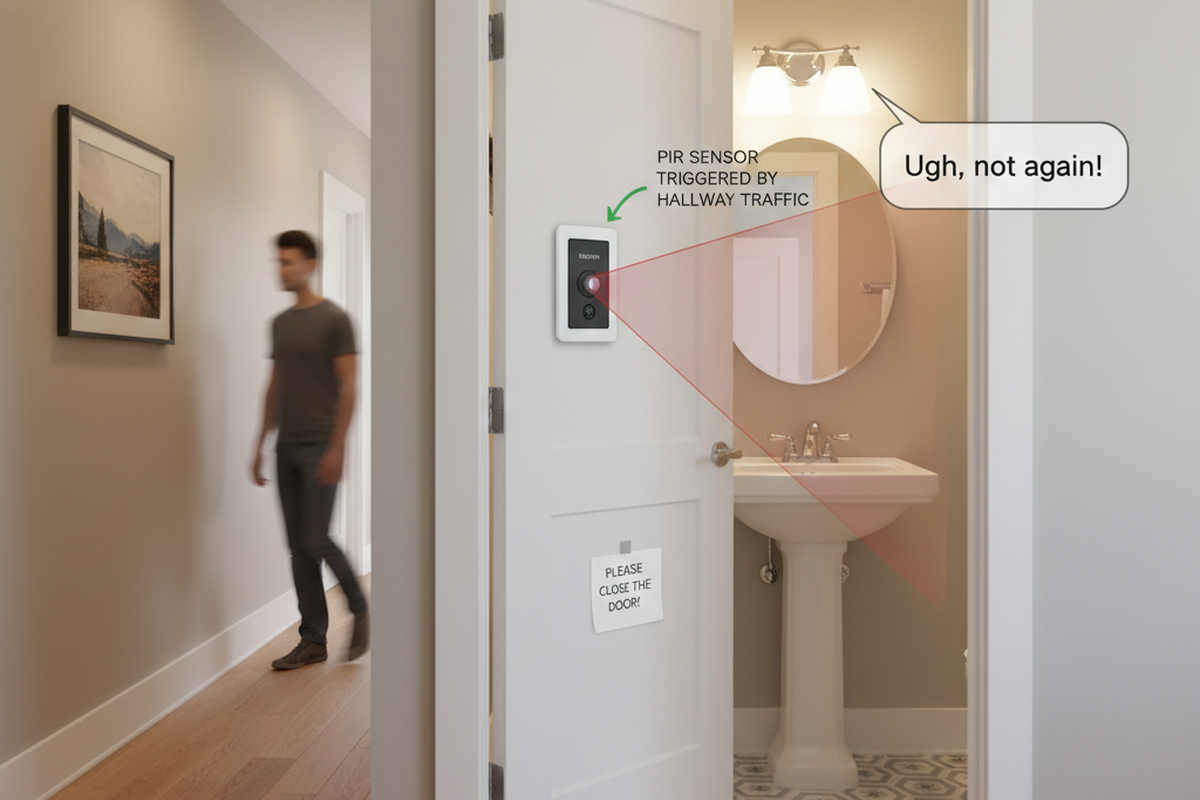
Sometimes we need to detect motion from a broader coverage where a motion sensor light switch is incompetent with the restricted detecting area on the wall. In this case, a ceiling mount motion sensor or a standalone motion detector located on the wall, which can detect people from up to a 360 degree with a larger sensitivity zone, can perfectly solve our problem.
Another benefit of adding a motion sensor, i.e., a occupancy sensor, to your existing light is that you can have automatic ON/OFF lighting, which is completely hands-free and suitable for public rooms and offices. Additionally, a ceiling occupancy sensor only requires available wirings for installation and is more flexible with where you place it, while the wall sensor switches must be installed into a pre-existing wallbox.
Step 1. Prepare Tools for Installation
Before we add a motion sensor to the light, prepare these tools first so we can speed up the process.
- A motion sensor
- Screwdriver
- Optional
- Wirecutter: to cut wires if necessary
- Wire connectors: most motion sensor light switches would include wire connecters by default in the accessory pack
- Voltage tester: to identify the hotwire and ensure the voltage is off
- Electrical tapes: to mark the hotwire
- Junction box: for fixing and installing the motion sensor
Step 2. Place the Motion Sensor
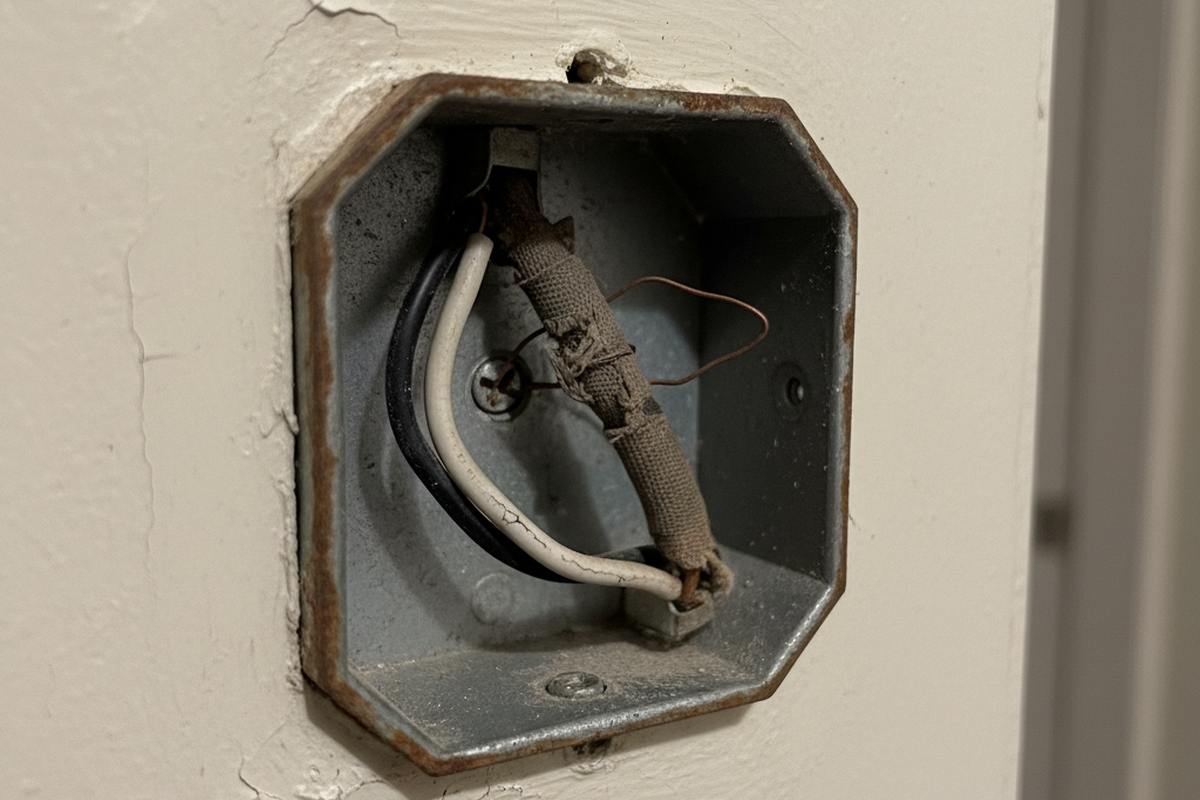
Turn off the power to the light which you want to add a motion sensor to. Find a place where you want to install the motion sensor between the power source from your house to the light.
Install a junction box and cut the hot wire and neutral wire for installing and fixing the motion sensor, if needed.
Now we mark the hot wire and load wire.
어쩌면 다음 제품에도 관심이 있으실 수 있습니다
- 무전압 접점(dry-contact) 릴레이 출력을 갖춘 천장 장착형 PIR 재실 감지 센서
- 12/24VDC 또는 12/24VAC 저전압 전원 공급
- EMS, HVAC 및 빌딩 제어 입력을 위한 COM, NO, NC 절연 릴레이 접점
- 저전압 DC 천장 매립형 마이크로웨이브 모션 센서 스위치
- 10-30 VDC 범위의 12 VDC / 24 VDC 입력
- 시간 지연, 조도(Lux) 임계값 및 감도 조절이 가능한 최대 10A 작동 전류
- 고부하용 천장 매립형 마이크로웨이브 모션 센서 스위치
- 100-265 VAC 상용전압 입력, 10A 모델
- 시간 지연, 조도(Lux) 임계값 및 감도 조절이 가능한 5.8 GHz 마이크로웨이브 감지
- 천장 매립형 마이크로웨이브 모션 센서 스위치
- 100-265 VAC 상용전압 입력, 5A model
- 시간 지연, 조도(Lux) 임계값 및 감도 조절이 가능한 5.8 GHz 마이크로웨이브 감지
- 220V 전원용 천장 장착형 RZ037 PIR 재실 감지 센서 디머
- 정격 부하 660W, 최대 작동 전류 3A
- 조도 센서 켜짐/꺼짐(ON/OFF) 및 사용자 설정 디밍 밝기를 제어하는 LUX 버튼
- 110V 전원용 천장 장착형 RZ037 PIR 재실 감지 센서 디머
- 정격 부하 330W, 최대 작동 전류 3A
- 조도 센서 켜짐/꺼짐(ON/OFF) 및 사용자 설정 디밍 밝기를 제어하는 LUX 버튼
- 저전압 DC 천장 매립형 마이크로웨이브 모션 센서 스위치
- 10-30 VDC 범위의 12 VDC / 24 VDC 입력
- 시간 지연, 조도(Lux) 임계값 및 감도 조절이 가능한 최대 10A 작동 전류
- 고부하 천장 매립형 마이크로웨이브 모션 센서 스위치
- 100-265 VAC 상용전압 입력, 10A 모델
- 시간 지연, 조도(Lux) 임계값 및 감도 조절이 가능한 5.8 GHz 마이크로웨이브 감지
- 천장 매립형 마이크로웨이브 모션 센서 스위치
- 100-265 VAC 상용전압 입력, 5A model
- 시간 지연, 조도(Lux) 임계값 및 감도 조절이 가능한 5.8 GHz 마이크로웨이브 감지
- 저전압 DC 매립형 천장 장착 PIR 모션 센서 스위치
- 10-30 VDC 범위의 12 VDC / 24 VDC 입력
- 최대 작동 전류 10A (시간 지연, 조도 값, 감도 조절 가능)
- 고부하 매립형 천장 장착 PIR 모션 센서 스위치
- 100-265 VAC 상용전압 입력, 10A 모델
- 360도 감지 (시간 지연, 조도 값, 감도 조절 가능)
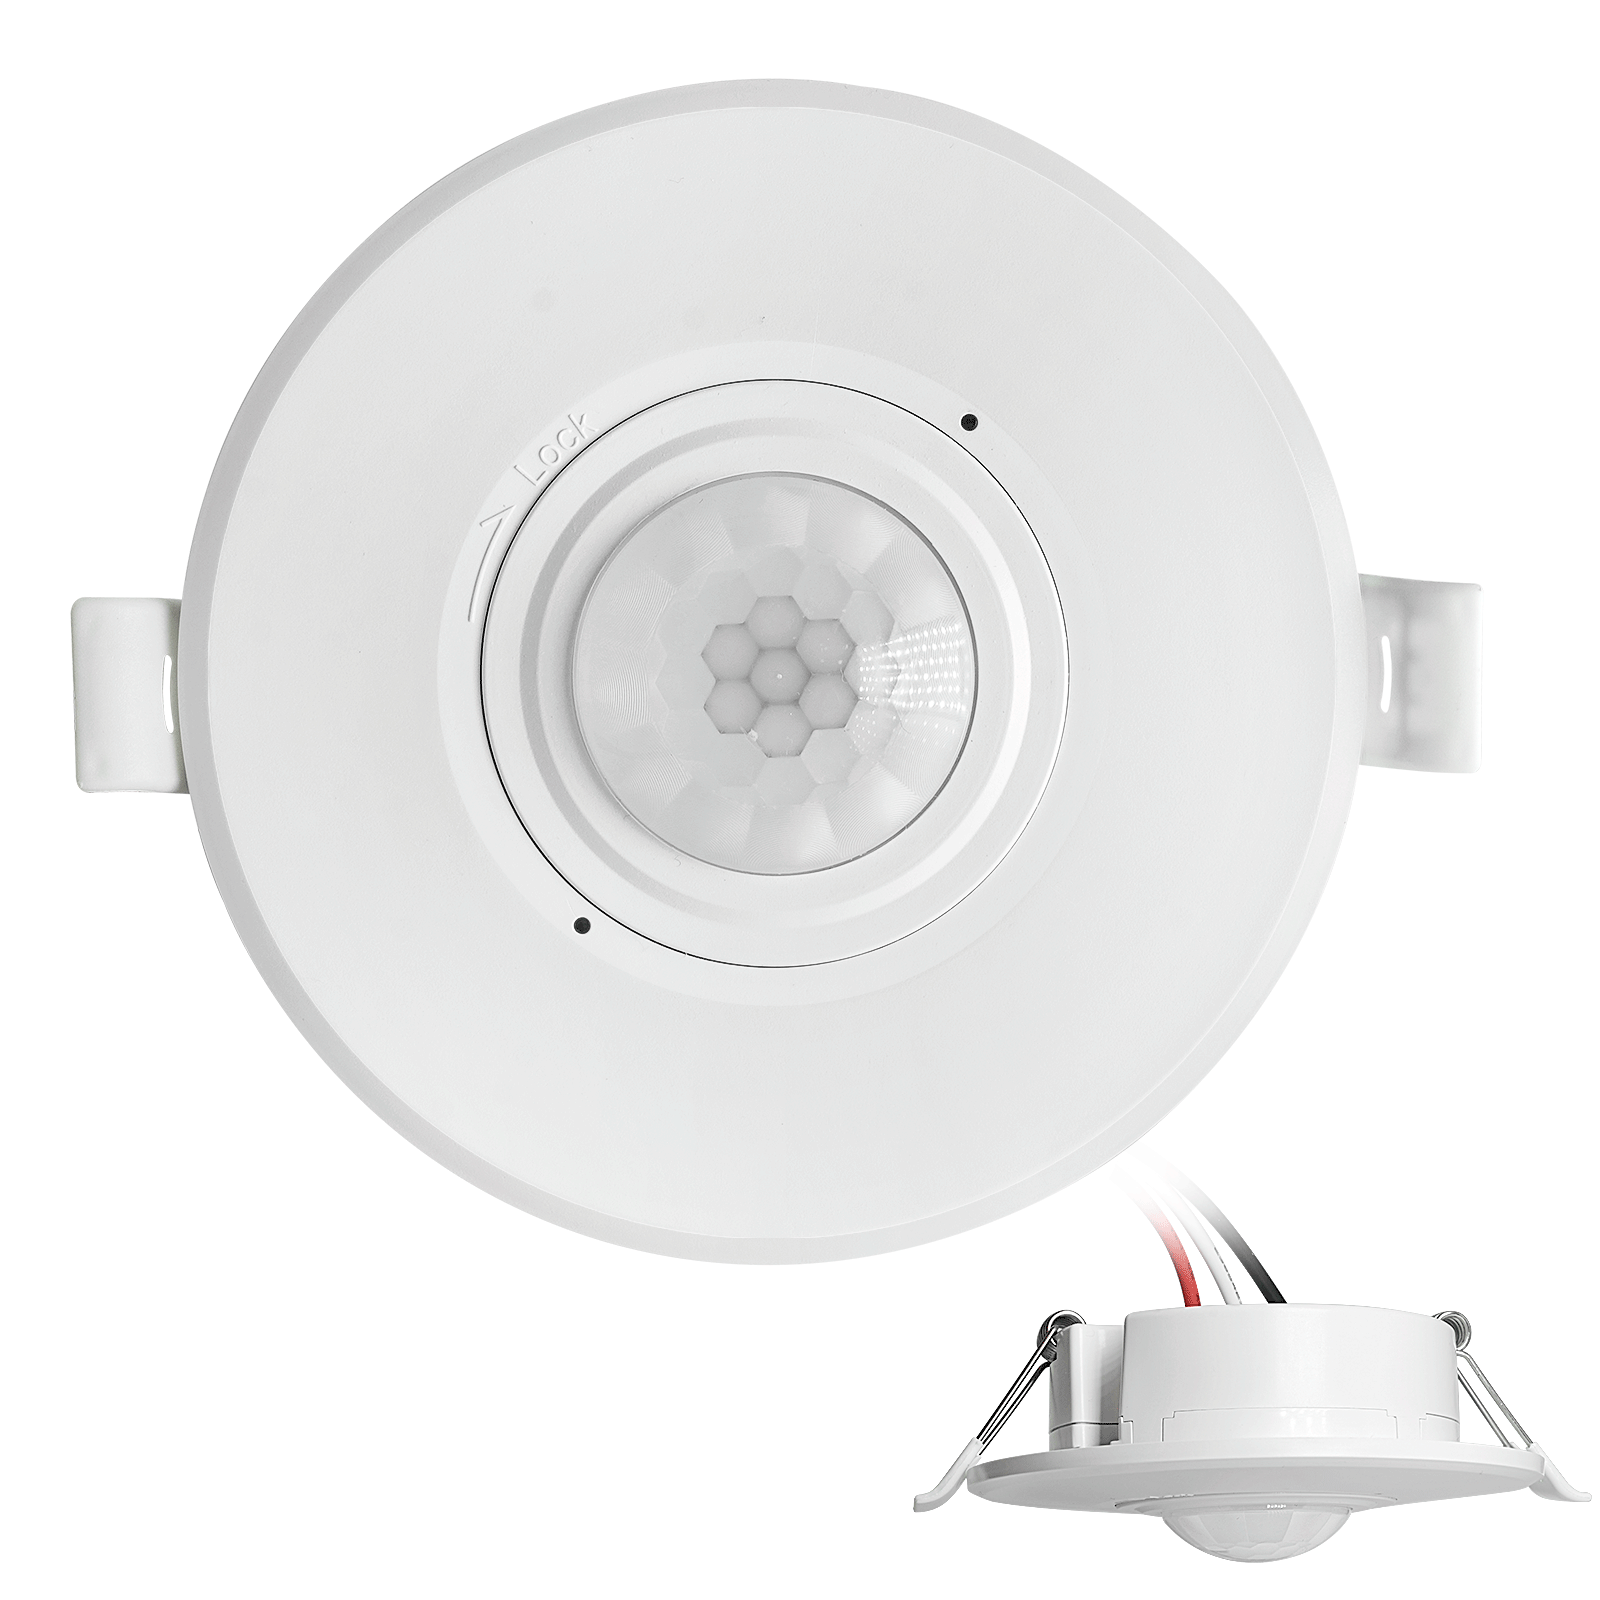
- 매립형 천장 장착 PIR 모션 센서 스위치
- 100-265 VAC 상용전압 입력, 5A model
- 360도 감지 (시간 지연, 조도 값, 감도 조절 가능)
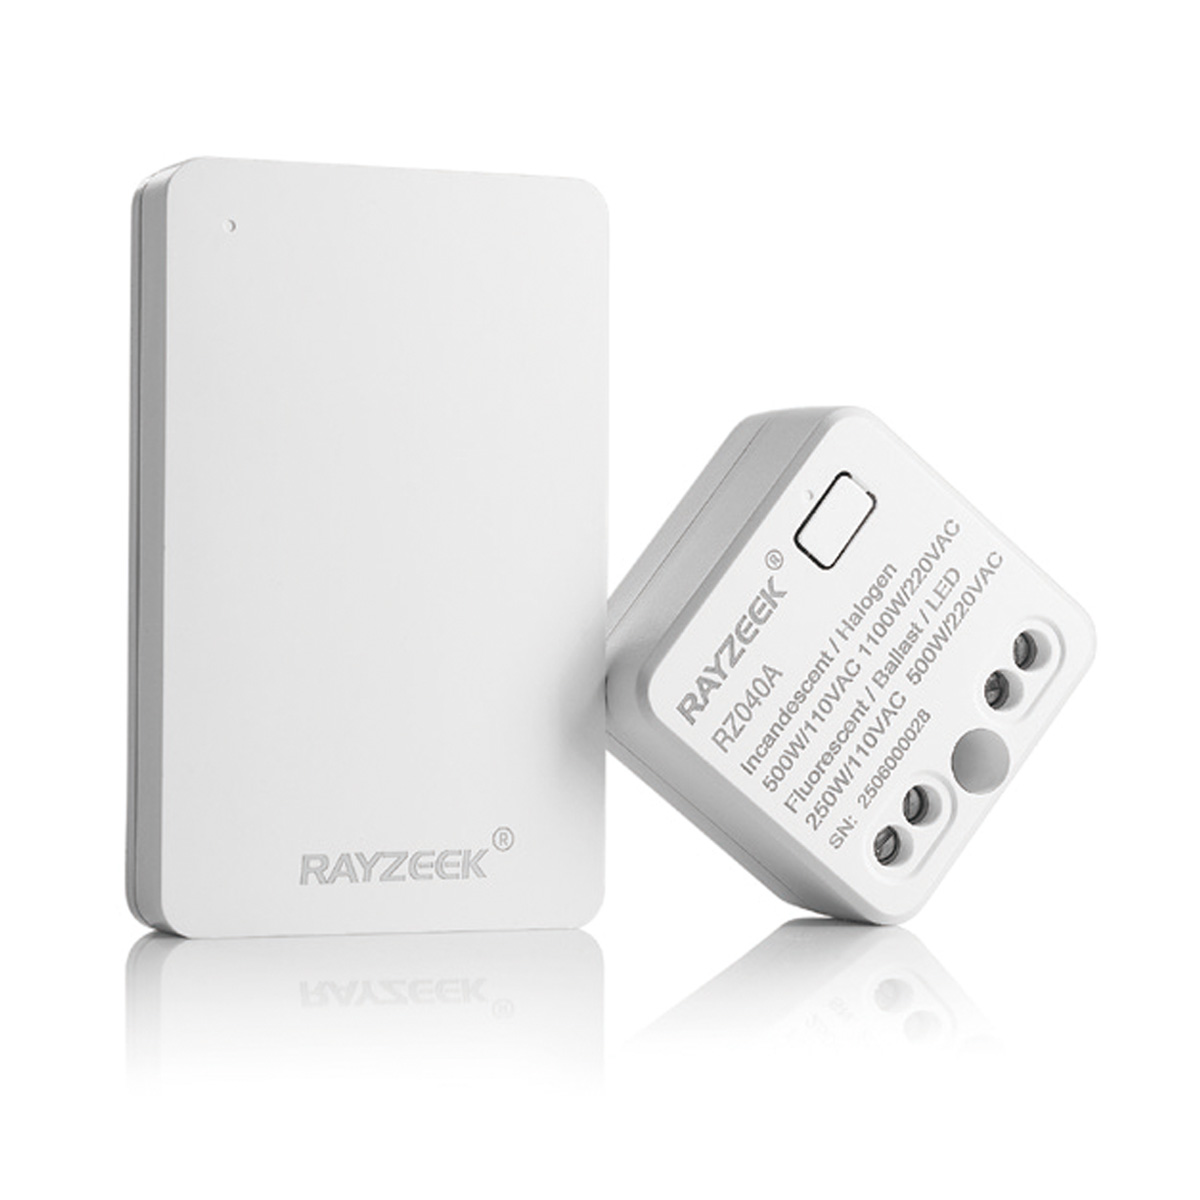
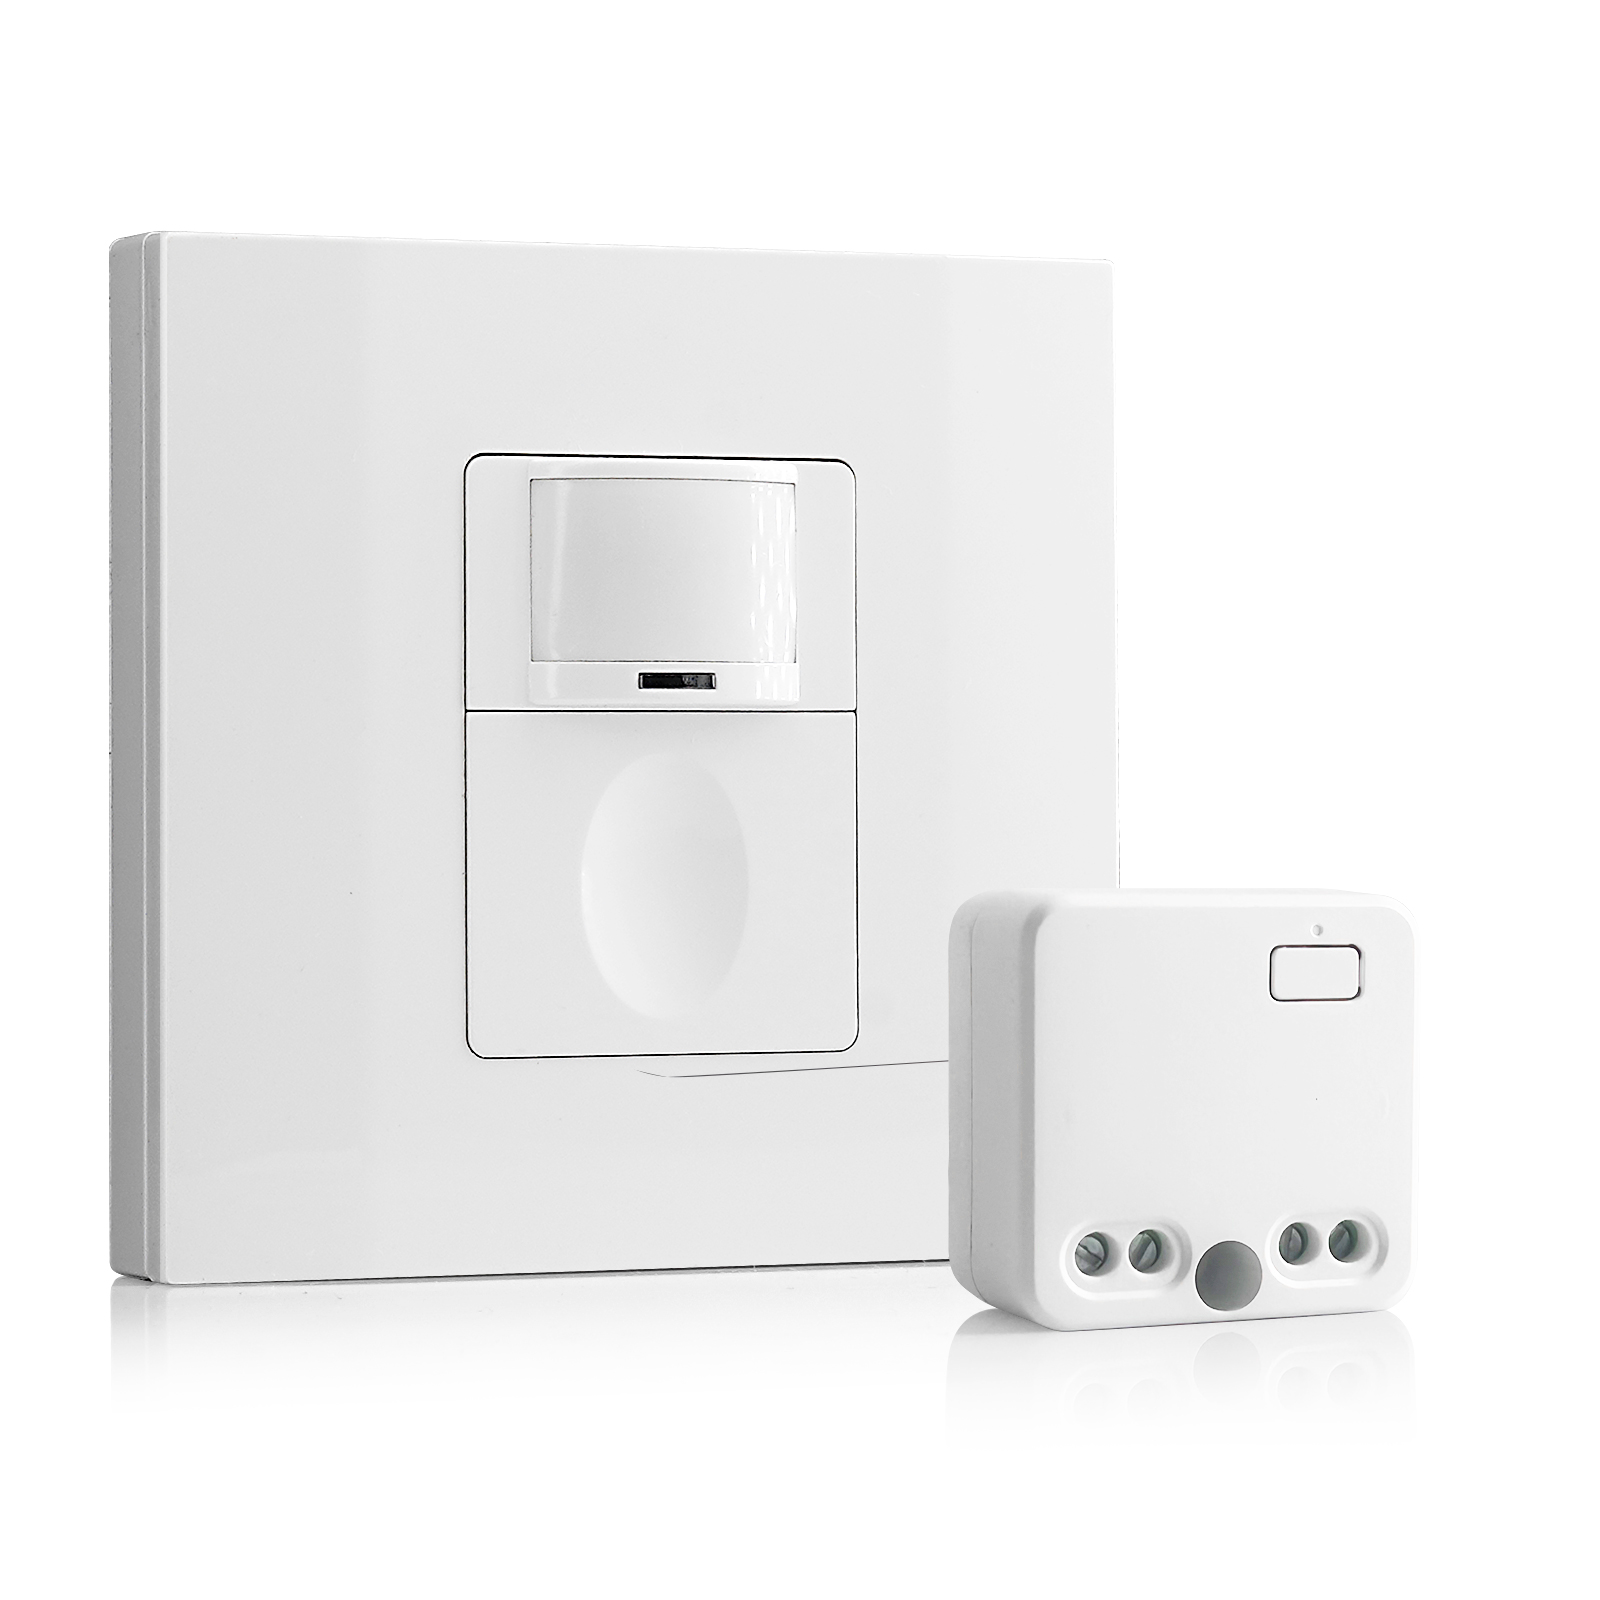
- 실내 조명 ON/OFF 제어용 무선 스위치 및 수신기 키트
- 100-230VAC, 50/60Hz 수신기 (정격 전류 5A)
- CR2032 배터리 구동 무선 스위치 (2.4GHz 통신)
- 재실 감지 (Auto-ON/Auto-OFF)
- 12–24V DC (10–30VDC), 최대 10A
- 360° 감지 범위, 직경 8–12 m
- 시간 지연 15초–30분
- 조도 센서 Off/15/25/35 Lux
- 감도 높음/낮음
- Auto-ON/Auto-OFF 재실 모드
- 100–265V AC, 10A (중성선 필수)
- 360° 감지 범위, 감지 직경 8–12 m
- 시간 지연 15초–30분, 조도 OFF/15/25/35, 감도 높음/낮음
- Auto-ON/Auto-OFF 재실 모드
- 100–265V AC, 5A (중성선 필요)
- 360° 감지 범위, 감지 직경 8–12 m
- 시간 지연 15초–30분, 조도 OFF/15/25/35, 감도 높음/낮음
- 100V-230VAC
- 전송 거리: 최대 20m
- 무선 모션 센서
- 유선 제어
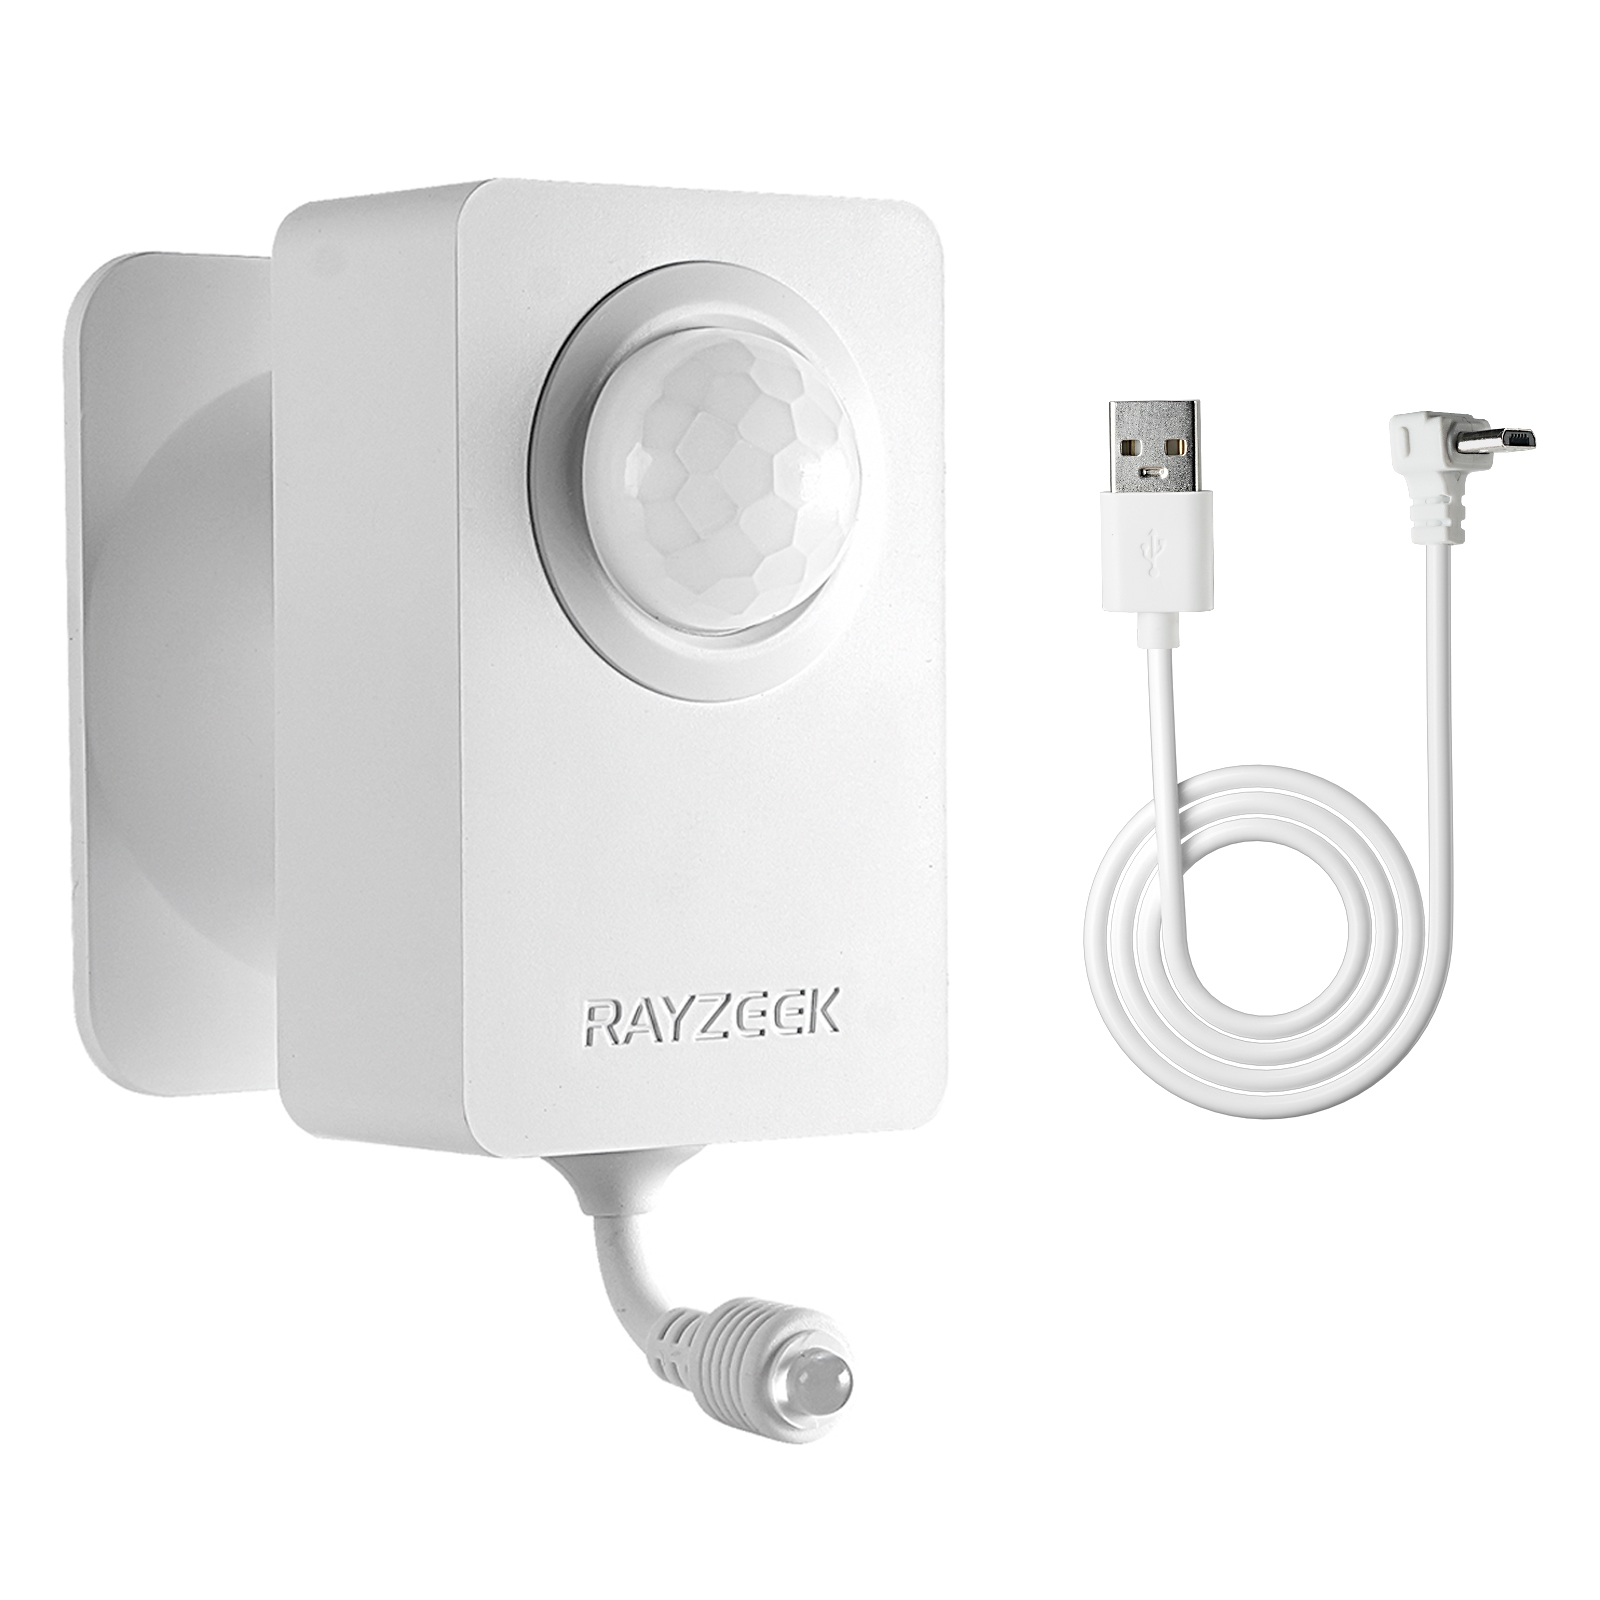
- 전압: AAA 배터리 2개 / 5V DC (Micro USB)
- 주간/야간 모드
- 시간 지연: 15분, 30분, 1시간(기본값), 2시간
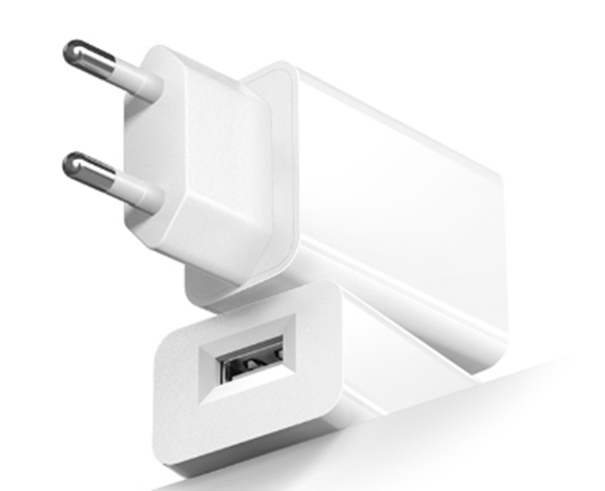
- EU 플러그 전원 어댑터
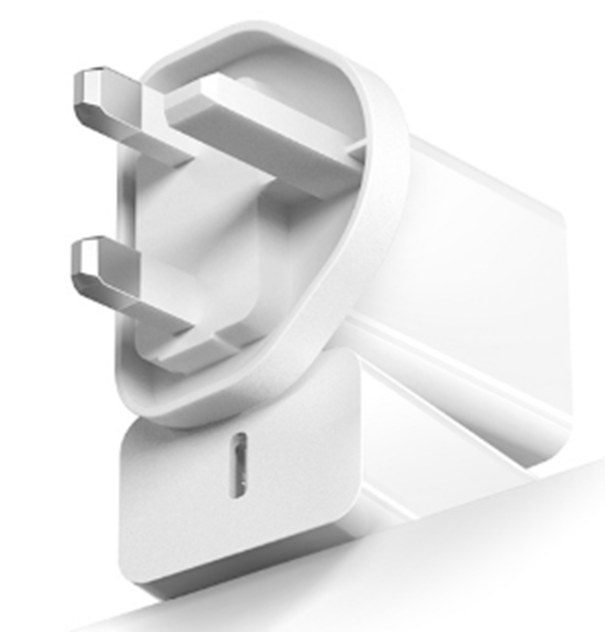
- UK 플러그 전원 어댑터
- Turn on the power and use the non-contact voltage tester to test each black wire in the junction box. The hot wire has power but the load wire to your light does not have power.
- Turn off the power and use the non-contact voltage tester to confirm.
- Mark the hot wire with electrical tapes if needed.
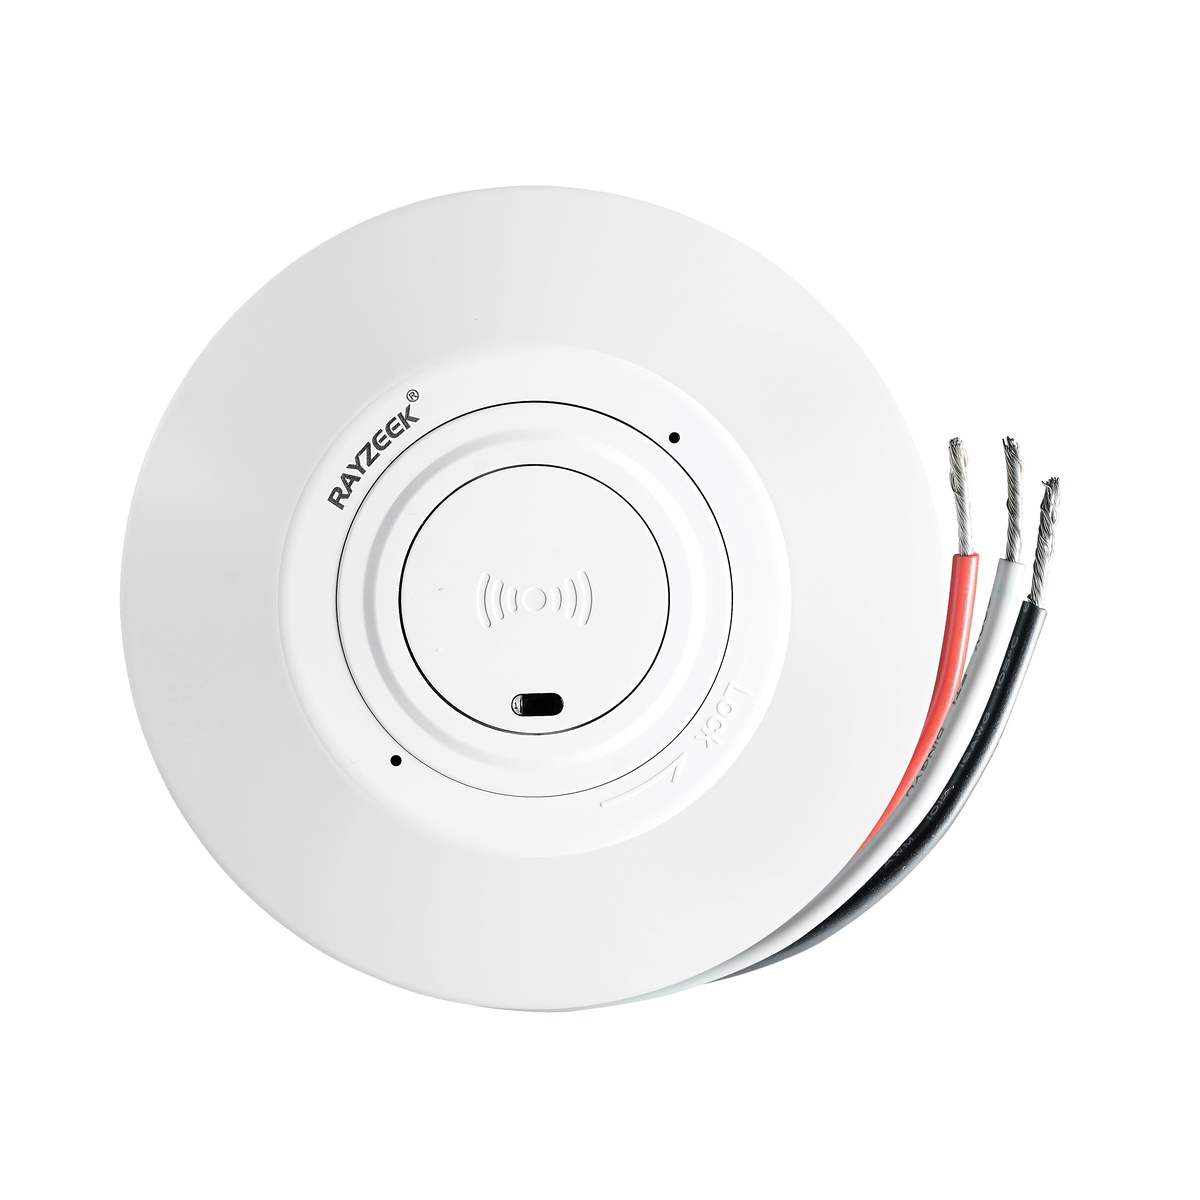
Step 3. Wire the Motion Sensor to the Light
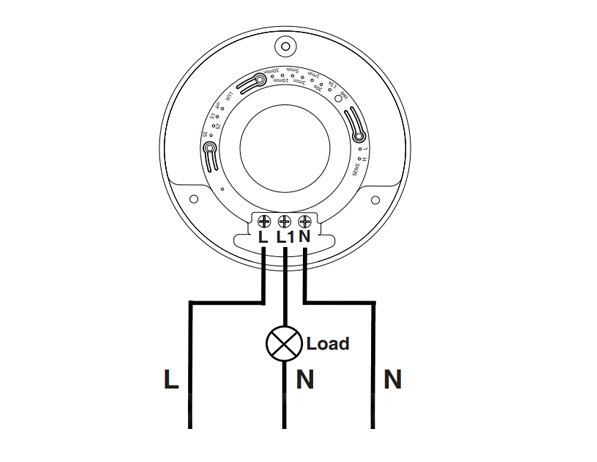
This is a standard motion sensor wiring diagram and you can apply nearly all wirings like above. The wiring is pretty straightforward, similar to installing a motion sensor light switch.
모션 감지 에너지 절약 솔루션을 찾고 계신가요?
완제품 PIR 모션 센서, 모션 감지 에너지 절약 제품, 모션 센서 스위치 및 상업용 재실/공실(Occupancy/Vacancy) 솔루션에 대해 문의해 주세요.
There are only 3 wires needed. The L is for line wire or hot wire, which is the power source from your house. The L1 is for load wire which powers the lights. The N is the neutral wire, and you only need to simply wire them together.
- Connect the hot wire from your house to the hot wire on the motion sensor.
- Connect the load wire to your light to the load wire on the motion sensor.
- Connect the neutral wire from your house to the neutral wire on the motion sensor.
Step 4. Adjust the Motion Sensor
Now we partially screw the motion sensor into the junction box and turn on the power for testing the best setting.
Test a couple of times and adjust the motion sensor’s setting to the best value, such as time delay, motion detection sensitivity, light sensor LUX.
Alter the motion sensor to ensure it can detect the ideal motion detection area. Install and screw tight the motion sensor.


I’ve never heard of a “load wire”. Only HOT (black) Neutral (white) and ground (green). What is a load wire?
Hi Patrick,
A “load wire” is the wire that connects the sensor with the load. In this case, the load is the light connected and driven by the motion sensor.
Say you want to control your light with a motion sensor.
The motion sensor draws power from the hot wire and it needs to send the power to the light via the load wire. Now the sensor can control when to keep the light ON or OFF because the light is directly powered by the motion sensor.
A load wire may have different colors, usually red or black. Some motion sensors may have hot wire and load wire the same color and they are interchangeable. You need to refer to your sensor’s manual for this part.
Most motion sensors have a load wire and control the lighting in this way. If your motion sensor does not have a load wire, it is mostly a wireless sensor that needs to be integrated into a smart home system so that the light is controlled by other means.
Nice article very well written. It answered the questions i had. Thank you.
How much would an electrician charge for something like this?
Hi, I don’t understand how connecting one wire (load) to the light makes it work what about the neutral wire from the lights
Cuando ce cobra por estos trabajos