
Utilizing a motion-activated light at homes, offices, or public indoor spaces could significantly reduce electricity waste while adding a hands-free, automated lighting experience. Most of the time, a motion sensor light switch is the optimal solution for indoor use because it’s easy to upgrade and replace your existing wall switch and the wall sensor switch is more accessible for users to have manual override control.
Contents
- Step 1. Prepare Tools for Installation
- Step 2. Place the Motion Sensor
- Step 3. Wire the Motion Sensor to the Light
- Step 4. Adjust the Motion Sensor
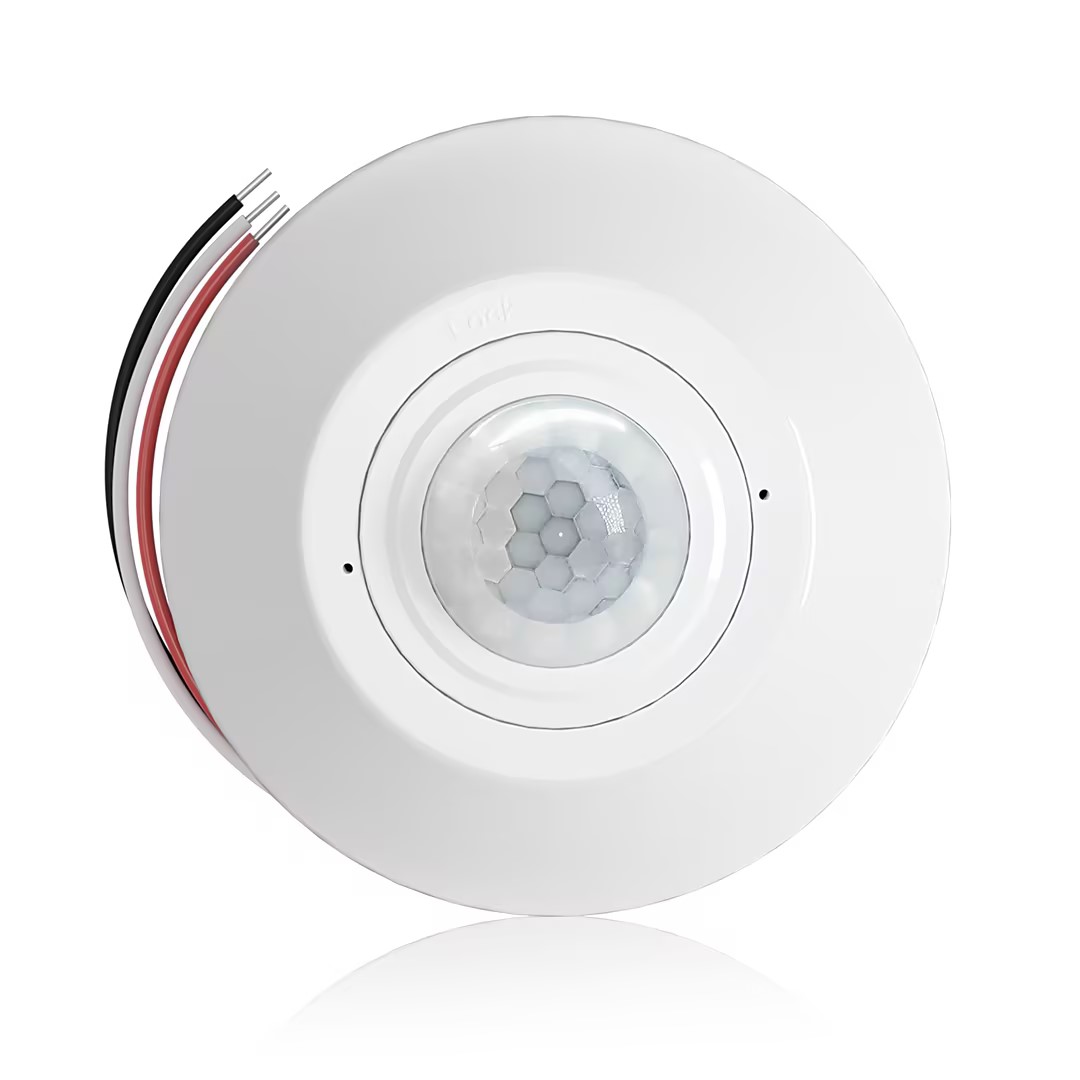
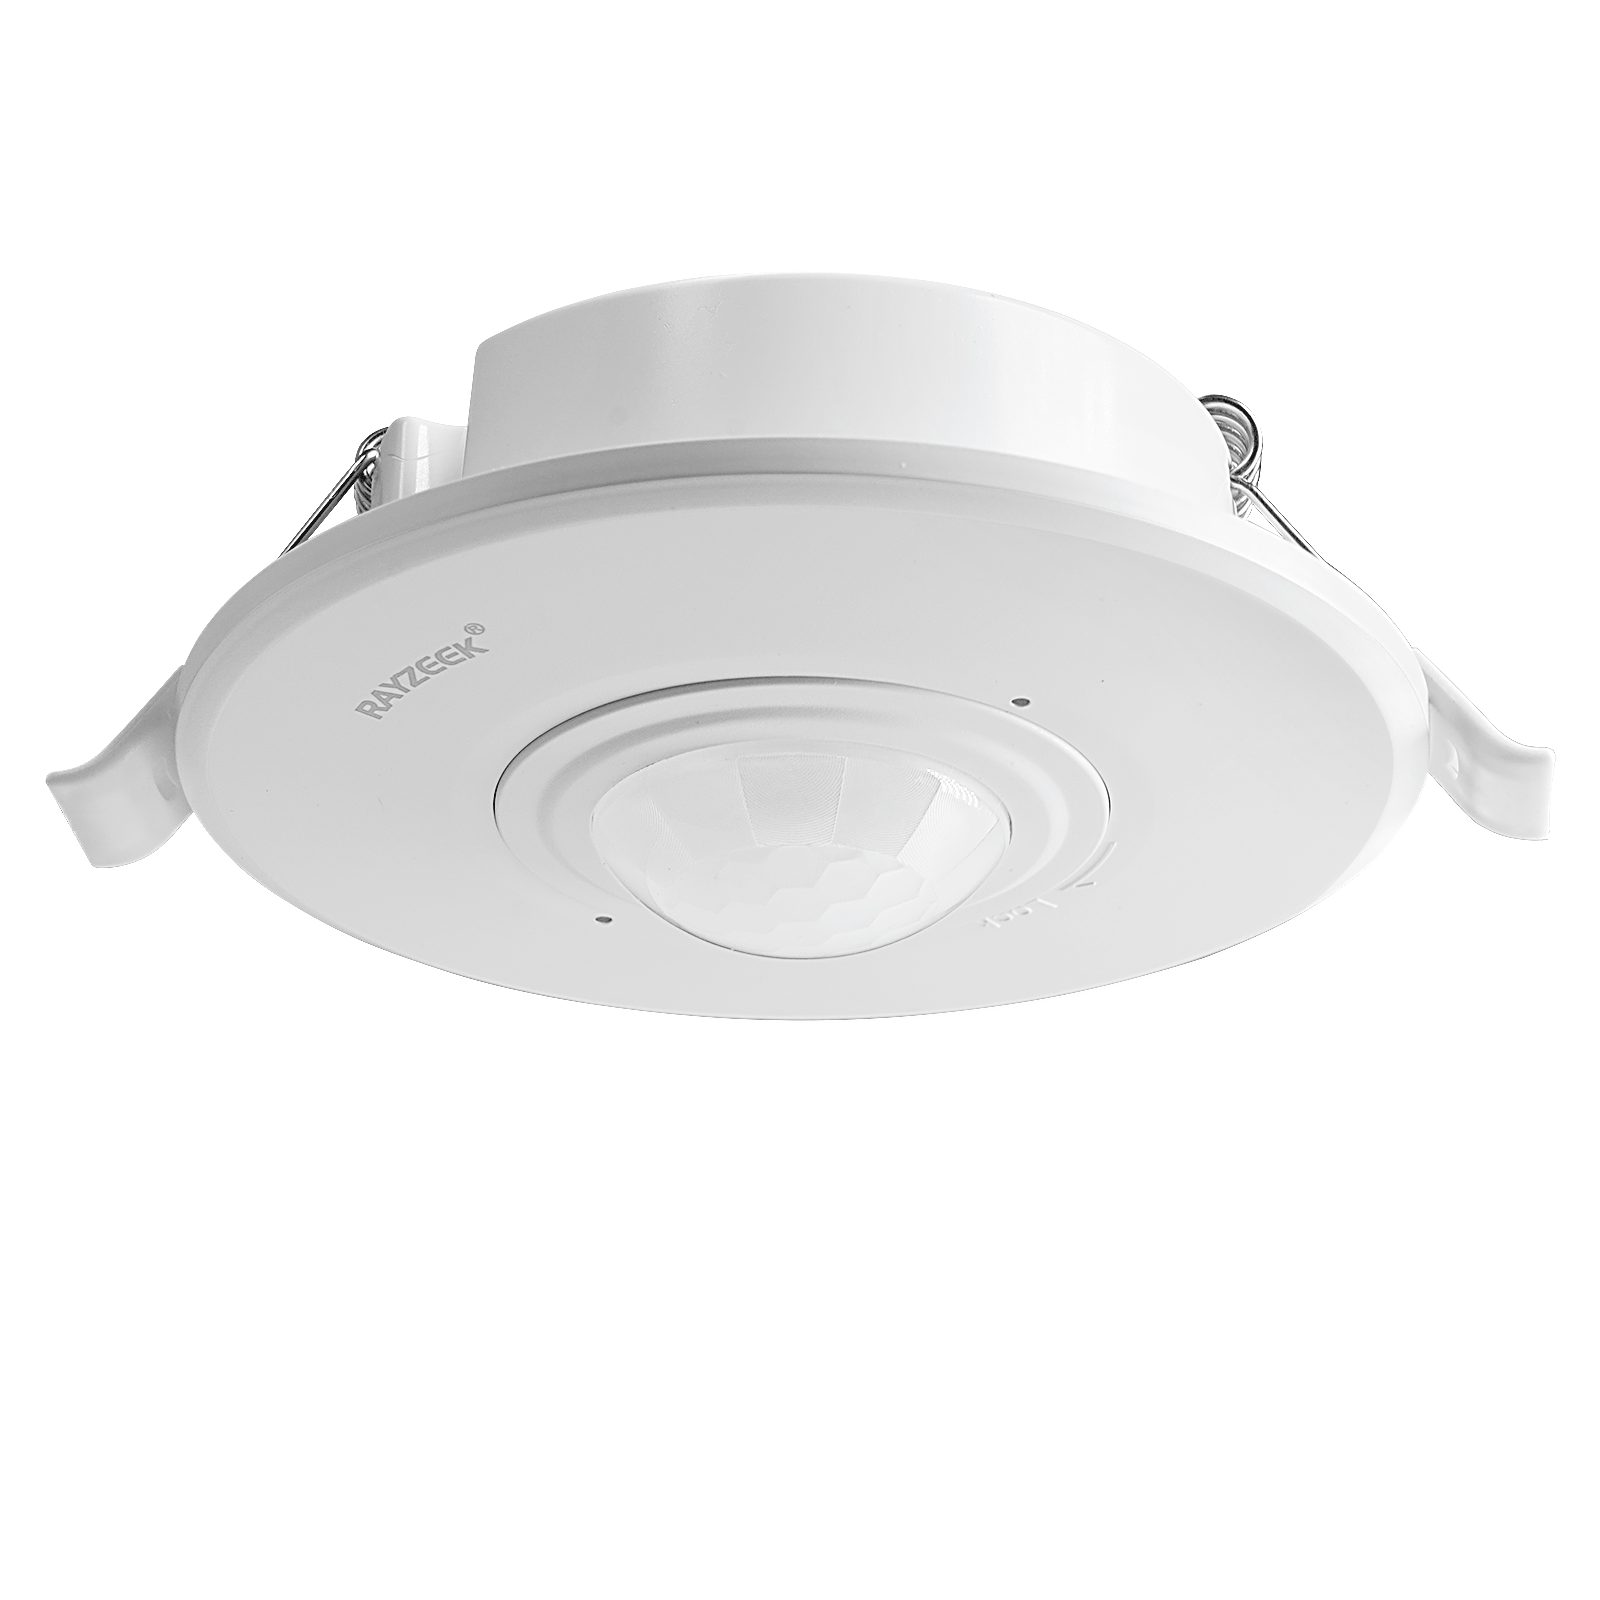
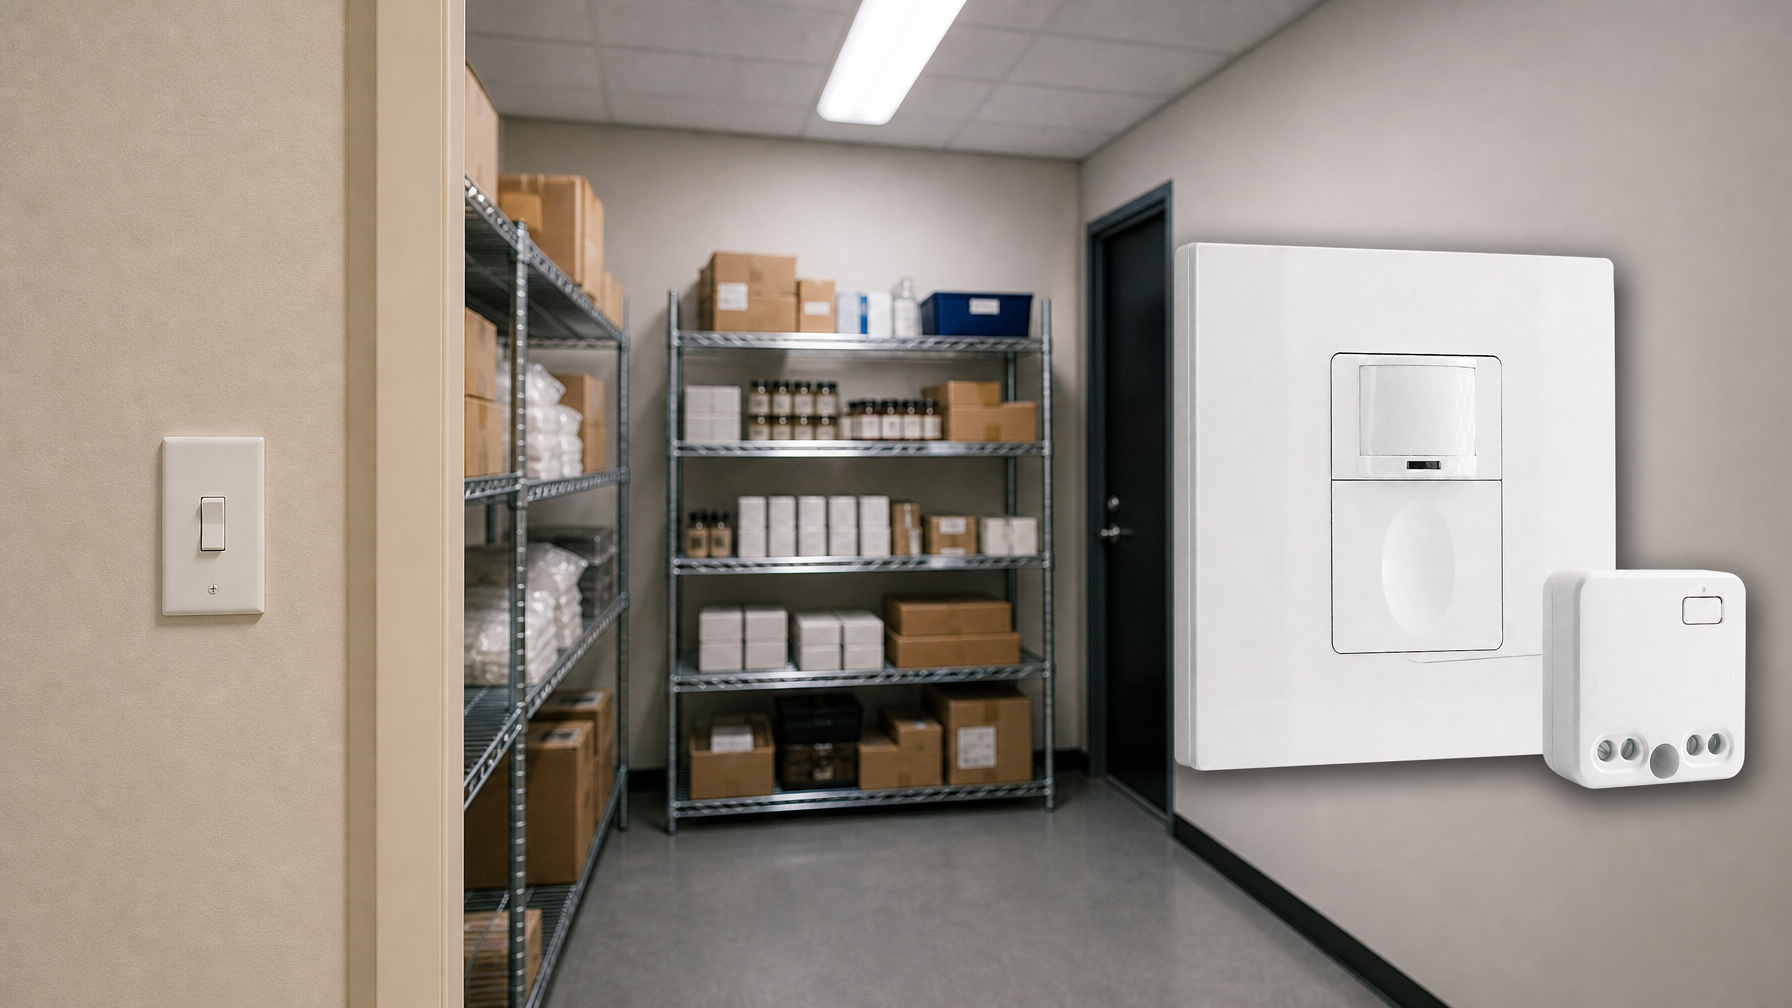
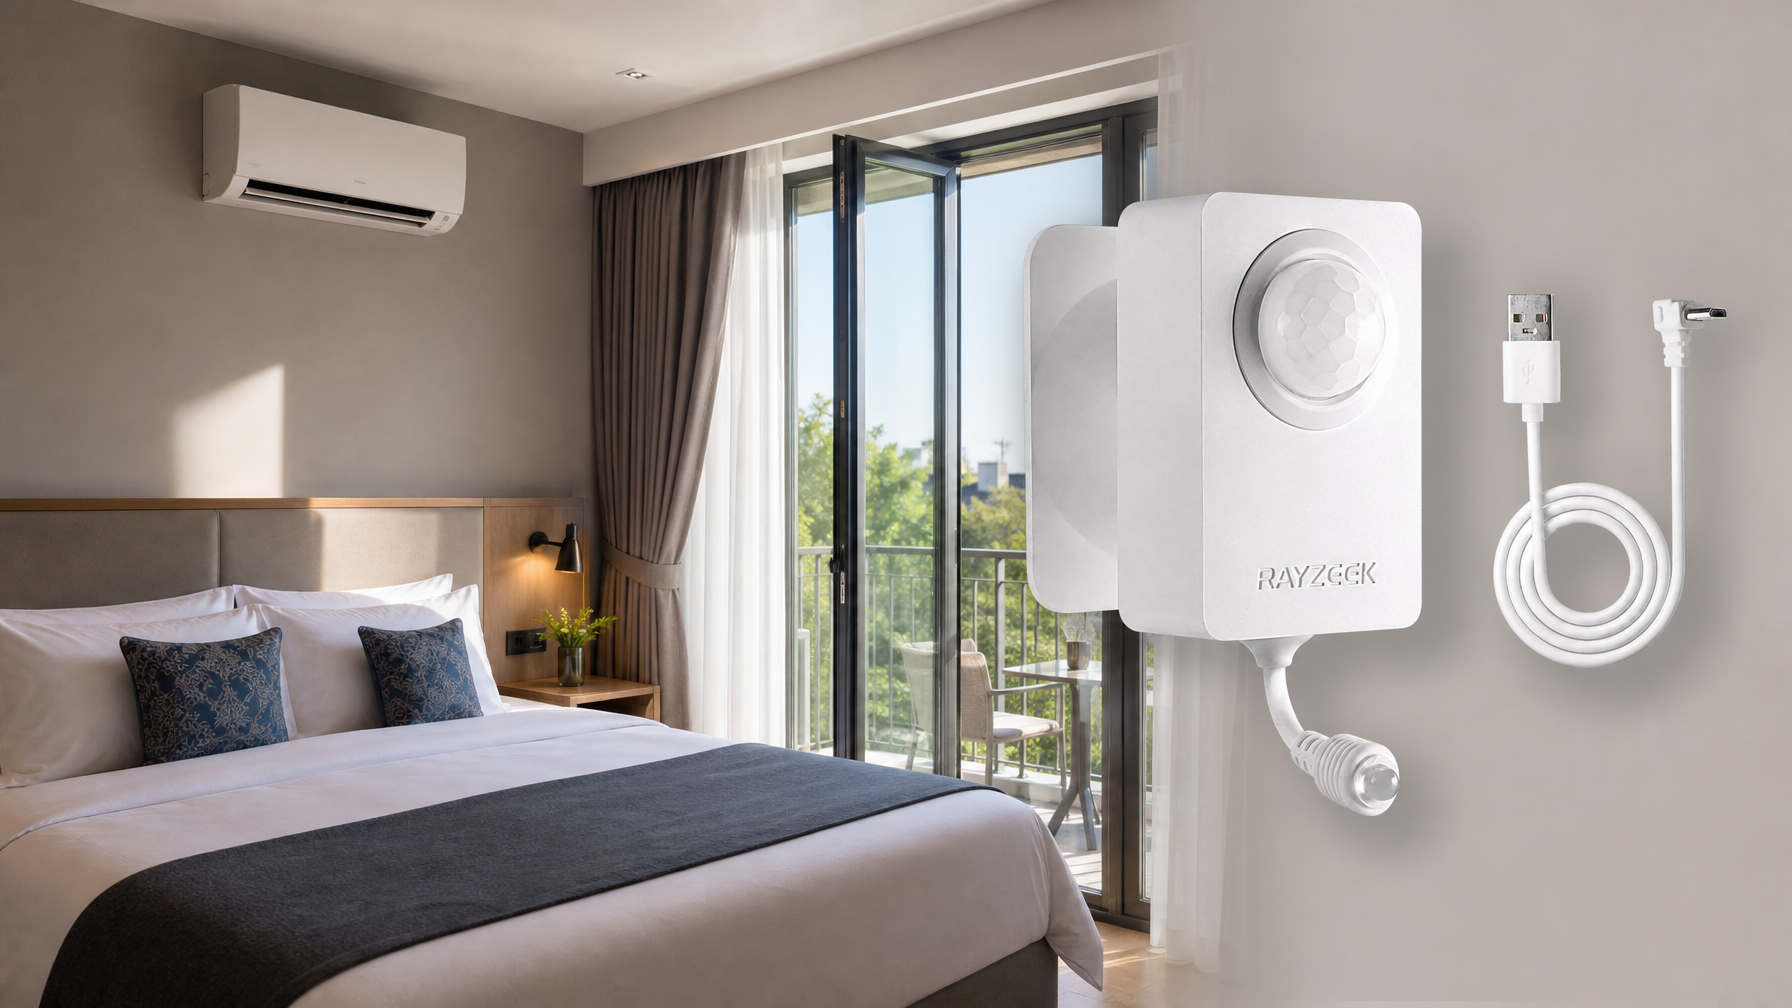
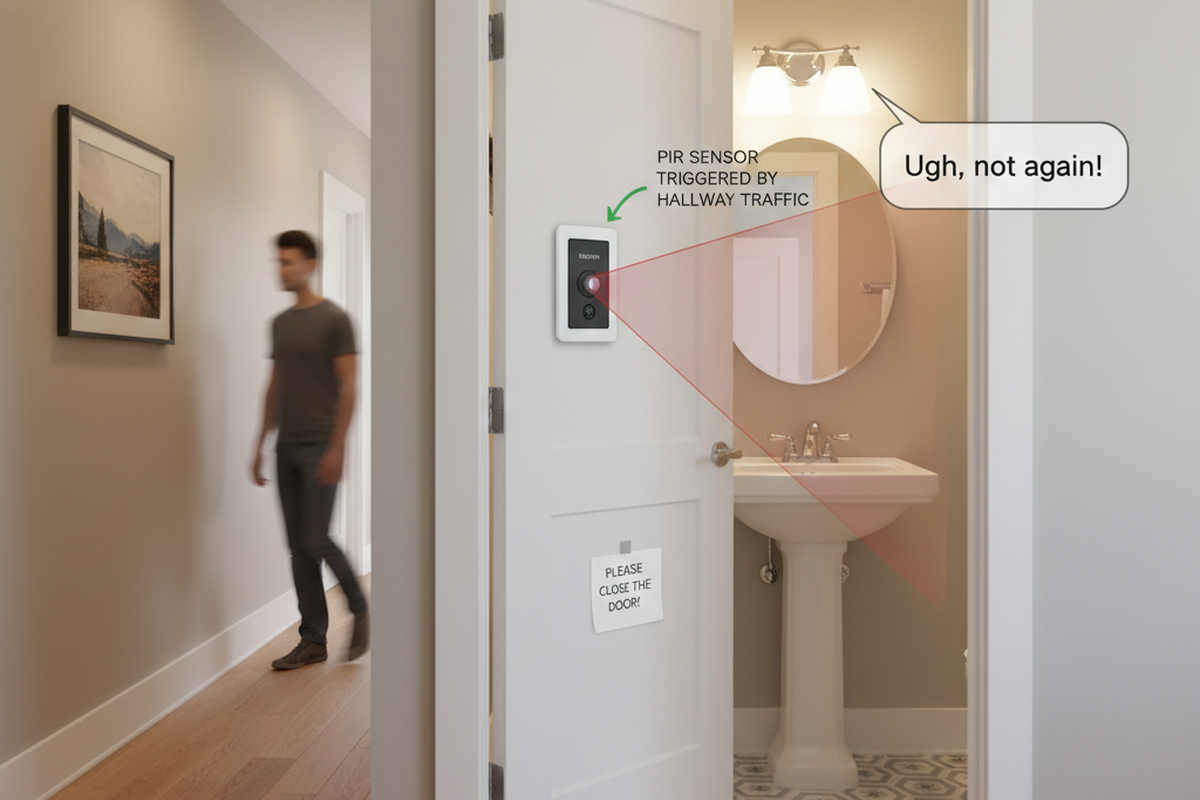
Sometimes we need to detect motion from a broader coverage where a motion sensor light switch is incompetent with the restricted detecting area on the wall. In this case, a ceiling mount motion sensor or a standalone motion detector located on the wall, which can detect people from up to a 360 degree with a larger sensitivity zone, can perfectly solve our problem.
Another benefit of adding a motion sensor, i.e., a occupancy sensor, to your existing light is that you can have automatic ON/OFF lighting, which is completely hands-free and suitable for public rooms and offices. Additionally, a ceiling occupancy sensor only requires available wirings for installation and is more flexible with where you place it, while the wall sensor switches must be installed into a pre-existing wallbox.
Step 1. Prepare Tools for Installation
Before we add a motion sensor to the light, prepare these tools first so we can speed up the process.
- A motion sensor
- Screwdriver
- Optional
- Wirecutter: to cut wires if necessary
- Wire connectors: most motion sensor light switches would include wire connecters by default in the accessory pack
- Voltage tester: to identify the hotwire and ensure the voltage is off
- Electrical tapes: to mark the hotwire
- Junction box: for fixing and installing the motion sensor
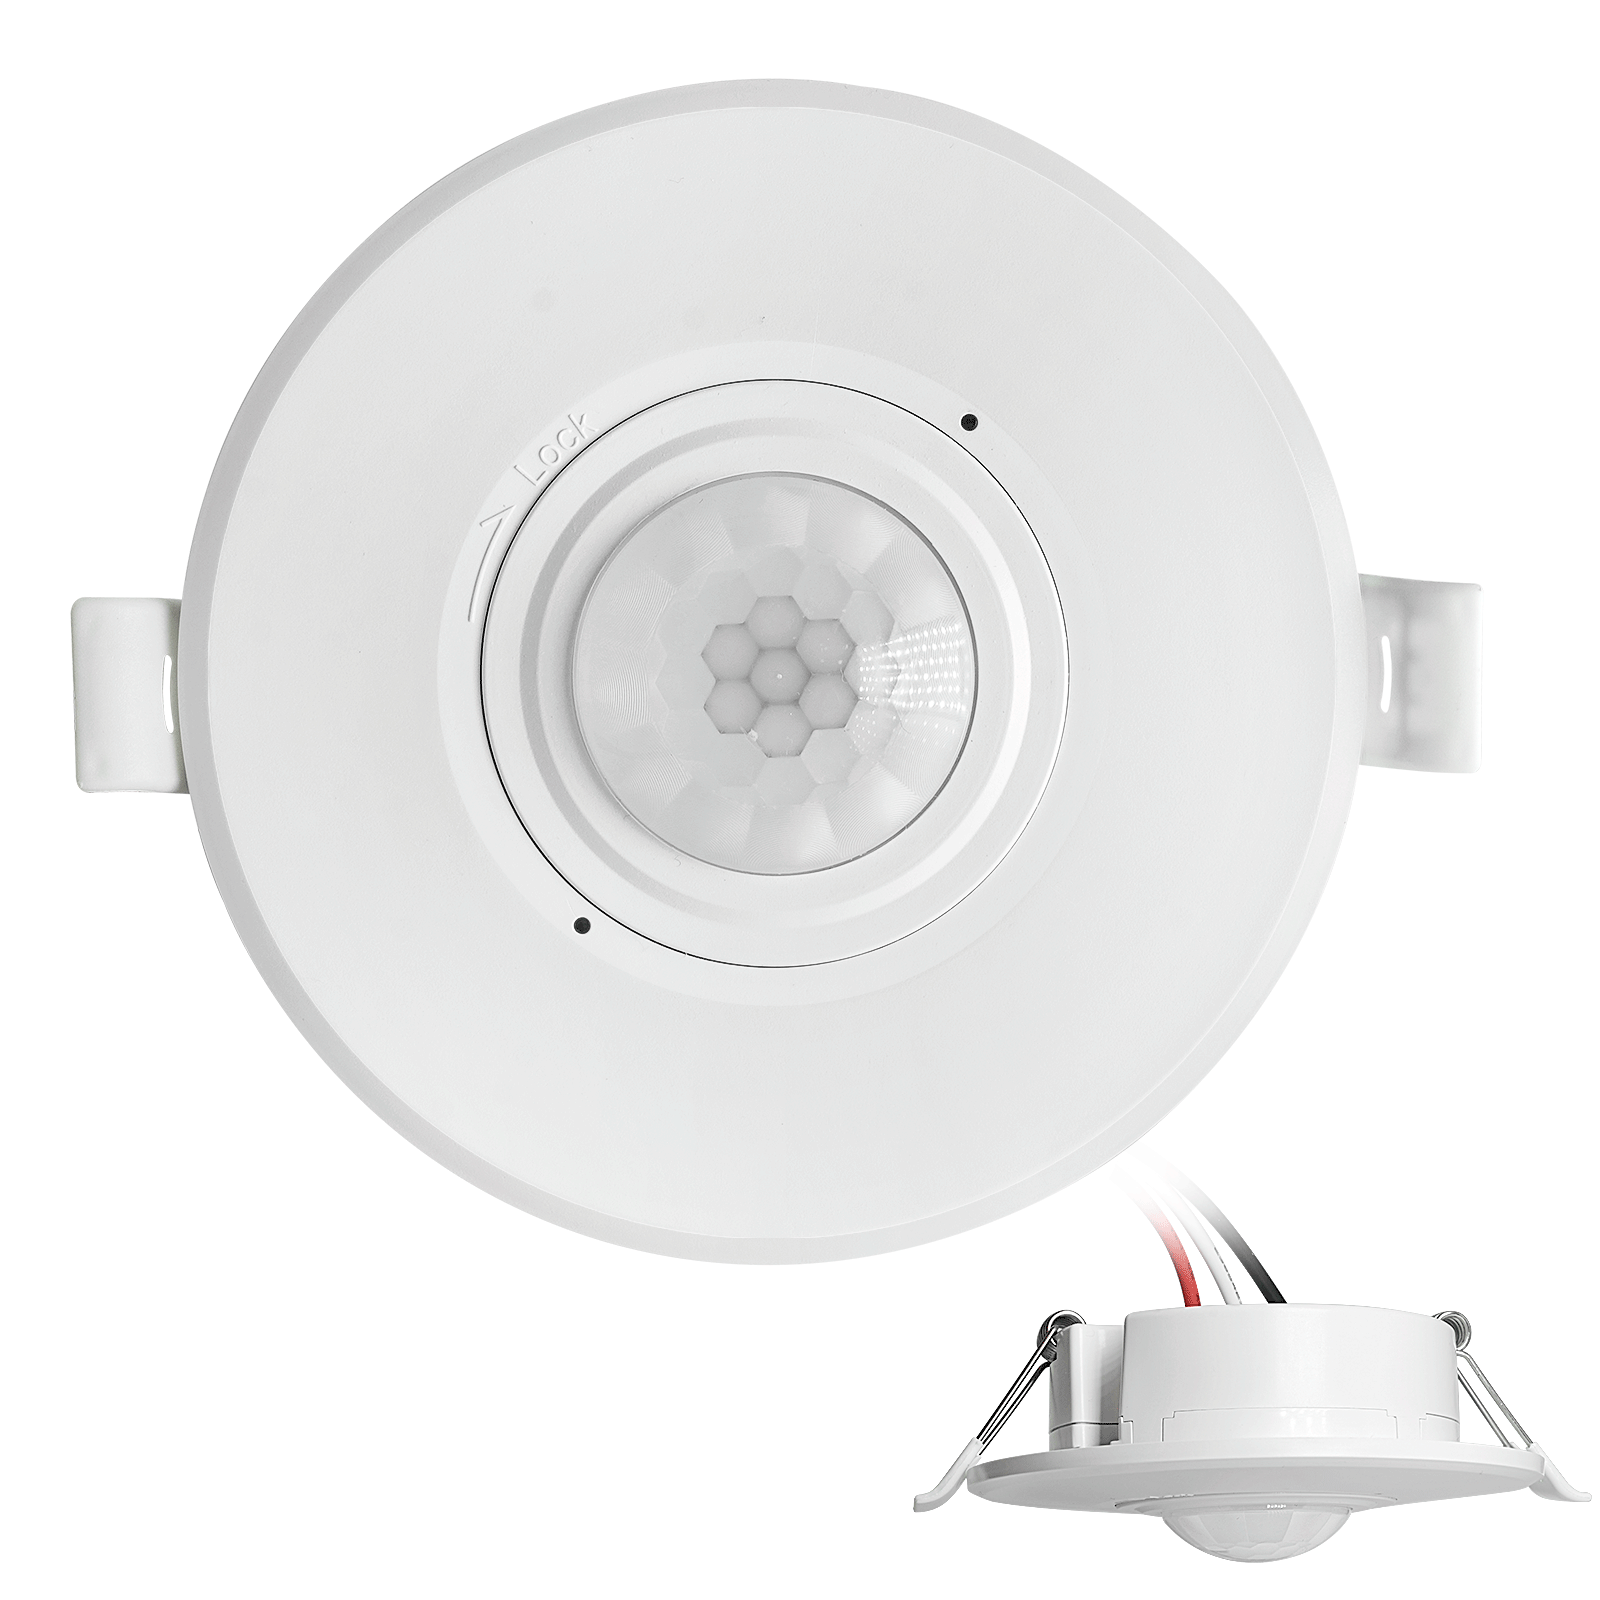
Step 2. Place the Motion Sensor
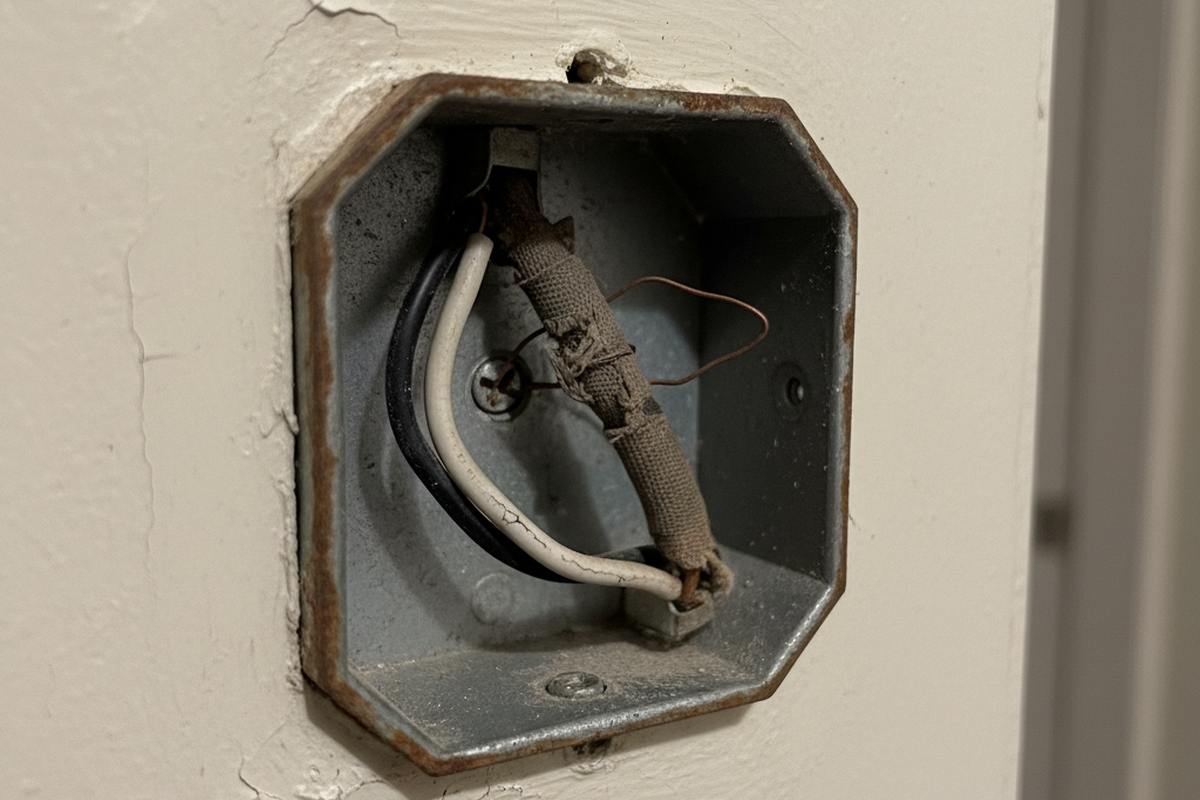
Turn off the power to the light which you want to add a motion sensor to. Find a place where you want to install the motion sensor between the power source from your house to the light.
Install a junction box and cut the hot wire and neutral wire for installing and fixing the motion sensor, if needed.
Now we mark the hot wire and load wire.
Das könnte Sie auch interessieren
- Deckenmontierter PIR-Präsenzmelder mit potenzialfreiem Relaisausgang
- 12/24VDC oder 12/24VAC Niederspannungsversorgung
- Isolierte COM-, NO- und NC-Relaiskontakte für EMS-, HLK- und Gebäudeleittechnik-Eingänge
- Niederspannungs-DC-Mikrowellen-Bewegungsmelderschalter für den Deckeneinbau
- 12 VDC / 24 VDC Eingang mit einem Bereich von 10-30 VDC
- 10A max. Arbeitsstrom mit einstellbarer Zeitverzögerung, Lux-Schwelle und Empfindlichkeit
- Mikrowellen-Bewegungsmelderschalter für Deckeneinbau für höhere Lasten
- 100-265 VAC Netzspannungseingang, 10A-Modell
- 5,8 GHz Mikrowellenerfassung mit einstellbarer Zeitverzögerung, Lux-Schwelle und Empfindlichkeit
- Mikrowellen-Bewegungsmelderschalter für den Deckeneinbau
- 100-265 VAC Netzspannungseingang, 5A-Modell
- 5,8 GHz Mikrowellenerfassung mit einstellbarer Zeitverzögerung, Lux-Schwelle und Empfindlichkeit
- Deckenmontierter RZ037 PIR-Präsenzmelder-Dimmer für 220V Stromversorgung
- 3A maximaler Arbeitsstrom mit 660W Nennlast
- LUX-Taste steuert Lichtsensor EIN/AUS und benutzerdefinierten Dimmwert
- Deckenmontierter RZ037 PIR-Präsenzmelder-Dimmer für 110V Stromversorgung
- 3A maximaler Arbeitsstrom mit 330W Nennlast
- LUX-Taste steuert Lichtsensor EIN/AUS und benutzerdefinierten Dimmwert
- Niederspannungs-Gleichstrom-Mikrowellen-Bewegungsmelderschalter für Deckenmontage
- 12 VDC / 24 VDC Eingang mit einem Bereich von 10-30 VDC
- 10A max. Arbeitsstrom mit einstellbarer Zeitverzögerung, Lux-Schwelle und Empfindlichkeit
- Mikrowellen-Bewegungsmelderschalter für Deckenmontage für höhere Lasten
- 100-265 VAC Netzspannungseingang, 10A-Modell
- 5,8 GHz Mikrowellenerfassung mit einstellbarer Zeitverzögerung, Lux-Schwelle und Empfindlichkeit
- Mikrowellen-Bewegungsmelderschalter für Deckenmontage
- 100-265 VAC Netzspannungseingang, 5A-Modell
- 5,8 GHz Mikrowellenerfassung mit einstellbarer Zeitverzögerung, Lux-Schwelle und Empfindlichkeit
- Niederspannungs-Gleichstrom-PIR-Bewegungsmelderschalter für Deckeneinbau
- 12 VDC / 24 VDC Eingang mit einem Bereich von 10-30 VDC
- Max. Arbeitsstrom 10A mit einstellbarer Zeitverzögerung, Lux-Schwelle und Empfindlichkeit
- PIR-Bewegungsmelderschalter für Deckeneinbau für höhere Lasten
- 100-265 VAC Netzspannungseingang, 10A-Modell
- 360-Grad-Erfassung mit einstellbarer Zeitverzögerung, Lux-Schwelle und Empfindlichkeit
- PIR-Bewegungsmelderschalter für Deckeneinbau
- 100-265 VAC Netzspannungseingang, 5A-Modell
- 360-Grad-Erfassung mit einstellbarer Zeitverzögerung, Lux-Schwelle und Empfindlichkeit
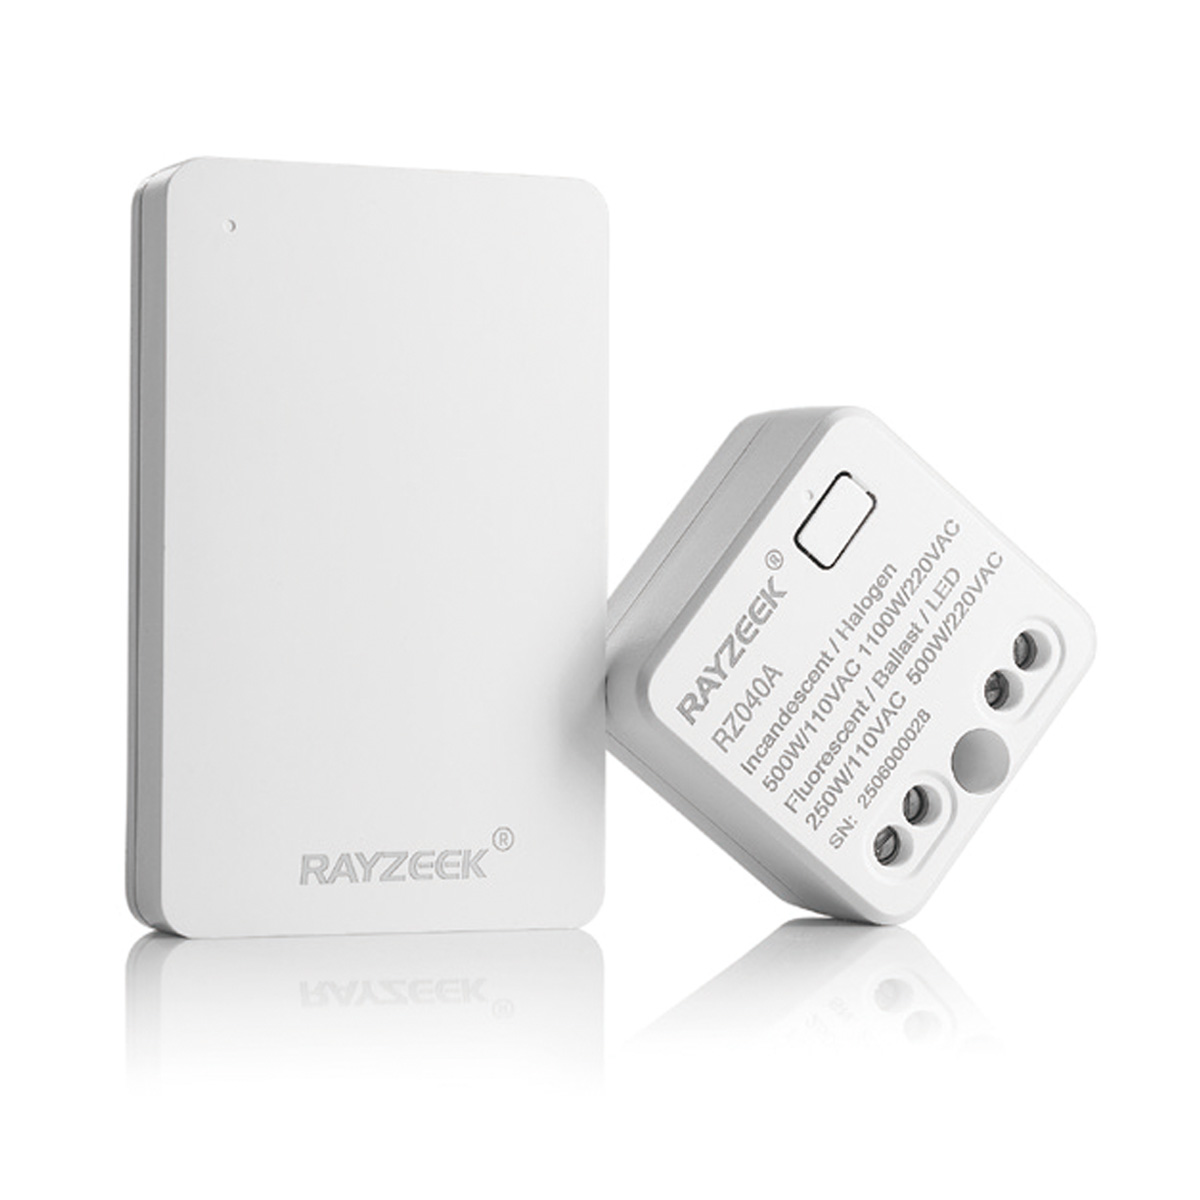
- Funkschalter- und Empfänger-Kit für die EIN/AUS-Beleuchtungssteuerung im Innenbereich
- 100-230VAC, 50/60Hz Empfänger mit 5A Nennstrom
- CR2032-betriebener Funkschalter mit 2.4GHz Kommunikation
- Präsenzmodus (Auto-EIN/Auto-AUS)
- 12–24V DC (10–30VDC), bis zu 10A
- 360° Erfassungsbereich, 8–12 m Durchmesser
- Zeitverzögerung 15 s–30 min
- Lichtsensor Aus/15/25/35 Lux
- Hohe/Niedrige Empfindlichkeit
- Auto-EIN/Auto-AUS-Präsenzmodus
- 100–265V AC, 10A (Neutralleiter erforderlich)
- 360° Erfassungsbereich; 8–12 m Erfassungsdurchmesser
- Zeitverzögerung 15 s–30 min; Lux AUS/15/25/35; Empfindlichkeit Hoch/Niedrig
- Auto-EIN/Auto-AUS-Präsenzmodus
- 100–265V AC, 5A (Neutralleiter erforderlich)
- 360° Erfassungsbereich; 8–12 m Erfassungsdurchmesser
- Zeitverzögerung 15 s–30 min; Lux AUS/15/25/35; Empfindlichkeit Hoch/Niedrig
- 100V-230VAC
- Übertragungsreichweite: bis zu 20m
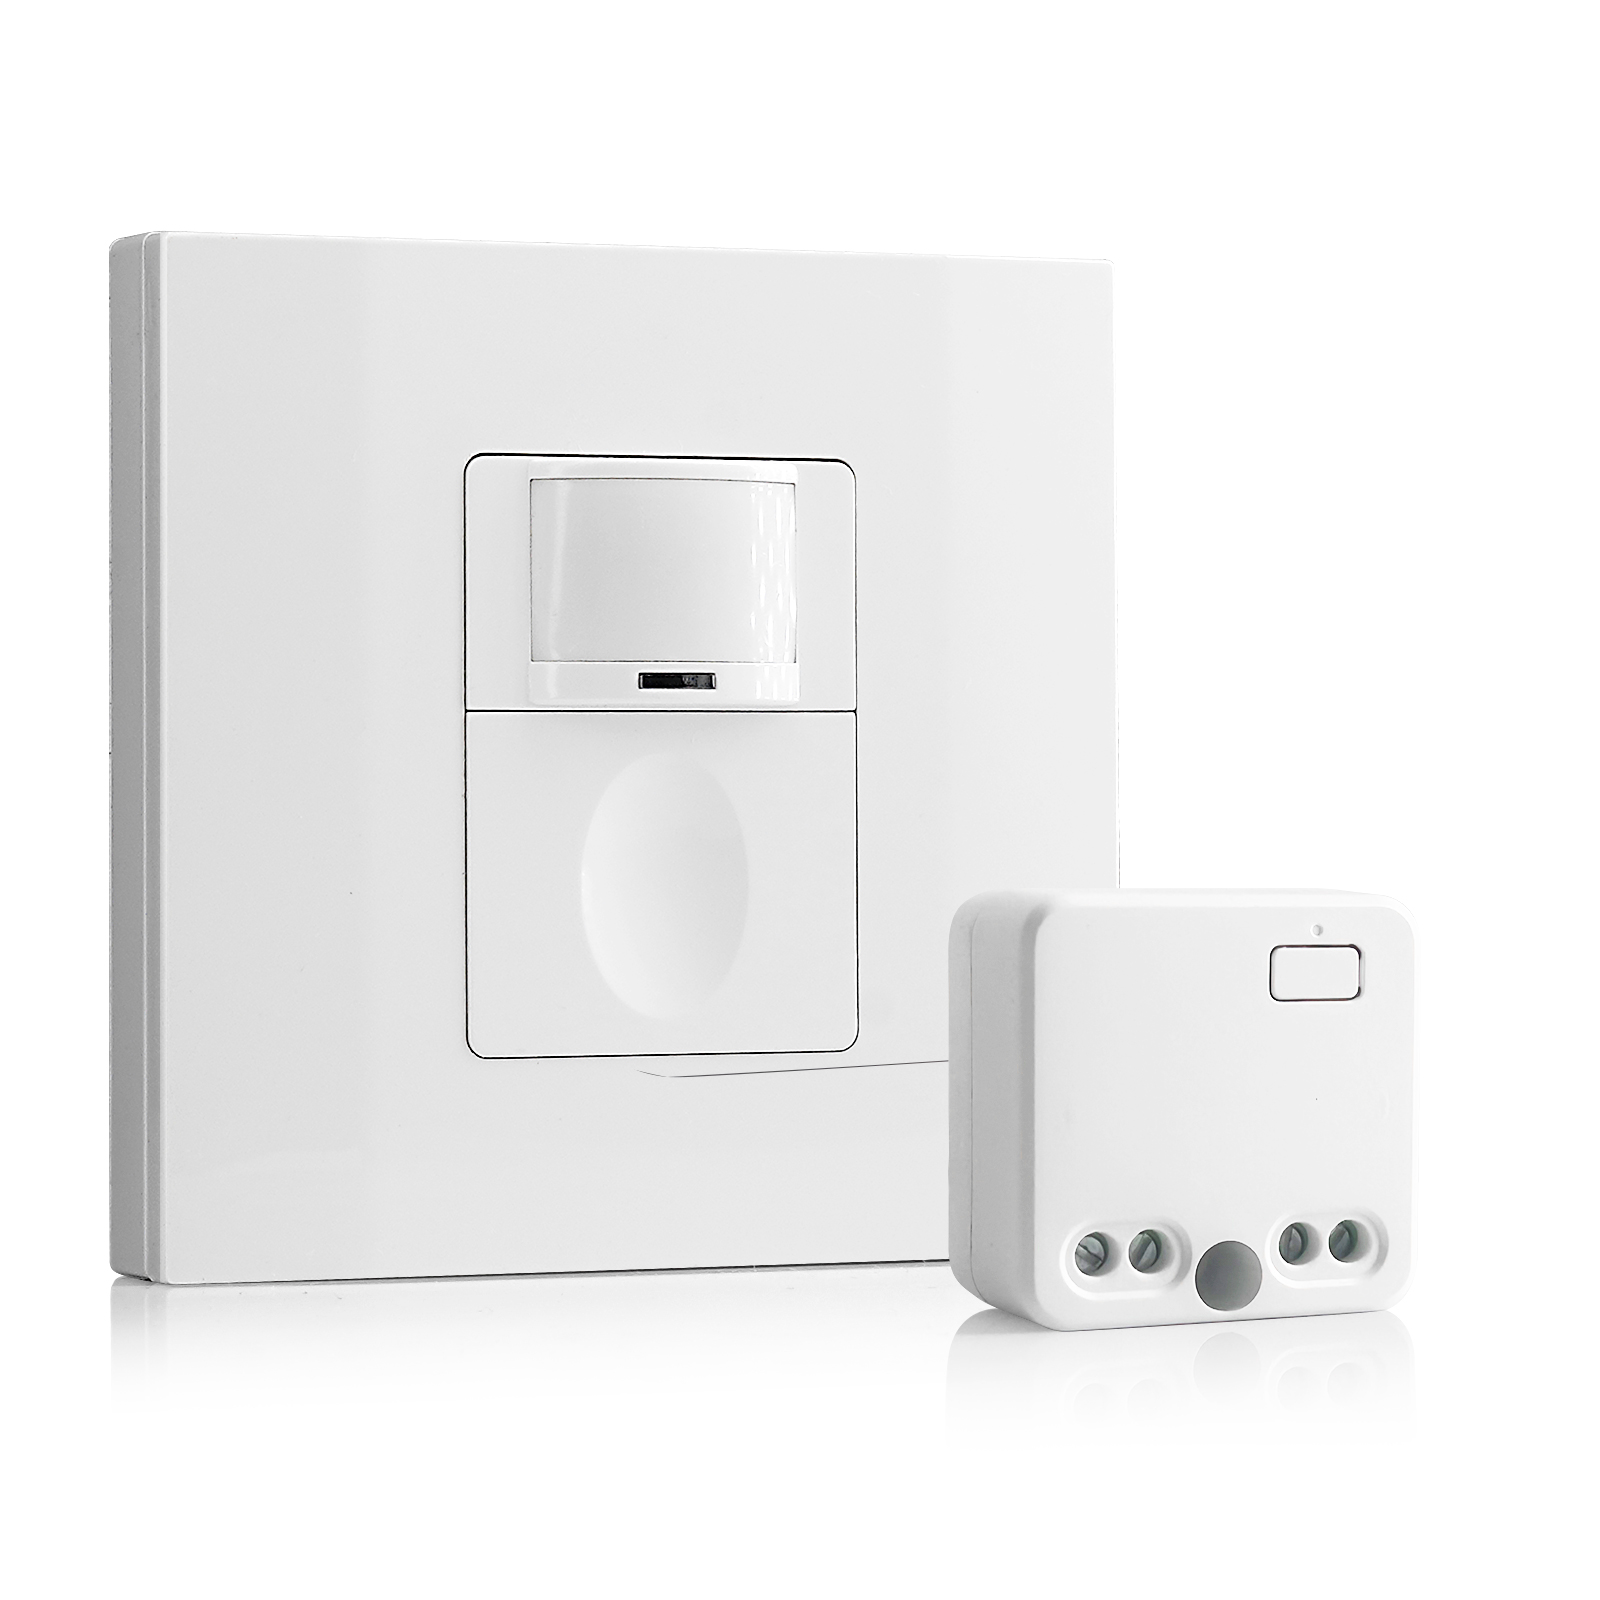
- Funk-Bewegungsmelder
- Kabelgebundene Steuerung
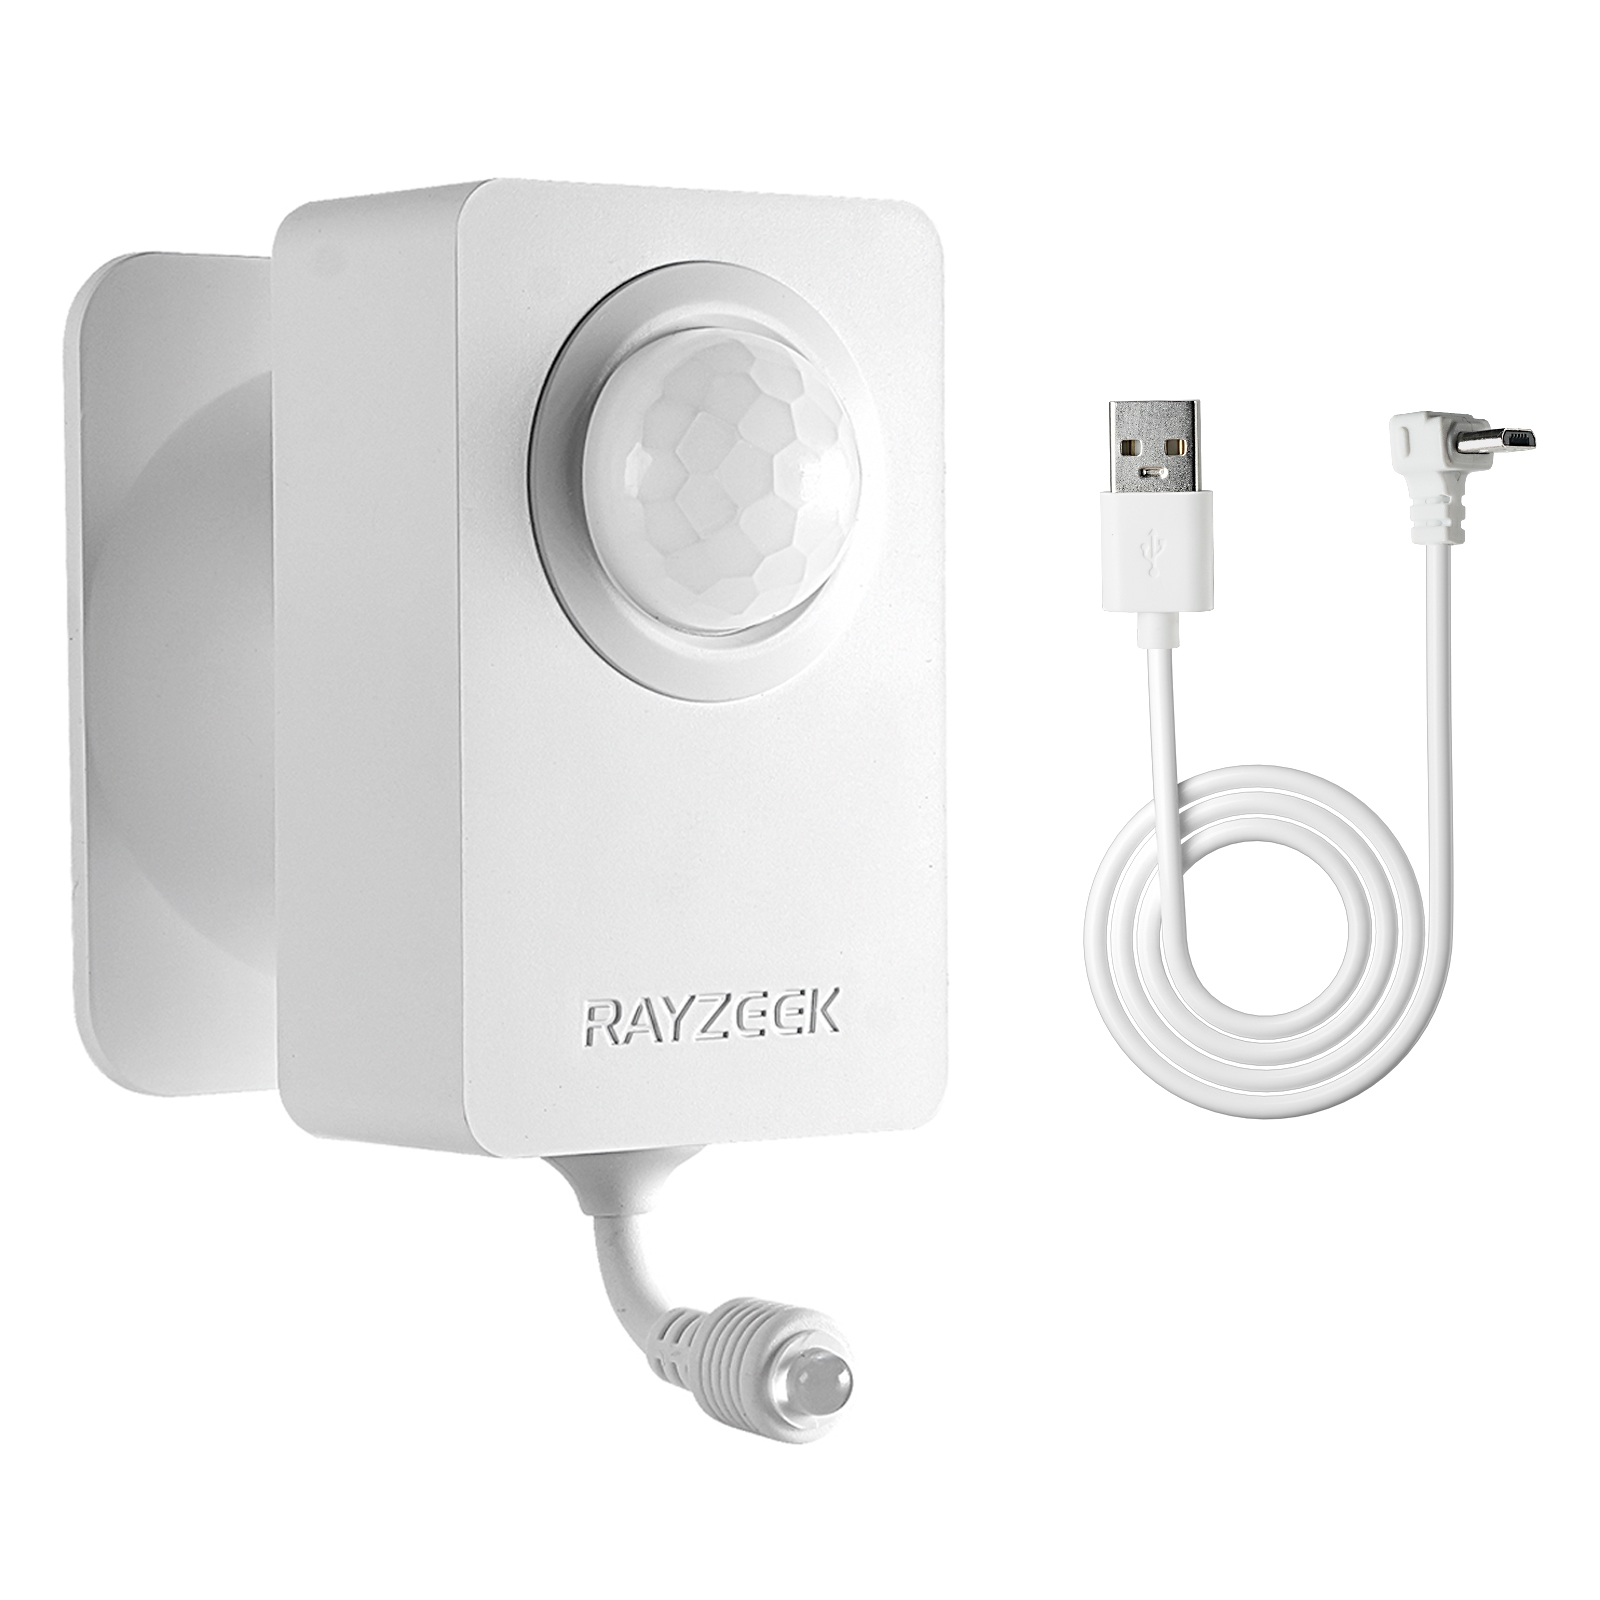
- Spannung: 2x AAA Batterien / 5V DC (Micro-USB)
- Tag-/Nachtmodus
- Ausschaltverzögerung: 15 Min., 30 Min., 1 Std. (Standard), 2 Std.
- EU-Stecker-Netzteil
- UK-Stecker-Netzteil
- Turn on the power and use the non-contact voltage tester to test each black wire in the junction box. The hot wire has power but the load wire to your light does not have power.
- Turn off the power and use the non-contact voltage tester to confirm.
- Mark the hot wire with electrical tapes if needed.
Step 3. Wire the Motion Sensor to the Light
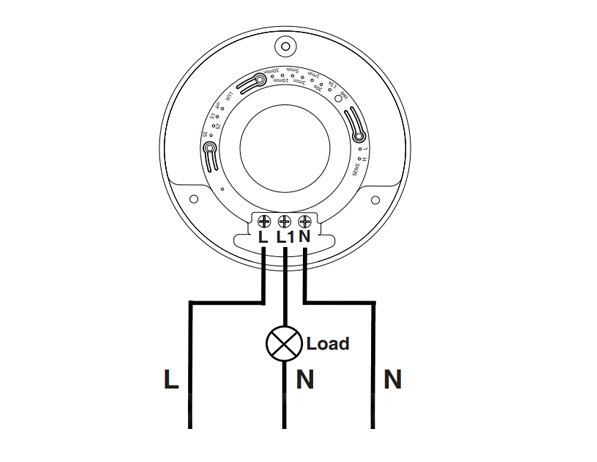
This is a standard motion sensor wiring diagram and you can apply nearly all wirings like above. The wiring is pretty straightforward, similar to installing a motion sensor light switch.
Suchen Sie nach bewegungsgesteuerten Energiesparlösungen?
Kontaktieren Sie uns für komplette PIR-Bewegungsmelder, bewegungsgesteuerte Energiesparprodukte, Bewegungsmelderschalter sowie kommerzielle Präsenz-/Abwesenheitslösungen.
There are only 3 wires needed. The L is for line wire or hot wire, which is the power source from your house. The L1 is for load wire which powers the lights. The N is the neutral wire, and you only need to simply wire them together.
- Connect the hot wire from your house to the hot wire on the motion sensor.
- Connect the load wire to your light to the load wire on the motion sensor.
- Connect the neutral wire from your house to the neutral wire on the motion sensor.
Step 4. Adjust the Motion Sensor
Now we partially screw the motion sensor into the junction box and turn on the power for testing the best setting.
Test a couple of times and adjust the motion sensor’s setting to the best value, such as time delay, motion detection sensitivity, light sensor LUX.
Alter the motion sensor to ensure it can detect the ideal motion detection area. Install and screw tight the motion sensor.


I’ve never heard of a “load wire”. Only HOT (black) Neutral (white) and ground (green). What is a load wire?
Hi Patrick,
A “load wire” is the wire that connects the sensor with the load. In this case, the load is the light connected and driven by the motion sensor.
Say you want to control your light with a motion sensor.
The motion sensor draws power from the hot wire and it needs to send the power to the light via the load wire. Now the sensor can control when to keep the light ON or OFF because the light is directly powered by the motion sensor.
A load wire may have different colors, usually red or black. Some motion sensors may have hot wire and load wire the same color and they are interchangeable. You need to refer to your sensor’s manual for this part.
Most motion sensors have a load wire and control the lighting in this way. If your motion sensor does not have a load wire, it is mostly a wireless sensor that needs to be integrated into a smart home system so that the light is controlled by other means.
Nice article very well written. It answered the questions i had. Thank you.
How much would an electrician charge for something like this?
Hi, I don’t understand how connecting one wire (load) to the light makes it work what about the neutral wire from the lights
Cuando ce cobra por estos trabajos