
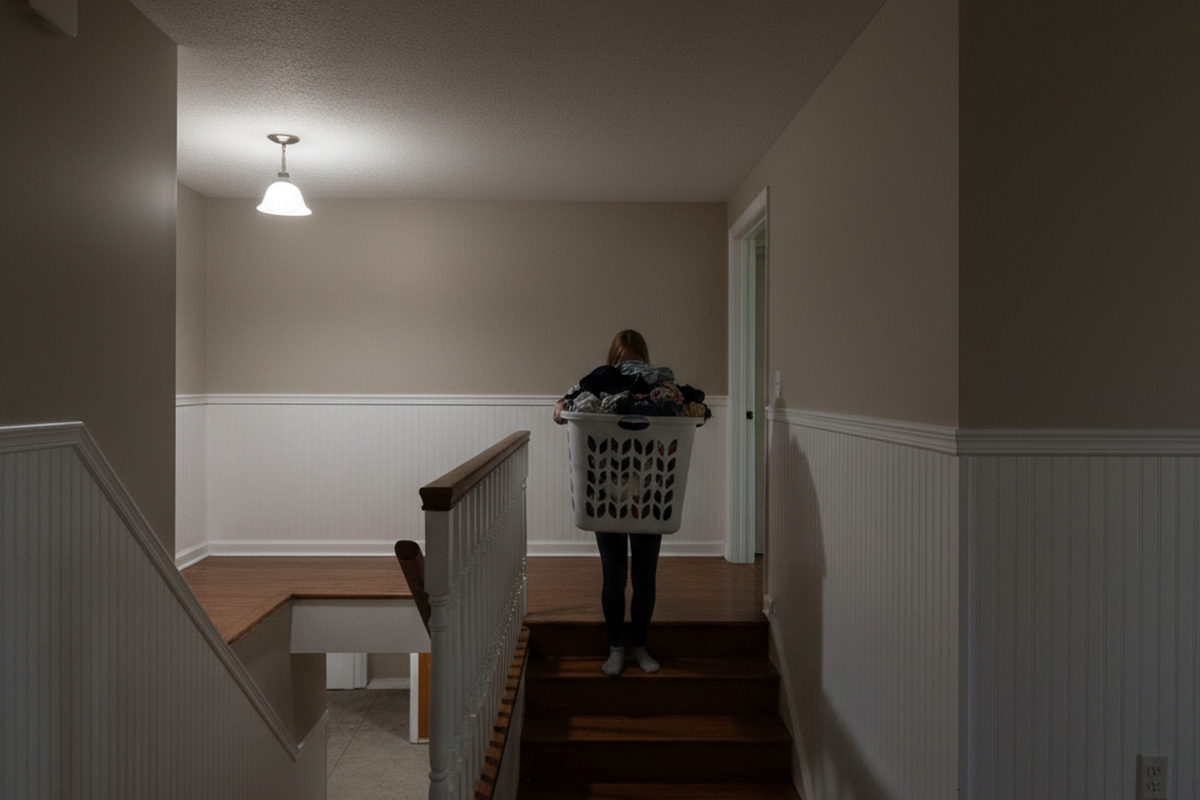
The split-level foyer is the most dangerous square footage in residential architecture. It is a transitional box where traffic arrives from two opposing vertical directions—up from the basement and down from the bedrooms—often converging on a landing that is barely four feet wide. In the 1970s and 80s, builders lit these spaces with a single pendant light controlled by a 3-way switch. Today, homeowners try to automate them and discover a terrifying gap in the logic of standard motion sensors.
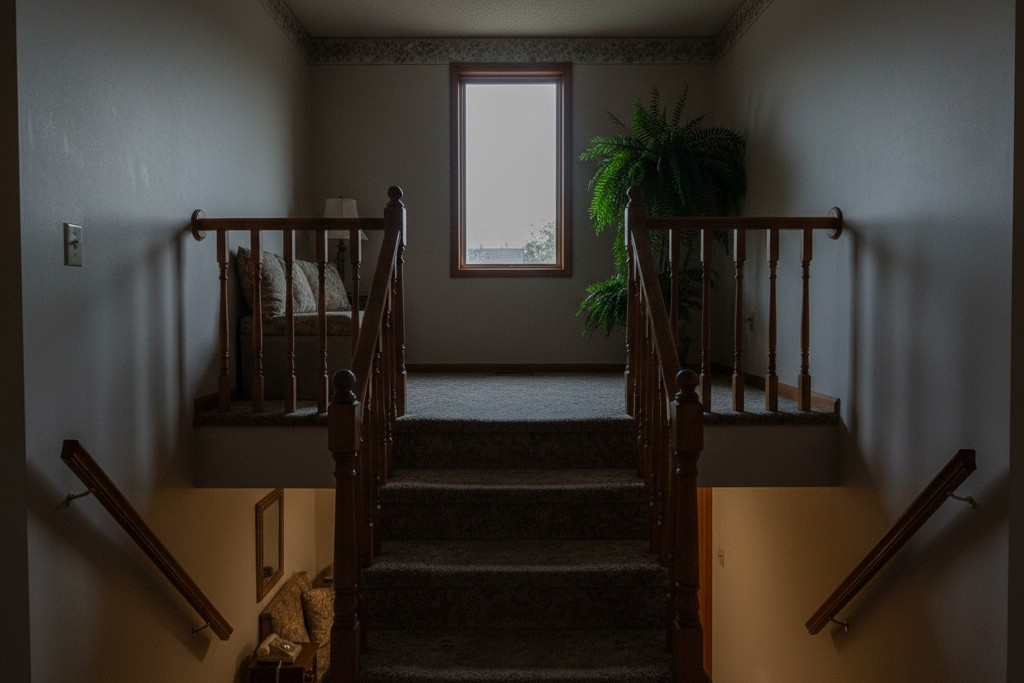
If you install a standard wall-mounted motion sensor on the landing, you are engineering a failure. The sensor will likely trigger instantly when you exit the bedroom hallway, but leave you in absolute darkness until you are on the third step coming up from the basement. In a split-level, a “delayed” light isn’t just inconvenient—it’s an orthopedic trap. A human walking at a casual pace covers three feet per second. If your automation system hesitates for one second, or if the sensor’s geometry is blind to your approach, you are committed to the stairs before the light validates your existence.
The Physics of the Blind Spot
To understand why the “stick a sensor on the wall” method fails in split-levels, you have to look at how Passive Infrared (PIR) sensors actually see the world. They do not see “motion” in the way a camera does. They see heat signatures crossing the boundaries between invisible wedge-shaped zones.
Rayzeek 모션 센서 포트폴리오에서 영감을 얻어보세요.
원하시는 제품을 찾지 못하셨나요? 걱정하지 마세요. 문제를 해결할 수 있는 대체 방법은 언제나 존재합니다. 당사의 포트폴리오 중 하나가 도움이 될 수 있습니다.
The lens on a standard PIR sensor (whether it’s a Lutron Maestro in the wallbox or a battery-powered stick-on unit) is designed to detect movement 가로질러 its field of view. This is tangential movement. When you walk past a sensor, you cut through multiple detection zones rapidly, triggering the light instantly. But when you walk directly 다가오거나 a sensor, your heat signature remains relatively stationary within a single zone until you are quite close. This is radial movement.
In a split-level landing, the wall switch is usually mounted on the wall facing the stairs. When you come up from the lower level, you are moving radially toward the switch. You are effectively invisible to the PIR optics until you crest the landing. By then, it is too late. The light turns on to reveal that you didn’t trip, but that was luck, not engineering.
There is also the “Grocery Bag” factor. A PIR sensor needs a clear line of sight to the thermal mass of your body. If you are carrying a laundry basket up the stairs, or hauling two bags of groceries, that payload acts as a thermal shield. If the sensor is mounted at switch-height (48 inches), the laundry basket blocks its view of your torso. The sensor sees a room-temperature plastic basket floating up the stairs, ignores it, and leaves you in the dark.
The Overhead Solution

Solving split-level geometry requires changing the angle of attack. You must abandon the wall and claim the ceiling.
By mounting a motion sensor on the ceiling directly above the landing, you convert every approach into a tangential movement. Whether you are coming down from the bedrooms or up from the basement, you are cutting 가로질러 the sensor’s downward-facing cone. The detection becomes equalized. The sensor no longer cares about your vertical origin; it simply sees a heat signature entering the kill zone. Furthermore, a ceiling-mounted view looks over the top of the laundry basket, spotting your head and shoulders regardless of what you are carrying.
For many owners of 1970s housing stock, the ceiling is a no-go zone due to textured “popcorn” finishes or fear of asbestos. If you cannot drill into the ceiling, the compromise is high-wall mounting. Place a battery-powered sensor as high as possible on the side wall, angled downward at 45 degrees. It’s not perfect, but it creates a better slice of the air than a switch-height sensor ever will.
Hardware selection here is critical. You cannot use a standard security motion detector designed for a corner; those have a 90-degree field of view. You need a sensor with a 360-degree or wide 180-degree lens designed for occupancy. The Lutron Radio Powr Savr (ceiling mount) is the gold standard here for its battery life and geometry, but Z-Wave options like the Zooz ZSE18 or the Aeotec MultiSensor 6 (recessed with a USB power feed) offer similar geometric advantages if you are running a different ecosystem.
Note on mmWave: Newer “presence” sensors using mmWave radar (like the Aqara FP2) are technically superior because they can detect a stationary human breathing. They solve the radial approach problem entirely through Doppler physics. However, they almost universally require wired USB power. Finding a clean way to run a USB cable to the center of a split-level ceiling without tearing up drywall is rarely worth the effort for a transit zone. Stick to high-quality PIR with the right geometry.
관심 있는 다른 제품

- 전압: AAA 배터리 2개
- 주간/야간 모드
- 시간 지연: 15분, 30분, 1시간(기본값), 2시간

- 무전압 접점 리레이 출력을 갖춘 천장 설치형 PIR 재실 감지 센서
- 12/24VDC 또는 12/24VAC 저전압 전원 공급
- EMS, HVAC 및 빌딩 제어 입력을 위한 COM, NO 및 NC 절연 리레이 접점

- 저전압 DC 매립형 천장 설치형 마이크로웨이브 모션 센서 스위치
- 10-30 VDC 범위를 지원하는 12 VDC / 24 VDC 입력
- 조절 가능한 지연 시간, Lux 임계값 및 감도 기능을 갖춘 최대 10A 동작 전류
- 고부하용 매립형 천장 설치형 마이크로웨이브 모션 센서 스위치
- 100-265 VAC 라인 전압 입력, 10A 모델
- 조절 가능한 지연 시간, Lux 임계값 및 감도를 갖춘 5.8 GHz 마이크로웨이브 감지
- 천장 매립형 마이크로웨이브 동작 감지 센서 스위치
- 100-265 VAC 라인 전압 입력, 5A 모델
- 조절 가능한 지연 시간, Lux 임계값 및 감도를 갖춘 5.8 GHz 마이크로웨이브 감지
- 220V 전원용 천장 부착형 RZ037 PIR 재실 감지 센서 디머
- 660W 정격 부하 및 최대 동작 전류 3A
- LUX 버튼으로 조도 센서 ON/OFF 및 사용자 설정 디밍 밝기 제어
- 110V 전원용 천장 부착형 RZ037 PIR 재실 감지 디머 스위치
- 330W 정격 부하 및 최대 동작 전류 3A
- LUX 버튼으로 조도 센서 ON/OFF 및 사용자 설정 디밍 밝기 제어

- 저전압 DC 천장 부착형 마이크로웨이브 동작 감지 센서 스위치
- 10-30 VDC 범위를 지원하는 12 VDC / 24 VDC 입력
- 조절 가능한 지연 시간, Lux 임계값 및 감도 기능을 갖춘 최대 10A 동작 전류
- 고부하용 천장 부착형 마이크로웨이브 동작 감지 센서 스위치
- 100-265 VAC 라인 전압 입력, 10A 모델
- 조절 가능한 지연 시간, Lux 임계값 및 감도를 갖춘 5.8 GHz 마이크로웨이브 감지
- 천장 부착형 마이크로웨이브 동작 감지 센서 스위치
- 100-265 VAC 라인 전압 입력, 5A 모델
- 조절 가능한 지연 시간, Lux 임계값 및 감도를 갖춘 5.8 GHz 마이크로웨이브 감지

- 저전압 DC 매립형 천장 PIR 동작 감지 센서 스위치
- 10-30 VDC 범위를 지원하는 12 VDC / 24 VDC 입력
- 시간 지연, 조도 임계값, 감도 조절이 가능한 최대 동작 전류 10A 제품

- 고부하용 매립형 천장 PIR 동작 감지 센서 스위치
- 100-265 VAC 라인 전압 입력, 10A 모델
- 시간 지연, 조도 임계값, 감도 조절이 가능한 360도 감지
- 매립형 천장 PIR 동작 감지 센서 스위치
- 100-265 VAC 라인 전압 입력, 5A 모델
- 시간 지연, 조도 임계값, 감도 조절이 가능한 360도 감지

- 실내 ON/OFF 조명 제어용 무선 스위치 및 수신기 키트
- 정격 전류 5A의 100-230VAC, 50/60Hz 수신기
- 2.4GHz 통신 방식의 CR2032 배터리 구동 무선 스위치
- 재실 모드(자동 ON/자동 OFF)
- 12–24V DC (10–30VDC), 최대 10A
- 360° 감지 범주, 직경 8–12m
- 시간 지연 15초–30분
- 조도 센서 Off/15/25/35 Lux
- 높음/낮음 감도
- 자동 ON/자동 OFF 재실 모드
- 100–265V AC, 10A (중성선 필요)
- 360° 감지 범위; 감지 직경 8–12m
- 시간 지연 15초–30분; 조도 OFF/15/25/35; 감도 높음/낮음
- 자동 ON/자동 OFF 재실 모드
- 100–265V AC, 5A (중성선 필요)
- 360° 감지 범위; 감지 직경 8–12m
- 시간 지연 15초–30분; 조도 OFF/15/25/35; 감도 높음/낮음
Latency is a Safety Violation
Once you have the geometry right, you must ruthlessly eliminate latency. In a living room, a one-second delay for the mood lighting to activate is annoying. On a staircase, a 300-millisecond lag is a safety violation.
Do not use Wi-Fi smart bulbs for stairway lighting. This is a non-negotiable rule for safe automation. If you use a Wi-Fi bulb, the signal path often looks like this: Sensor -> Hub -> Router -> Cloud Server -> Router -> Bulb. If your internet connection hiccups, or the cloud server is under load, that latency can spike to two or three seconds. In two seconds, a person can descend four steps. If the bulb is the only source of light, they are descending those steps blind.
Furthermore, smart bulbs introduce the “switch discipline” failure mode. If a guest or family member flips the physical wall switch off out of habit, the smart bulb loses power and becomes a glass brick. No amount of automation can turn it back on.
The lighting load must be controlled by a hardwired smart switch (Lutron Caséta, Zooz, Leviton, etc.) that acts as the primary relay. The motion sensor should communicate with that switch via a local protocol—Clear Connect, Z-Wave, or Zigbee—that does not leave the house. If you unplug your internet modem and the stairs don’t light up instantly when you walk by, your system has failed the safety audit.
동작 감지 기반의 에너지 절감 솔루션을 찾고 계십니까?
PIR 동작 감지 센서, 동작 감지 에너지 절감 제품, 동작 감지 센서 스위치, 상업용 점유/부재(Occupancy/Vacancy) 감지 솔루션에 대해 문의해 주시기 바랍니다.
The Virtual 3-Way
The wiring in split-level landings is often a nightmare of 3-way or 4-way traveler wires that confuse even seasoned electricians. The beauty of the ceiling-sensor approach is that it allows you to bypass complex wiring logic using “Virtual 3-Way” binding.
You install one smart switch at the primary location to control the load. You can then permanently cap off the other switch locations (wire nutting the line to the load so it’s always hot) and place a wireless remote (like a Pico remote or a Z-Wave scene controller) over the box. The ceiling sensor is then associated directly with the smart switch.
When programming this, resist the urge to be “efficient” with dwell times. A common mistake is setting the lights to turn off after 30 seconds of no motion to save electricity. This is foolish. If someone stops on the landing to tie a shoe or yell at a teenager down the hall, the lights will cut out. Set the timeout to a minimum of 5 minutes. An LED bulb burning for 5 extra minutes costs a fraction of a penny; a fall costs thousands.
Red Team: Ghosts and Pets
The final hurdle in a split-level environment is the false positive. Because split-levels are open vertical shafts, heat rises. During the winter, the furnace kicks on, sending a blast of hot air up the stairwell. If your ceiling sensor is positioned near a supply vent, the sudden temperature change of the plastic vent grille can trick the PIR sensor into thinking a person has arrived. This is the “ghost” that turns your lights on at 3 AM.
You must position the sensor at least four feet away from forced-air vents. If you can’t move the sensor, use physical masking. Most professional sensors come with small plastic blinders or strips of tape. Use them to block the sensor’s view of the vent.
Pets are the other variable. A “Pet Immune” sensor is largely a marketing lie; it usually just means the sensor is less sensitive. In a stairway, you want high sensitivity. If you have a 90-pound Golden Retriever, he is going to trigger the lights. Accept this. It is better to have the lights turn on for the dog than to fail to turn on for your grandmother. If the false triggers are unbearable (e.g., the light shines into a bedroom), use masking tape to narrow the field of view so it only triggers when someone is strictly on the landing, not just walking by in the hallway.
Forget impressing guests with complex routines. The only metric that counts is a landing that lights up the instant a human foot touches it. That requires geometry, local physics, and a refusal to rely on the cloud.







