Vous constatez un écoulement d'eau au niveau de votre climatiseur portable ? Vous n'êtes pas seul. Il s'agit d'un problème fréquent qui peut s'avérer très inconfortable. Vous vous demandez peut-être quelle est l'origine de cette fuite. Contrairement aux climatiseurs de fenêtre qui évacuent naturellement l'eau vers l'extérieur, les appareils portables, situés en intérieur, nécessitent des méthodes d'évacuation spécifiques. Découvrons comment traiter ce problème.
Comment drainer un climatiseur portable ? Cet article traite précisément de ce sujet. Nous vous présenterons les différentes méthodes d'évacuation, le principe scientifique à l'origine de la production d'eau ainsi que les étapes pratiques pour gérer ce drainage.
Nous aborderons l'évacuation par gravité (la méthode la plus simple), le drainage continu au moyen d'un tuyau et l'utilisation d'une pompe de relevage de condensats (lorsque la gravité ne suffit pas). Nous évoquerons également la technologie d'auto-évaporation. À l'issue de cette lecture, vous saurez comment assurer le bon fonctionnement de votre climatiseur portable tout en évitant les désagréments liés à l'eau.
Pourquoi les climatiseurs produisent-ils de l'eau ?
Vous vous demandez pourquoi votre climatiseur portable produit de l'eau ? C'est une conséquence naturelle du processus de refroidissement. Ce phénomène est comparable à la condensation qui se forme sur les parois d'un verre d'eau fraîche par temps chaud. Votre climatiseur fonctionne sur le même principe. L'air chaud et humide est aspiré dans l'appareil, puis circule à travers un évaporateur très froid. Ces serpentins, qui contiennent du fluide frigorigène, assurent le refroidissement de l'air. Le fluide frigorigène absorbe la chaleur, ce qui abaisse considérablement la température de l'évaporateur.
Ce contraste thermique important entraîne la condensation de l'humidité contenue dans l'air chaud sous forme d'eau liquide sur l'évaporateur. Ces gouttelettes d'eau s'écoulent ensuite dans un bac de récupération ou un réservoir situé à l'intérieur de l'appareil.
Toutefois, si les climatiseurs de fenêtre évacuent cette eau directement vers l'extérieur, les unités portables fonctionnent à l'intérieur de la pièce. Il est donc nécessaire de déterminer comment gérer le volume d'eau collecté.
Vous envisagez d'utiliser cette eau pour arroser vos plantes ? Bien que cette idée semble judicieuse, elle est généralement déconseillée. Il s'agit essentiellement d'eau déminéralisée, dépourvue des minéraux essentiels au développement des plantes. De plus, elle peut contenir des traces de métaux provenant des composants internes du climatiseur.
Le volume d'eau produit par votre climatiseur peut varier considérablement, allant de quelques litres à plusieurs dizaines de litres par jour. Cette quantité dépend de la puissance frigorifique de l'appareil (exprimée en BTU, ou British Thermal Unit), du taux d'humidité ambiant et de la température. Certains fabricants fournissent des tableaux d'estimation à ce sujet.
Quels sont les facteurs qui influent sur le volume d'eau produit ? Voici les principaux éléments à prendre en compte :
- Un taux d'humidité élevé : Plus l'air est humide, plus la condensation est importante. Le volume d'eau produit sera nettement supérieur lors d'une journée d'été humide par rapport à une journée d'hiver sèche.
- La propreté de l'évaporateur : Un nettoyage régulier garantit la déshumidification optimale de votre appareil. La poussière et les débris accumulés forment une couche isolante sur l'évaporateur, réduisant ainsi son efficacité.
- La température de l'évaporateur : Si la température de l'évaporateur devient trop basse, de la givre peut se former, bloquant le flux d'air et réduisant la capacité de refroidissement (ainsi que la production d'eau) jusqu'au dégivrage complet. Ce phénomène est similaire à ce qui se produit dans un congélateur devant être dégivré.
- Le type de fluide frigorigène : Bien qu'il existe différents fluides frigorigènes, ils fonctionnent tous selon le même principe d'absorption de la chaleur. Le type de fluide n'a donc pas d'impact significatif sur le taux de condensation.
Comment drainer votre appareil
Voici la procédure pour vidanger votre climatiseur portable. Cette opération consiste simplement à gérer l'eau générée lors du refroidissement de votre espace. Il existe trois méthodes principales : le drainage par gravité, l'évacuation continue par tuyau et l'utilisation d'une pompe de relevage de condensats. La méthode la plus adaptée dépend de votre installation, de la disposition des évacuations d'eau et de vos préférences.
Ces produits pourraient vous intéresser

- Tension : 2 piles AAA
- Mode Jour/Nuit
- Temporisation : 15 min, 30 min, 1 h (par défaut), 2 h
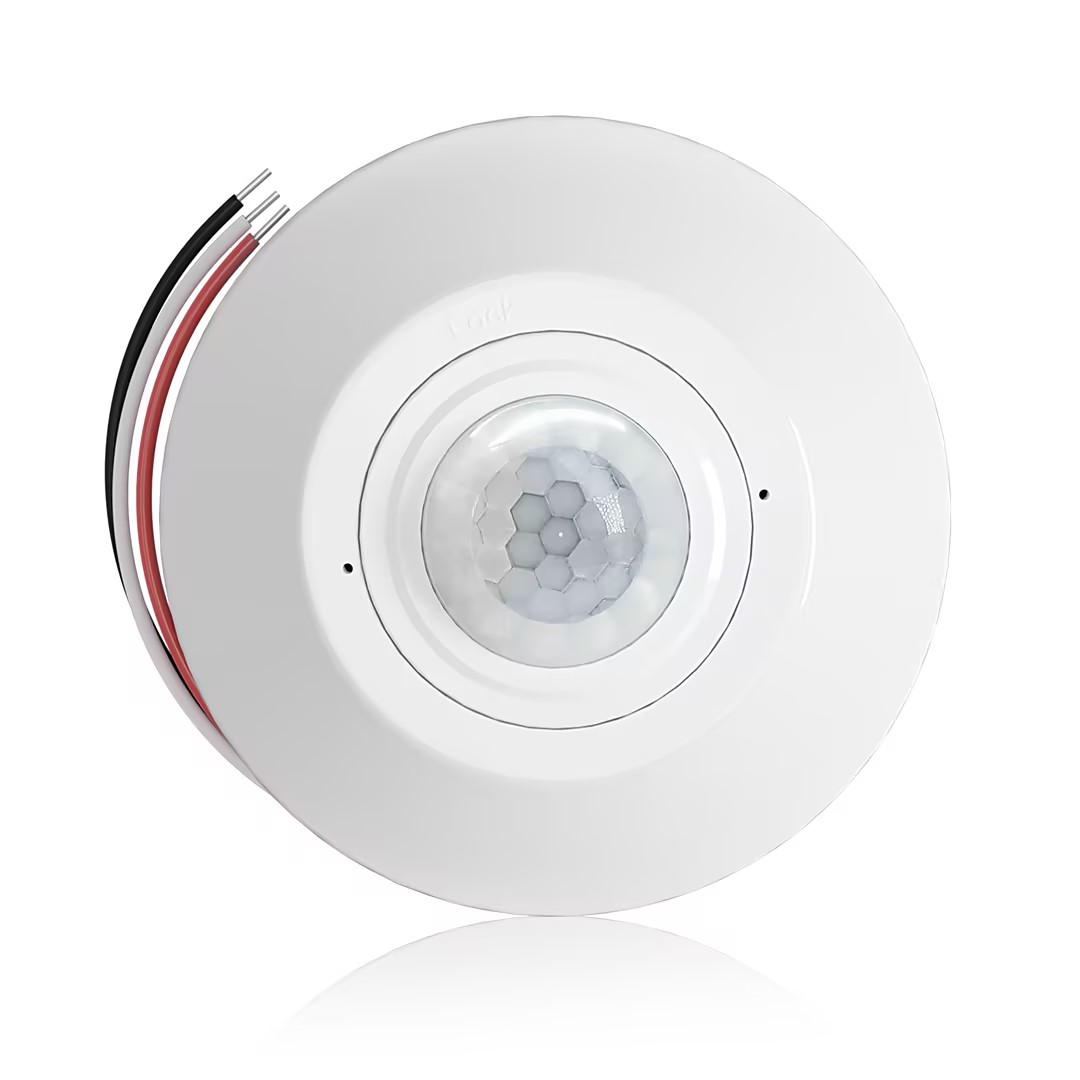
- Détecteur de présence PIR pour montage au plafond avec sortie relais à contact sec
- Alimentation basse tension 12/24VDC ou 12/24VAC
- Contacts relais isolés COM, NO et NC pour les entrées de régulation CVC, GTC et de gestion de l'énergie
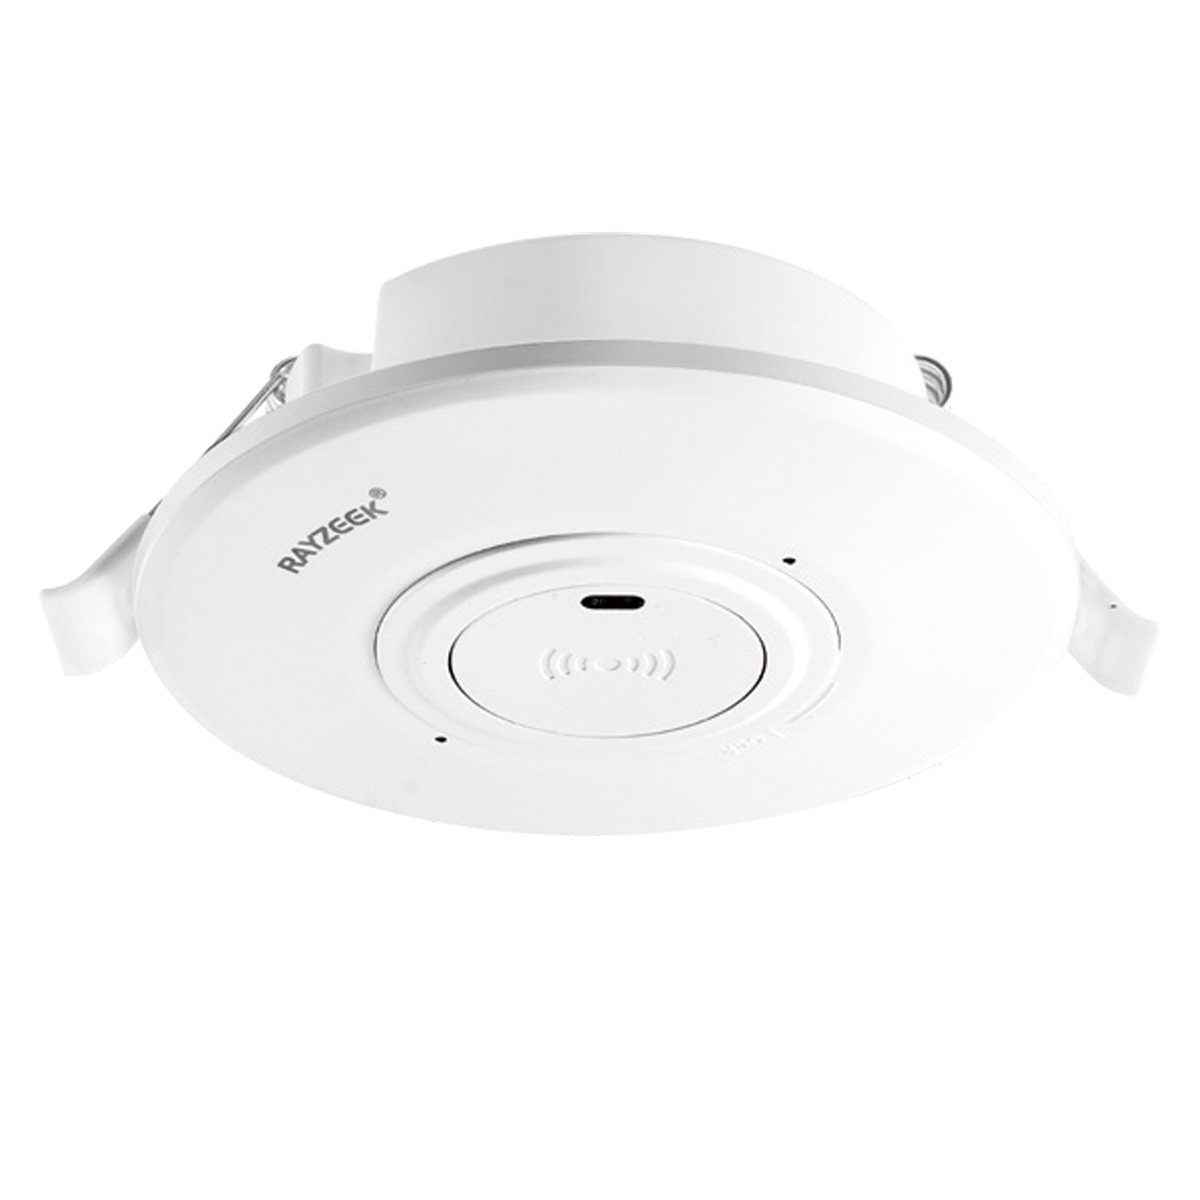
- Interrupteur détecteur de mouvement hyperfréquence encastré pour plafond basse tension continue
- Entrée 12 VDC / 24 VDC avec plage de 10-30 VDC
- Courant de fonctionnement maximal de 10A avec temporisation, seuil Lux et sensibilité réglables
- Interrupteur détecteur de mouvement à micro-ondes encastré au plafond pour charges plus élevées
- Entrée de tension secteur 100-265 VAC, modèle 10A
- Détection hyperfréquence (micro-ondes) 5,8 GHz avec temporisation, seuil Lux et sensibilité réglables
- Interrupteur détecteur de mouvement à micro-ondes encastré au plafond
- Entrée de tension secteur 100-265 VAC, modèle 5A
- Détection hyperfréquence (micro-ondes) 5,8 GHz avec temporisation, seuil Lux et sensibilité réglables
- Variateur détecteur de présence PIR RZ037 pour montage au plafond pour alimentation 220V
- Courant de fonctionnement maximal de 3A avec une charge nominale de 660W
- Le bouton LUX contrôle la marche/arrêt du capteur de lumière et la luminosité de variation réglée par l'utilisateur
- Variateur détecteur de présence PIR RZ037 pour montage au plafond pour alimentation 110V
- Courant de fonctionnement maximal de 3A avec une charge nominale de 330W
- Le bouton LUX contrôle la marche/arrêt du capteur de lumière et la luminosité de variation réglée par l'utilisateur
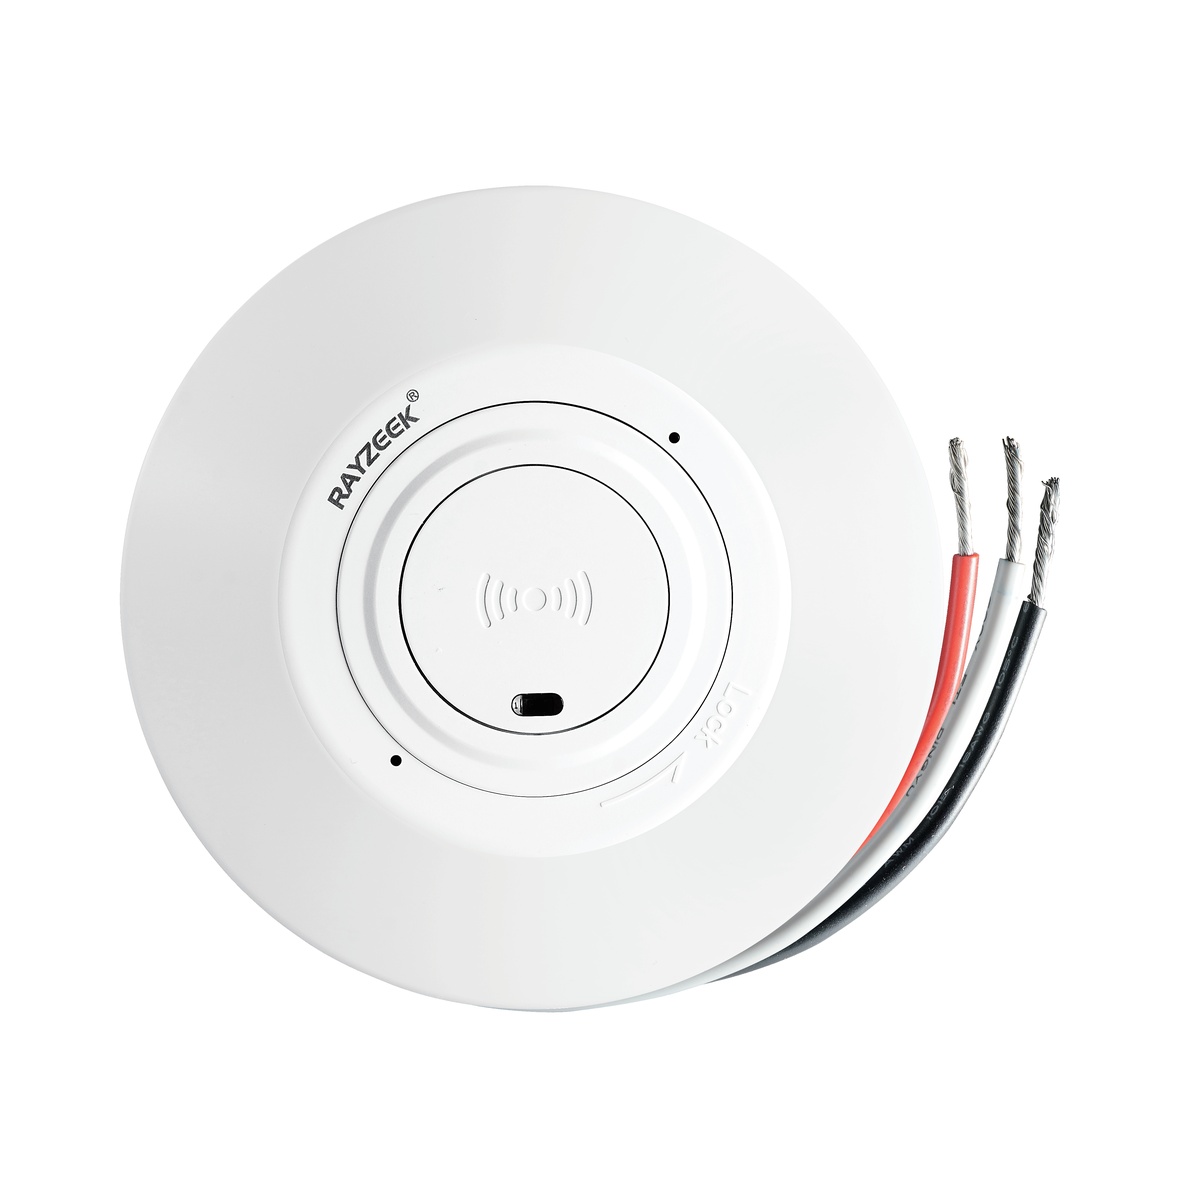
- Interrupteur détecteur de mouvement à micro-ondes basse tension CC pour montage au plafond
- Entrée 12 VDC / 24 VDC avec plage de 10-30 VDC
- Courant de fonctionnement maximal de 10A avec temporisation, seuil Lux et sensibilité réglables
- Interrupteur détecteur de mouvement à micro-ondes pour montage au plafond pour charges plus élevées
- Entrée de tension secteur 100-265 VAC, modèle 10A
- Détection hyperfréquence (micro-ondes) 5,8 GHz avec temporisation, seuil Lux et sensibilité réglables
- Interrupteur à détecteur de mouvement hyperfréquence pour montage au plafond
- Entrée de tension secteur 100-265 VAC, modèle 5A
- Détection hyperfréquence (micro-ondes) 5,8 GHz avec temporisation, seuil Lux et sensibilité réglables
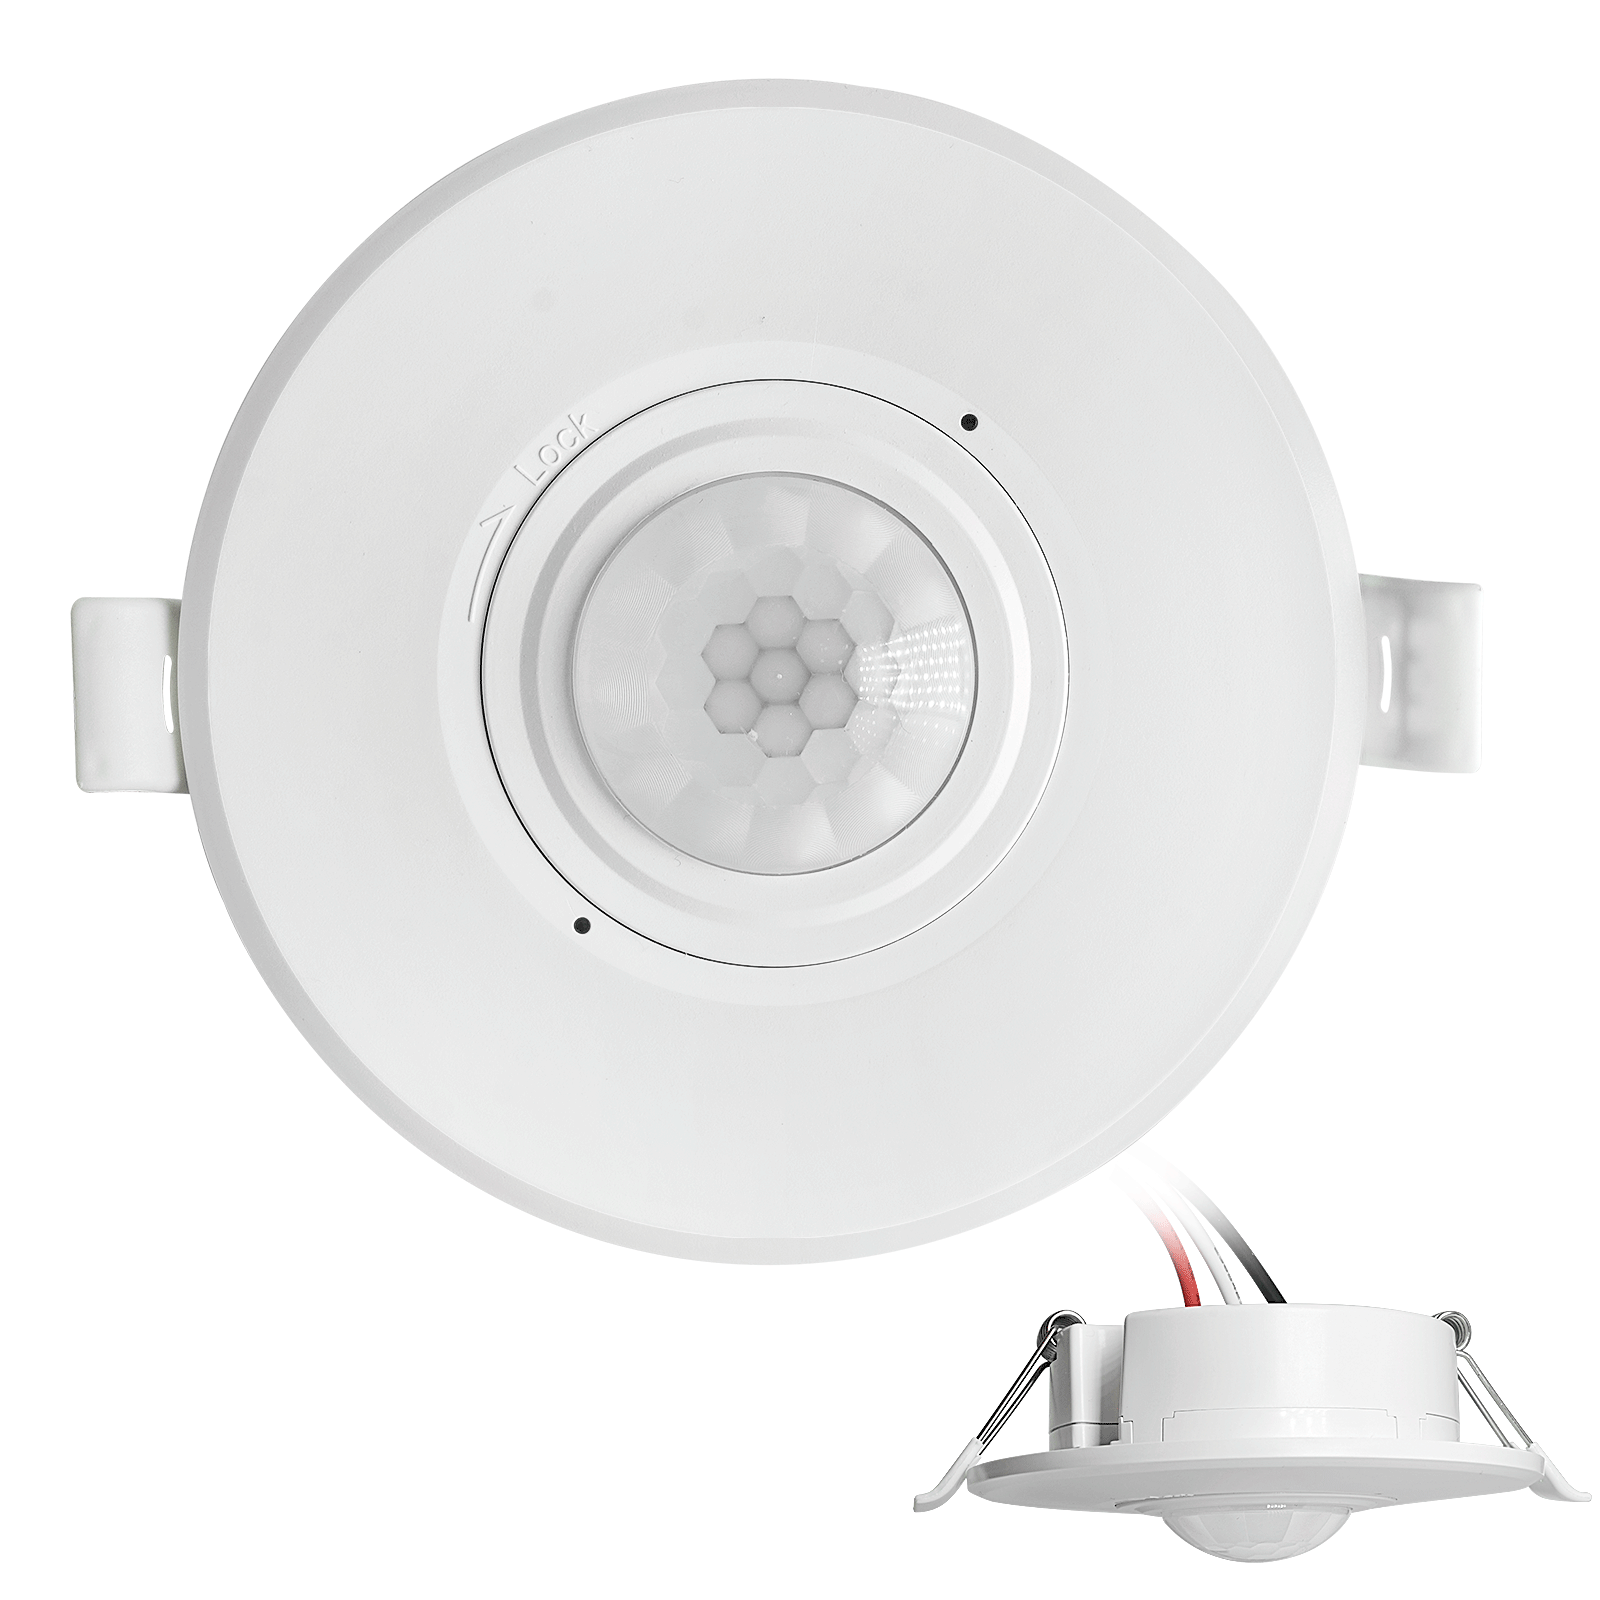
- Interrupteur à détecteur de mouvement PIR encastré pour plafond à basse tension CC
- Entrée 12 VDC / 24 VDC avec plage de 10-30 VDC
- Courant de fonctionnement maximal de 10A avec temporisation, seuil Lux et sensibilité réglables
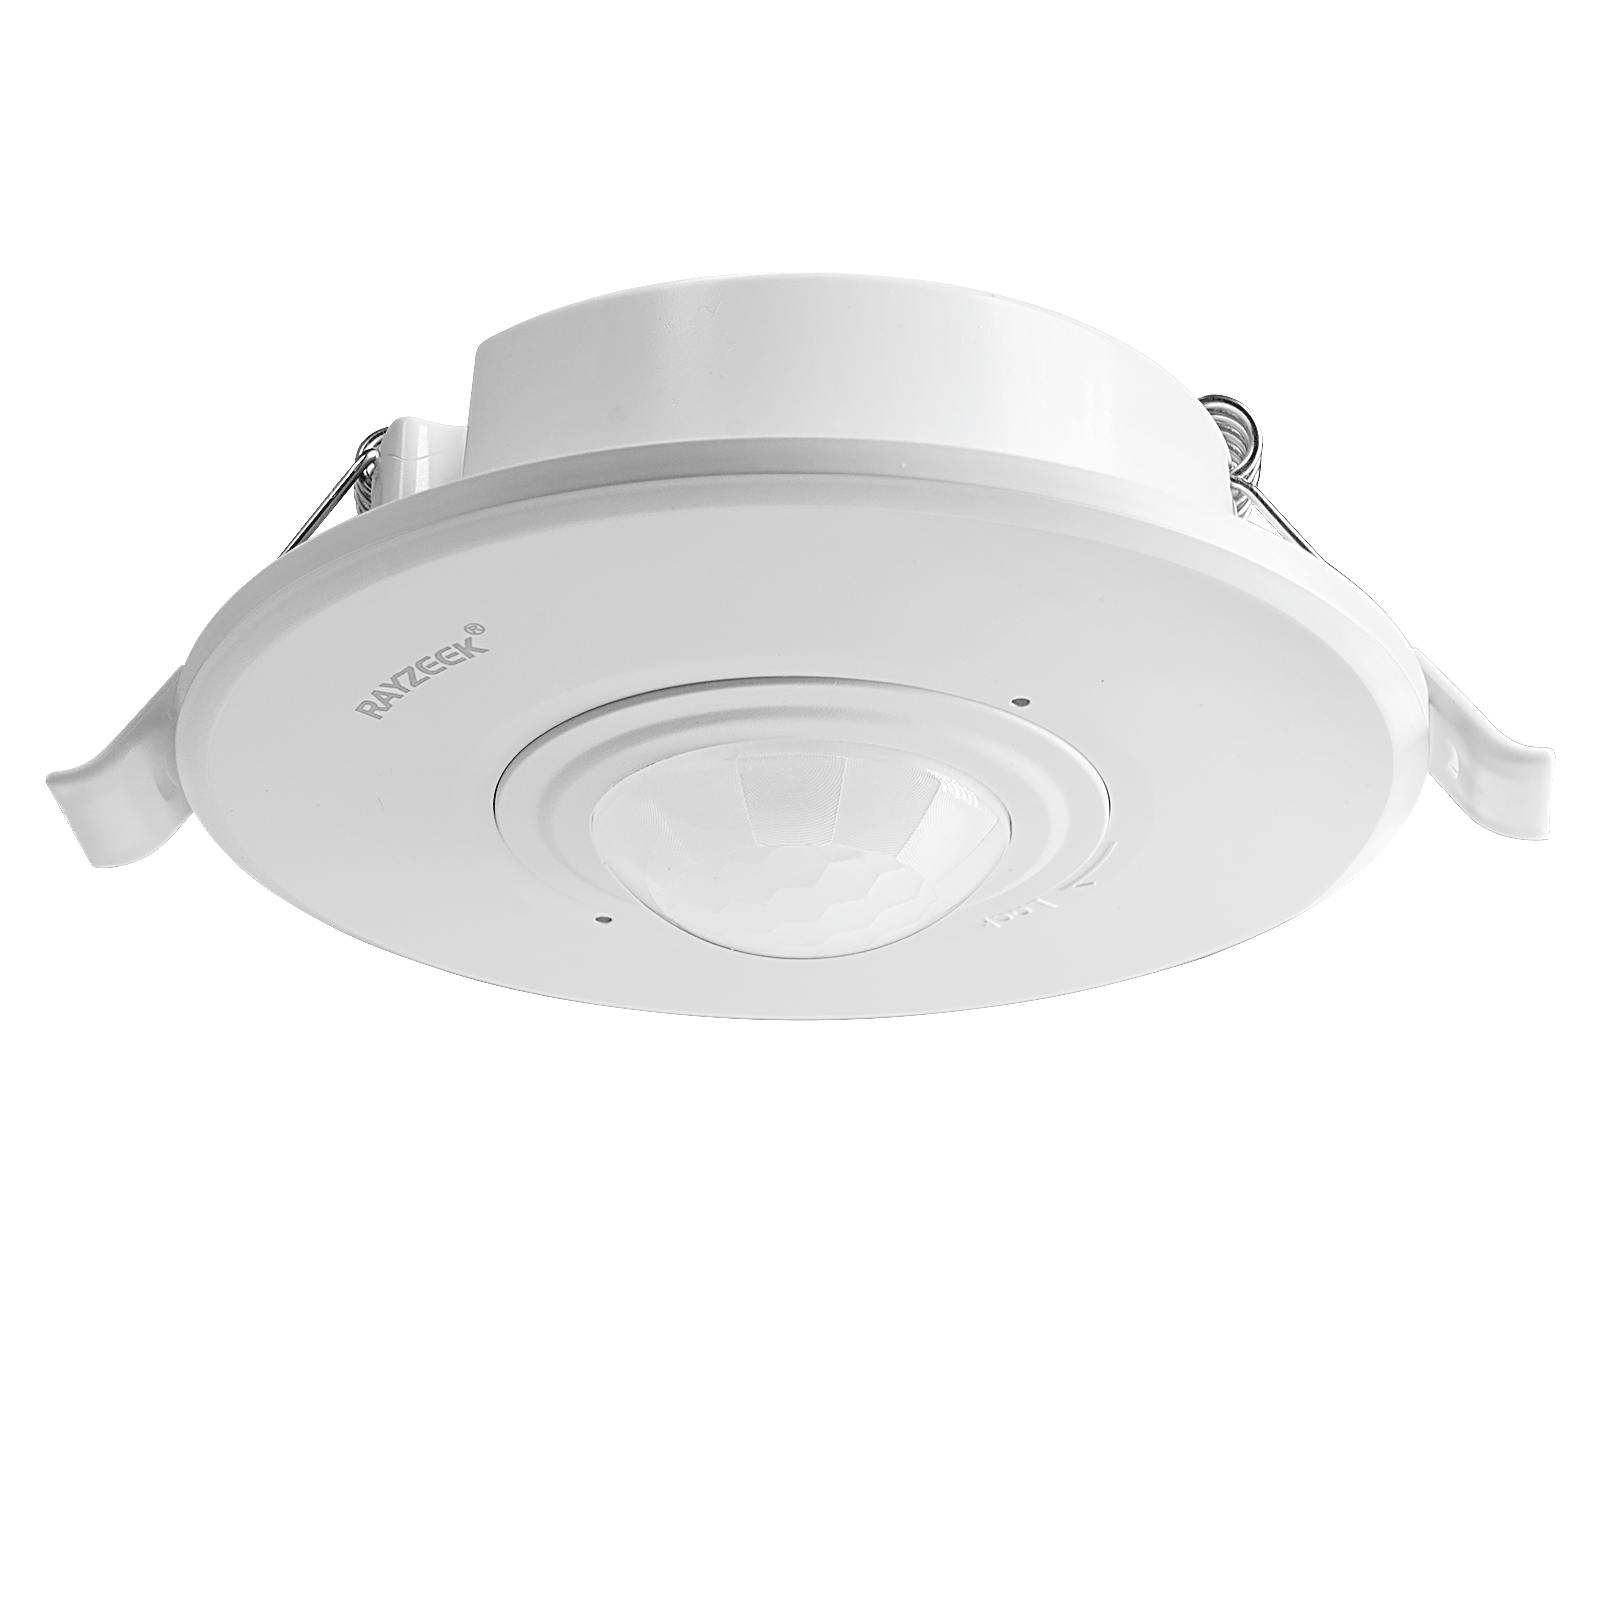
- Interrupteur à détecteur de mouvement PIR encastré pour plafond pour charges plus élevées
- Entrée de tension secteur 100-265 VAC, modèle 10A
- Détection à 360 degrés avec temporisation, seuil Lux et sensibilité réglables
- Interrupteur à détecteur de mouvement PIR encastré pour plafond
- Entrée de tension secteur 100-265 VAC, modèle 5A
- Détection à 360 degrés avec temporisation, seuil Lux et sensibilité réglables
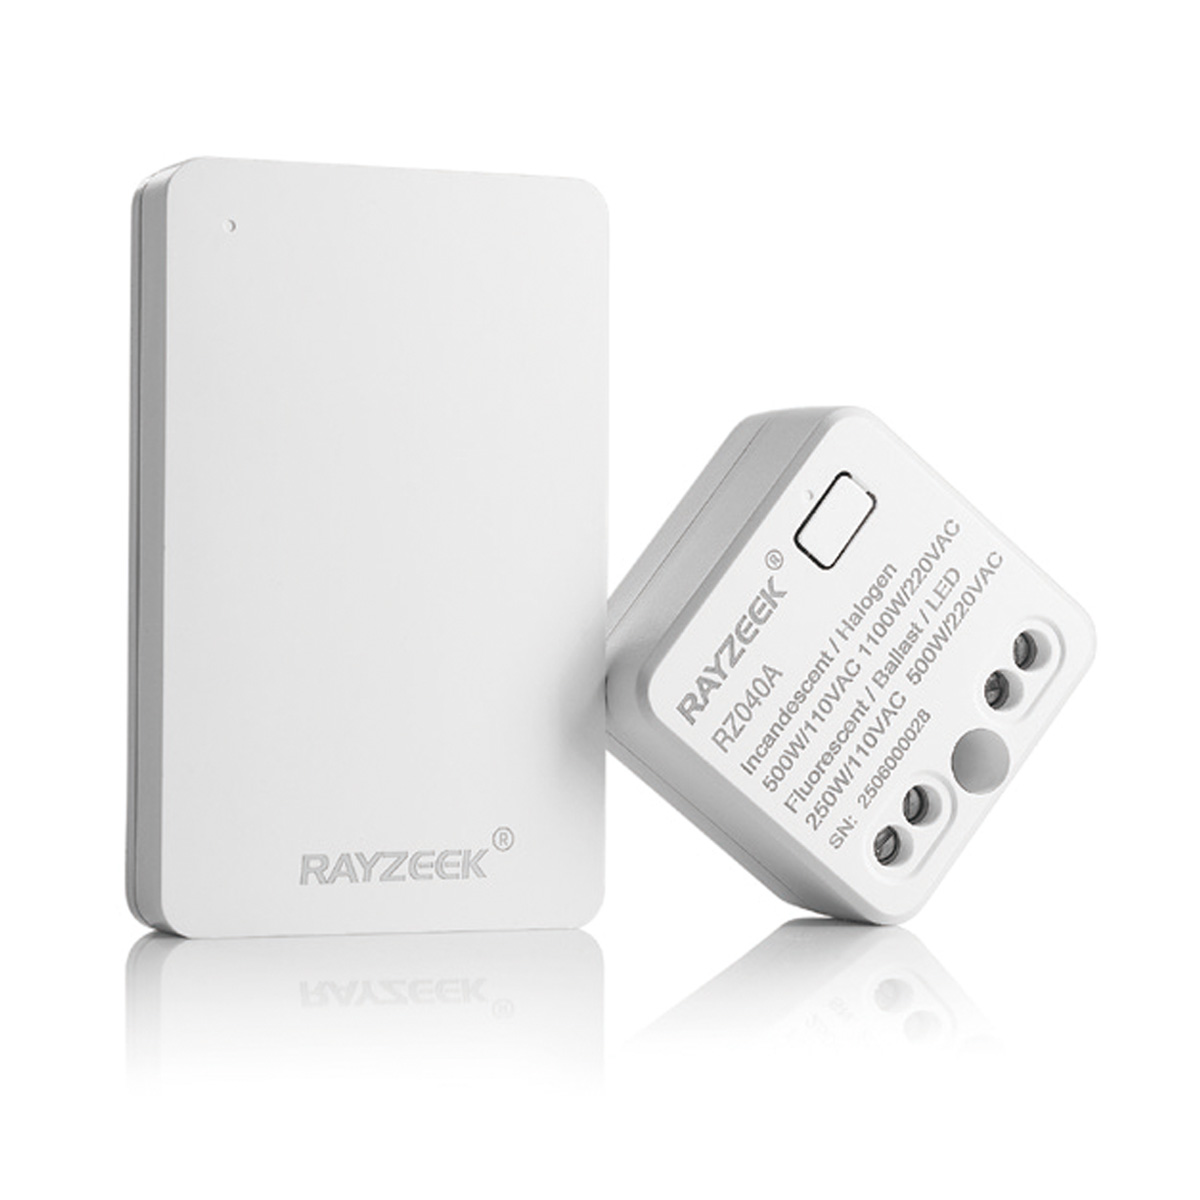
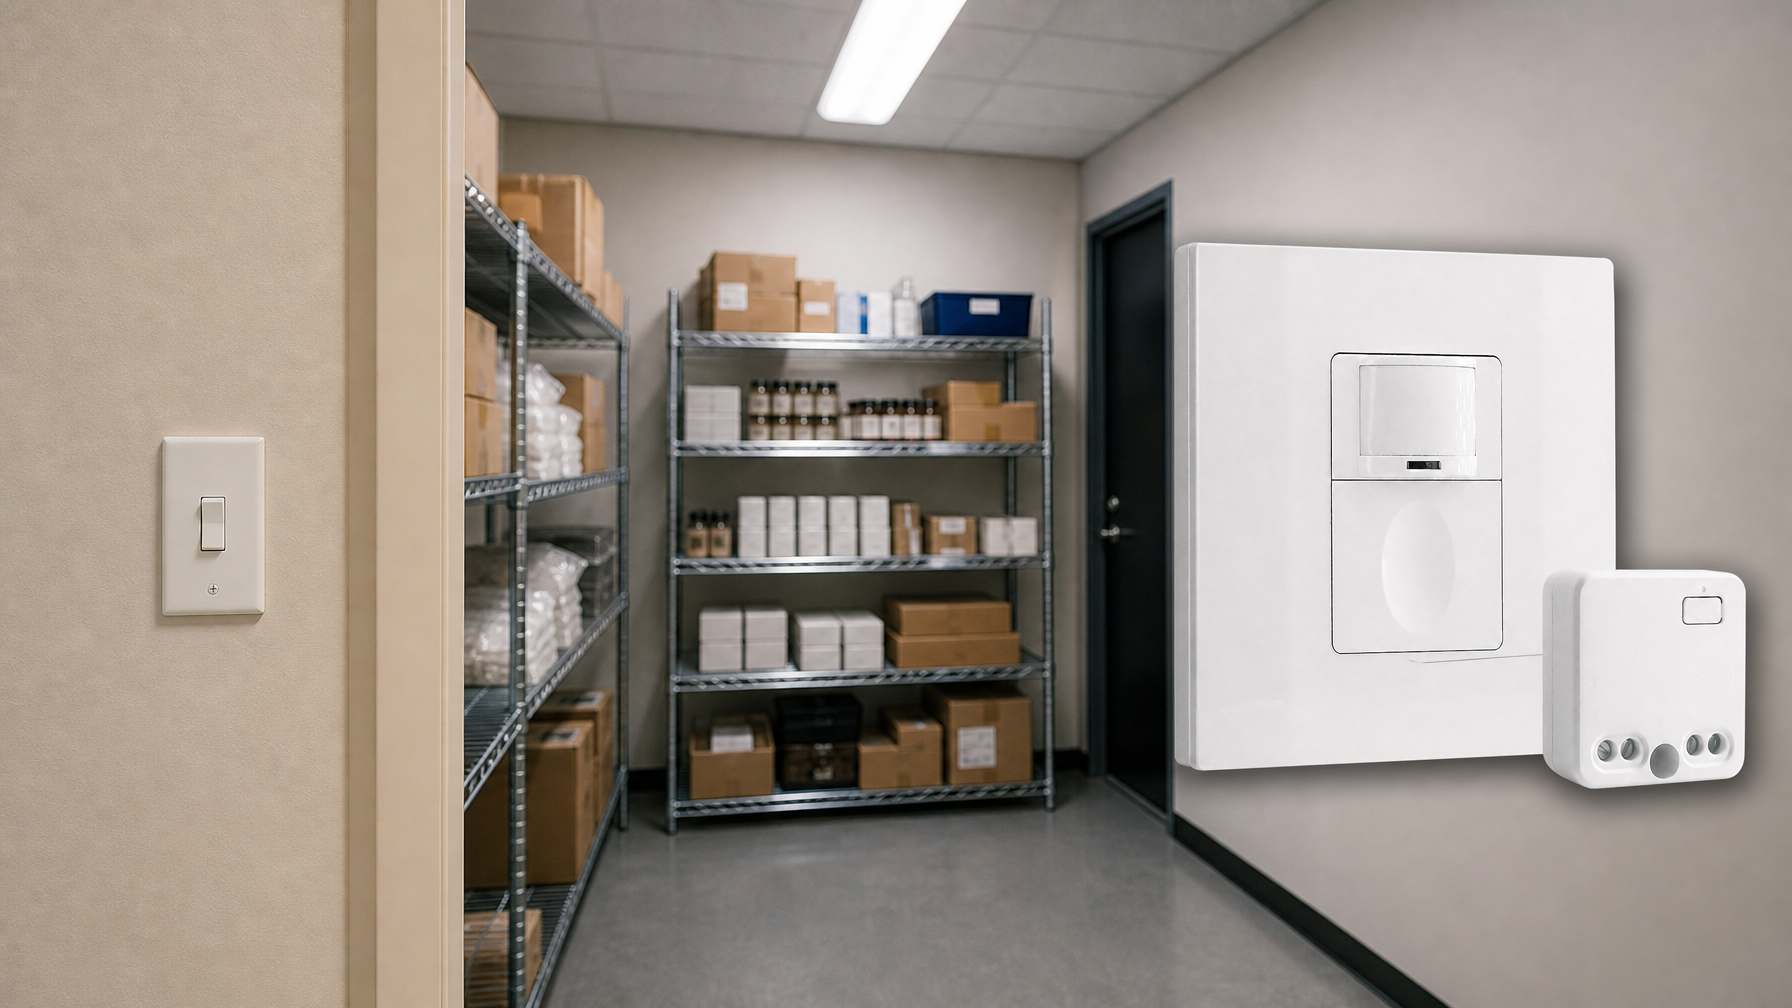
- Kit d’interrupteur sans fil et récepteur pour le contrôle de l’éclairage intérieur MARCHE/ARRÊT
- Récepteur 100-230VAC, 50/60Hz avec courant nominal de 5A
- Interrupteur sans fil alimenté par pile CR2032 avec communication 2.4GHz
- Détection d'occupation (Auto-ON/Auto-OFF)
- 12–24V DC (10–30VDC), jusqu'à 10A
- Couverture 360°, diamètre de 8–12 m
- Temporisation 15 s–30 min
- Capteur de luminosité Désactivé/15/25/35 Lux
- Sensibilité Haute/Basse
- Mode d'occupation Auto-ON/Auto-OFF
- 100–265V AC, 10A (neutre requis)
- Couverture 360° ; diamètre de détection 8–12 m
- Temporisation 15 s–30 min ; Lux Désactivé/15/25/35 ; Sensibilité Haute/Basse
- Mode d'occupation Auto-ON/Auto-OFF
- 100–265V AC, 5A (neutre requis)
- Couverture 360° ; diamètre de détection 8–12 m
- Temporisation 15 s–30 min ; Lux Désactivé/15/25/35 ; Sensibilité Haute/Basse
First up: gravity drainage! This is the simplest method. Basically, you need to position your AC unit higher than where you want the water to drain. Why? Because water naturally flows downhill!
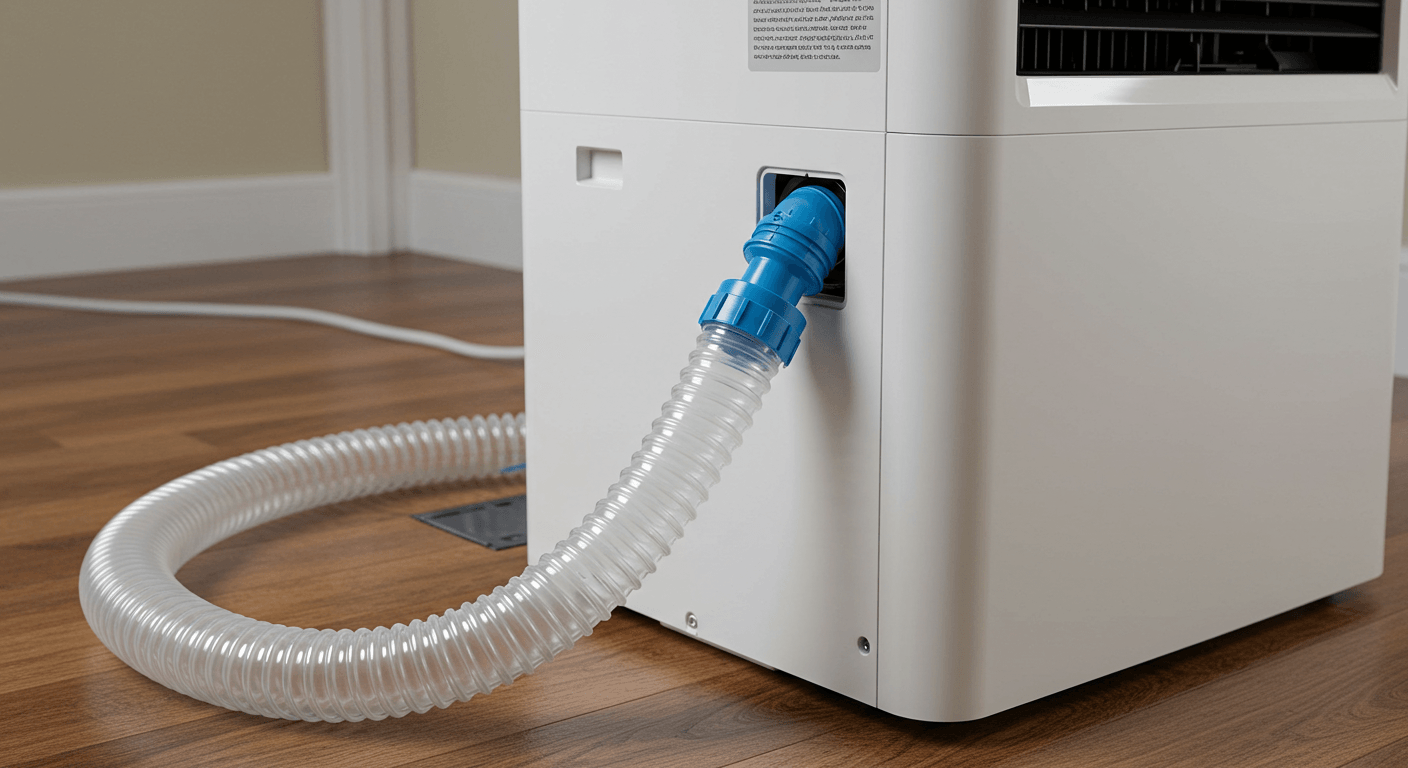
Next, we have continuous drainage. This involves attaching a hose to a drain port on your AC unit, allowing the water to flow continuously to a drain, like a floor drain or sink. The best part? You don’t have to manually empty a bucket! You can use a standard garden hose or a condensate-specific hose for this.
Finally, there’s the condensate pump. You’ll need this when gravity drainage just isn’t going to work – like when your drain is higher than your AC unit. The pump does the work of pushing the water uphill. If you’re not using continuous drainage, you’ll need to empty the unit regularly. How often? It depends on the humidity and how much you’re using your AC. Check it every few hours at first, and you’ll quickly get a sense of how often it needs to be emptied. Keep in mind that built-in pumps have a limited “head height” (that’s the maximum vertical distance the pump can push water), so check the specifications.
One more thing to keep in mind: some units have multiple drain ports. Usually, the upper port is for continuous drainage, while the lower port is for completely draining the unit (like when you’re storing it). Also, the diameter of the drain port matters – a larger opening allows for faster water flow. Air pressure can sometimes play a role, but it’s usually not a big deal.
Vous recherchez des solutions d’économie d’énergie activées par le mouvement ?
Contactez-nous pour obtenir une gamme complète de détecteurs de mouvement PIR, de produits d’économie d’énergie activés par le mouvement, d’interrupteurs à détecteur de mouvement et de solutions commerciales de présence/vacance.
Using Gravity
Like we said before, gravity drainage is the simplest way to drain your portable AC. It’s all about letting gravity do its thing! To make it work, your AC unit needs to be higher than where you want the water to drain.
You can use a short hose to connect the unit’s drain port to the drain, but you might not even need one! If the drain is right below the unit, the water can flow directly into it. If you do use a hose, make sure it’s not kinked or bent sharply, as that can block the water flow.
Where can you drain the water? Good options include a floor drain, a large bucket, or a sink (if it’s easy to get to and higher than the base of your AC unit).
Even a few inches of elevation can do the trick, but the higher the unit is, the better the drainage will be. If your unit is on the floor, try elevating it on a sturdy, stable platform. Make sure the platform can handle the weight and won’t tip over! If you’re using a hose, make sure it slopes downwards continuously, and avoid any upward sections where water can collect and block the flow. While water temperature does affect the flow rate a little, it’s usually not something you need to worry about. Finally, fill the hose with water before you start to prevent airlocks and ensure a smooth flow.
Continuous Drainage with a Hose
Another option, like we mentioned earlier, is continuous drainage. This is a fantastic choice if you have a drain nearby and want to ditch the bucket-emptying routine! To set it up, attach a hose to the drain port on your AC (usually the upper one, if there are two). Make sure the connection is nice and secure so it doesn’t leak. Hand-tighten it first, and then use pliers for a gentle extra turn – be careful not to overtighten it!
The hose lets the water flow continuously from your AC to a drain. This could be a floor drain, a sink, or even outside, if your local rules allow it and it’s safe for the environment.
To make sure the water drains properly, it’s super important to keep a consistent downward slope. Remember, gravity is still our friend here! Avoid any kinks or upward slopes in the hose, as these can block the water flow. And don’t forget to check the hose regularly for any blockages or kinks.
The typical hose size is 5/8 inch (that’s a standard garden hose), but it’s always a good idea to double-check your unit’s manual to be sure. Make sure the connection is snug, but don’t overtighten it – you could damage the threads on the drain port or the hose connector. For the best resistance to algae and mold, go with a vinyl or other non-porous hose. You can also clean the hose every now and then with a diluted bleach solution to keep it fresh. Different hose materials (like vinyl and rubber) offer different levels of flexibility and durability. While the water pressure is generally low, a durable hose is still a good idea to prevent leaks and ensure it lasts.
Using a Condensate Pump
Okay, let’s talk about condensate pumps. You’ll need one of these when gravity drainage just isn’t an option. This is the solution when your drain is higher than your AC unit. This often happens when there’s no floor drain nearby or when you want to drain the water somewhere higher than the unit. The pump’s job is to lift that water up to the drain.
To install a condensate pump, connect the pump’s inlet hose to your AC’s drain port (usually the lower one, if there are two). The lower port is generally used for complete drainage, which is what you want with a pump. Then, connect the pump’s outlet hose to where you want the water to drain – a sink, laundry tub, or even outside.
Condensate pumps need electricity to run, so make sure you have a standard electrical outlet nearby that’s properly grounded.
Most condensate pumps are designed to turn on automatically when the water level in their internal tank gets to a certain point. This is a nice feature that keeps the pump from running all the time. Many pumps also have a safety feature that shuts off your AC if the pump fails, preventing any water from overflowing and causing damage. That’s definitely something to look for!
Before you buy a pump, be sure to check its specifications for the maximum vertical lift capacity (also known as “head height”). This tells you how high the pump can lift the water. This is super important, because if you exceed that height, the pump won’t work right. Also, keep in mind that noise levels can vary between different pump models, but most are pretty quiet. Some even have designs to reduce noise. The flow rate (usually 1-5 gallons per hour) tells you how quickly the pump can remove the water.
To keep your condensate pump running smoothly and prevent clogs, regular maintenance is key. This usually means cleaning the pump’s reservoir every so often and checking for anything that might be blocking it. Be sure to check your pump’s manual for specific instructions.
Laissez-vous inspirer par les portfolios de détecteurs de mouvement Rayzeek.
Vous ne trouvez pas ce que vous cherchez ? Ne vous inquiétez pas. Il existe toujours d'autres solutions à vos besoins. L'un de nos portfolios peut sans doute vous aider.
Troubleshooting Common Drainage Problems
Even though portable air conditioners are generally pretty reliable, you might run into some drainage problems from time to time. But don’t worry, most of these are easy to fix! Here are a few common issues and what you can do about them:
- Kinks, blockages, and elevation: Check for any kinks in the hose, blockages in the drain port or hose, and make sure you have proper elevation for gravity drainage. These are the most common culprits.
- Leaks: Check your hose connections, make sure the drain pan isn’t cracked, and inspect the pump (if you’re using one) for leaks. Leaks can cause water damage, so address them quickly!
- Pump noises: If you’re using a pump, listen for any unusual noises. Grinding, rattling, or unusually loud noises could mean there’s a blockage or the pump is failing.
Self-Evaporating Models and Full Tank Indicator
Now, let’s talk about self-evaporating technology. Some portable air conditioners have this feature, which is designed to re-evaporate some of the collected water back into the air. This means you won’t have to drain the unit as often, but it doesn’t always eliminate the need to drain it completely.
There are two main types of self-evaporating models: fully self-evaporating and partially self-evaporating. Fully self-evaporating units rarely need manual draining, except when it’s super humid. Partially self-evaporating models are more common, and you’ll still need to drain them in moderate to high humidity. Most units also have a full tank indicator (usually a light or an alarm) that lets you know when the water reservoir is full and needs to be emptied. To see if your unit has self-evaporating technology, check the manual or product specifications – it’s usually a big selling point!
If you ignore the full tank indicator, your AC will usually shut down automatically to prevent water from overflowing and causing damage. The evaporation rate can vary quite a bit depending on the design, temperature, and humidity. In very humid conditions, the unit might not be able to evaporate the water as fast as it’s being produced. How well self-evaporation works depends on the unit’s design and the environment around it. Some units even use the collected water to cool the condenser coils, which is a clever way to boost efficiency!