
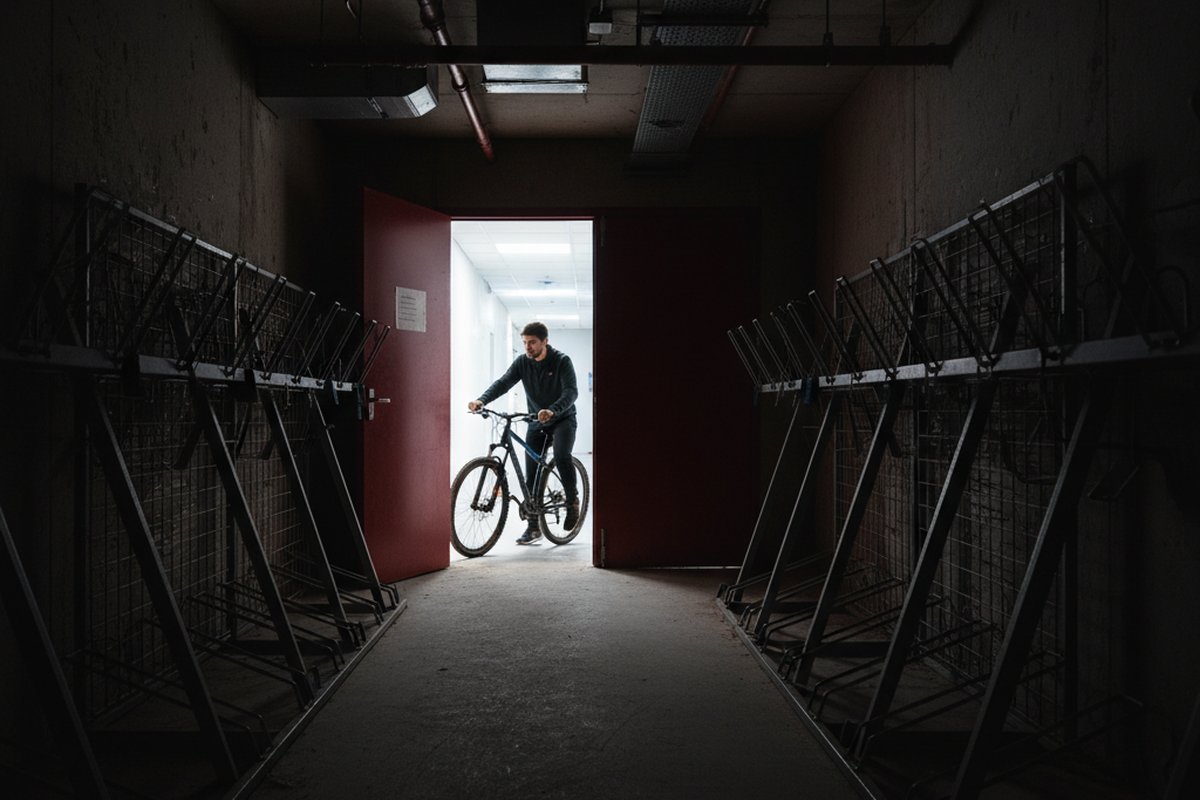
The most dangerous moment in a bike storage room isn’t when a thief breaks in. It’s the three seconds after a resident opens the door.
A resident enters the room carrying a muddy mountain bike or balancing two pannier bags. The hallway is bright. They push open the heavy fire-rated door, step across the threshold, and the hydraulic closer shuts the door behind them. For three seconds—before they can fumble for a switch or trigger a poorly placed sensor—they stand in total darkness in a room full of metal obstacles.
This is where the slip-and-fall claims happen. This is where wheels get crushed. This is the “Blackout Gap,” and it represents a fundamental design failure.
Lighting in a high-density bike room is a safety system, not an aesthetic choice or an energy-saving opportunity. If the lights aren’t at full brightness anterior the door latch engages, the system has failed. Yet building after building features retrofits prioritizing vacancy sensors or consumer-grade “smart” bulbs that leave residents waving their arms in the dark. The physics of a bike room—concrete walls, metal cages, and cluttered sightlines—demand an automation approach that consumer tech simply cannot handle.
There is often a conflict here between strict energy codes (like IECC or Title 24) and practical reality. Codes often mandate “Vacancy” sensors (Manual-On, Auto-Off) to ensure lights aren’t left burning. In a bike room, Manual-On is a liability. A cyclist does not have a free hand to hit a switch. Fortunately, safety exemptions almost always allow for “Occupancy” (Auto-On) sensors in areas where safety is a concern. You must categorize these rooms as high-risk transition zones, not standard storage closets, to justify the Auto-On setting.
¿Busca soluciones de ahorro de energía activadas por movimiento?
Póngase en contacto con nosotros para obtener sensores de movimiento PIR completos, productos de ahorro de energía activados por movimiento, interruptores con sensor de movimiento y soluciones comerciales de presencia/vacancia.
Geometry Is Destiny
Most bike room lighting fails because of geometry, not electricity. A standard electrician’s instinct is to center the motion sensor on the ceiling. While this looks tidy on a reflected ceiling plan, it is functionally useless for the person entering the room.
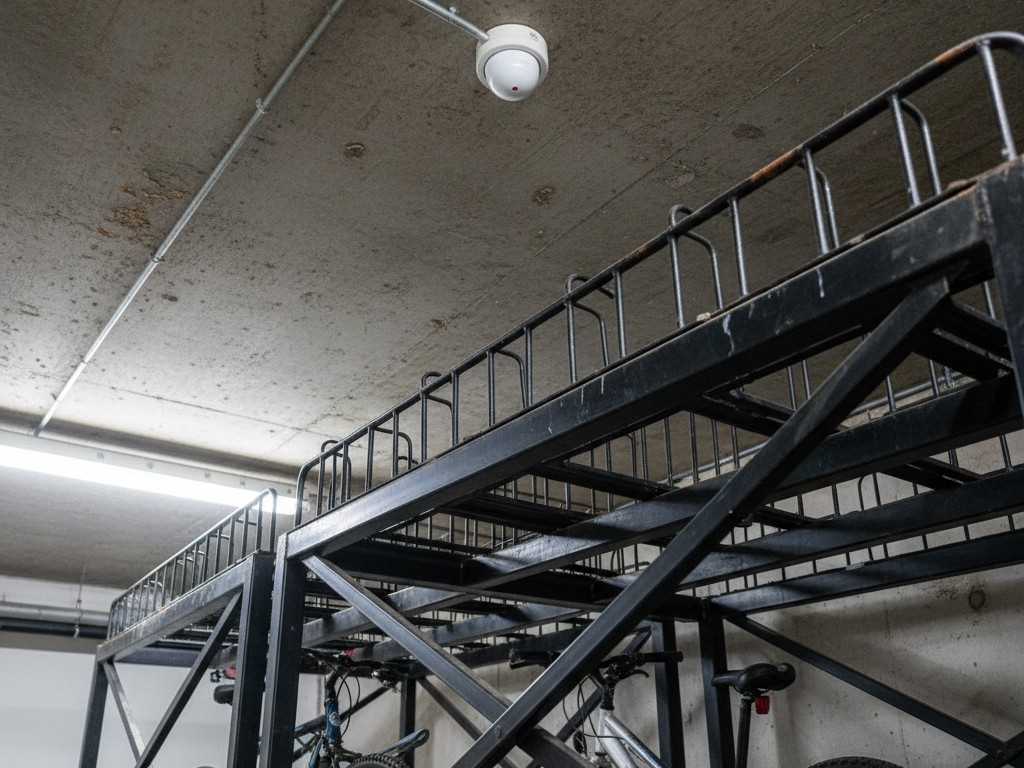
Center a sensor in a room filled with vertical bike racks or cages, and the racks block the view. The entering resident is hidden from the sensor by the racks or the door swing itself. The sensor needs to “see” the threat, and the threat is the threshold. The trigger zone must be the 3×3 foot square immediately inside the doorframe. If the sensor cannot see the floor at the entrance, it won’t trigger until the user is already deep inside the danger zone.
This creates a secondary problem: the “Hallway Disco.” If you position a high-sensitivity sensor to stare directly at the door, it may pick up heat signatures from people walking past in the hallway, triggering the lights unnecessarily. This is the number one complaint from ground-floor units near common areas.
Don’t move the sensor back to the center to fix this. Instead, use the masking strips provided with commercial-grade sensors (like the Lutron Maestro series or Wattstopper units). Physically tape over the lens segments that view the hallway, creating a hard cut-off line exactly at the threshold. It takes five minutes on a ladder to tune, but it prevents years of resident complaints.
You can test this geometry without tools. Walk the path from the hallway imagining you are holding a 40-pound e-bike. If you have to step fully into the room or wave an arm to get the lights to fire, the placement is wrong. The light should strike the floor the moment the door cracks open.
The Hardware: Why PIR Fails
Most cheap motion sensors rely on Passive Infrared (PIR) technology. PIR looks for moving heat signatures. It works perfectly in an empty living room, but fails miserably in a bike room.
Bike rooms are obstacle courses. Rows of double-decker racks, hanging bikes, and wire mesh cages break up the line of sight. Since PIR relies on line of sight, a resident crouching behind a cargo bike to lock their wheel becomes invisible. The sensor assumes the room is empty and cuts the lights. This leaves the resident in pitch blackness, mid-lock, forcing them to stand up and perform the “waving arms dance” to re-trigger the sensor. Beyond the annoyance, this creates a panic moment that leads to complaints.
The only viable hardware for a cluttered bike room is “Dual Technology” sensors. These units combine standard PIR with Ultrasonic detection. While PIR looks for heat, Ultrasonic sensors fill the room with high-frequency sound waves (Doppler shift) to detect volume changes. They can “hear” a person moving behind a solid object, detecting the micro-movements of someone turning a padlock key or shifting a tire.
Ultrasonic tech does have quirks—it is sensitive enough to be triggered by strong airflow from an HVAC vent, causing “phantom tripping.” However, modern commercial units (like the Wattstopper DT-300 series) allow you to adjust the sensitivity of the ultrasonic and PIR channels independently. Set high sensitivity on the ultrasonic side to catch the small movements of someone working on a bike, and moderate PIR sensitivity to catch the initial entry. You cannot get this level of granularity from a $20 big-box store sensor.
The “Smart” Trap
Property managers often try to solve these problems with “Smart” bulbs—Wi-Fi enabled retrofits that promise app control and scheduling. In a bike storage environment, this is a catastrophic mistake.
Quizás le interese

- Tensión: 2 pilas AAA
- Modo Día/Noche
- Temporización: 15 min, 30 min, 1 h (por defecto), 2 h

- Sensor de presencia PIR para montaje en techo con salida de relé de contacto seco
- Alimentación de baja tensión de 12/24VDC o 12/24VAC
- Contactos de relé aislados COM, NO y NC para entradas de EMS, HVAC y control de edificios

- Interruptor con sensor de movimiento por microondas empotrable en techo de baja tensión DC
- Entrada de 12 VDC / 24 VDC con rango de 10-30 VDC
- Corriente de funcionamiento máxima de 10A con retardo de tiempo, umbral de Lux y sensibilidad ajustables
- Interruptor con sensor de movimiento por microondas empotrable en techo para cargas más elevadas
- Entrada de tensión de red de 100-265 VAC, modelo de 10A
- Detección por microondas de 5,8 GHz con temporizador, umbral Lux y sensibilidad ajustables
- Interruptor con sensor de movimiento por microondas empotrable para techo
- Entrada de tensión de red de 100-265 VAC, modelo de 5A
- Detección por microondas de 5,8 GHz con temporizador, umbral Lux y sensibilidad ajustables
- Regulador con sensor de presencia PIR RZ037 de techo para alimentación de 220V
- Corriente de funcionamiento máxima de 3A con carga nominal de 660W
- El botón LUX controla el encendido/apagado del sensor de luz y la regulación de brillo ajustada por el usuario
- Regulador con sensor de presencia PIR RZ037 de techo para alimentación de 110V
- Corriente de funcionamiento máxima de 3A con carga nominal de 330W
- El botón LUX controla el encendido/apagado del sensor de luz y la regulación de brillo ajustada por el usuario

- Interruptor con sensor de movimiento por microondas de techo para CC de bajo voltaje
- Entrada de 12 VDC / 24 VDC con rango de 10-30 VDC
- Corriente de funcionamiento máxima de 10A con retardo de tiempo, umbral de Lux y sensibilidad ajustables
- Interruptor con sensor de movimiento por microondas de techo para mayor carga
- Entrada de tensión de red de 100-265 VAC, modelo de 10A
- Detección por microondas de 5,8 GHz con temporizador, umbral Lux y sensibilidad ajustables
- Interruptor con sensor de movimiento por microondas de techo
- Entrada de tensión de red de 100-265 VAC, modelo de 5A
- Detección por microondas de 5,8 GHz con temporizador, umbral Lux y sensibilidad ajustables

- Interruptor con sensor de movimiento PIR para montaje empotrable en techo de CC de bajo voltaje
- Entrada de 12 VDC / 24 VDC con rango de 10-30 VDC
- Corriente máxima de trabajo de 10 A con tiempo de retardo, umbral de luxes y sensibilidad ajustables

- Interruptor con sensor de movimiento PIR empotrable en techo para mayor carga
- Entrada de tensión de red de 100-265 VAC, modelo de 10A
- Detección de 360 grados con tiempo de retardo, umbral de luxes y sensibilidad ajustables
- Interruptor con sensor de movimiento PIR empotrable en techo
- Entrada de tensión de red de 100-265 VAC, modelo de 5A
- Detección de 360 grados con tiempo de retardo, umbral de luxes y sensibilidad ajustables

- Kit de emisor inalámbrico y receptor para el control de iluminación de encendido/apagado en interiores
- Receptor de 100-230 V CA, 50/60 Hz con corriente nominal de 5 A
- Interruptor inalámbrico alimentado por CR2032 con comunicación de 2,4 GHz
- Presencia (encendido automático/apagado automático)
- 12–24 V CC (10–30 V CC), hasta 10 A
- Cobertura de 360°, 8–12 m de diámetro
- Tiempo de retardo de 15 s a 30 min
- Sensor de luz Desactivado/15/25/35 Lux
- Sensibilidad alta/baja
- Modo de presencia con encendido/apagado automático
- 100–265V CA, 10A (requiere neutro)
- Cobertura de 360°; diámetro de detección de 8–12 m
- Temporización: 15 s–30 min; Lux OFF/15/25/35; Sensibilidad Alta/Baja
- Modo de presencia con encendido/apagado automático
- 100–265V CA, 5A (requiere neutro)
- Cobertura de 360°; diámetro de detección de 8–12 m
- Temporización: 15 s–30 min; Lux OFF/15/25/35; Sensibilidad Alta/Baja
Bike rooms are typically located in basements or parking garages, surrounded by reinforced concrete and filled with grounded metal racks. This environment is effectively a Faraday cage that blocks Wi-Fi signals aggressively. Consumer smart bulbs (often Tuya-based white label products) rely on a constant cloud connection to maintain their logic. When the signal drops—and it will—these bulbs often default to an “OFF” state or a blinking pairing mode.
Furthermore, critical infrastructure lighting should never depend on a router. If the building’s internet goes down, residents should still be able to see their bikes. If a router reset causes the lighting system to fail, you have introduced a dependency chain that the property manager cannot troubleshoot. Stick to hard-wired, local logic. The sensor should physically cut the line voltage. No apps, no hubs, no firmware updates.
The Specification Logic
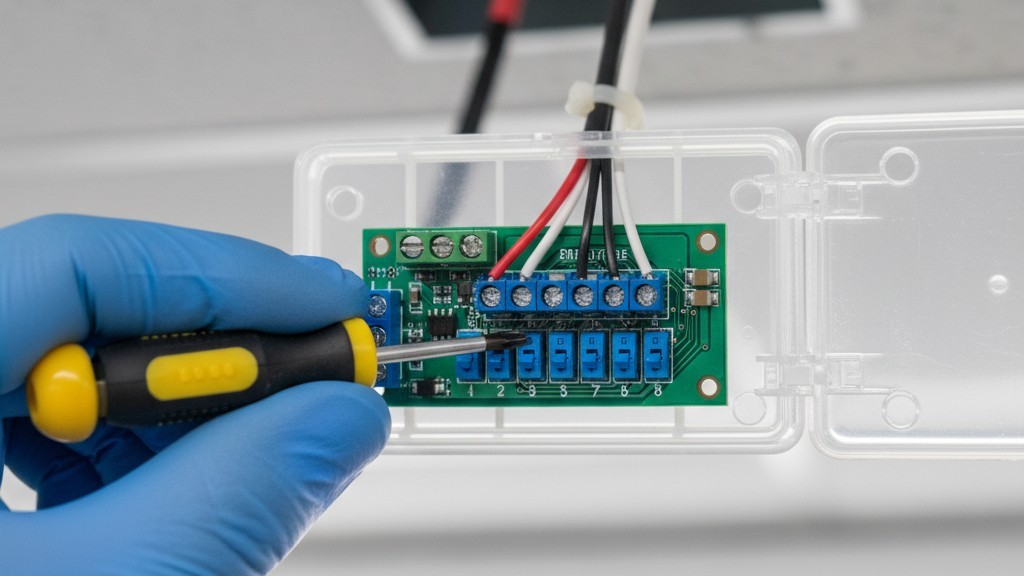
When specifying the upgrade, provide clear instructions to the installer or you will get the default settings. Most commercial sensors default to “Vacancy” (Manual-On) to meet energy code compliance out of the box.
You must specify:
- Mode: Occupancy (Auto-On / Auto-Off).
- Technology: Dual Tech (PIR + Ultrasonic) for any room over 200 sq ft or with visual obstructions.
- Time Delay: Set to 15 or 20 minutes. The standard 5-minute test mode is too short for someone repairing a flat tire.
- Wiring: Ensure the building has a neutral wire at the switch location. Many older buildings do not, which limits your hardware choices to “leakage-to-ground” sensors or requires pulling new wire.
Check the dip switches yourself. Before the installer closes up the sensor, ask to see the settings. It is much cheaper to flip a tiny switch now than to pay for a service call when the lights keep turning off on residents.
Final Checklist
If you are reviewing a proposal for bike room lighting, look for these red flags. If you see them, send the quote back.
Inspírese con los portafolios de sensores de movimiento Rayzeek.
¿No encuentra lo que busca? No se preocupe. Siempre existen formas alternativas de resolver sus problemas. Quizá alguno de nuestros portafolios pueda ayudarle.
- Any mention of an “App” or “Wi-Fi”: Immediate rejection.
- “Vacancy” sensors: Change to “Occupancy” or “Auto-On.”
- Standard PIR sensors in a racked room: Demand Dual Technology.
- Battery-powered sensors: Maintenance nightmare. Hard-wired only.
The goal is a room where the user never thinks about the lighting. It is simply on when they need it, and off when they don’t. Anything less is a liability.







