
The Cubic Inch Crisis
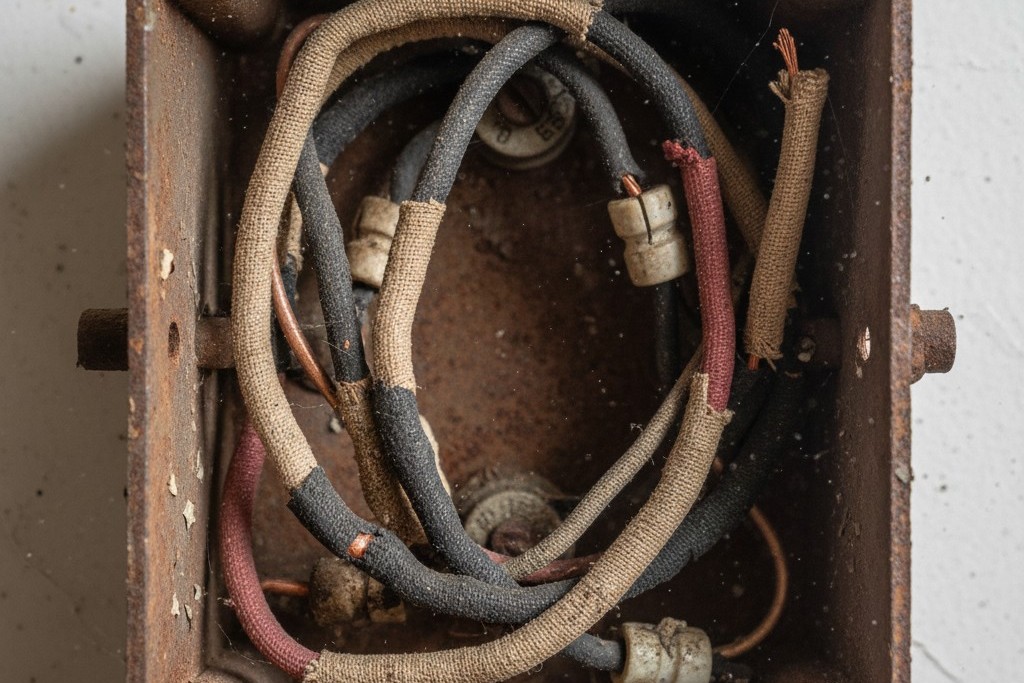
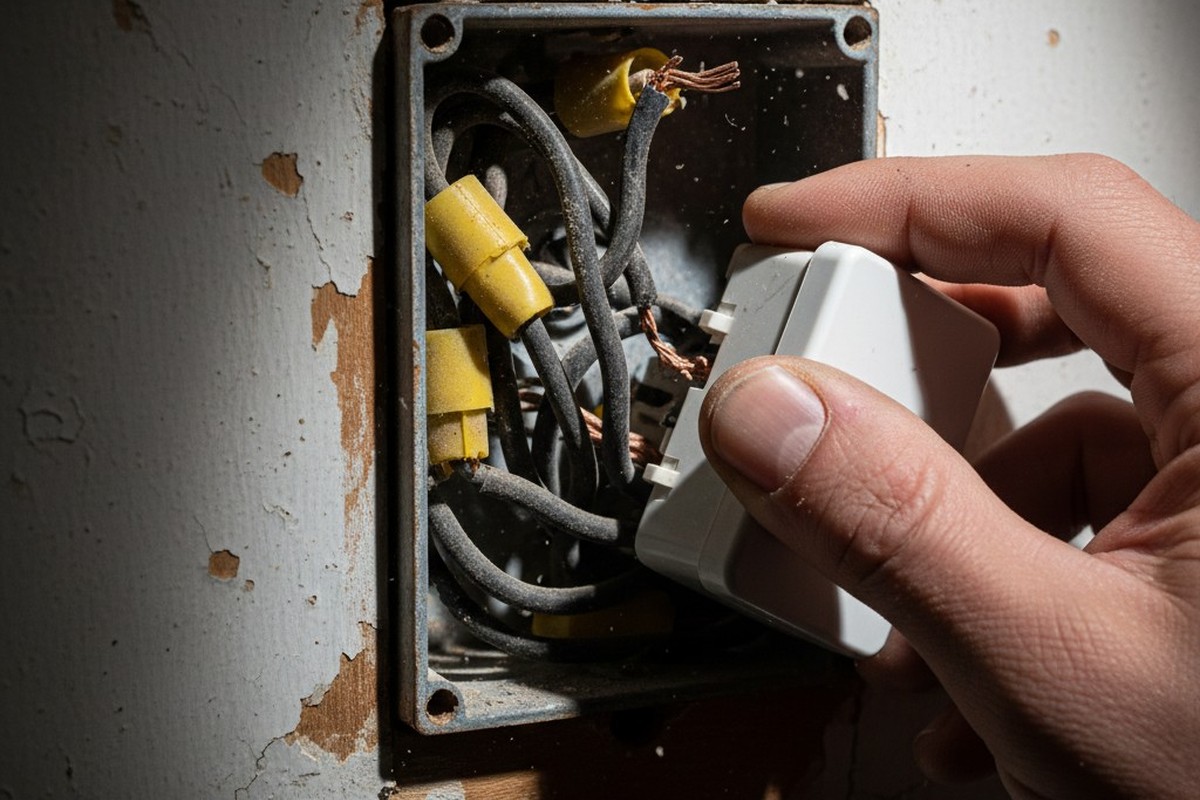
In residential electrical retrofits, marketing photos always lie. They show smart switches floating in pristine, deep blue plastic boxes, surrounded by an abundance of air and neatly organized copper. But in the Rust Belt, the Northeast Corridor, or any neighborhood built before 1970, the reality is a steel “gem” box embedded in brick. These boxes are often 1.5 inches deep. Sometimes less. The sides are conductive metal. The wires aren’t neat; they are stiff, cloth-covered veterans that have been baking in the wall for sixty years.
Here, the modern smart home industry crashes into the physical limitations of the past. A standard smart dimmer—like the Lutron Caseta or Leviton Decora Smart—is an engineering marvel, but it’s physically large. It has a massive back-end to house the radio, the heat sink, and the dimming electronics. When you attempt to shove one of these units into a 1920s masonry box, you’re trying to put ten pounds of electronics into a five-pound steel bag.
The result isn’t just frustration. It’s a code violation and a fire hazard. The National Electrical Code (NEC 314.16) dictates box fill for a reason. Crowding conductors generates heat. Compressing old insulation against metal edges causes shorts. If you have to use your shoulder to force a switch into the wall, you’ve already failed. The installation requires a device that respects the volume constraints of the infrastructure, not one that demands you chisel out the brick to accommodate it.
هل تبحث عن حلول لتوفير الطاقة تعمل بالحركة؟
تواصل معنا للحصول على أجهزة استشعار الحركة PIR بالكامل، والمنتجات الموفرة للطاقة والتي تعمل بالحركة، ومفاتيح أجهزة استشعار الحركة، والحلول التجارية للإشغال/الشاغر.
The Rayzeek Form Factor
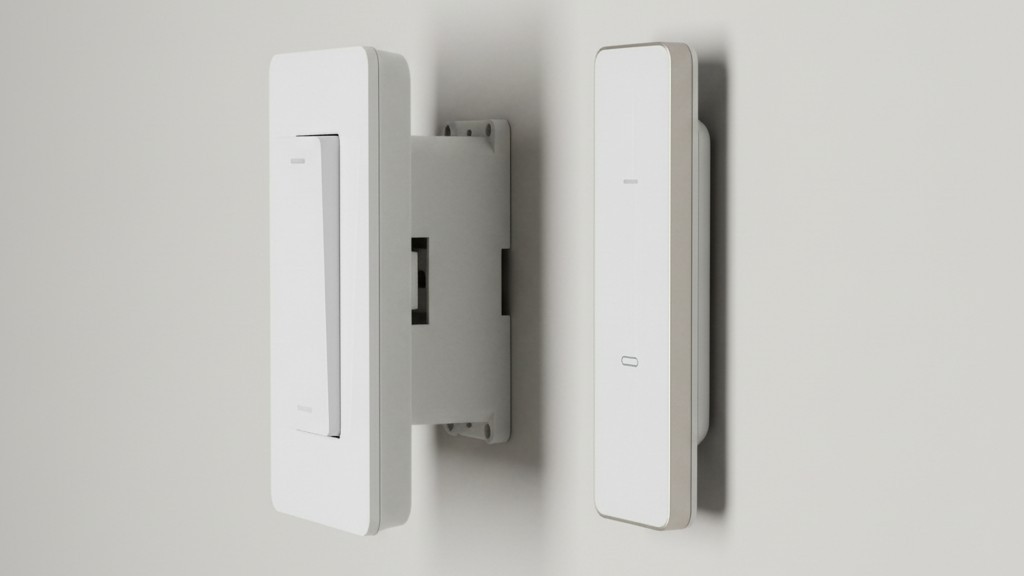
This is the primary argument for the Rayzeek line of switches in historic renovations. Forget the app interface or the RGB capabilities; those are secondary luxuries. We’re discussing the caliper measurement from the back of the faceplate to the rear of the housing.
Rayzeek units generally shave crucial millimeters off the depth compared to their big-box competitors. In a 3-inch deep modern box, that difference is irrelevant. In a 1.5-inch metal handy box, those millimeters are the difference between a safe install and a crushed neutral wire. The back-end is flatter, the heat sink tabs are less intrusive, and the pigtails are often positioned to allow more flexibility. It allows the installer to preserve the original conduit and box without resorting to demolition.
There is a trade-off, of course. The tactile feel of the paddle or the exact shade of white might not perfectly match a wall of existing designer switches. If the goal is a magazine-cover aesthetic match with a specific high-end plate, this might annoy the perfectionist. But in a retrofit, function dictates form. A slightly different shade of white is preferable to a switch that sticks out a quarter-inch from the wall because it physically bottomed out against the back of the box.
Before purchasing a crate of these for a whole-home upgrade, pull one existing switch. Measure the depth of the box with a tape or caliper. If you’re working with less than 2 inches of depth, the standard “best in class” switches found at Home Depot likely won’t fit. The Rayzeek becomes the tactical choice for the geometry of the situation.
Wire Triage and Safety
The device is only half the equation. The condition of the conductors in the wall is the other. In many pre-war homes, you will encounter cloth-sheathed wiring with rubber insulation that has grown brittle over decades.
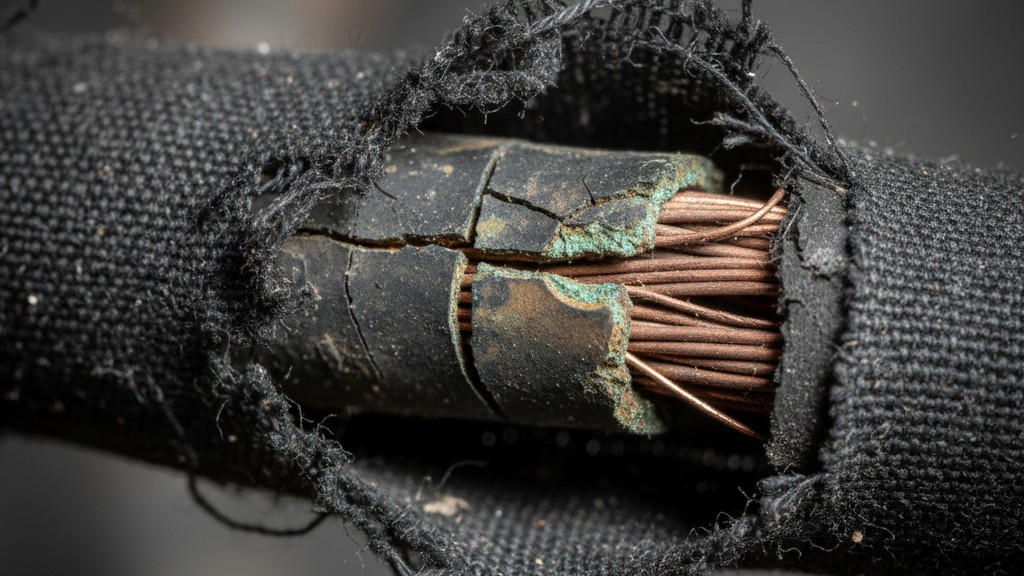
When you open these boxes, the insulation often cracks if you look at it wrong. Before you even attempt to wire the smart switch, you must stabilize the patient. If the insulation flakes off, exposing bare copper, you cannot proceed until you’ve sleeved it with heat-shrink tubing or wrapped it meticulously with Super 33+ electrical tape. Don’t rely on cheap vinyl tape from the dollar bin; it turns into a gooey mess in a year. Use professional-grade tape that handles thermal cycling.
Once the wire is safe, you have to address the volume problem. The old “wire nut” connectors are too bulky for this application. Three yellow wire nuts can take up nearly as much space as the switch itself. You must evict them.
Replace every twist-on connector in the box with a Wago 221 lever nut. This isn’t a suggestion; it’s a requirement for shallow box survival. The Wago 221 is flat, transparent, and holds the wire securely without the bulk. It allows you to push the connections into the corners of the box, reclaiming the center space for the deep body of the smart switch. This single change can recover 15–20% of the usable volume in a small box.
قد تكون مهتمًا بـ

- الجهد الكهربائي: بطاريتان AAA
- وضع النهار/الليل
- التأخير الزمني: 15 دقيقة، 30 دقيقة، ساعة واحدة (افتراضي)، ساعتان

- مستشعر إشغال PIR للسقف مع مخرج مرحل اتصال جاف
- مصدر إمداد بالطاقة منخفض الجهد 12/24VDC أو 12/24VAC
- ملامسات مرحل معزولة (COM وNO وNC) لمدخلات التحكم في أنظمة إدارة الطاقة (EMS) والتدفئة والتهوية وتكييف الهواء (HVAC) وإدارة المباني

- مفتاح مستشعر الحركة بالموجات الدقيقة بجهد منخفض من التيار المستمر (DC) للتركيب الغاطس في السقف
- دخل 12 VDC / 24 VDC مع نطاق من 10 إلى 30 VDC
- تيار تشغيل أقصى 10A مع تأخير زمني قابل للتعديل، وعتبة إضاءة (Lux)، وحساسية قابلة للضبط
- مفتاح مستشعر الحركة بالموجات الدقيقة للأحمال العالية للتركيب الغاطس في السقف
- دخل جهد الخط 100-265 VAC، طراز 10A
- استشعار بالموجات الدقيقة بتردد 5.8 GHz مع تأخير زمني قابل للتعديل، وعتبة إضاءة (Lux)، وحساسية قابلة للضبط
- مفتاح مستشعر الحركة بالموجات الدقيقة للتركيب الغاطس في السقف
- دخل جهد الخط 100-265 VAC، طراز 5A
- استشعار بالموجات الدقيقة بتردد 5.8 GHz مع تأخير زمني قابل للتعديل، وعتبة إضاءة (Lux)، وحساسية قابلة للضبط
- خافض إضاءة بمستشعر الإشغال RZ037 PIR للتركيب السقفي بقدرة جهد 220V
- تيار تشغيل أقصى 3A مع حمل مقدر يبلغ 660W
- زر LUX للتحكم في تشغيل/إيقاف مستشعر الضوء ومستوى سطوع خفت الإضاءة المحدد من قبل المستخدم
- خافض إضاءة بمستشعر الإشغال RZ037 PIR للتركيب السقفي بقدرة جهد 110V
- تيار تشغيل أقصى 3A مع حمل مقدر يبلغ 330W
- زر LUX للتحكم في تشغيل/إيقاف مستشعر الضوء ومستوى سطوع خفت الإضاءة المحدد من قبل المستخدم

- مفتاح مستشعر حركة ميكروويف لسقف، يعمل بالتيار المستمر منخفض الجهد
- دخل 12 VDC / 24 VDC مع نطاق من 10 إلى 30 VDC
- تيار تشغيل أقصى 10A مع تأخير زمني قابل للتعديل، وعتبة إضاءة (Lux)، وحساسية قابلة للضبط
- مفتاح مستشعر حركة ميكروويف لسقف ذو حمل أعلى
- دخل جهد الخط 100-265 VAC، طراز 10A
- استشعار بالموجات الدقيقة بتردد 5.8 GHz مع تأخير زمني قابل للتعديل، وعتبة إضاءة (Lux)، وحساسية قابلة للضبط
- مفتاح مستشعر حركة ميكروويف لسقف
- دخل جهد الخط 100-265 VAC، طراز 5A
- استشعار بالموجات الدقيقة بتردد 5.8 GHz مع تأخير زمني قابل للتعديل، وعتبة إضاءة (Lux)، وحساسية قابلة للضبط

- مفتاح حساس الحركة للأشعة تحت الحمراء PIR المدمج للسقف يعمل بالتيار المستمر منخفض الجهد
- دخل 12 VDC / 24 VDC مع نطاق من 10 إلى 30 VDC
- أقصى تيار تشغيل 10A مع تأخير زمني قابل للتعديل وعتبة إضاءة (Lux) وحساسية قابلتين للتعديل

- مفتاح حساس الحركة للأشعة تحت الحمراء PIR المدمج للسقف للأحمال العالية
- دخل جهد الخط 100-265 VAC، طراز 10A
- كشف بزاوية 360 درجة مع تأخير زمني قابل للتعديل وعتبة إضاءة (Lux) وحساسية قابلتين للتعديل
- مفتاح حساس الحركة للأشعة تحت الحمراء PIR المدمج للسقف
- دخل جهد الخط 100-265 VAC، طراز 5A
- كشف بزاوية 360 درجة مع تأخير زمني قابل للتعديل وعتبة إضاءة (Lux) وحساسية قابلتين للتعديل

- طقم مفتاح ومستقبل لاسلكي للتحكم في تشغيل وإيقاف الإضاءة الداخلية
- مستقبل 100-230VAC، 50/60Hz بتيار مقدر 5A
- مفتاح لاسلكي يعمل ببطارية CR2032 مع اتصال بتردد 2.4GHz
- مستشعر شغور (تشغيل تلقائي/إيقاف تلقائي)
- 12–24V DC (10–30VDC)، حتى 10A
- تغطية 360 درجة، بقطر 8–12 م
- تأخير زمني من 15 ثانية إلى 30 دقيقة
- مستشعر إضاءة: إيقاف/15/25/35 لوكس
- حساسية عالية/منخفضة
- وضع الشغور بتشغيل تلقائي/إيقاف تلقائي
- 100–265V AC، 10A (يتطلب خط محايد)
- تغطية 360 درجة؛ قطر الكشف 8–12 م
- تأخير زمني من 15 ثانية إلى 30 دقيقة؛ شدة الإضاءة: إيقاف/15/25/35 لوكس؛ الحساسية: عالية/منخفضة
- وضع الشغور بتشغيل تلقائي/إيقاف تلقائي
- 100–265V AC, 5A (neutral required)
- تغطية 360 درجة؛ قطر الكشف 8–12 م
- تأخير زمني من 15 ثانية إلى 30 دقيقة؛ شدة الإضاءة: إيقاف/15/25/35 لوكس؛ الحساسية: عالية/منخفضة
The Installation Mechanics
Now for the surgery. Installing a smart switch in a shallow metal box isn’t a test of strength. It’s choreography. You cannot simply stuff the wires in and screw it down.
Start by connecting the ground, then the neutral, then the line and load. Once the connections are made with your Wagos, perform the “accordion fold.” Bend the wires in a zigzag pattern, pushing the connectors to the extreme rear corners of the box or the spaces above and below the device yoke. The goal is to create a void in the direct center of the box where the Rayzeek’s body will sit. If you feel resistance when pushing the switch back, stop. Pull it out and re-fold. Forcing it compresses the wires against the sharp metal edges of the box, which is a guaranteed way to trip a breaker or start a fire.
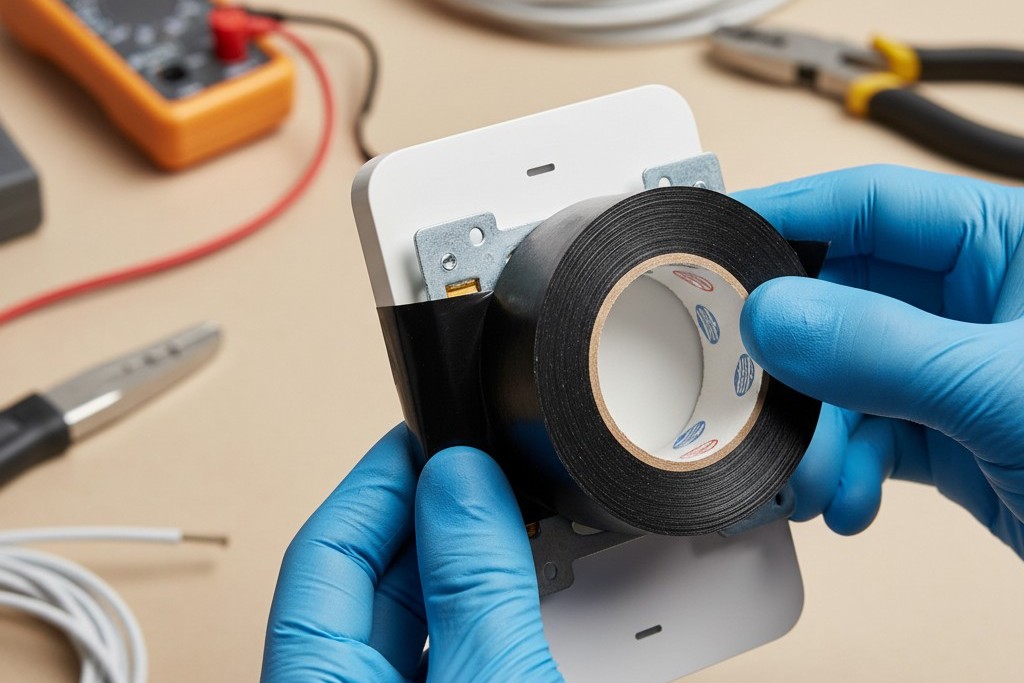
Because you are working in a metal box, there is a critical safety step that gets skipped too often: taping the terminals. Even if the Rayzeek uses pigtails, ensure no bare metal from the wire or the connector is exposed. Wrap the entire body of the switch—covering the screw terminals—with two layers of electrical tape. In a steel box, the clearance between the side of the switch and the wall of the box can be less than an eighth of an inch. If the switch shifts slightly during use, untaped terminals can arc against the box. Tape is cheap insurance.
A note on alignment: if you are installing this in a multi-gang box (where two or three switches sit side-by-side), you may find the Rayzeek sits slightly differently than the mechanical toggle next to it. You’ll need to adjust the mounting screws carefully to get the faceplate to sit flush. It takes patience, and sometimes a few small washers behind the yoke to level it out.
Circuit Logic and The Neutral Trap
The electrical logic of older homes often defies modern expectations. A common surprise is the “switch loop,” where a box contains only two wires—a line and a load—and no neutral wire. The white wire you see might actually be a hot wire, not a neutral.
If you encounter a box with no bundle of white neutral wires tucked in the back, you cannot use a standard neutral-required smart switch. Rayzeek offers no-neutral models (often requiring a capacitor to be installed at the light fixture) which solve this. While a true neutral connection is always electrically superior for stability, the no-neutral version is a valid workaround that saves you from rewiring the house. Just understand that the capacitor installation is mandatory, not optional, to prevent your LED bulbs from flickering or glowing when off.
احصل على الإلهام من محفظة منتجات مستشعرات الحركة Rayzeek.
لم تجد ما تبحث عنه؟ لا تقلق، فهناك دائمًا طرق بديلة لحل مشكلاتك. ربما تكون إحدى محافظ منتجاتنا هي الحل المناسب.
Before you close everything up, verify your work. Turn the breaker back on and test the switch manually. Listen for any buzzing from the box. Smell the air near the switch after it has been on for ten minutes. If you smell acrid plastic or hear a crackle, kill the power immediately. You’ve likely pinched a wire or overcrowded the box.
The Long Term Bet
Is a Rayzeek switch going to last as long as a Lutron? Maybe not. Lutron is the gold standard for a reason, and their engineering is bulletproof. But in the context of a 1940s home with shallow masonry boxes, the “best” switch is the one that fits safely.
If the choice is between a Rayzeek that installs cleanly today versus a premium switch that requires damaging the original plaster or leaving wires dangerously compressed, the choice is clear. We prioritize the physical integrity of the install. If the switch needs replacing in seven years, that is a ten-minute job. Rebuilding a plaster wall because you tried to chisel out a brick is a two-week nightmare.







