A garage can make a perfectly normal PIR occupancy switch look broken.
The pattern is familiar: lights turn on around lunch when nobody is home, they keep retriggering after a car is parked, or the exhaust fan cycles like someone is pacing in circles. People call it “ghost motion” because it feels random and personal. In practice, it’s usually predictable once someone pays attention to what the sensor is actually watching.
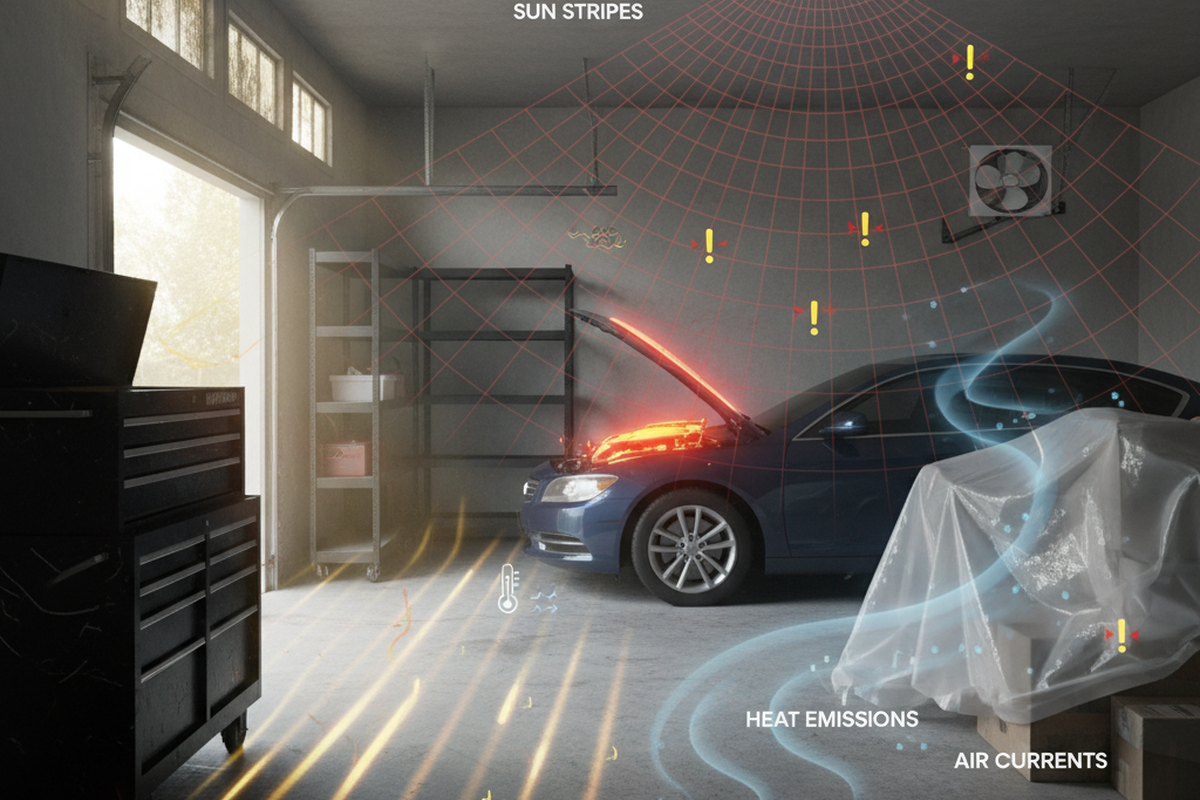
The boring, physical reasons garage PIRs misbehave are strictly mechanical: sun stripes, hot hoods, door planes, and fast temperature swings. The fixes that survive the changing seasons involve placement first, then modest settings, and daylight-aware gating so a weird thermal event doesn’t burn your lights in full sun.
The “Ghost Motion” Pattern (And Why It’s Predictable)
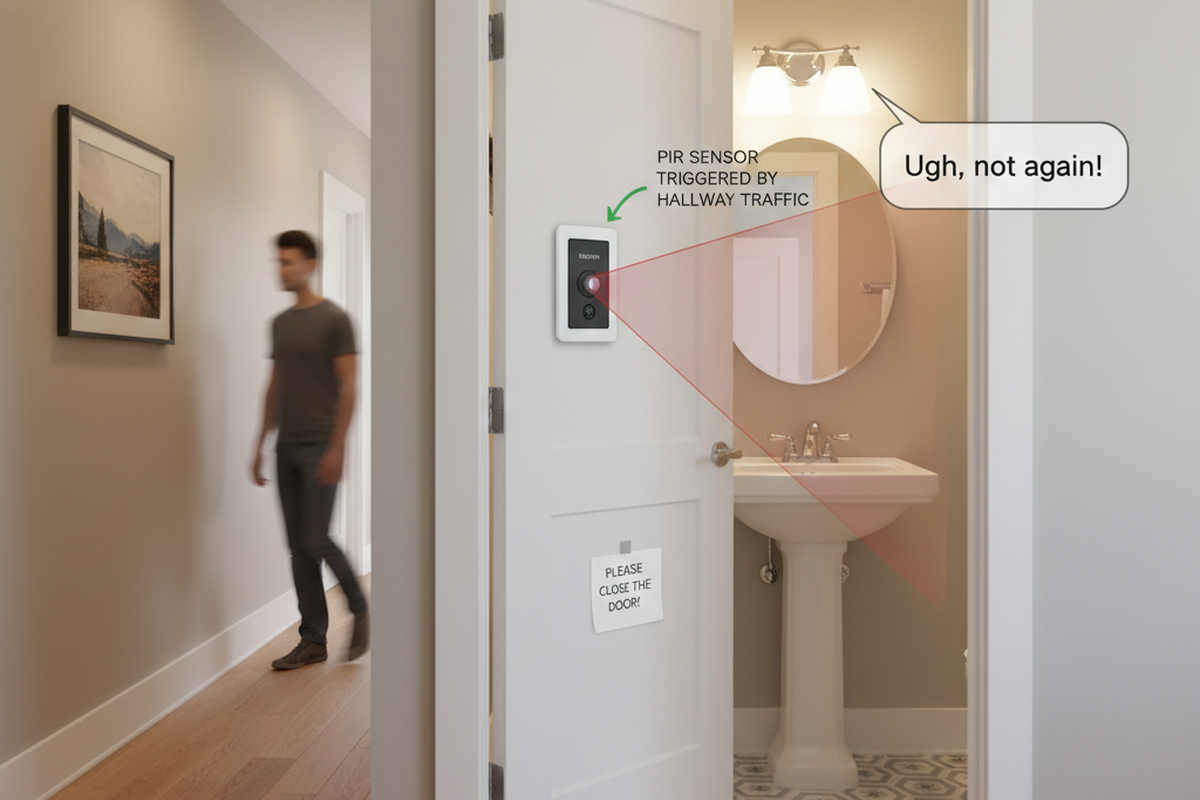
In a Front Range attached garage, a phone notification showed “motion” at nearly the same time every day. The room was empty. The homeowner was sure someone was sneaking in. The garage door faced south, and in shoulder season the sun angle is low enough that a bright rectangle creeps off the bottom of the door and slides across the slab like a slow spotlight. With an epoxy-coated floor, the contrast is sharp. A PIR mounted at wall height and aimed steeply down ends up watching that moving edge, not people.
That’s the trap: a PIR doesn’t read intent. It reads change. When a high-contrast thermal edge moves across its view zones, it interprets the changing pattern as motion even if no person is there. If the false-ons happen on a schedule, that schedule is a clue. The environment is doing something repeatable.
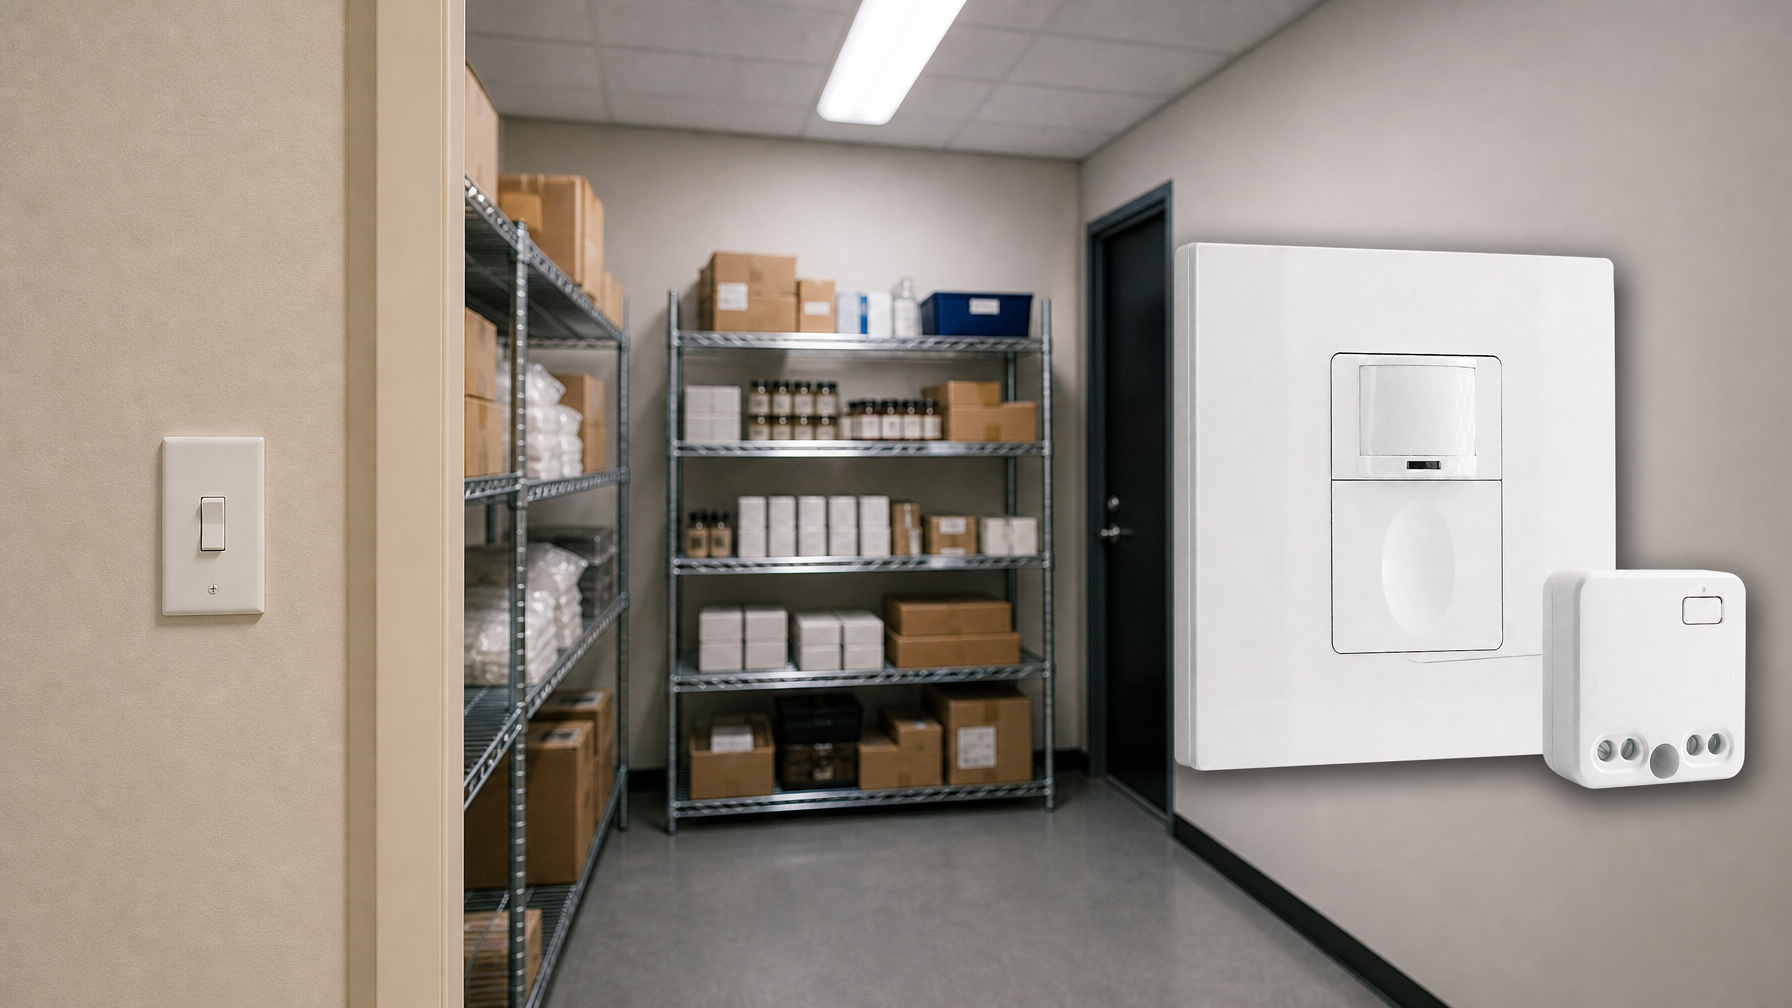
It’s worth distinguishing “occupancy sensor” and “motion sensor” immediately, because product listings often treat them as synonyms. They aren’t. Many wall switches marketed as occupancy sensors are auto-on by design. In a garage, auto-on plus false triggers creates the most embarrassing failure mode: the midday light burn, where the lights blaze in a bright garage for no reason. The goal here is to reduce those false-ons by changing what enters the sensor’s field of view, not by hoping a dial can overwrite physics.
차고 환경이 PIR 센서에 미치는 영향 (태양빛, 열, 외풍)
차고는 온화하고 안정적인 열 패턴을 가진 실내 공간이 아닙니다. 차고는 집과 연결된 반야외 공간처럼 작동합니다. 큰 문, 틈새가 있는 밀폐부, 풍압 변화, 햇빛, 급격한 온도 과도 현상이 발생합니다. 고가의 장비 없이도 이를 직접 확인할 수 있습니다. Klein IR5 같은 저가형 적외선(IR) 온도계만 사용해 봐도, 문을 한 번 열고 닫은 후 문 이음새 근처의 온도가 10분도 채 되지 않아 20~30°F씩 급변하는 것을 볼 수 있습니다. 그렇다고 차고 전체가 그만큼 빠르게 변한다는 뜻은 아닙니다. 경계 영역이 그렇게 변한다는 의미이며, 이러한 경계 영역이야말로 PIR 센서가 가장 잘 감지하는 대상입니다.
Mechanism matters here because it changes your decisions. A PIR effectively watches zones for changes in infrared pattern. It likes lateral motion across those zones—someone walking across the view. It struggles when the “thing that moves” is a thermal edge: a sun stripe sliding over concrete, or the high-contrast line between a sun-warmed patch and a cooler band near the door seal. In April shoulder-season light, that edge can move several feet in less than an hour, and the sensor sees a slow body crossing its zones. This is why garages trigger without anyone inside and why the timing is so consistent.
The second garage-specific failure mode surprises people even more: the hot car. A parked vehicle is a heat source with edges, and those edges change as the engine bay cools and convection shifts the air above the hood. In winter, when the garage is cold and the engine is hot, the contrast is stronger. There’s a classic window: ten to twenty minutes after parking, the garage is quiet, and the PIR indicator LED blips anyway. People assume the sensor “senses heat.” A better description is that the sensor is watching the hot hood line, the air shimmer, and the cooling pattern change. If the sensor’s main zones include the front end of the car, it’s volunteering for retriggers.
Air movement adds a third layer. Air doesn’t trigger a PIR directly, but it changes what the PIR sees rapidly. In a small auto-detailing shop, opening a side man-door let a cold draft spill across the sensor’s view toward a warm compressor corner. A scrap of tissue made the airflow visible. The effect was repeatable: door opens, draft shifts the thermal scene, PIR fires, exhaust fan cycles, staff get annoyed. A minimum-on timer stopped the short-cycling, but the real fix was placement. We moved the sensor away from the door plane and aimed it across the work area, not at the boundary where the scene changes quickest.
A common confusion is “the garage door is setting off the sensor.” Sometimes the moving door itself is the visual change, but more often the door is the thermal boundary that causes the change. The door plane is where sun spills in, where wind pressure changes happen, where outside air mixes with garage air, and where the slab temperature gradient is steepest. If a PIR is mounted on the header and aimed down the centerline of the door—especially in spring and fall—it ends up watching the seam line and the sun stripe sweep. That placement looks neat and it catches people immediately, but it watches the most chaotic part of the building.
Another predictable complaint is “the lights won’t turn off after I park.” That’s not a settings mystery until proven otherwise. If retriggers happen on the cool-down timeline—roughly 10–20 minutes after parking—it’s a field-of-view problem. The car front end is part of the scene. Fixing the scene is why placement rules come before tuning rules.
Placement Rules That Survive Seasons
If the sensor can see the door plane or a hot hood, false triggers mean the device is working correctly.
That line is blunt because it saves time. Garages punish “standard wall switch height” installs. In one retrofit, a sensor was put around four feet high because it lined up with a switch box and was easy. The garage had a west-facing window, and late afternoon sun hit the floor like a stage light. The result was constant false-ons and a fast loss of trust in the system. The fix wasn’t exotic: ceiling mounting near the interior door and aiming across the entry path so the sensor watched people motion, not a changing slab.
어쩌면 다음 제품에도 관심이 있으실 수 있습니다
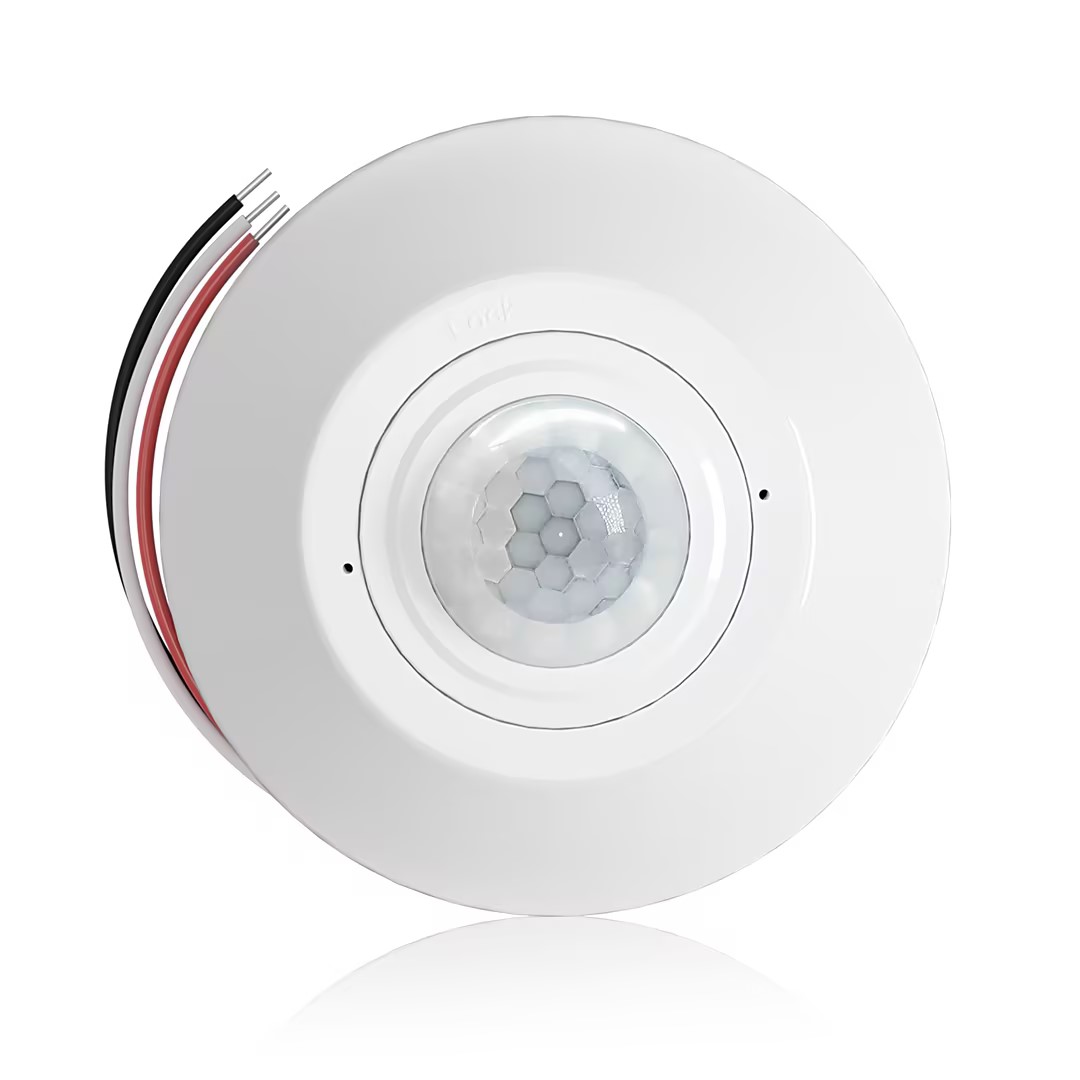
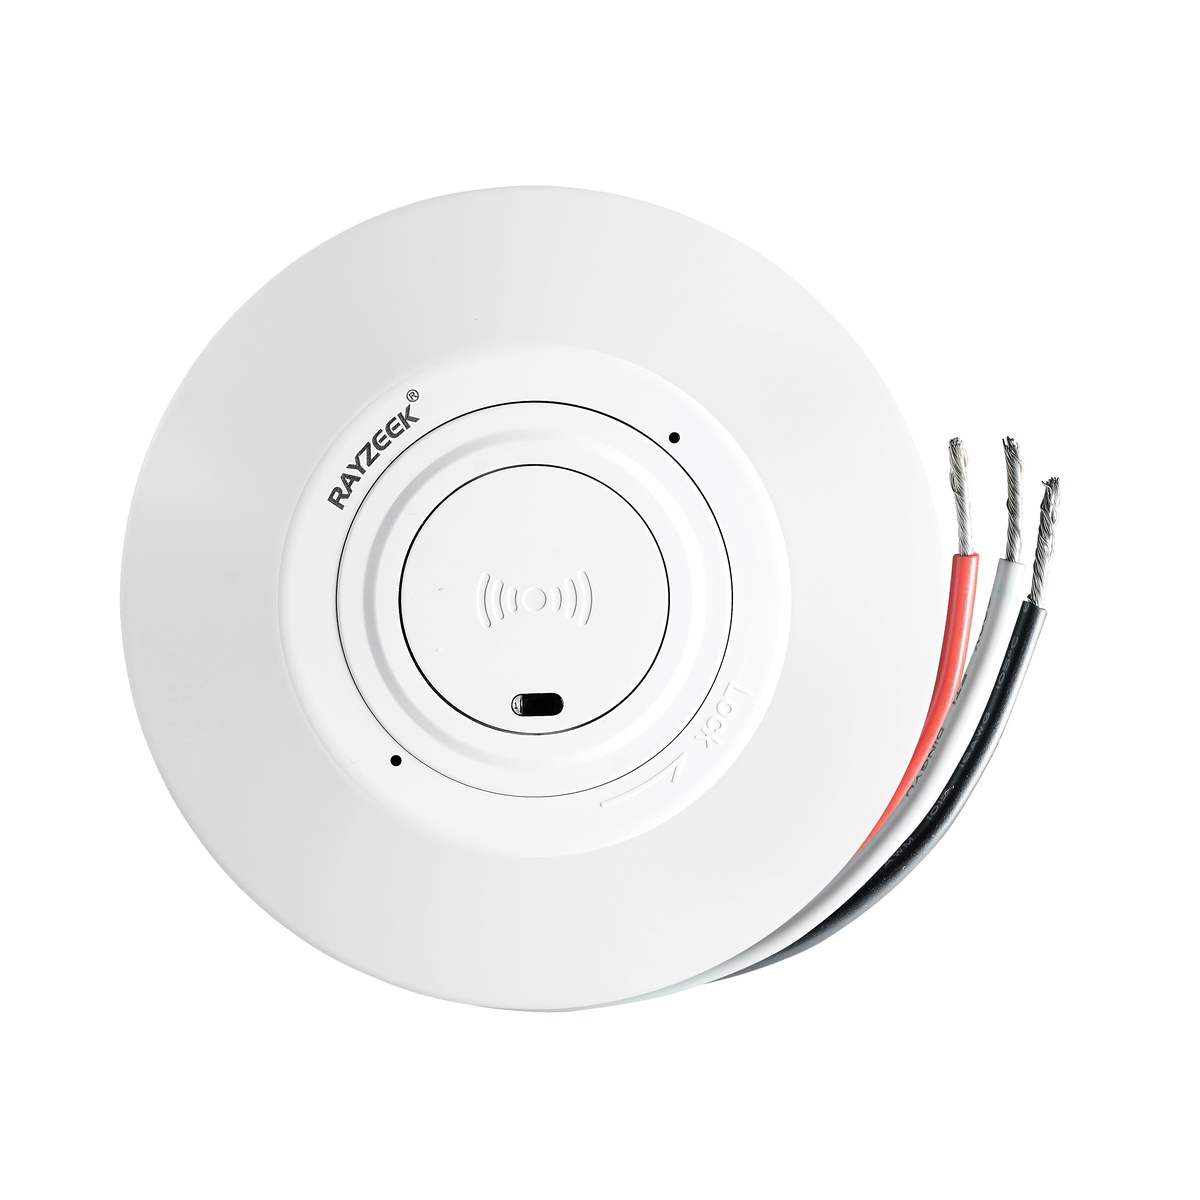
- 무전압 접점(dry-contact) 릴레이 출력을 갖춘 천장 장착형 PIR 재실 감지 센서
- 12/24VDC 또는 12/24VAC 저전압 전원 공급
- EMS, HVAC 및 빌딩 제어 입력을 위한 COM, NO, NC 절연 릴레이 접점
- 저전압 DC 천장 매립형 마이크로웨이브 모션 센서 스위치
- 10-30 VDC 범위의 12 VDC / 24 VDC 입력
- 시간 지연, 조도(Lux) 임계값 및 감도 조절이 가능한 최대 10A 작동 전류
- 고부하용 천장 매립형 마이크로웨이브 모션 센서 스위치
- 100-265 VAC 상용전압 입력, 10A 모델
- 시간 지연, 조도(Lux) 임계값 및 감도 조절이 가능한 5.8 GHz 마이크로웨이브 감지
- 천장 매립형 마이크로웨이브 모션 센서 스위치
- 100-265 VAC 상용전압 입력, 5A model
- 시간 지연, 조도(Lux) 임계값 및 감도 조절이 가능한 5.8 GHz 마이크로웨이브 감지
- 220V 전원용 천장 장착형 RZ037 PIR 재실 감지 센서 디머
- 정격 부하 660W, 최대 작동 전류 3A
- 조도 센서 켜짐/꺼짐(ON/OFF) 및 사용자 설정 디밍 밝기를 제어하는 LUX 버튼
- 110V 전원용 천장 장착형 RZ037 PIR 재실 감지 센서 디머
- 정격 부하 330W, 최대 작동 전류 3A
- 조도 센서 켜짐/꺼짐(ON/OFF) 및 사용자 설정 디밍 밝기를 제어하는 LUX 버튼
- 저전압 DC 천장 매립형 마이크로웨이브 모션 센서 스위치
- 10-30 VDC 범위의 12 VDC / 24 VDC 입력
- 시간 지연, 조도(Lux) 임계값 및 감도 조절이 가능한 최대 10A 작동 전류
- 고부하 천장 매립형 마이크로웨이브 모션 센서 스위치
- 100-265 VAC 상용전압 입력, 10A 모델
- 시간 지연, 조도(Lux) 임계값 및 감도 조절이 가능한 5.8 GHz 마이크로웨이브 감지
- 천장 매립형 마이크로웨이브 모션 센서 스위치
- 100-265 VAC 상용전압 입력, 5A model
- 시간 지연, 조도(Lux) 임계값 및 감도 조절이 가능한 5.8 GHz 마이크로웨이브 감지
- 저전압 DC 매립형 천장 장착 PIR 모션 센서 스위치
- 10-30 VDC 범위의 12 VDC / 24 VDC 입력
- 최대 작동 전류 10A (시간 지연, 조도 값, 감도 조절 가능)
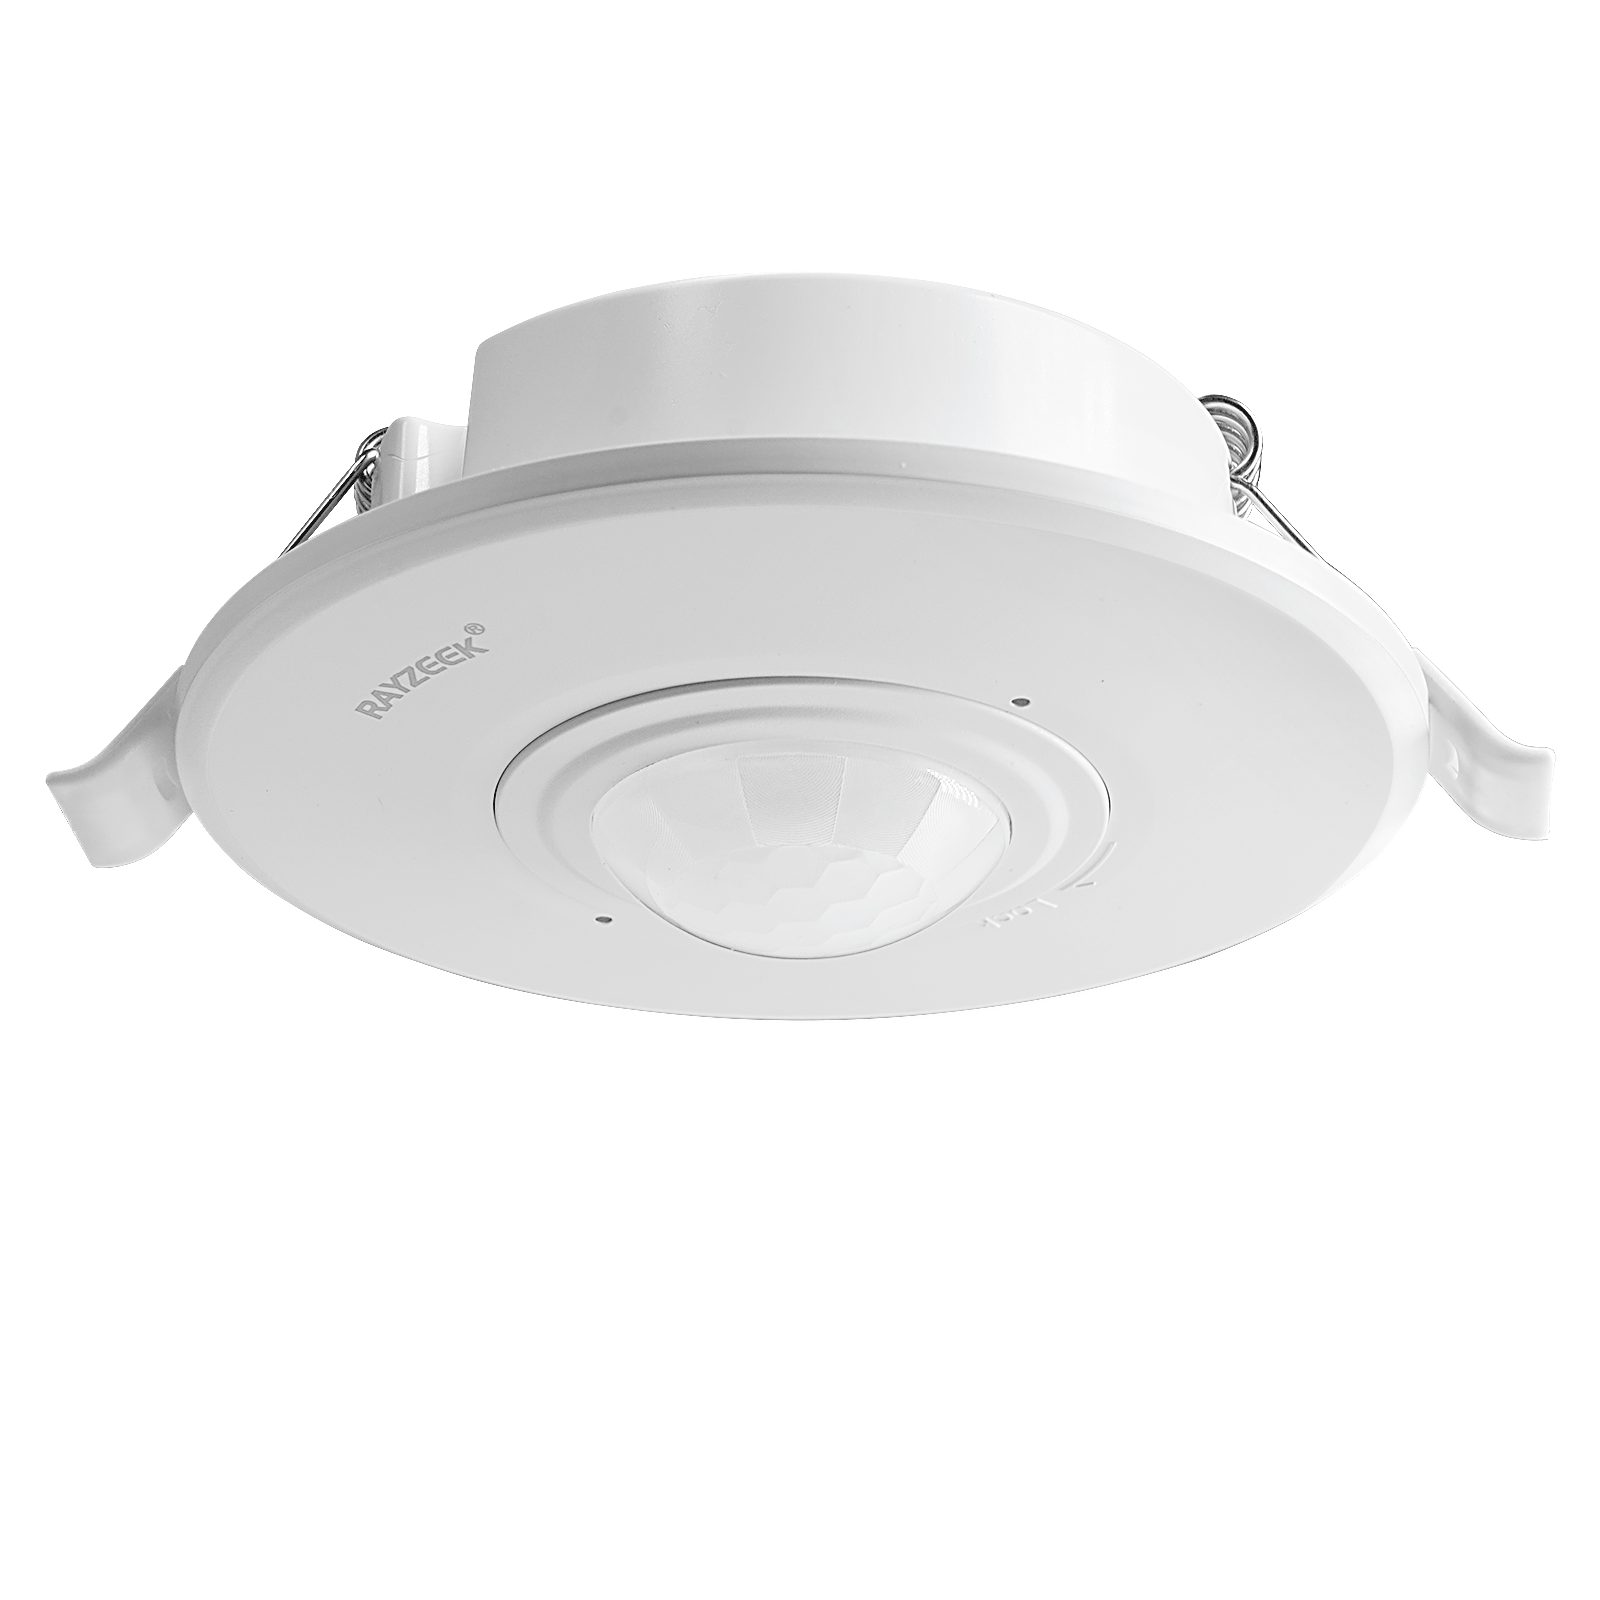
- 고부하 매립형 천장 장착 PIR 모션 센서 스위치
- 100-265 VAC 상용전압 입력, 10A 모델
- 360도 감지 (시간 지연, 조도 값, 감도 조절 가능)
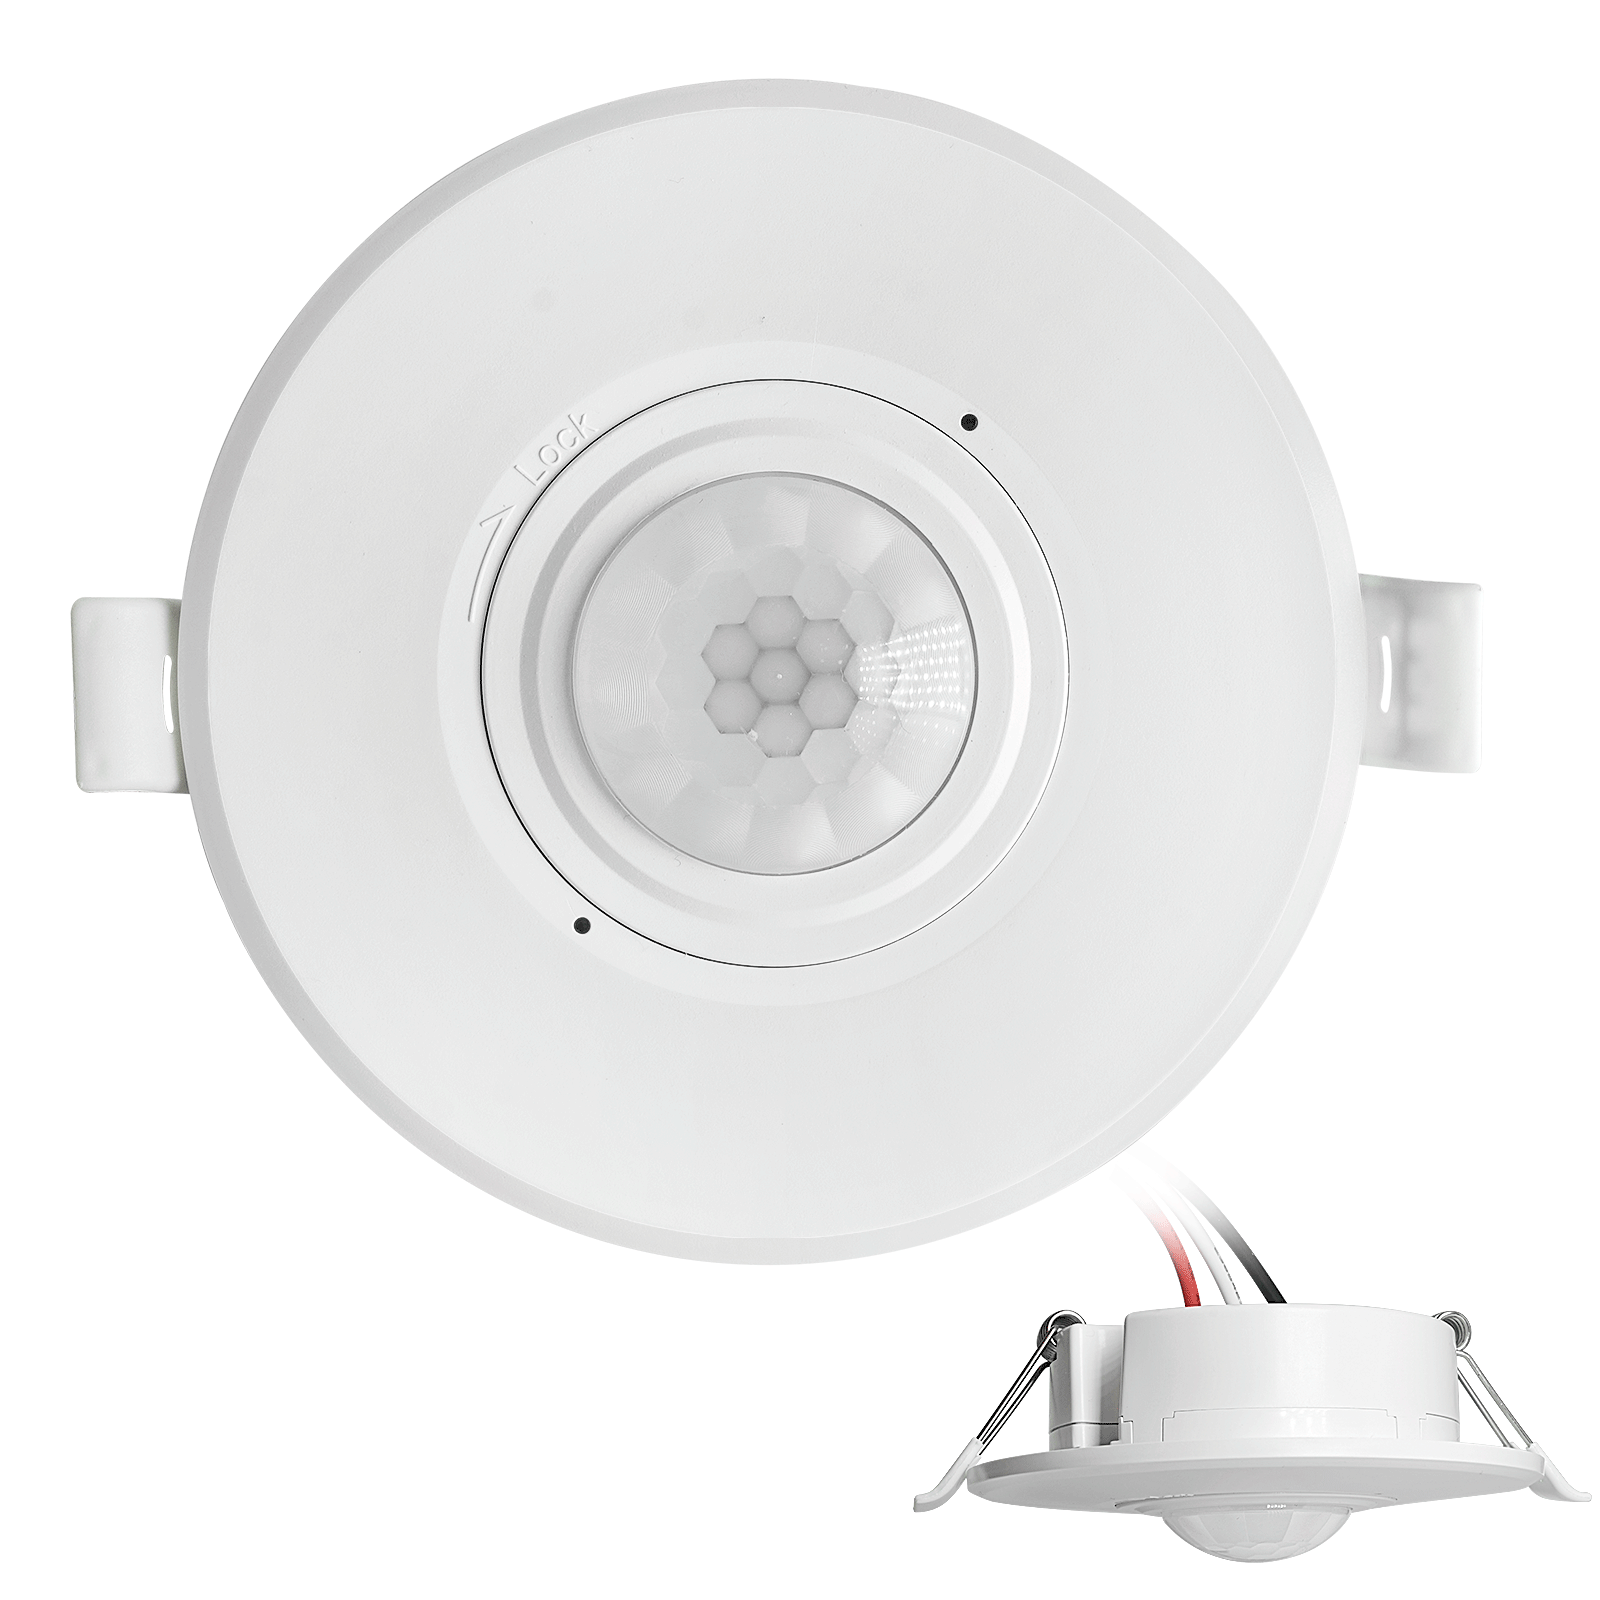
- 매립형 천장 장착 PIR 모션 센서 스위치
- 100-265 VAC 상용전압 입력, 5A model
- 360도 감지 (시간 지연, 조도 값, 감도 조절 가능)
- 실내 조명 ON/OFF 제어용 무선 스위치 및 수신기 키트
- 100-230VAC, 50/60Hz 수신기 (정격 전류 5A)
- CR2032 배터리 구동 무선 스위치 (2.4GHz 통신)
- 재실 감지 (Auto-ON/Auto-OFF)
- 12–24V DC (10–30VDC), 최대 10A
- 360° 감지 범위, 직경 8–12 m
- 시간 지연 15초–30분
- 조도 센서 Off/15/25/35 Lux
- 감도 높음/낮음
- Auto-ON/Auto-OFF 재실 모드
- 100–265V AC, 10A (중성선 필수)
- 360° 감지 범위, 감지 직경 8–12 m
- 시간 지연 15초–30분, 조도 OFF/15/25/35, 감도 높음/낮음
- Auto-ON/Auto-OFF 재실 모드
- 100–265V AC, 5A (중성선 필요)
- 360° 감지 범위, 감지 직경 8–12 m
- 시간 지연 15초–30분, 조도 OFF/15/25/35, 감도 높음/낮음
- 100V-230VAC
- 전송 거리: 최대 20m
- 무선 모션 센서
- 유선 제어
- 전압: AAA 배터리 2개 / 5V DC (Micro USB)
- 주간/야간 모드
- 시간 지연: 15분, 30분, 1시간(기본값), 2시간
- EU 플러그 전원 어댑터
- UK 플러그 전원 어댑터
The rules that tend to hold up across layouts are not complicated, but they aren’t the ones people instinctively do.
- Aim across the expected walking path from the house door, not at the garage door.
- Keep the door seam and bottom-of-door sun spill out of the sensor’s primary zones.
- Avoid aiming steeply down at the slab, especially near the door line.
- Avoid line-of-sight to a parked vehicle’s front end, water heater faces, and other radiative “hot corners.”
- Prefer higher mounting (often ceiling) looking across, rather than wall height looking down.
- Treat windows and door glazing as “sun projectors” that move throughout the day and season.
When placement advice sounds pedantic, a fast proof beats arguing. A crude but legitimate diagnostic is masking: use blue painter’s tape on the lens to block a portion of the view temporarily. In a Thornton rental situation with a tenant furious about lights waking them through a shared wall, masking half the lens on a ladder was enough to end the blame spiral. The false triggers stopped when the sunlit portion of the door glazing was excluded from the view. That test doesn’t permanently “fix” the system—masking can create missed detections—but it proves which slice of the scene is causing the problem. Once the cause is proven, relocating or re-aiming is no longer a guess.
The point of the proof isn’t theatrics. It’s decision-making: prove the field of view, then change it.
Two-Minute Diagnostics Before You Touch a Dial
A short diagnostic sequence keeps people from spending a weekend in the settings menu.
One: Watch the garage during the known trigger window. If false-ons happen between about 10am and 3pm, walk the sensor’s line of sight and look for a bright sun patch or stripe moving on the slab, especially near the bottom of a south-facing door or a west window. If the sensor is aimed down, assume the floor is part of the problem. A quick lens-mask test (even a small strip of painter’s tape) can isolate whether the lower field is the trigger.
Two: Run a post-parking test. Park, go inside, and then stay out of the garage for ten to twenty minutes. If the lights retrigger during that quiet window, look at what the sensor can see: does it include the hood/engine bay area, or a sun-warmed side panel? A temporary aim change—sometimes as simple as a small shim behind the switch yoke—can tell you immediately whether the car is in the scene. Then you plan a real relocation or re-aim so the sensor watches the human lane, not the parked vehicle.
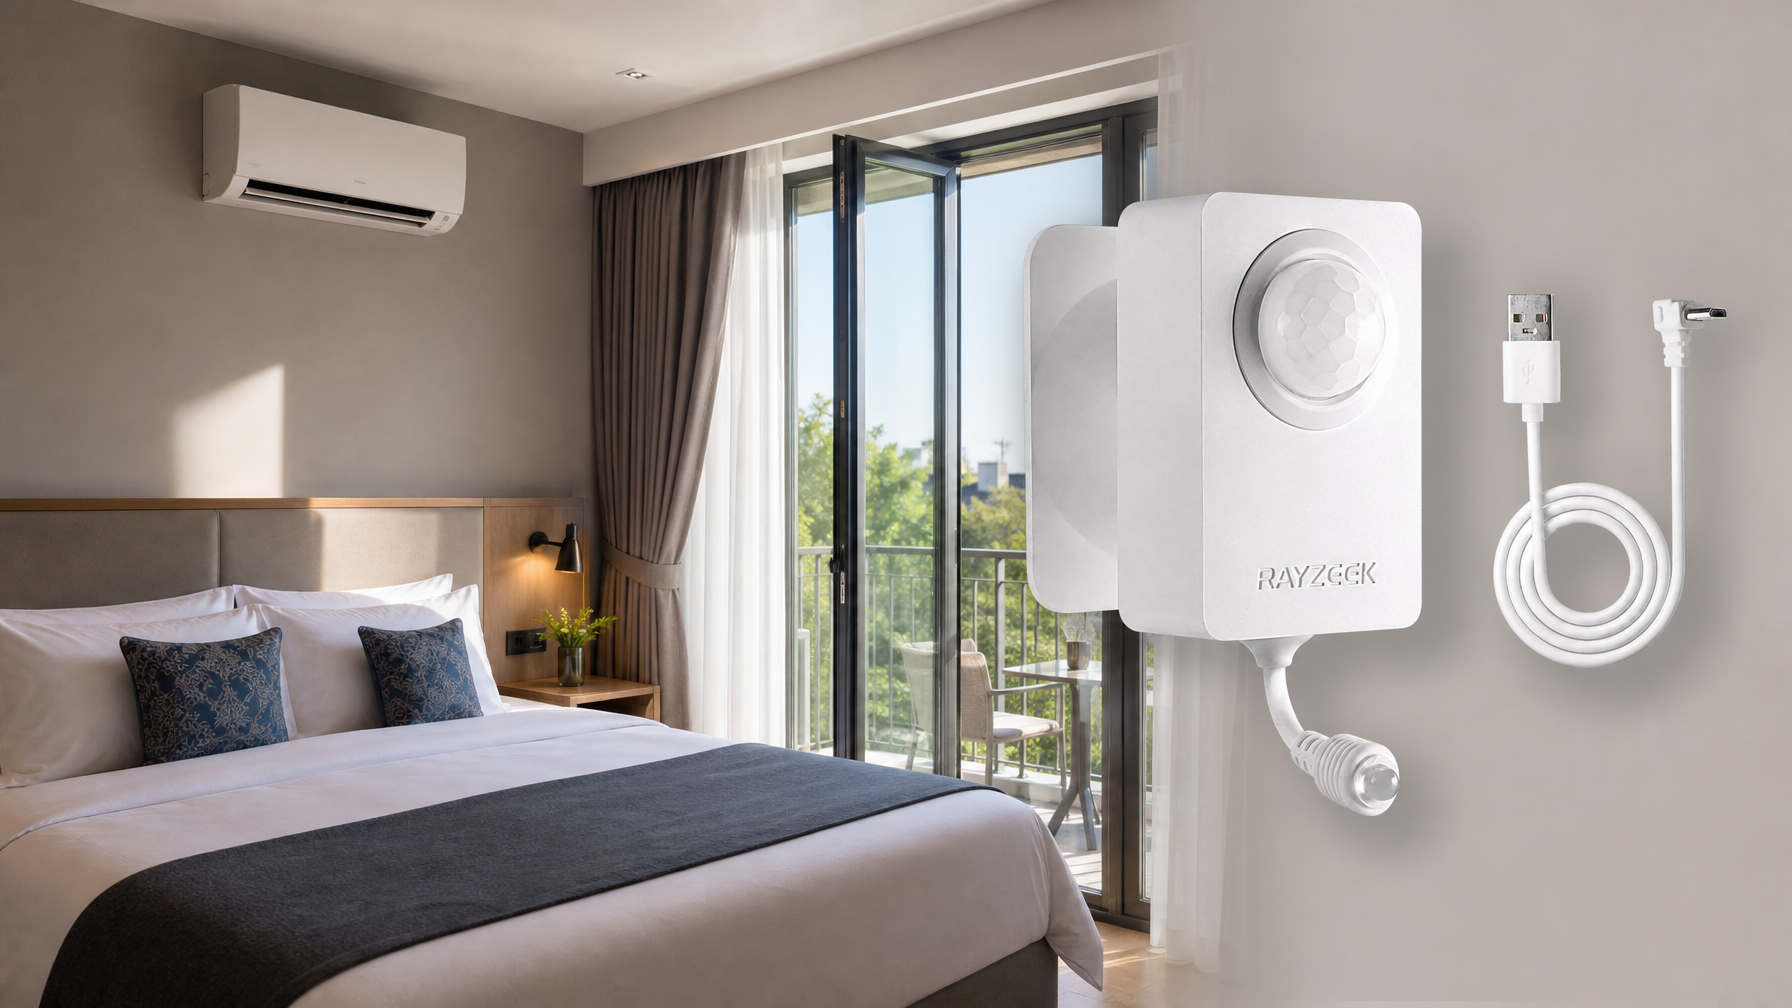
Rayzeek 동작 센서 포트폴리오에서 영감을 얻어보세요.
원하는 제품을 찾지 못하셨나요? 걱정하지 마세요. 문제를 해결할 수 있는 대안은 언제나 있습니다. 저희 포트폴리오 중 하나가 도움이 될 수 있습니다.
Three: Check door-plane influence. Open and close the big door, then stand still and see whether the sensor fires without anyone crossing its zones. If it does, you can’t “tune out” the door. You have to stop staring at the boundary that changes when the door moves.
Here’s the stop condition that keeps troubleshooting honest: after two settings tweaks, stop tweaking. If you’ve adjusted sensitivity and timeout and it still false-triggers, the next step is placement, aiming, masking, or adding a daylight inhibit—something that changes the scene. Settings are last-mile trim.
Settings: Timeout, Sensitivity, and Why Shorter Isn’t Always Better
After placement is cleaned up, settings start to matter in the way people originally hoped they would.
Lowering sensitivity and shortening timeout can reduce how long a false trigger stays visible, but it can also create misses in real use: slow entry, carrying groceries, or moving in a way that doesn’t cross zones strongly. In a shop context, an over-short timeout can short-cycle fans, which is both annoying and hard on equipment. That’s why minimum-on timers exist in some relay modules: they keep an exhaust fan from clicking on and off just because a door draft changed the scene for a moment.
So the tuning stance is narrow: set a timeout that matches how the space is used (quick in-and-out versus working in place), keep sensitivity moderate, and only then make small adjustments. If the system still looks stupid at noon, no amount of “shorter timeout” will fix the underlying issue if sunlight is the trigger. That’s where daylight gating earns its keep.
Daylight Gating: The Dignity-Saving Layer
Daylight-aware logic is not a fancy upgrade in a garage with sun exposure. It’s a reputation saver.
A Broomfield setup tied four 80W-equivalent LED shop lights to a PIR, and sunbeam triggers meant roughly two to three extra hours a day of runtime. That’s not catastrophic energy use, but it’s enough for a homeowner to notice on a bill and feel embarrassed when the garage is glowing in full sun. In another case, the system behaved fine until a clear-sky cold snap: bright winter sun, cold outside, and a high-contrast stripe near the door seal. Home Assistant logbook timestamps made the pattern obvious once someone looked. Adding a daylight gate using an existing outdoor lux sensor signal stopped the midday burn, and a small re-aim away from the door seam reduced the trigger probability in the first place.
This is also where a lot of smart-home energy goes sideways. People see false motion and immediately start building “if motion then on unless…” stacks. Software filtering can help, but it’s fragile if it’s compensating for bad geometry—especially when firmware updates reset device settings or the person maintaining the rules changes phones. A single clean daylight condition (sensor lux threshold or hub-based “only if it’s dark”) paired with good placement is robust. Ten exceptions layered on top of a sensor staring at the door plane is not.
One uncertainty worth naming: lux thresholds vary by sensor model and by where it’s mounted, and reflective epoxy floors can fool a light sensor. That’s why the validation step matters more than the number. Set a threshold in a sensible range, then test it in daylight, not just at night when everything “works.”
Red-Team: “Just Turn Sensitivity Down” (And Other Ways to Waste a Weekend)
The mainstream advice is simple: turn sensitivity down, shorten the timeout, and move on.
In garages, that advice fails because it reduces detection of actual people while leaving the real triggers in place. A sun stripe crossing the slab doesn’t care about your sensitivity dial. A hot hood cooling down doesn’t stop changing just because you made the sensor less responsive. People end up with lights that still come on at noon but now fail to come on when they walk in slowly. That’s the worst combination: still embarrassing, now unreliable.
The rebuild is also simple, just less satisfying at first: after two tweaks, stop. Change what the sensor sees. Re-aim away from the door seam, relocate so it watches across the entry lane, block the problem slice of view with proper masking if the device supports it, and add daylight inhibit so bright conditions can’t trigger lights. That sequence solves the garage-specific failure modes instead of pretending they are a settings problem.
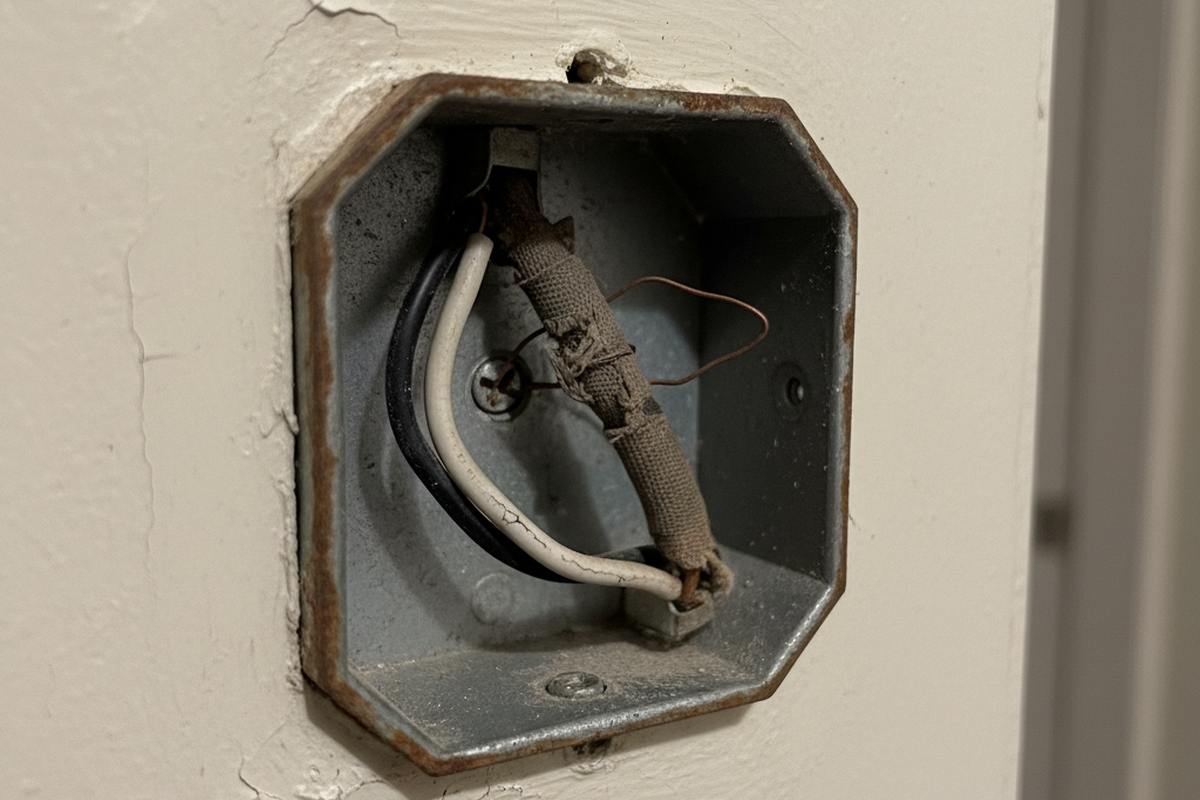
This isn’t a wiring tutorial or a debate about brands, but safety matters. If changing placement means moving line-voltage wiring, involve a licensed electrician and follow code. The field guide logic covers what to aim at and what to keep out of the scene.
배치만으로는 부족할 때 (그리고 다음에 해야 할 일)
일부 차고는 환경이 너무 복잡해서 편리한 위치에 벽면형 PIR 센서를 단 하나만 설치해서는 완벽한 효과를 기대하기 어렵습니다. 유리가 달린 남향 출입문, 큰 일교차, 그리고 센서가 차량을 감지할 수밖에 없는 주차 구조 등으로 인해 계절에 따라 예외적인 오작동 사례가 발생할 수 있으며, 특히 봄과 가을철의 태양 고도는 이러한 새로운 문제를 일으키는 흔한 원인입니다. 이런 공간에서는 날씨가 바뀔 때마다 무너지는 취약한 완벽함을 추구하기보다는, 안정적으로 '적당히 만족스러운' 수준을 목표로 삼는 것이 현명합니다.
When it’s time to escalate, the options should match the failure mode:
모션 감지 에너지 절약 솔루션을 찾고 계신가요?
완제품 PIR 모션 센서, 모션 감지 에너지 절약 제품, 모션 센서 스위치 및 상업용 재실/공실(Occupancy/Vacancy) 솔루션에 대해 문의해 주세요.
- Ceiling mounting that looks across the space often outperforms wall mounting that looks down at the slab, because it reduces exposure to floor temperature patterns.
- Dual-tech (PIR + microwave) can reduce missed detections in some layouts, but it can also create new false triggers around drafts, door movement, and reflections. It’s a tool, not magic.
- Electrician troubleshooting is appropriate if false triggers seem truly disconnected from sun, parking, or door cycles. Rare cases like vibration or electrical noise do exist, and endless sensor swapping won’t fix them.
The durable summary is straightforward: treat the garage like a semi-outdoor space, keep the door plane and hot engines out of the sensor’s main view, aim across where people actually walk, and use daylight gating so bright conditions can’t make the system look dumb. Then validate it once in the daytime and again when the season shifts, because the sun’s schedule changes even when the switch doesn’t.