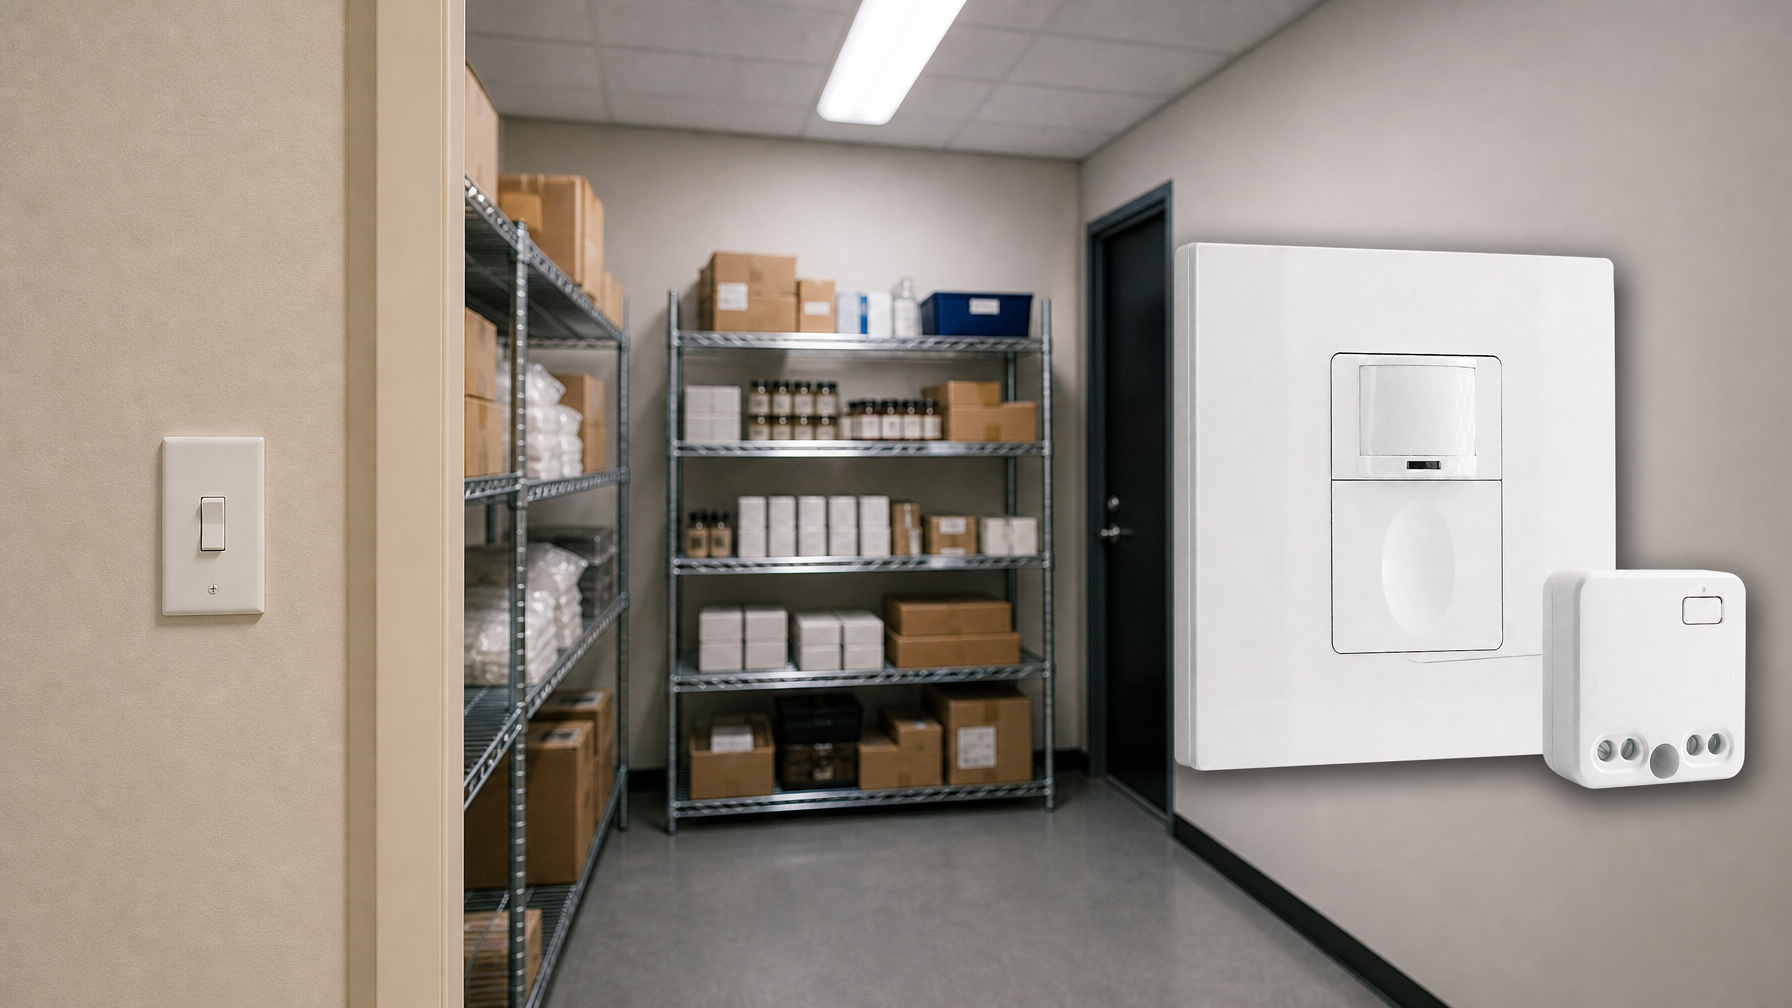
A hallway laundry closet with louvered bifold doors is a small space that behaves like a big one—at least to a PIR sensor sitting in a wall switch box. The complaint is usually simple: the light turns on by itself, often at night, or it shuts off while someone is standing still sorting and folding. In callback notes from Central Texas tract homes, that pattern repeats across brands and price points: Lutron Maestro-style sensor switches, Leviton units like the DOS05, and even commercial-leaning devices act “random” in the same geometry.
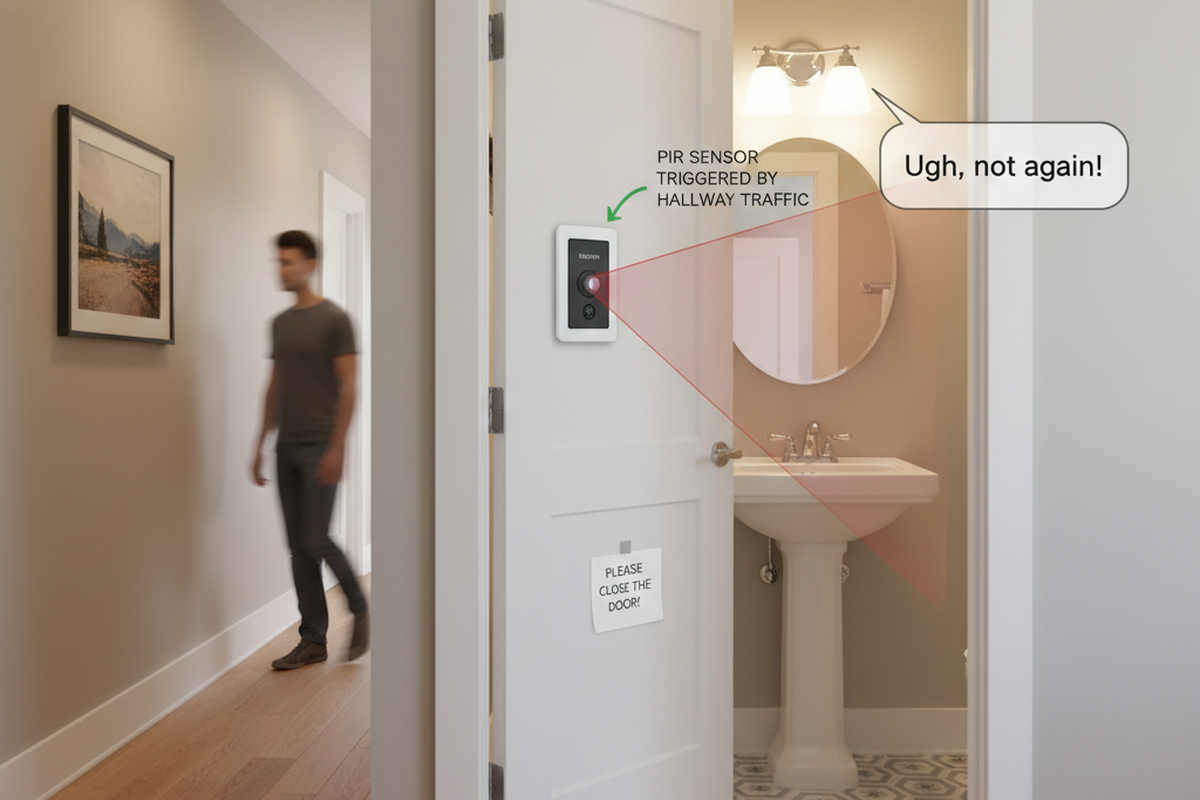
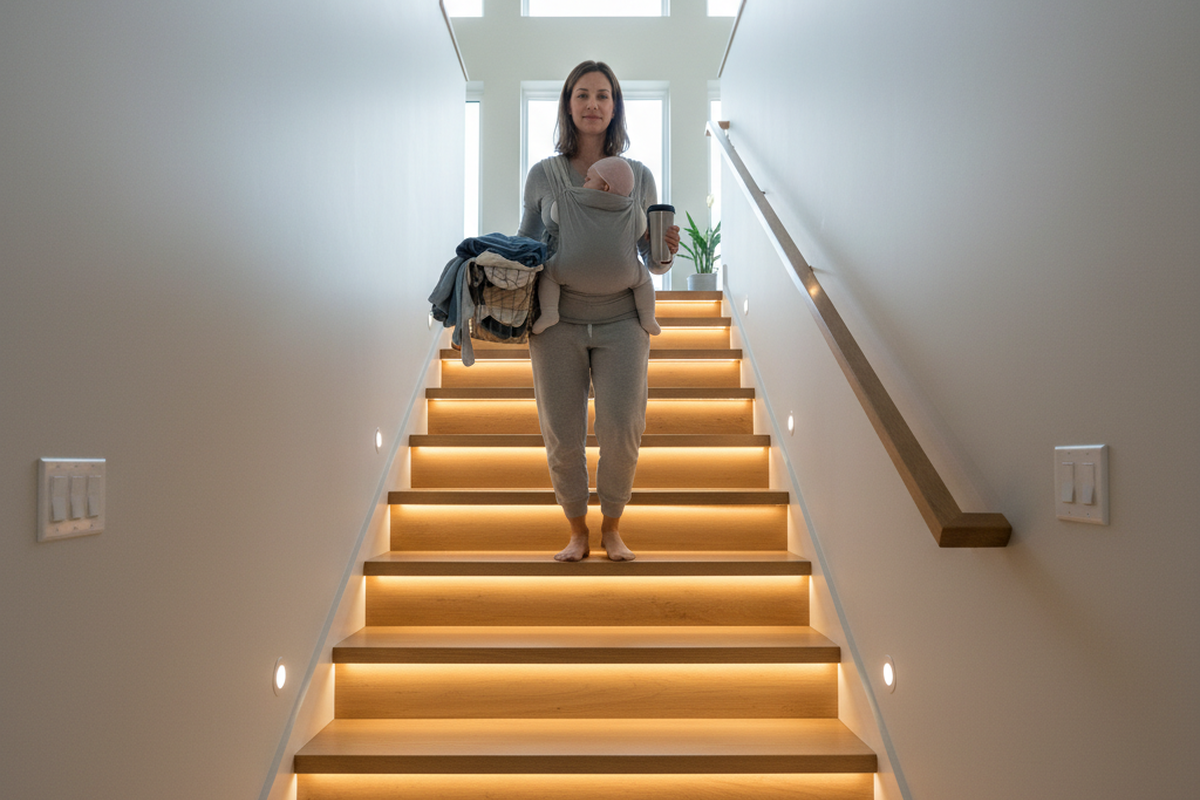
The scene is almost always identical. A busy hallway, a return grille somewhere up high, a closet door slatted like a set of little windows, and a PIR with a direct view through those slats. In one Round Rock, TX callback logged in late summer 2022, the trigger that woke a baby wasn’t a ghost or a defective switch. It was hallway traffic and HVAC cycling presenting themselves to the sensor as motion inside the closet.
Your sensor isn’t wrong; your hallway is in the room.
That distinction changes the fix. If the hallway sits inside the sensor’s pattern, adjusting sensitivity isn’t a repair—at best, it swaps failure modes. This is also where mode confusion surfaces: “occupancy” (auto-on) versus “vacancy” (manual-on). In hallway-adjacent closets, vacancy mode is often the grown-up answer specifically because it refuses to reward hallway motion with a light turning on. We treat the problem like optics, not like a gadget: what the sensor can see, what it should ignore, and how to prove the change worked without living in tweak mode.
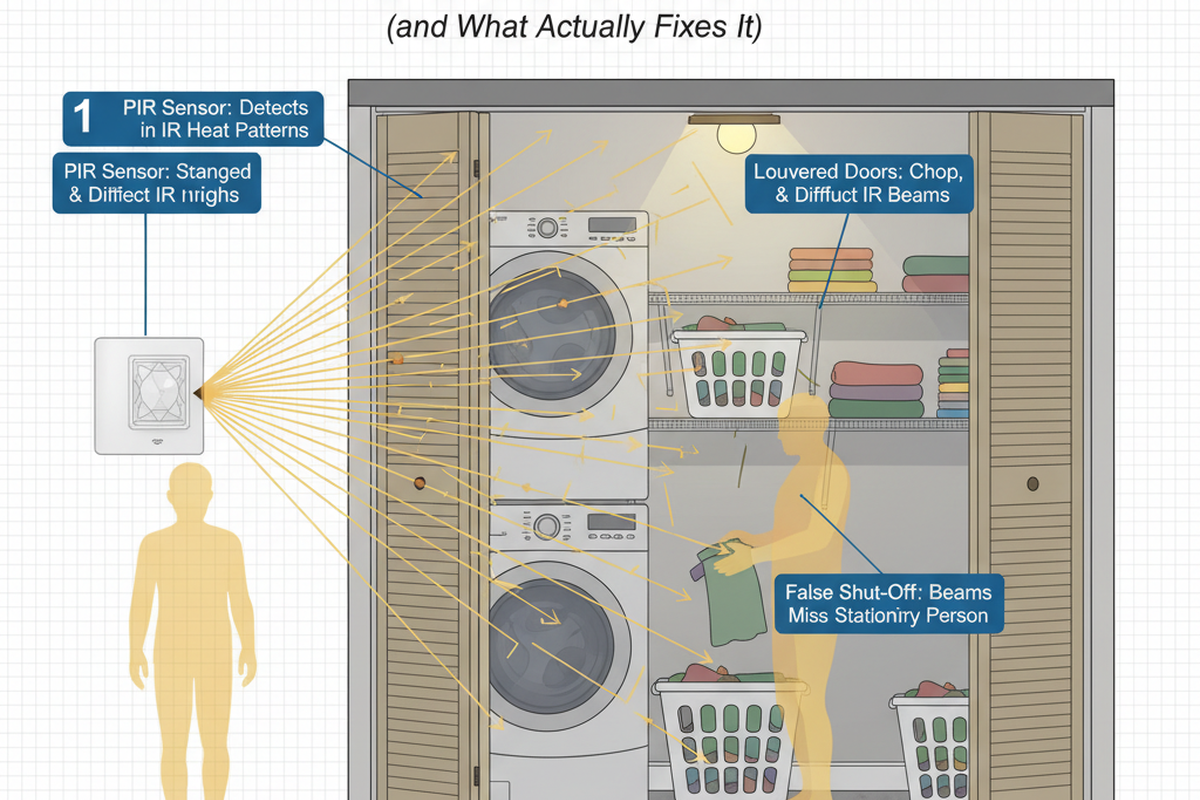
사람들이 생각하는 상황 (그리고 실제 벌어지는 상황)
드레스룸 불이 '저절로' 켜지면 많은 집주인들은 새로운 제품을 찾아보기 시작합니다. 그들은 더 '좋거나' 더 '스마트한' 센서, 혹은 감도가 가장 높고 지연 시간이 가장 긴 센서를 찾습니다. 하지만 서비스 기술자의 관점에서 보면, 불만을 해결하는 데 훨씬 더 유용한 방법은 문제 상황을 하나의 지도로 시각화해 보는 것입니다. 즉, 센서의 위치가 어디인지(스위치 박스 vs 천장), 루버(louver) 살과 문 틈새를 통해 센서가 무엇을 감지하는지, 그리고 사람이 의식적으로 '움직이지' 않아도 주변 환경에서 무엇이 변하는지 파악하는 것입니다. PIR 센서는 작동하기 위해 옷장 안으로 사람의 몸 전체가 들어올 필요가 없습니다. 단지 감지 범위 내에서 적외선 패턴의 변화만 있으면 됩니다. 복도에 루버 문이 설치되어 있다면, 복도에서 발생하는 수많은 적외선 변화가 고스란히 센서로 전달됩니다.
The “it’s the dryer” theory shows up often enough to deserve a calm redirect. In a winter 2023 rental call in Pflugerville, TX, a tenant was convinced the dryer sent electrical noise that tripped the sensor. The on-site test that broke the story wasn’t a meter lecture; it was temperature and timing. A Klein IR thermometer showed a warm dryer door next to a cooler wall, and an HVAC push changed how that thermal boundary looked to the sensor. The fix wasn’t magic: the sensor was re-aimed deeper into the closet so it wasn’t staring at the shifting gradient, and the timeout remained around five minutes. Dryers rarely trigger sensors electrically; instead, thermal gradients and airflow mimic motion when the sensor aims at the wrong surface.
A practical symptom catalog helps separate “random” from “repeatable.” If the light comes on when someone walks past the closet in the hallway, the hallway is almost certainly in view through louvers or a door crack. If it comes on around sunset, sun patches and moving shadow bars across slats are suspects. If it shuts off while someone stands still folding, sensitivity reduction has likely already been tried—and failed. The sensor is being asked to do the opposite of what PIR is good at: detect a person who isn’t moving much.
One constraint defines the hardware reality: PIR coverage patterns vary wildly by model and mounting height. Explanations here focus on mechanisms and tests rather than pretending every switch has the same “cone.” The coverage diagram in a Lutron, Leviton, or Eaton datasheet is worth more than a hundred forum comments, but the hallway-walk test beats the diagram if the real-world geometry is weird.
루버가 PIR을 교란하는 이유: 실용적인 메커니즘 맵
갤러리 도어(살창문)는 단순히 '약간 불투명한' 수준이 아닙니다. 오히려 더 심각합니다. 세상을 움직이는 줄무늬와 대비가 강한 조각들로 잘라버리기 때문입니다. PIR 센서는 여러 구역(zone)에 걸친 변화에 반응하는 패턴 감지 장치입니다. 센서가 1인치 폭의 살창을 통해 복도를 바라보게 되면, 복도의 움직임은 파편화된 움직임으로 변하게 됩니다. 이는 정확히 PIR 센서가 감지하도록 설계된 유형의 변화하는 패턴입니다. 여기에 복도 천장 근처의 HVAC 흡입구와 공기 흐름이 활발한 개방형 구조까지 더해지면, 센서는 사람이 옷장에 들어오지 않더라도 지속적으로 변화하는 열적 변화를 감지하게 됩니다.
This explains why brand-swapping often fails. Riley Chen’s field notes mention the same story with multiple families of devices—Lutron MS-OPS2, Leviton DOS05, Eaton OS306U—where the product changed but the line-of-sight did not. The door does the same thing to all of them: it offers a periscope view into the corridor. A homeowner might describe the light turning on “ten or fifteen times a day,” but the sensor sees it as “motion events” every time a kid sprints by, a dog’s tail flicks through the slat line, or a sun stripe shifts across the louvers as the HVAC cycles.
The part that catches DIY installs is that a quick test often looks fine. One adult walks into the closet once, closes the door, and it works. Real usage is different. In hallway-facing closets, a commissioning routine that survives real life includes hallway passes and door positions, not just an entry. Riley’s own walk-test habit, repeated over years of nuisance callbacks, is mundane on purpose: three hallway passes at normal pace, two quick passes, then the same with the closet door fully closed and with the door cracked about two inches. That last one matters because many closets live with the door not quite latched, and ultrasonic or PIR behavior can change drastically with that small gap.
모션 감지 에너지 절약 솔루션을 찾고 계신가요?
완제품 PIR 모션 센서, 모션 감지 에너지 절약 제품, 모션 센서 스위치 및 상업용 재실/공실(Occupancy/Vacancy) 솔루션에 대해 문의해 주세요.
Most people want to touch settings immediately because settings feel controllable. Sensitivity down, timeout up, hope for the best. That instinct deserves a rule: settings are polish after the hallway is removed from the detection pattern. Otherwise, the install becomes a seesaw. Lower sensitivity to stop false-ons, and the light starts shutting off while someone stands still folding towels. Increase timeout to avoid shut-offs, and now every hallway trigger becomes a longer nuisance event, turning the closet into a nightlight. The “max sensitivity + long timeout” combo is a classic louder failure: it doesn’t solve the cause, it amplifies the consequences.
The builder-grade version of this mistake is “symmetry.” In a 2020 run of new-build warranty work in Georgetown, TX, a common detail was a centered ceiling-mounted sensor because it looked neat and was easy to spec. In practice, centered ceiling locations in small laundry closets often have the cleanest sightline straight through the louvered door. Builders then standardize the wrong fix—turn down sensitivity—creating the second complaint immediately: the light shuts off during stationary tasks. Correcting those installs didn’t require a magic setting; it required a placement standard that aimed coverage across the real entry path while deliberately ignoring the hallway.
A reader does not need a deep lecture on Fresnel lens segmentation math to use this model. The usable translation is simple: the sensor is an eye with blind spots and hot spots, and louvers are windows. Any plan that doesn’t change what the eye can see is mostly negotiating with the symptom.
Fix Hierarchy That Actually Sticks (Least Invasive to Durable)
Reliable fixes stack in a particular order. Riley’s bias shows up plainly here: if a PIR is false-triggering, it’s usually geometry and line-of-sight before it’s “settings.” The hierarchy is:
- Aim/relocate so the sensor covers the entry path and not the hallway.
- Narrow the field of view (masking) so the louver/hallway sector is ignored.
- Choose the right mode (vacancy/manual-on is often the quiet option).
- Tune timeout and sensitivity as a final polish.
That order matters because each step changes the underlying pattern the sensor interprets. In the late summer 2022 “haunted laundry” callback in Round Rock, the win wasn’t a brand swap. The sensor in the switch box effectively pointed out through the bifold louvers like a little hallway camera. Rotating the sensor by a few tens of degrees changed what it “watched,” and simple field-of-view blocking (manufacturer masking strips or carefully applied black electrical tape as a reversible test) removed the hallway sector entirely. Vacancy mode then prevented future hallway motion from auto-turning on the light. Aim and masking reduced nuisance triggers; vacancy mode made the remaining edge cases irrelevant.
Masking deserves special attention because it’s the most “try this tonight” lever that teaches the mechanism. Many sensors include lens masks or tabs; some do not. The concept is the same either way: if the louver line is where the hallway enters the pattern, that sector gets blocked. This is not a sensitivity adjustment. It is an intentional blind spot. In closets with bifold slats, the goal is to cover the doorway path while making the sensor “not care” about movement that never crosses the threshold.
This is also where the “just buy a better brand” loop can be redirected without pretending brands don’t matter at all. Brand and model matter for a few features: does the device offer vacancy mode, does it provide a usable coverage pattern, and does it support field-of-view control (masking) in a predictable way? Those features make geometry fixes easier to execute. A feature checklist that doesn’t connect back to pattern control is mostly noise, and it’s how a closet ends up with expensive hardware that still watches the hallway through the same slats.
Before discussing settings, let’s clear the table with a short “stop doing this” smackdown:
- Stop maxing sensitivity and hoping it gets “smarter.”
- Stop lengthening timeout to hide nuisance triggers.
- Stop testing with one calm walk-in and calling it done.
- Stop treating louvers like a solid wall.
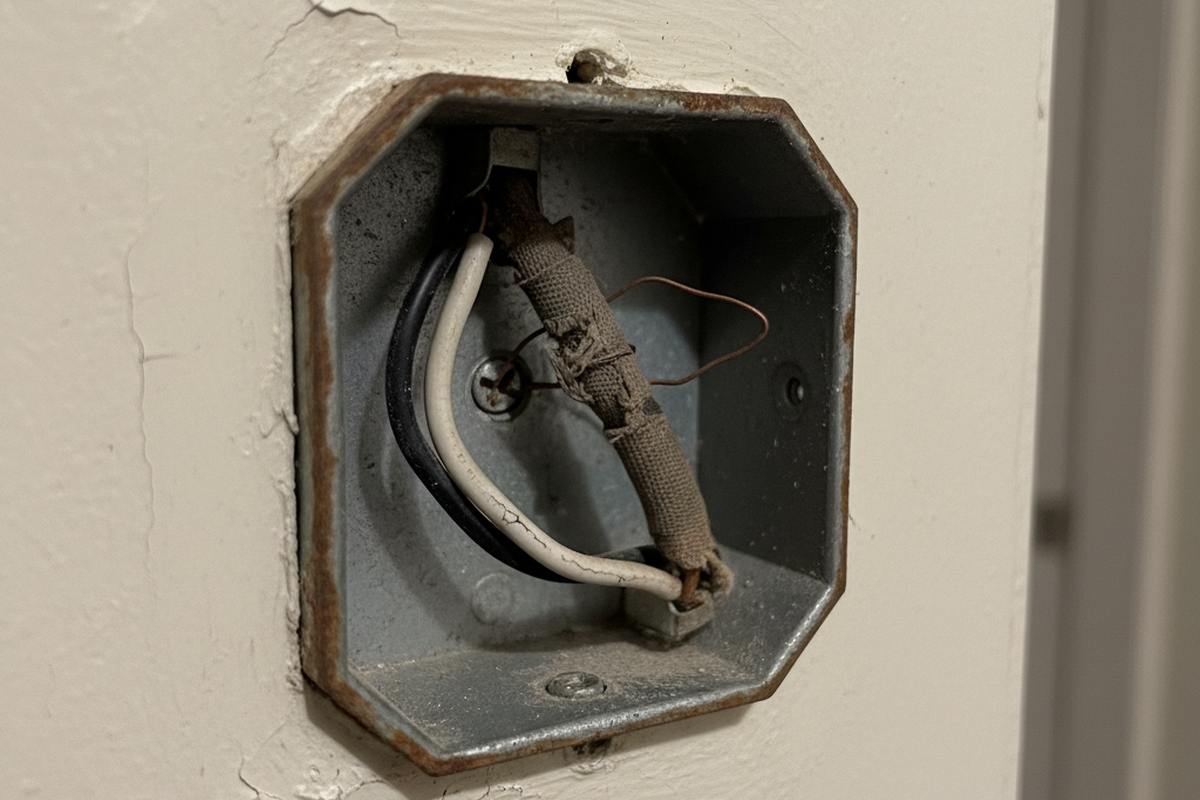
For durability, sometimes the best electrical fix is carpentry. In a May 2024 remodel in Cedar Park, the electrical box couldn’t be moved without tearing into finished paint, so two paths were offered: masking + vacancy mode now, or changing the enclosure. The surprising choice was a solid-core door swap paired with ventilation handled intentionally (a grille above the door and an undercut around 3/4 inch, rather than relying on slats). After the door change, the same sensor behaved better even in occupancy mode. The uncomfortable lesson: if the enclosure is wrong, sensors can’t always be tuned into behaving.
That door conversation needs a caution flag. Ventilation needs vary by house, appliance, and local requirements, and dryer venting is not “handled” by a louvered door in the way many people assume. The safer stance is that door changes can help the sensor by removing sightline leakage, but ventilation and appliance venting requirements should be checked against manufacturer specs and local rules. This article is not a ventilation design manual.
A safety boundary belongs here too. Line-voltage switch work and box relocation carry shock and fire risks, and the National Electrical Code (NEC) exists for reasons that don’t show up on YouTube. A homeowner who isn’t comfortable working in a live switch box should treat aiming/masking/mode changes as the DIY limit and bring in a licensed electrician for any rewiring or relocation.
Red-Team: The Advice That Creates Louder Failures
“Turn down sensitivity” is the most common advice because it sounds reasonable and is easy to do. It also fails in exactly the way people hate most in a laundry closet: the light shuts off while someone stands there folding, sorting, or reading labels. The trade is simple. Sensitivity down can reduce false-ons from hallway motion, but it also makes the sensor less able to notice low-motion occupancy. In a closet where the person is stationary half the time, that is a predictable self-own.
“Just get dual-tech” is the second trap. In a Spring 2021 small apartment complex retrofit in San Antonio, dual-technology wall sensors (ultrasonic + PIR) were installed to stop lights turning off mid-task. In tiny laundry closets with louvered doors and door gaps, ultrasonic energy can bounce around and sometimes detect through openings in ways that feel spooky. Meanwhile, the PIR can still see hallway motion through slats. Instead of being “smarter,” the device now has more pathways to be fooled, plus AppFolio tickets tagged “closet light” that keep coming until someone changes mode (manual-on/vacancy) and rethinks sightlines.
어쩌면 다음 제품에도 관심이 있으실 수 있습니다
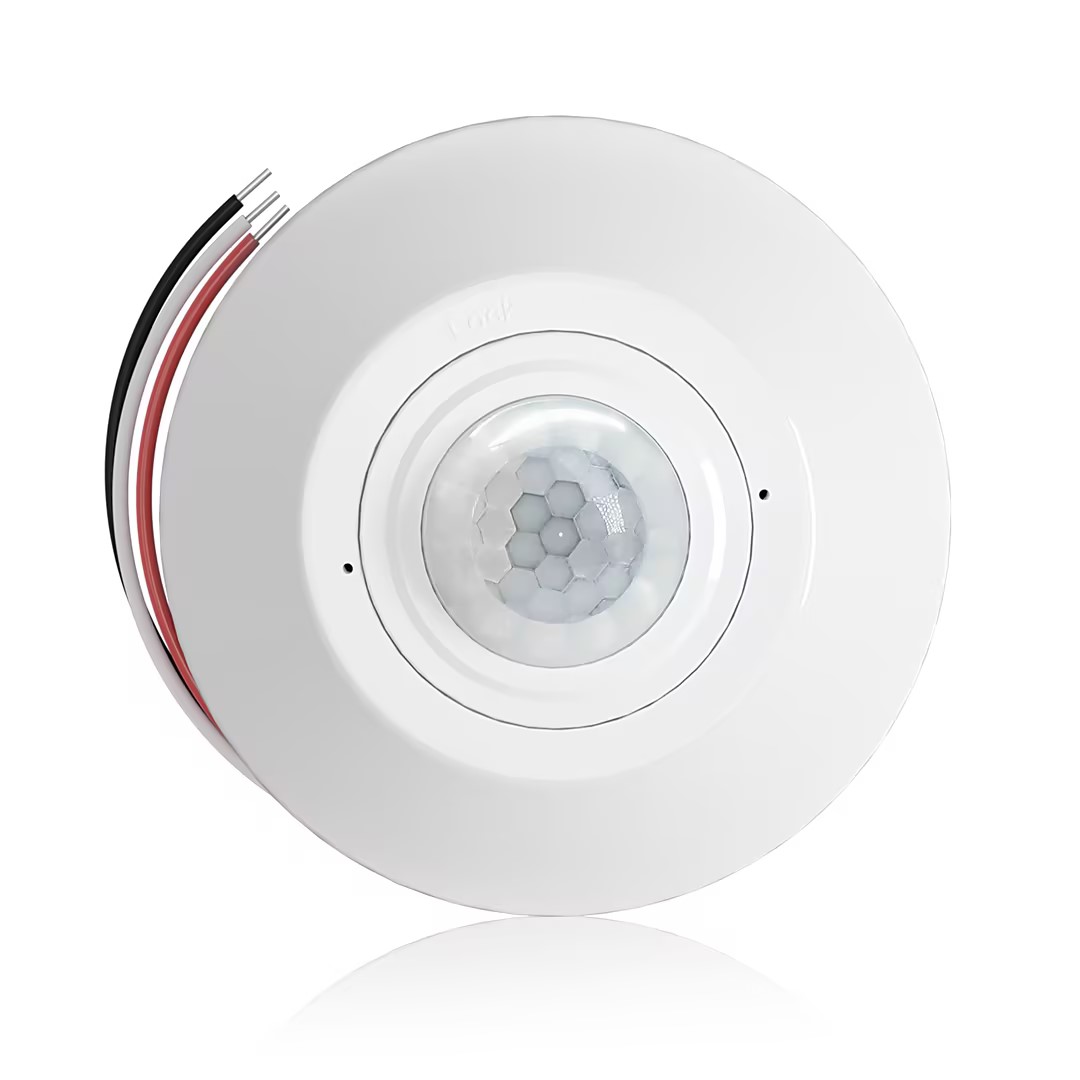
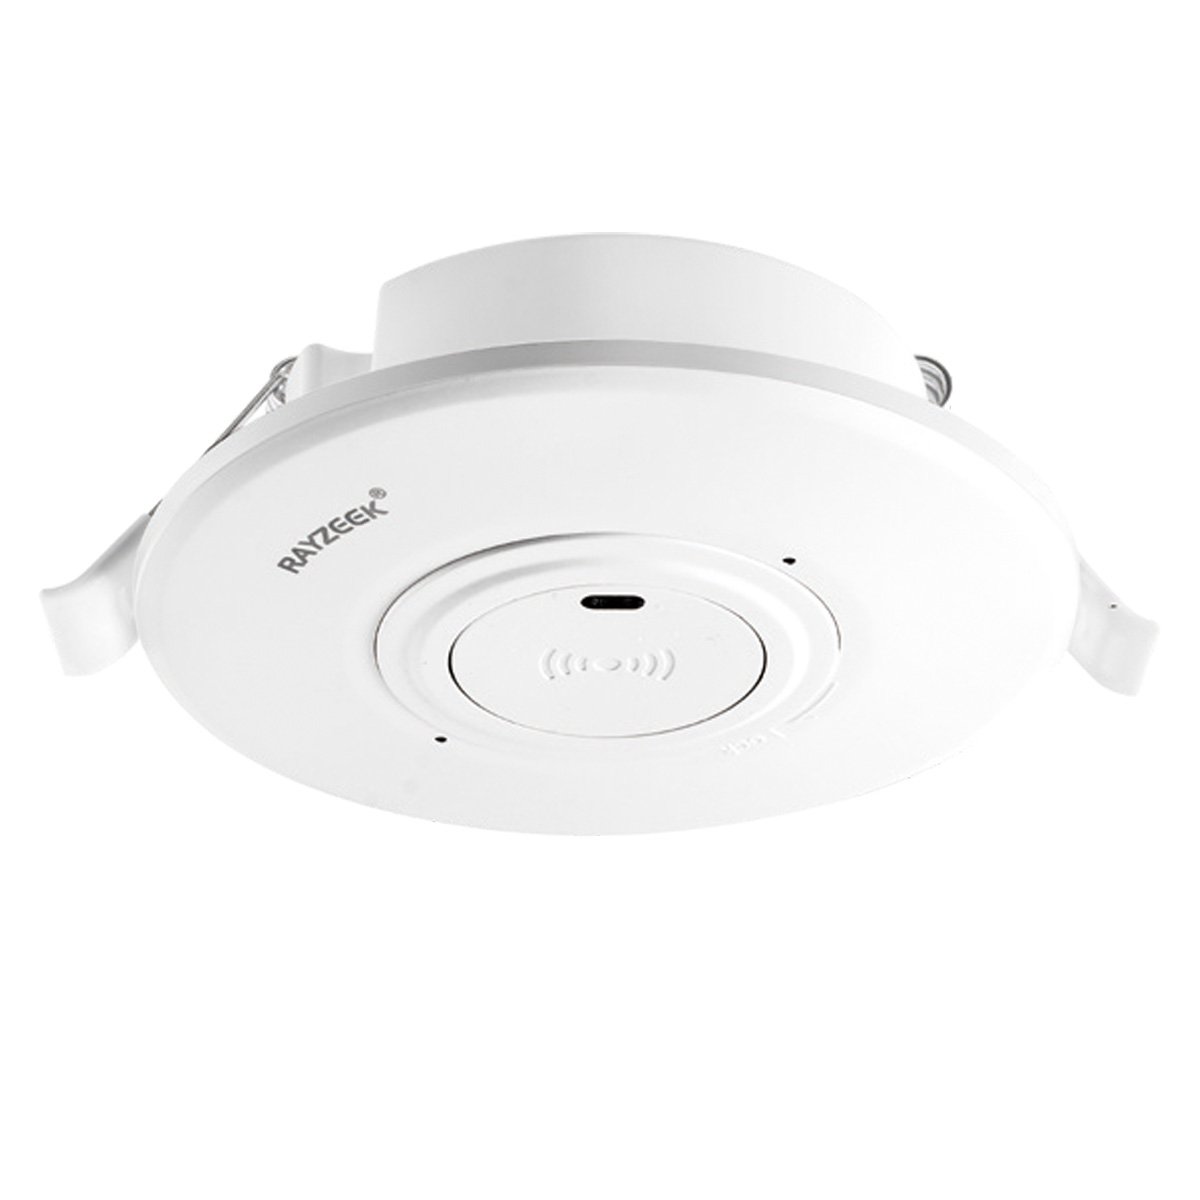
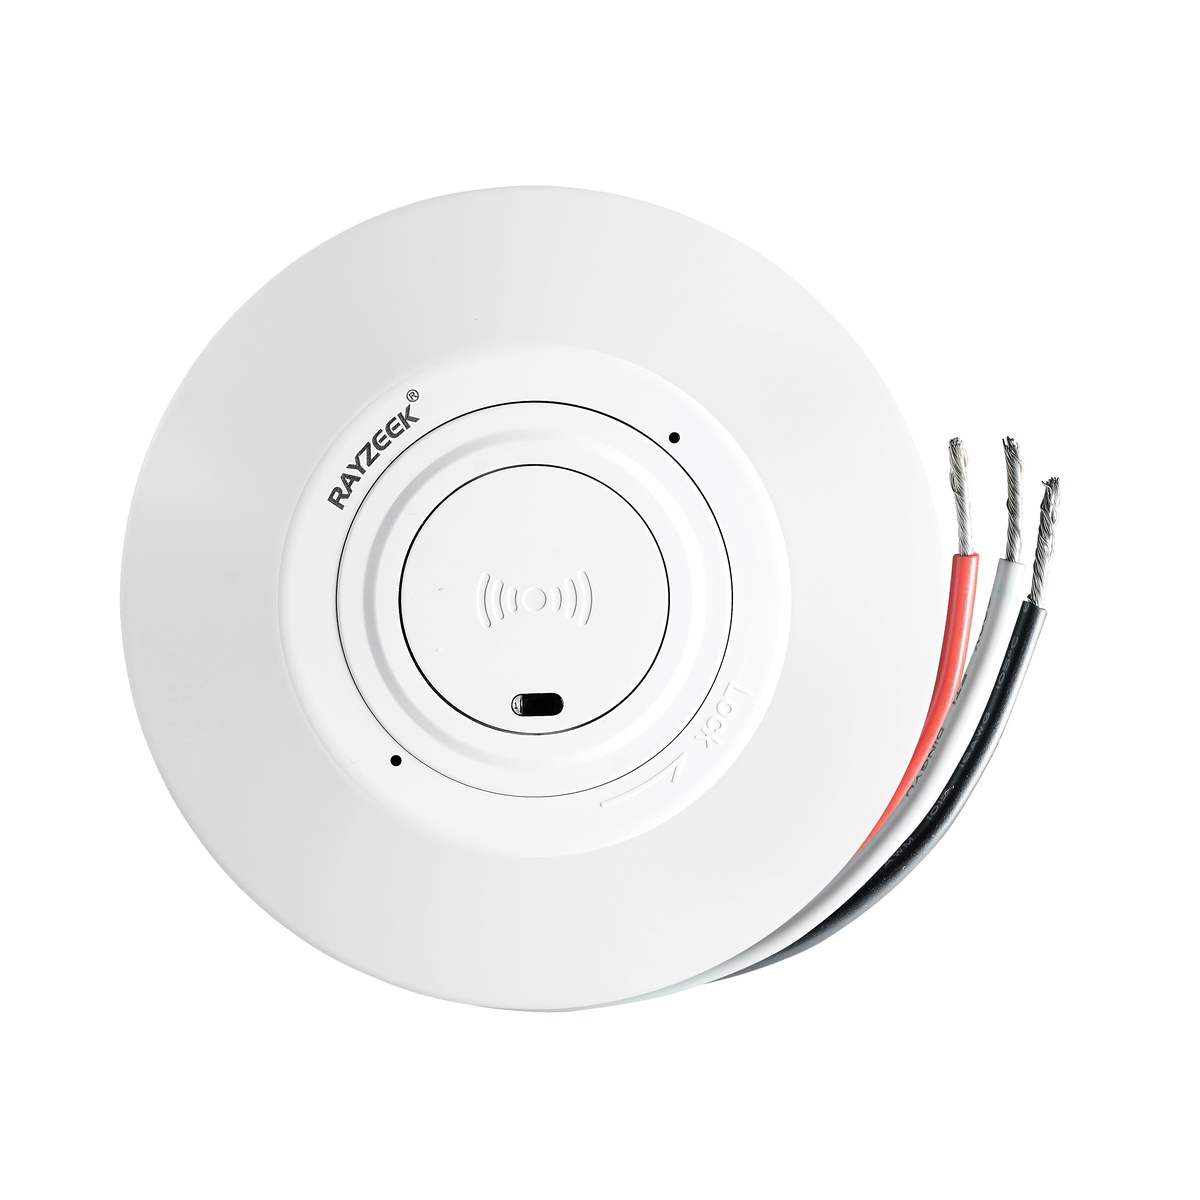
- 무전압 접점(dry-contact) 릴레이 출력을 갖춘 천장 장착형 PIR 재실 감지 센서
- 12/24VDC 또는 12/24VAC 저전압 전원 공급
- EMS, HVAC 및 빌딩 제어 입력을 위한 COM, NO, NC 절연 릴레이 접점
- 저전압 DC 천장 매립형 마이크로웨이브 모션 센서 스위치
- 10-30 VDC 범위의 12 VDC / 24 VDC 입력
- 시간 지연, 조도(Lux) 임계값 및 감도 조절이 가능한 최대 10A 작동 전류
- 고부하용 천장 매립형 마이크로웨이브 모션 센서 스위치
- 100-265 VAC 상용전압 입력, 10A 모델
- 시간 지연, 조도(Lux) 임계값 및 감도 조절이 가능한 5.8 GHz 마이크로웨이브 감지
- 천장 매립형 마이크로웨이브 모션 센서 스위치
- 100-265 VAC 상용전압 입력, 5A model
- 시간 지연, 조도(Lux) 임계값 및 감도 조절이 가능한 5.8 GHz 마이크로웨이브 감지
- 220V 전원용 천장 장착형 RZ037 PIR 재실 감지 센서 디머
- 정격 부하 660W, 최대 작동 전류 3A
- 조도 센서 켜짐/꺼짐(ON/OFF) 및 사용자 설정 디밍 밝기를 제어하는 LUX 버튼
- 110V 전원용 천장 장착형 RZ037 PIR 재실 감지 센서 디머
- 정격 부하 330W, 최대 작동 전류 3A
- 조도 센서 켜짐/꺼짐(ON/OFF) 및 사용자 설정 디밍 밝기를 제어하는 LUX 버튼
- 저전압 DC 천장 매립형 마이크로웨이브 모션 센서 스위치
- 10-30 VDC 범위의 12 VDC / 24 VDC 입력
- 시간 지연, 조도(Lux) 임계값 및 감도 조절이 가능한 최대 10A 작동 전류
- 고부하 천장 매립형 마이크로웨이브 모션 센서 스위치
- 100-265 VAC 상용전압 입력, 10A 모델
- 시간 지연, 조도(Lux) 임계값 및 감도 조절이 가능한 5.8 GHz 마이크로웨이브 감지
- 천장 매립형 마이크로웨이브 모션 센서 스위치
- 100-265 VAC 상용전압 입력, 5A model
- 시간 지연, 조도(Lux) 임계값 및 감도 조절이 가능한 5.8 GHz 마이크로웨이브 감지
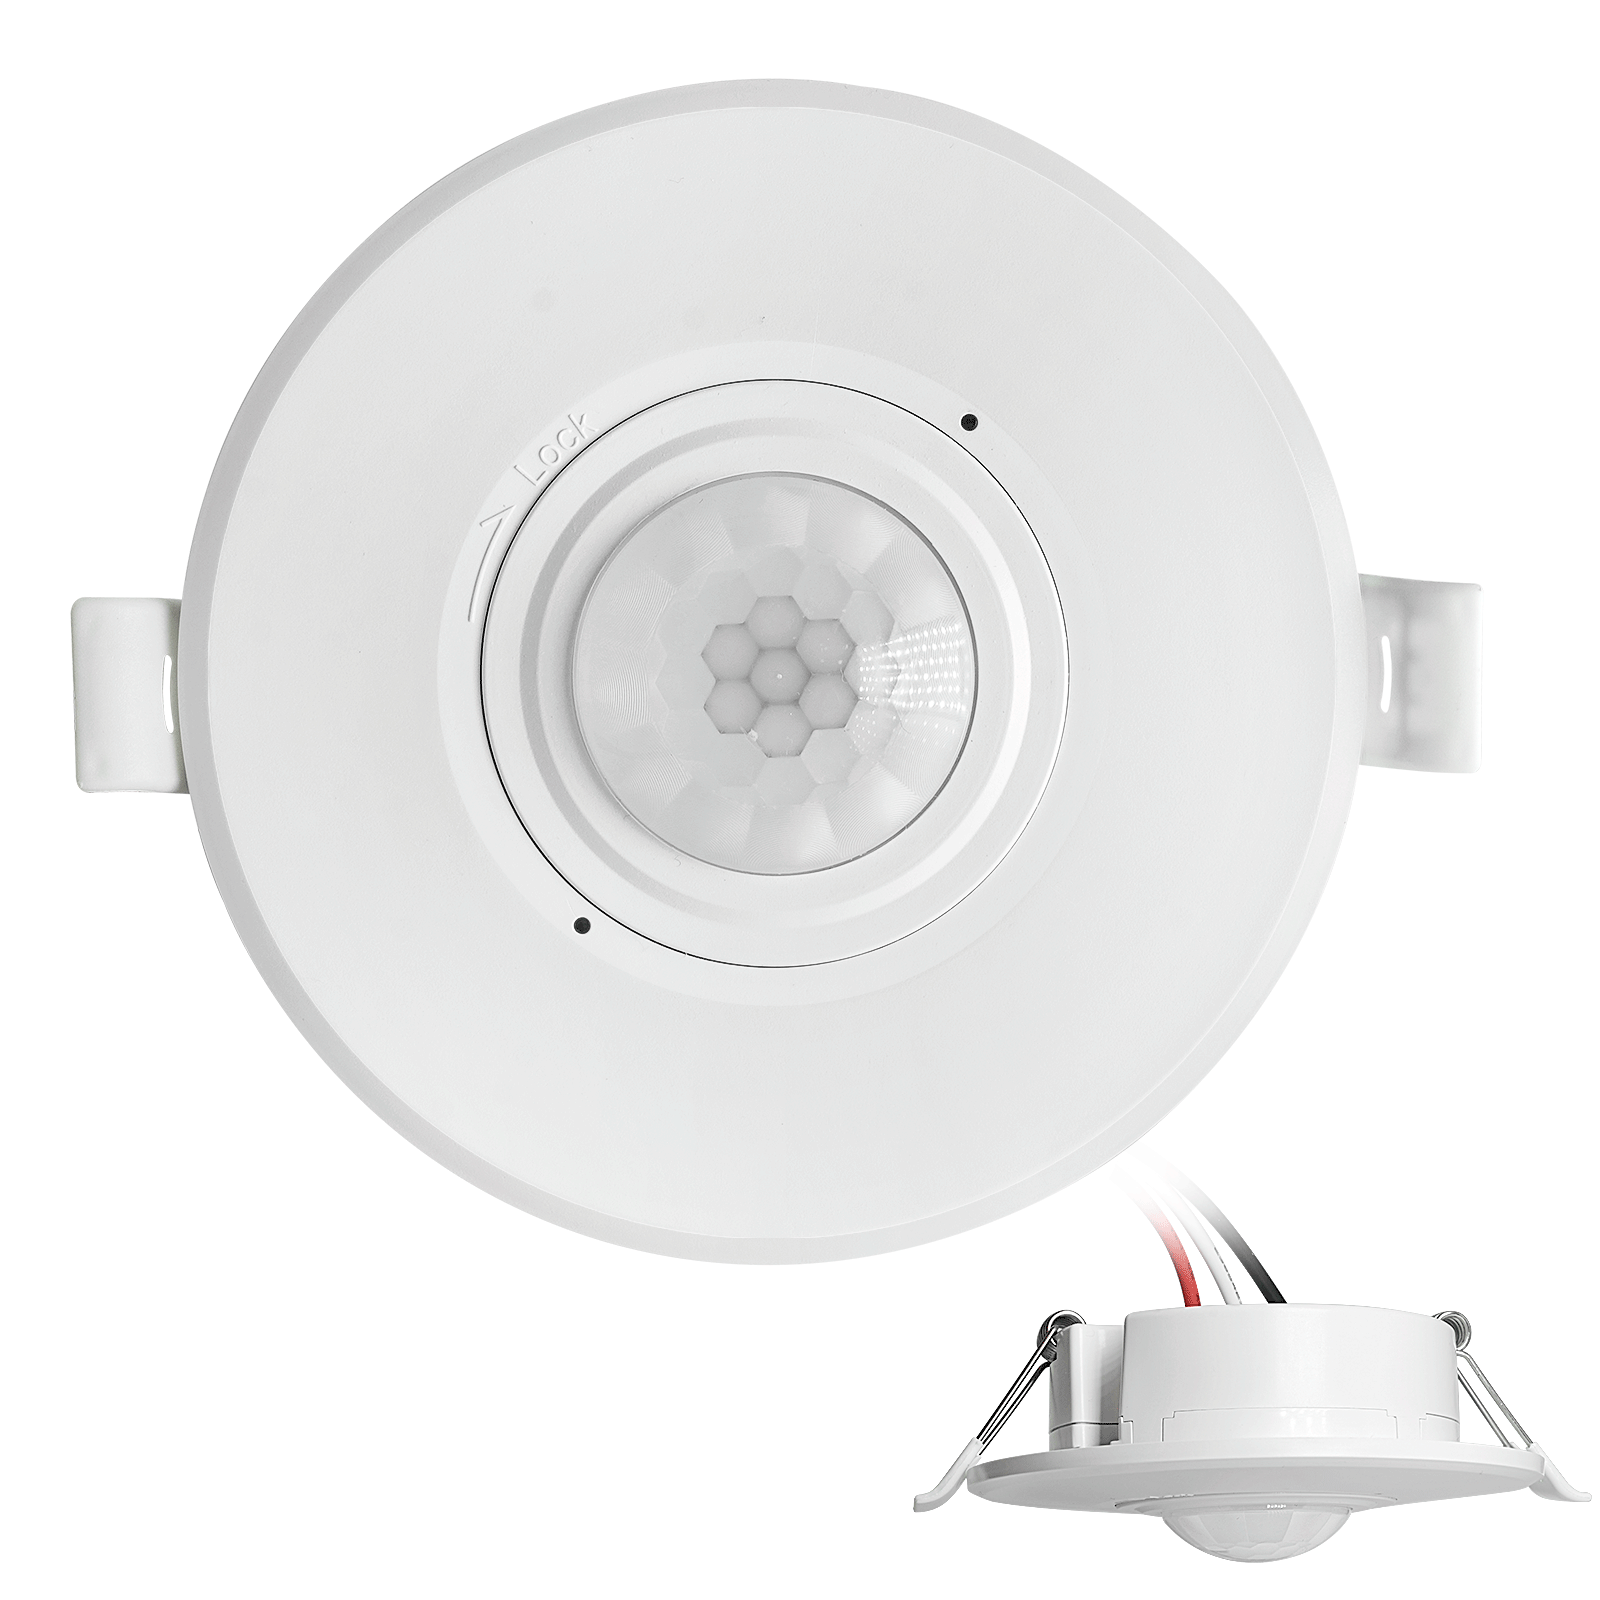
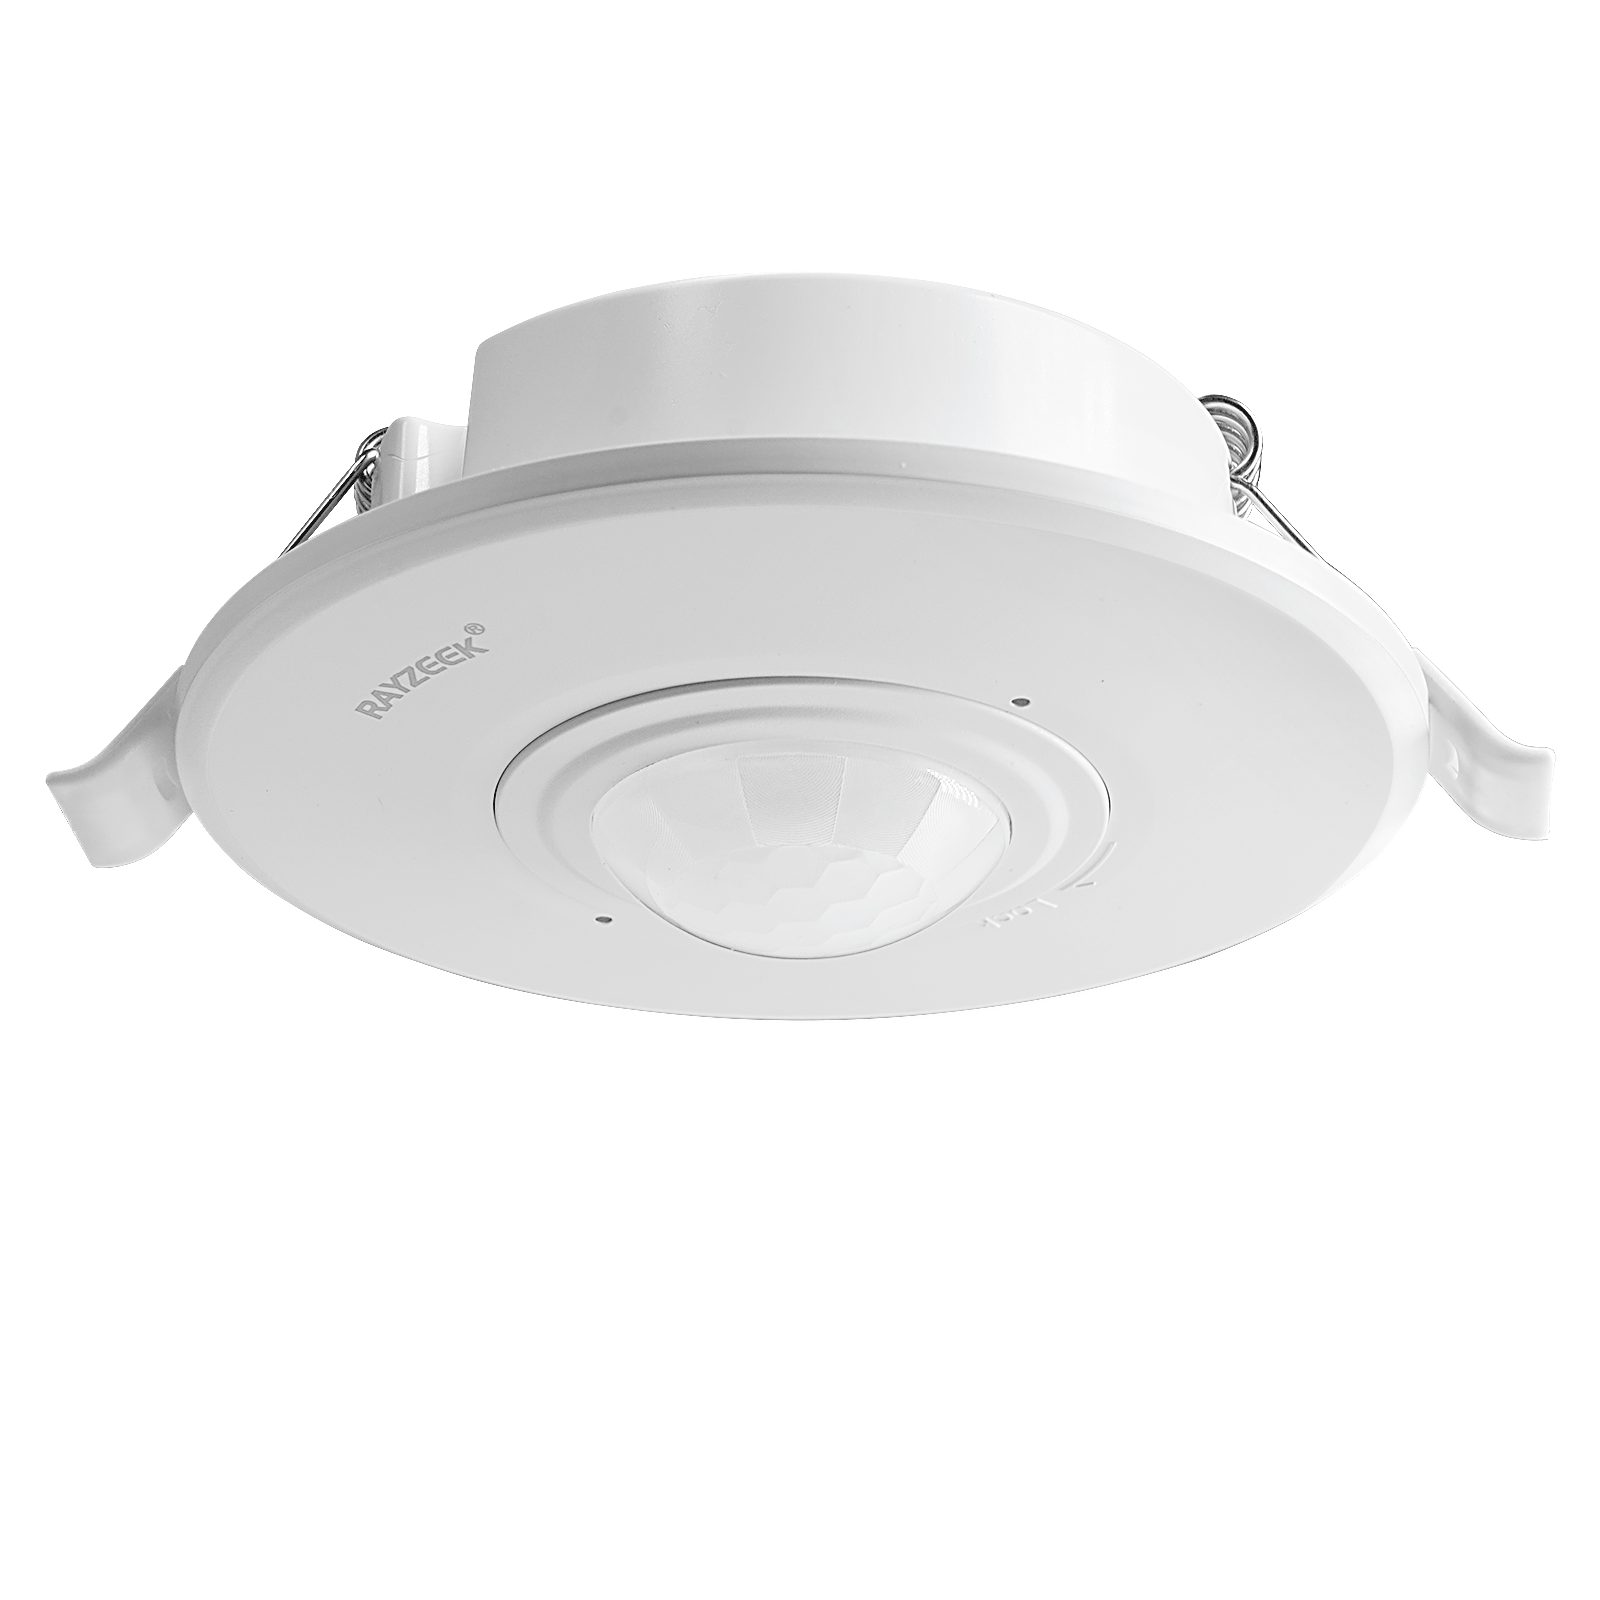
- 저전압 DC 매립형 천장 장착 PIR 모션 센서 스위치
- 10-30 VDC 범위의 12 VDC / 24 VDC 입력
- 최대 작동 전류 10A (시간 지연, 조도 값, 감도 조절 가능)
- 고부하 매립형 천장 장착 PIR 모션 센서 스위치
- 100-265 VAC 상용전압 입력, 10A 모델
- 360도 감지 (시간 지연, 조도 값, 감도 조절 가능)
- 매립형 천장 장착 PIR 모션 센서 스위치
- 100-265 VAC 상용전압 입력, 5A model
- 360도 감지 (시간 지연, 조도 값, 감도 조절 가능)
- 실내 조명 ON/OFF 제어용 무선 스위치 및 수신기 키트
- 100-230VAC, 50/60Hz 수신기 (정격 전류 5A)
- CR2032 배터리 구동 무선 스위치 (2.4GHz 통신)
- 재실 감지 (Auto-ON/Auto-OFF)
- 12–24V DC (10–30VDC), 최대 10A
- 360° 감지 범위, 직경 8–12 m
- 시간 지연 15초–30분
- 조도 센서 Off/15/25/35 Lux
- 감도 높음/낮음
- Auto-ON/Auto-OFF 재실 모드
- 100–265V AC, 10A (중성선 필수)
- 360° 감지 범위, 감지 직경 8–12 m
- 시간 지연 15초–30분, 조도 OFF/15/25/35, 감도 높음/낮음
- Auto-ON/Auto-OFF 재실 모드
- 100–265V AC, 5A (중성선 필요)
- 360° 감지 범위, 감지 직경 8–12 m
- 시간 지연 15초–30분, 조도 OFF/15/25/35, 감도 높음/낮음
- 100V-230VAC
- 전송 거리: 최대 20m
- 무선 모션 센서
- 유선 제어
- 전압: AAA 배터리 2개 / 5V DC (Micro USB)
- 주간/야간 모드
- 시간 지연: 15분, 30분, 1시간(기본값), 2시간
- EU 플러그 전원 어댑터
- UK 플러그 전원 어댑터
“Buy the premium one” is a cousin of both traps. Higher-end sensors can have better patterns and better configuration options, but no algorithm can undo a bad view into a busy hallway. The question that fixes closets isn’t “which model,” but “what does it see through the door, and how do we block or re-aim that view.”
This is why the best “setting” is often a test. If a fix can’t survive a hallway-walk test and a stand-still folding test, it’s not really fixed—it’s just quiet for one moment.
Commissioning Checklist + FAQ (So It Doesn’t Become a Callback)
The part most DIY installs skip is commissioning, and the price of skipping it is endless tweaking. Riley’s service pattern—specializing in nuisance callbacks—exists because people stop after “it turned on once.” Commissioning is the real time-saving step: it finds the hallway problem before the household finds it at 2 a.m.
Rayzeek 동작 센서 포트폴리오에서 영감을 얻어보세요.
원하는 제품을 찾지 못하셨나요? 걱정하지 마세요. 문제를 해결할 수 있는 대안은 언제나 있습니다. 저희 포트폴리오 중 하나가 도움이 될 수 있습니다.
A compact checklist that fits the actual space:
- Run a hallway-walk test: three passes at normal pace, two quick passes, with the closet door fully closed.
- Repeat with the door cracked about two inches (because that’s how many closets live).
- Run the “stand-still folding” test: stand in the closet with minimal motion for a full minute and confirm the light stays on.
- If the sensor has vacancy mode available, test both occupancy (auto-on) and vacancy (manual-on) for one day each.
- Log outcomes for 24 hours: any false-ons, any shut-offs mid-task, and whether they correlate with HVAC cycles or sunset.
A reasonable “good enough” criterion for a hallway-facing louvered closet is blunt: zero false-ons during ten hallway passes, and no shut-offs during a one-minute stand-still test. If that bar isn’t met, settings tweaks are usually not the next move; the next move is reducing the hallway sector in the sensor’s view (masking) or changing the sensor’s aim/location.
Mode choice is where many people get stuck on convenience. Occupancy mode feels modern: hands-free lights. Vacancy mode feels like a step back. In closets that face a corridor, vacancy mode is often the option that respects reality. It removes the entire failure class of “hallway motion turned it on,” and it tends to reduce property-management nuisance tickets more than any sensitivity setting ever will. If hands are frequently full (laundry baskets) or accessibility needs exist, that’s a real constraint; then the work shifts back to aggressive field-of-view control and aiming so occupancy mode doesn’t become a liability.
Uncertainty is unavoidable here because the variables are real. Coverage patterns change by model and mounting height, so the actual datasheet diagram for the specific Lutron/Leviton/Eaton device matters. HVAC airflow and solar gain are house-specific, so a sensor that behaves at noon may behave differently at sunset with shadow bars across louvers. Energy-code expectations around vacancy mode vary by jurisdiction; many codes lean toward vacancy in certain spaces, but the correct rule depends on location and application. None of that cancels the main point; it just explains why walk-testing is more honest than confident guessing.
FAQ, kept tight:
- “Is the dryer triggering the sensor?” Usually it’s not electrical noise. It’s a thermal boundary (warm door, cooler wall) changing with airflow; re-aim away from those surfaces and test during an HVAC cycle.
- “Should a better brand fix it?” A better device can help if it offers vacancy mode and field-of-view control, but a hallway sightline through louvers can fool premium sensors too.
- “What timeout is best?” It varies by model and household, but many closets behave better when timeout isn’t used to hide false-ons; start with a moderate range (often 1–5 minutes) after the hallway is removed from view.
- “What about pets?” In hallway-facing setups, pets are basically hallway motion with better timing; masking and vacancy mode blunt that.
- “Can a solid door solve it?” It can, because it removes the “window” effect, but ventilation and appliance requirements need to be handled intentionally (door grille/undercut per specs), not improvised.
The exit ramp is simple. In louvered-door laundry closets, the reliable path is to stop treating the sensor like a mind-reader and start treating it like an eye. Control the view, then choose the mode, then polish settings. That order is what keeps the closet from becoming the house’s smallest, loudest maintenance problem.